The long bob (lob) paired with curtain bangs is a match made in hair heaven—especially on black hair. Curtain bangs part in the middle and sweep to each side like curtains, opening up the face and adding softness. On black hair, the contrast between the dark color and the bangs is striking. Here are 10 stunning long bob with curtain bangs ideas for black hair.
10 Long Bob with Curtain Bangs on Black Hair Ideas
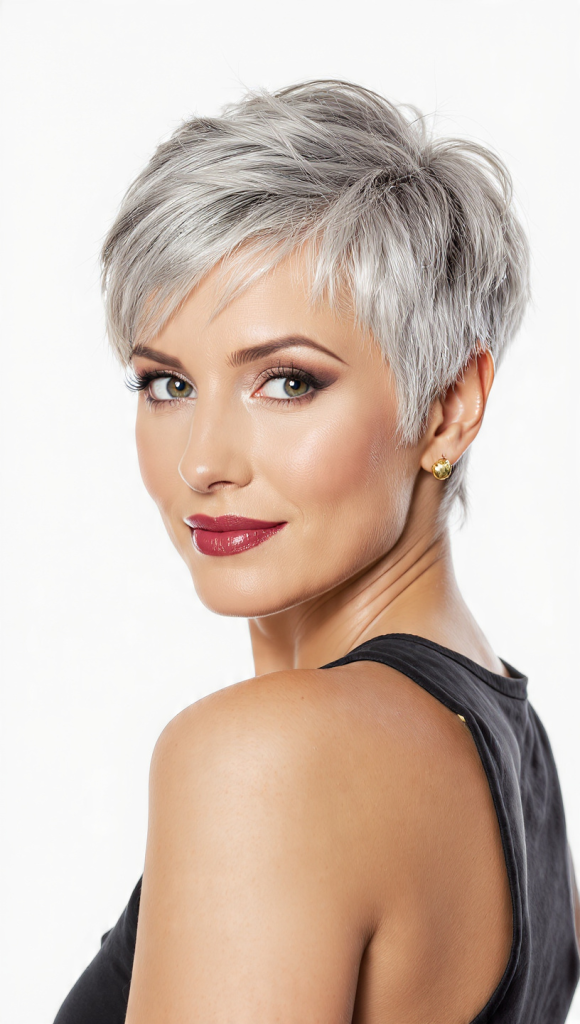
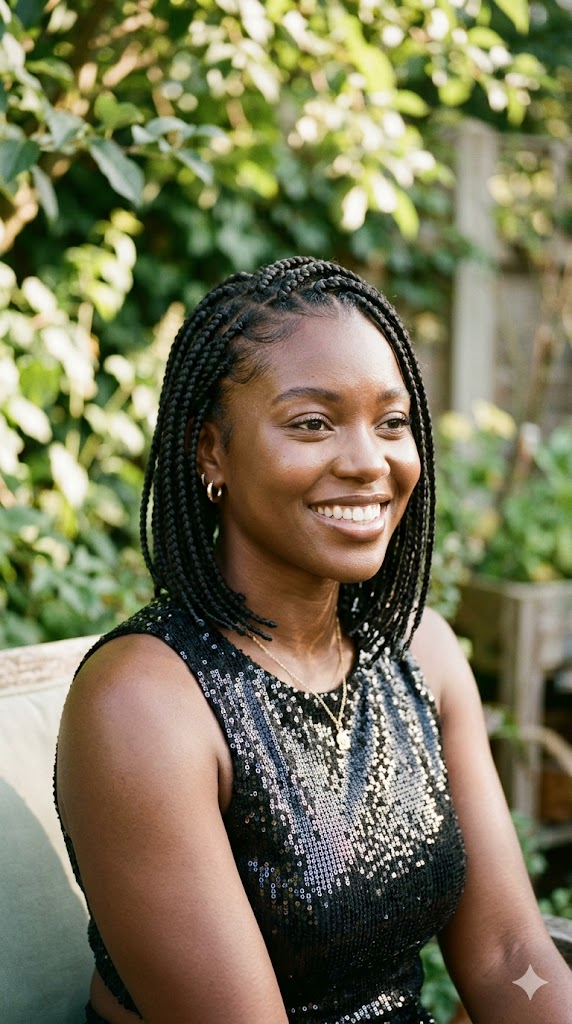
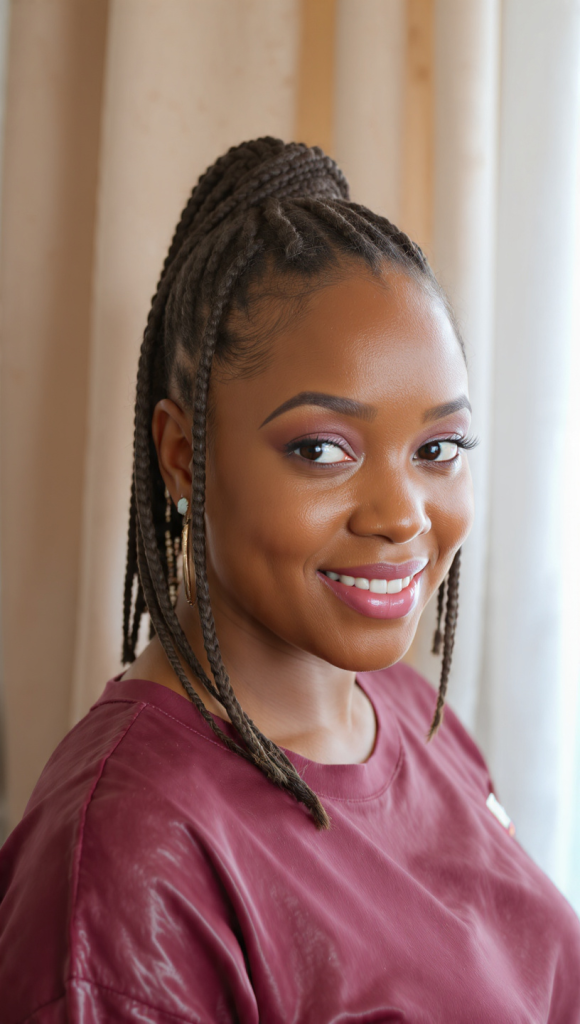
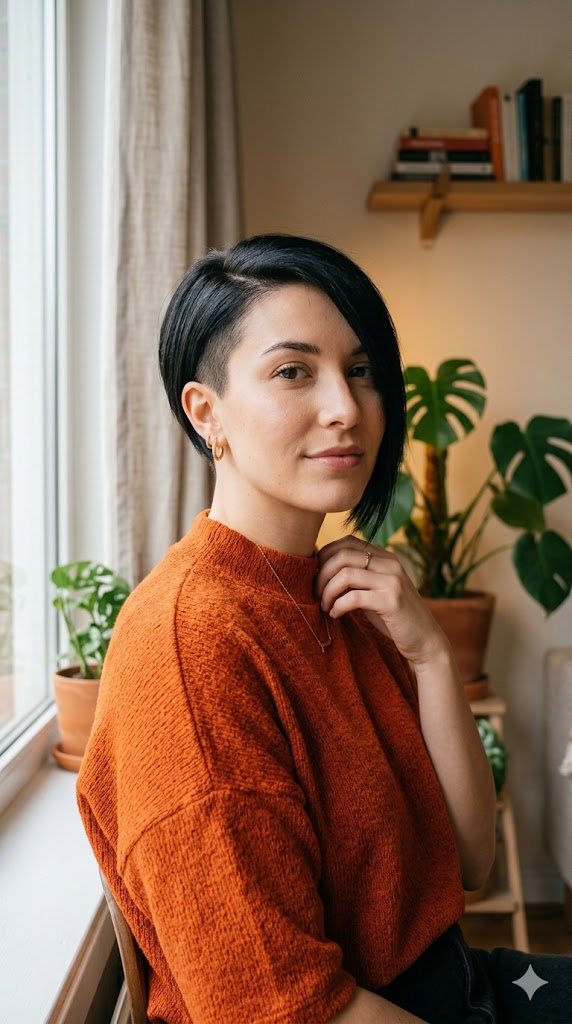
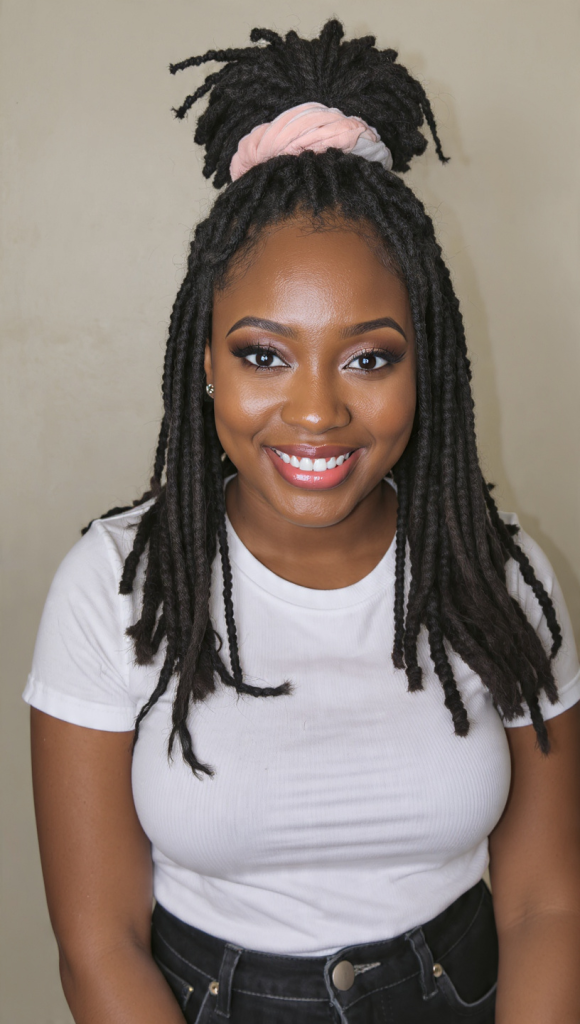
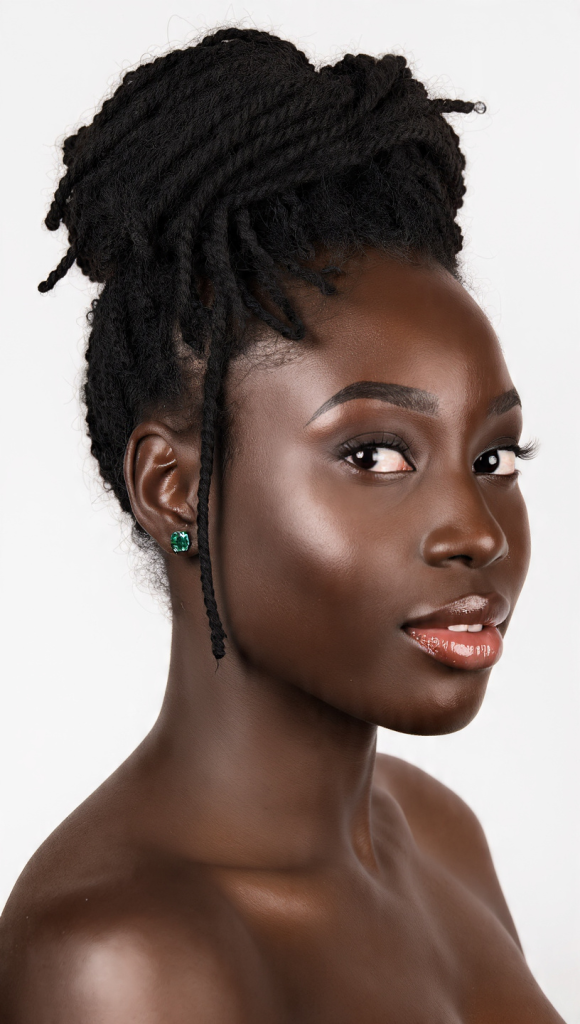
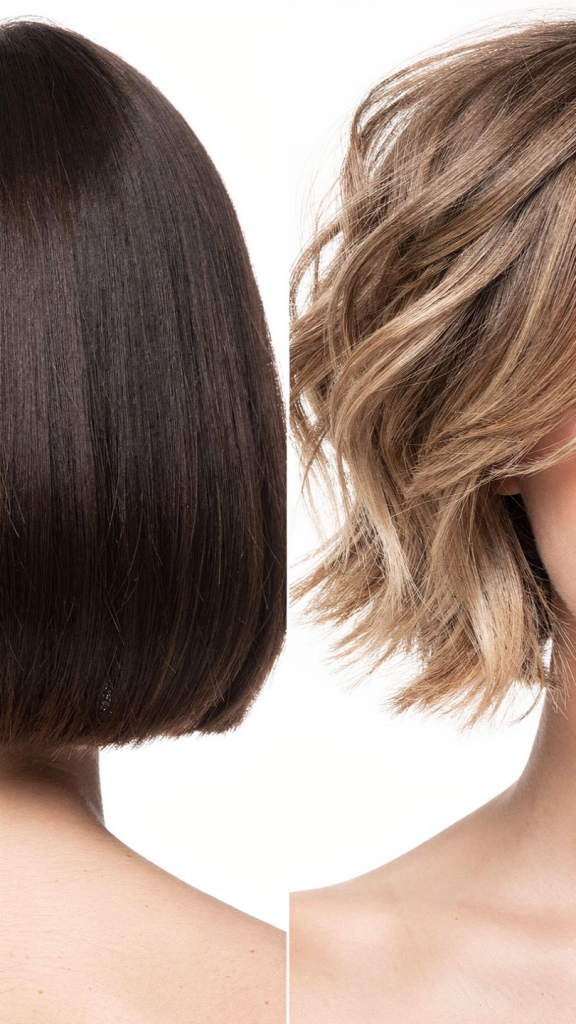
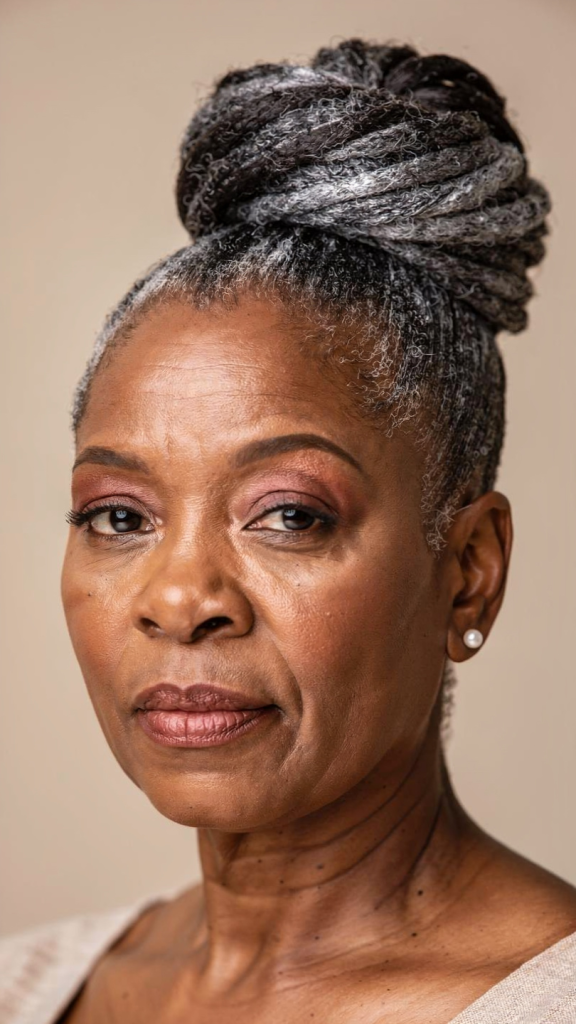
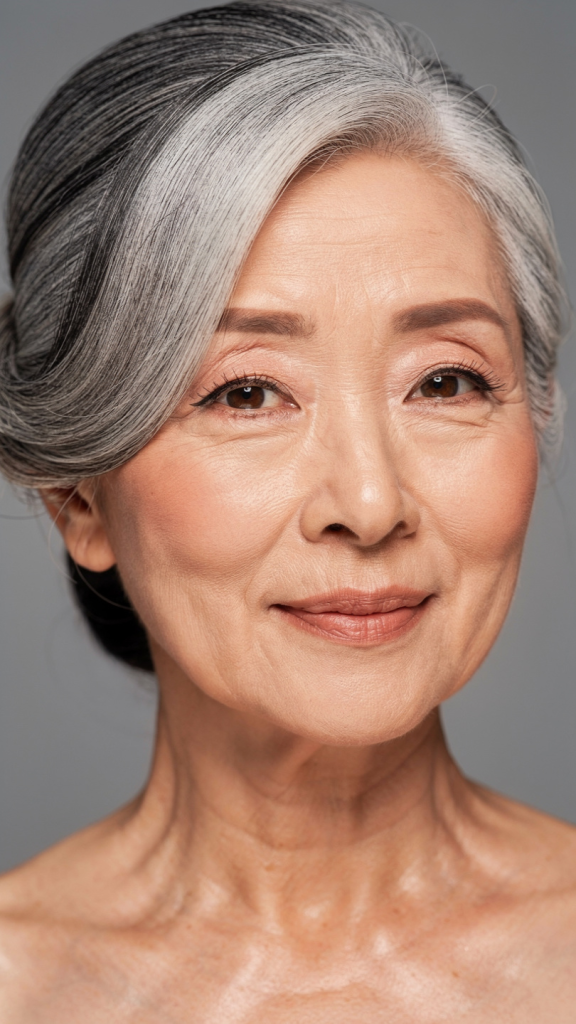
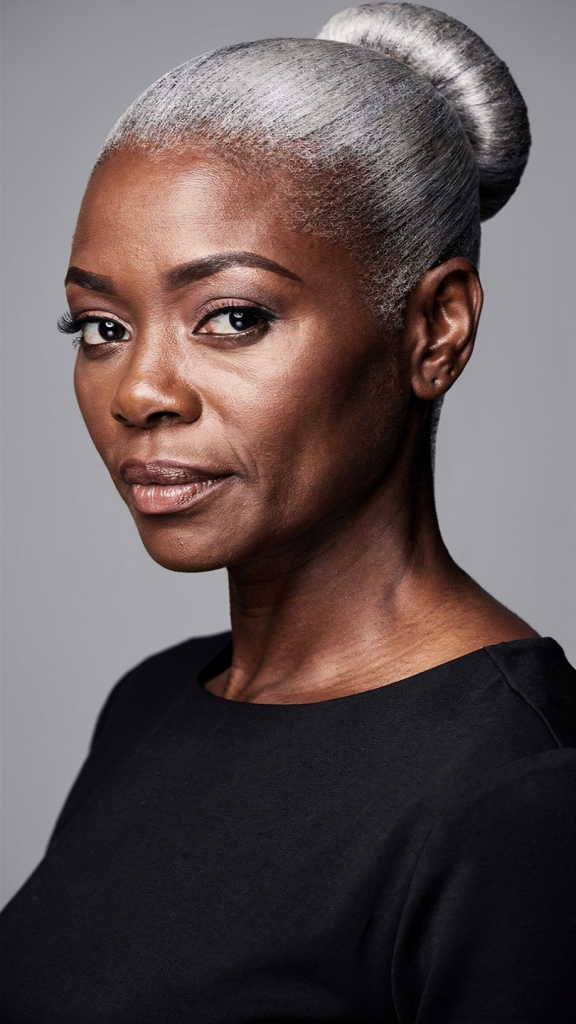
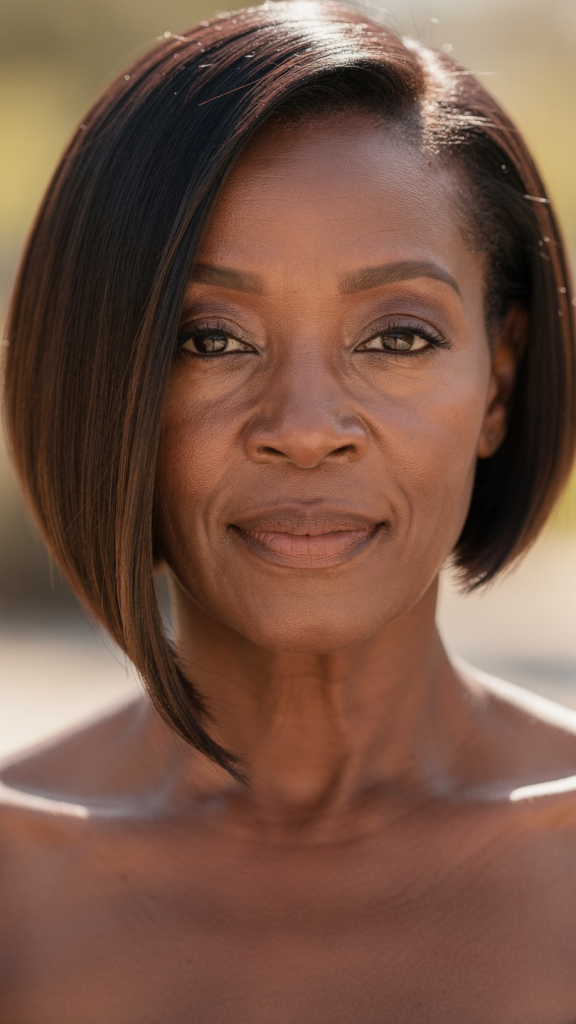
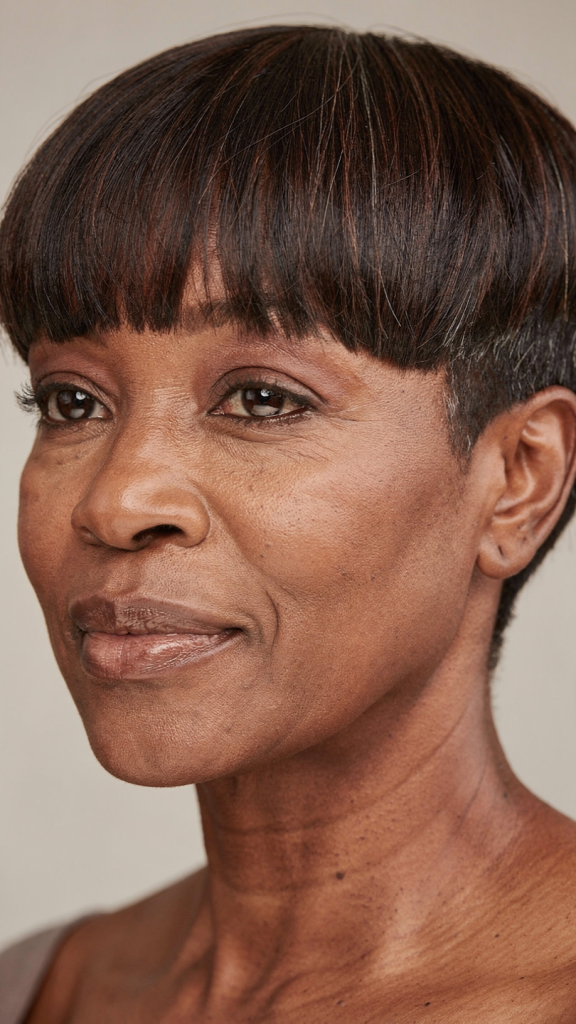
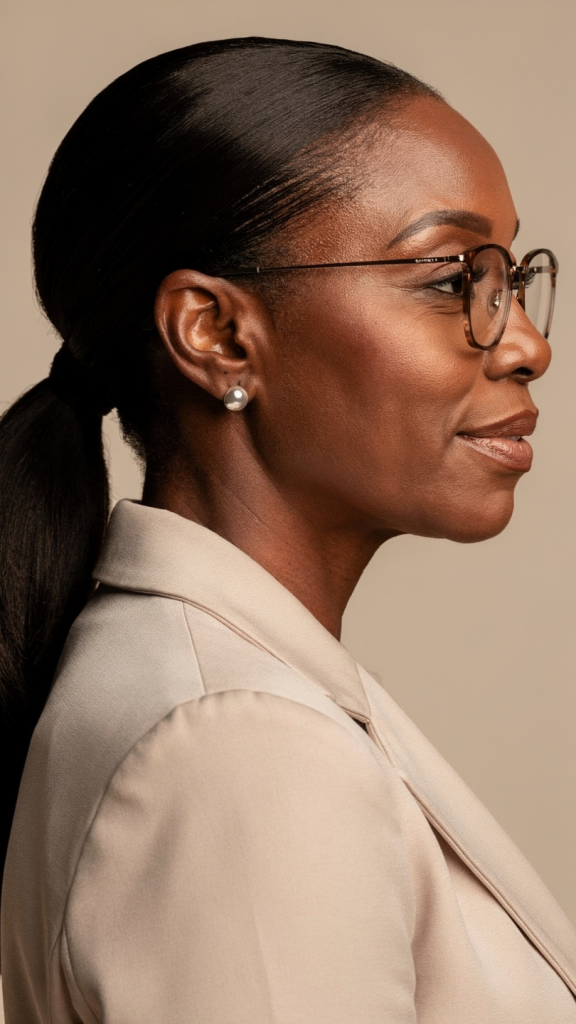
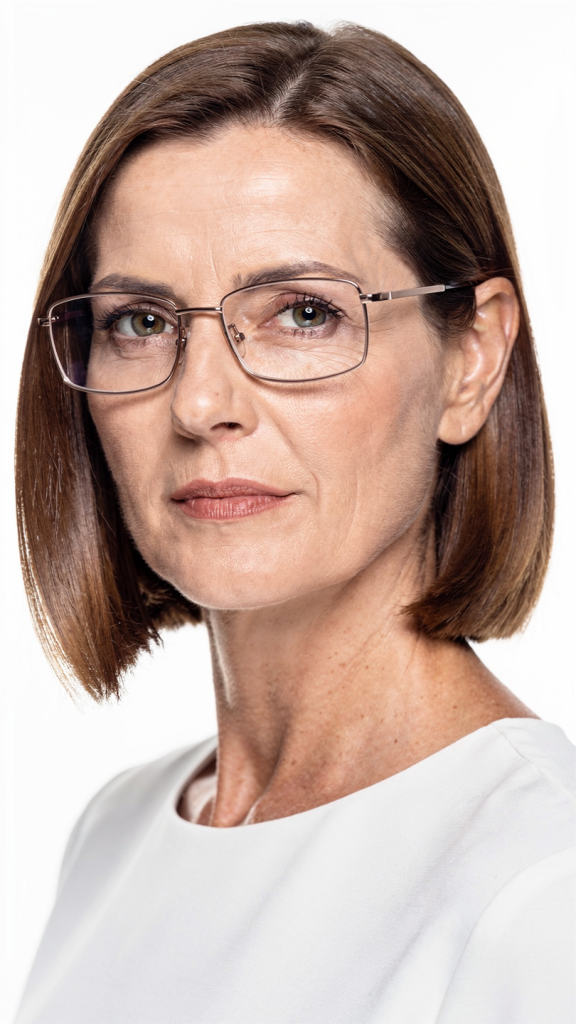
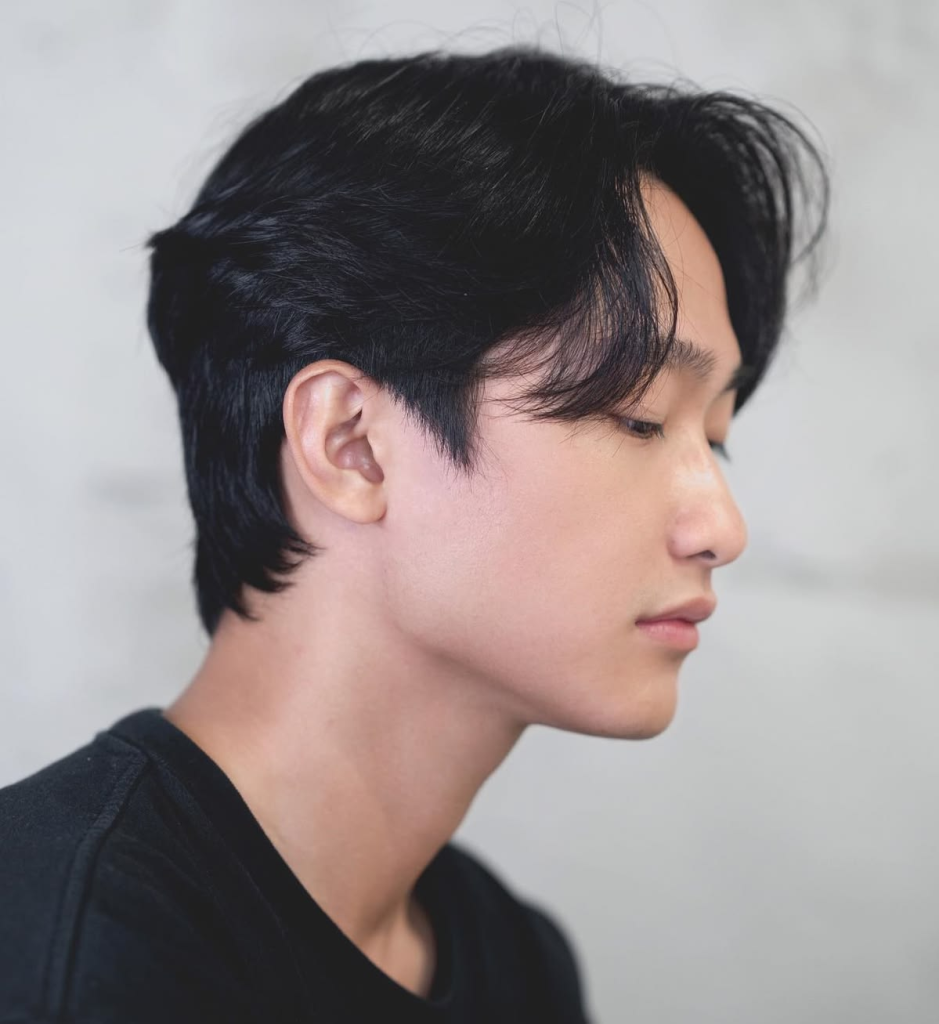
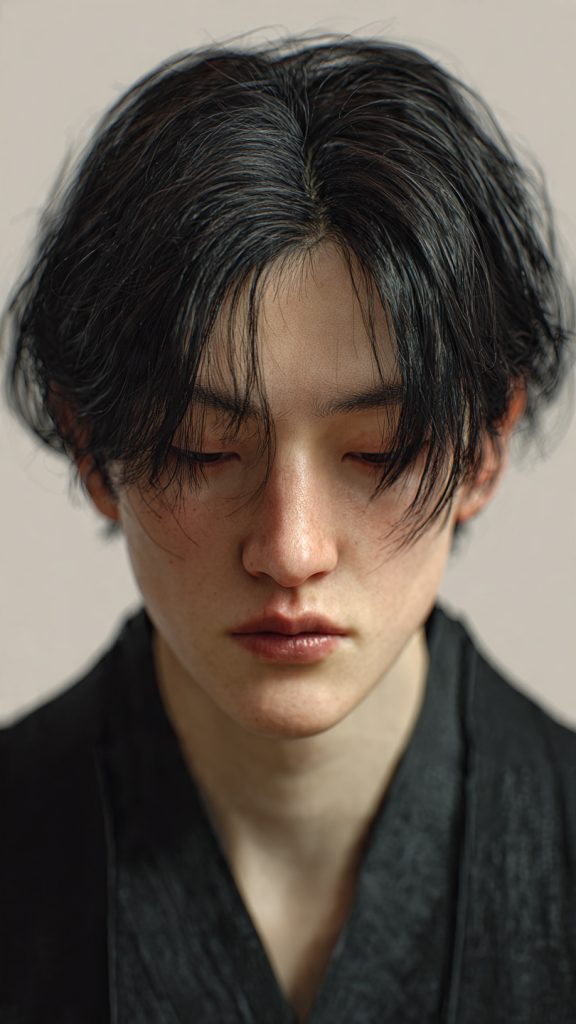
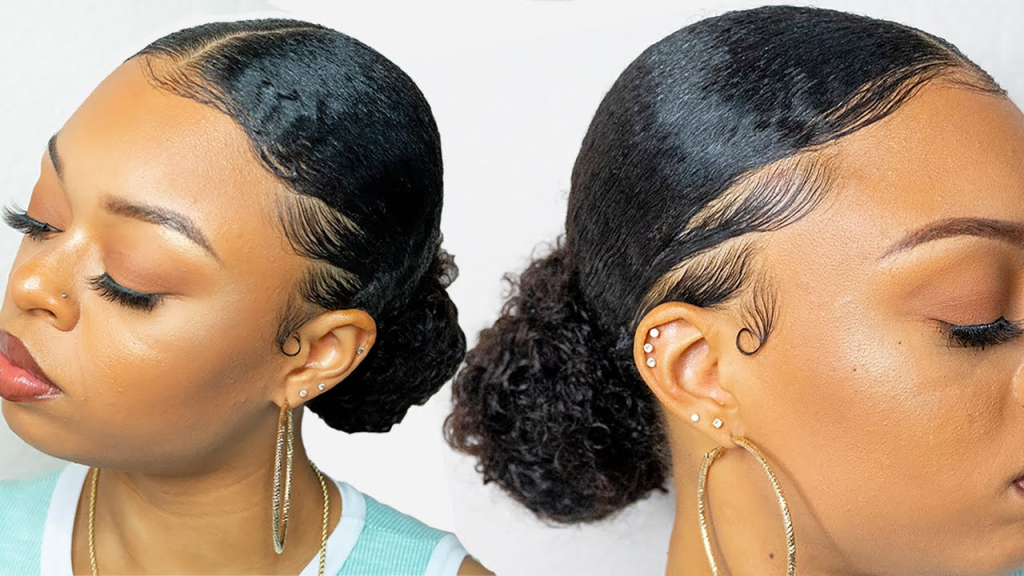
1. Classic Black Lob with Curtain Bangs

A sleek, one-length long bob at collarbone level with soft curtain bangs. Timeless, elegant, and incredibly sophisticated. The dark color makes the bangs pop.
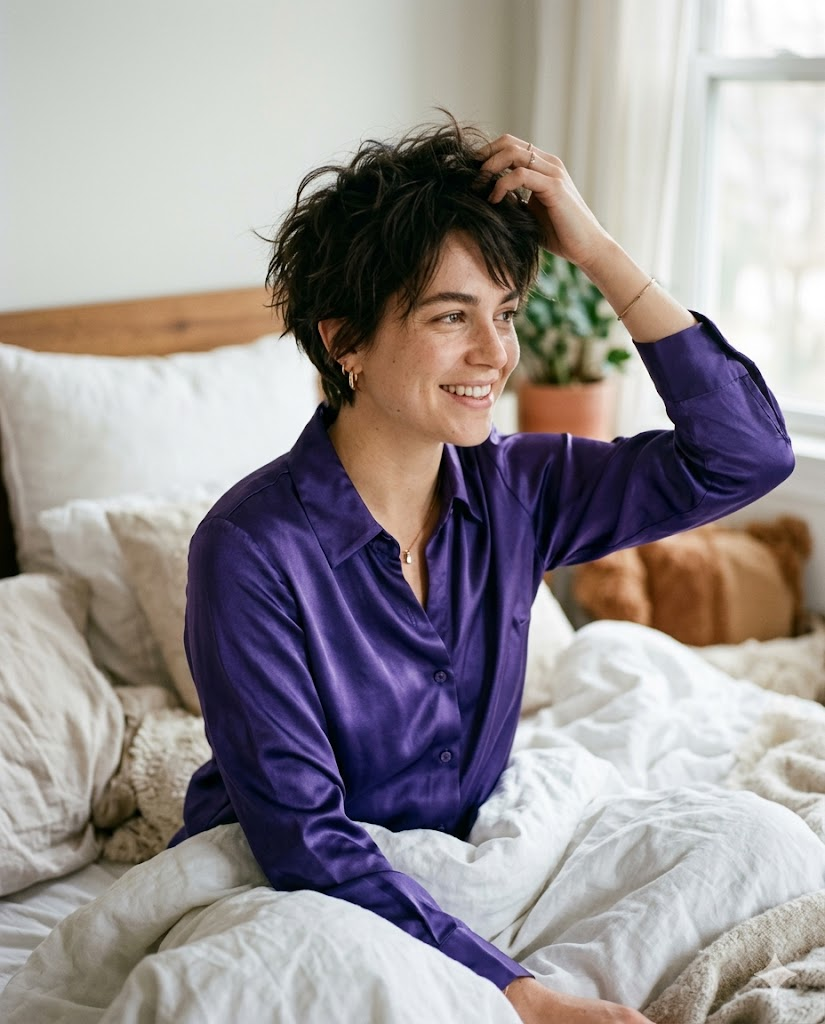
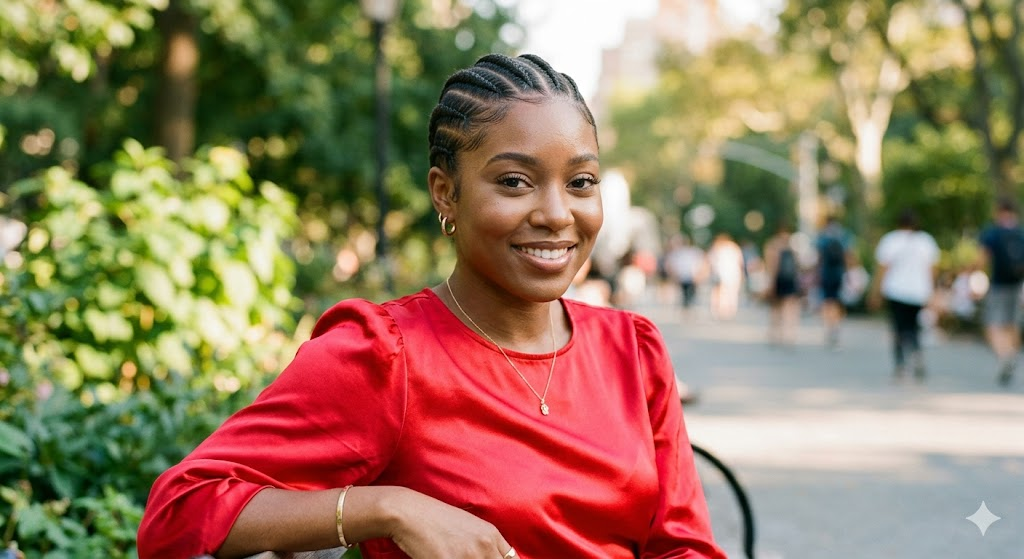
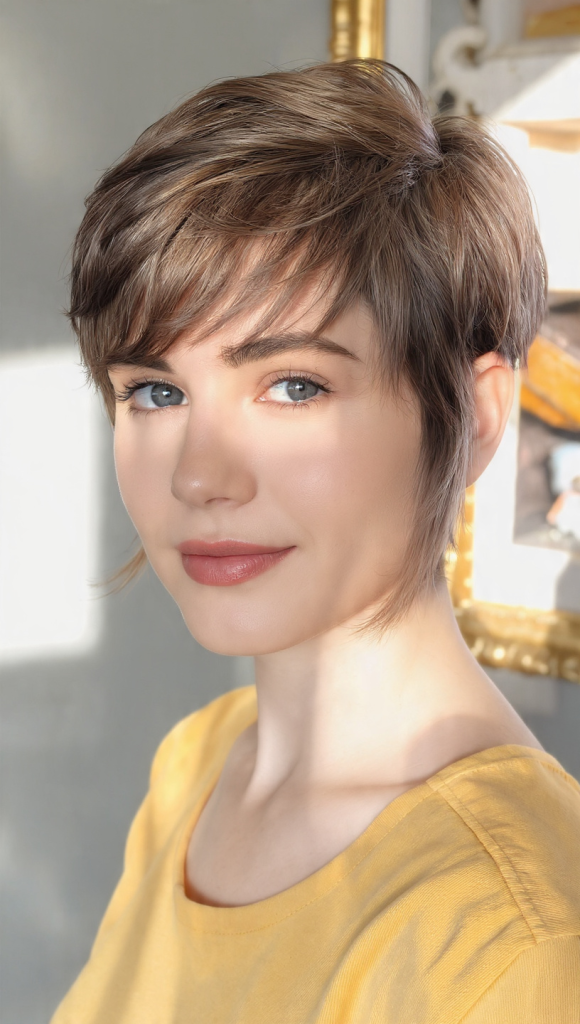
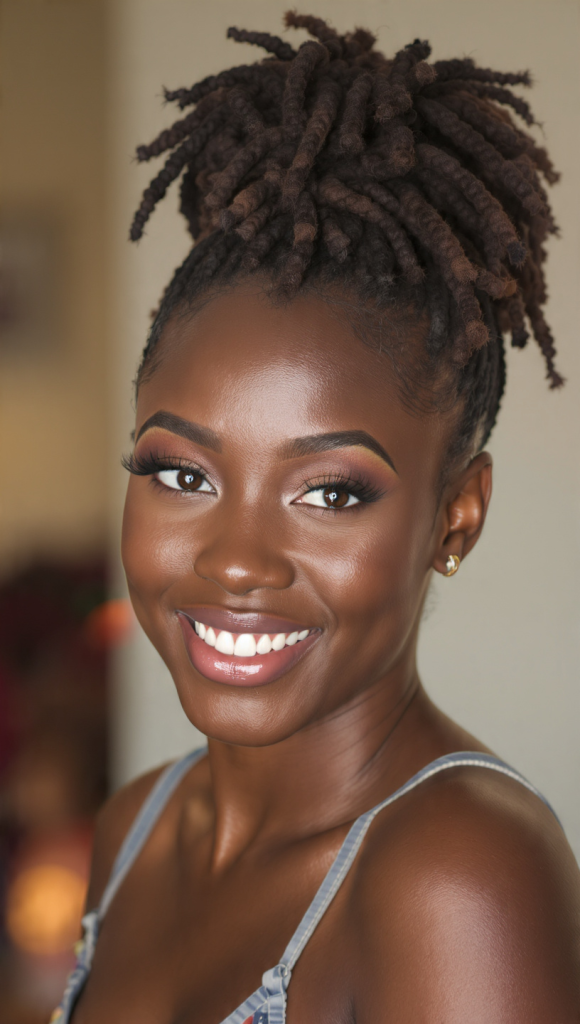
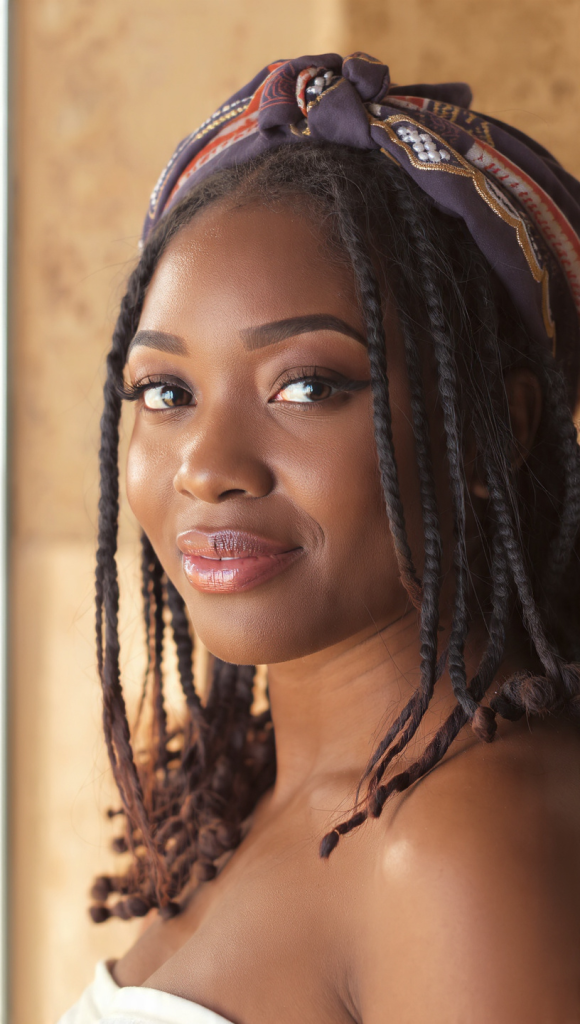
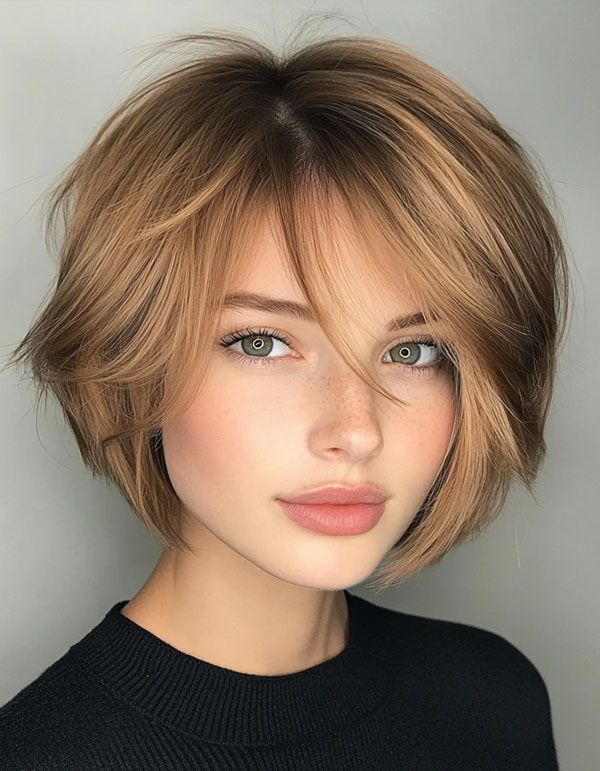
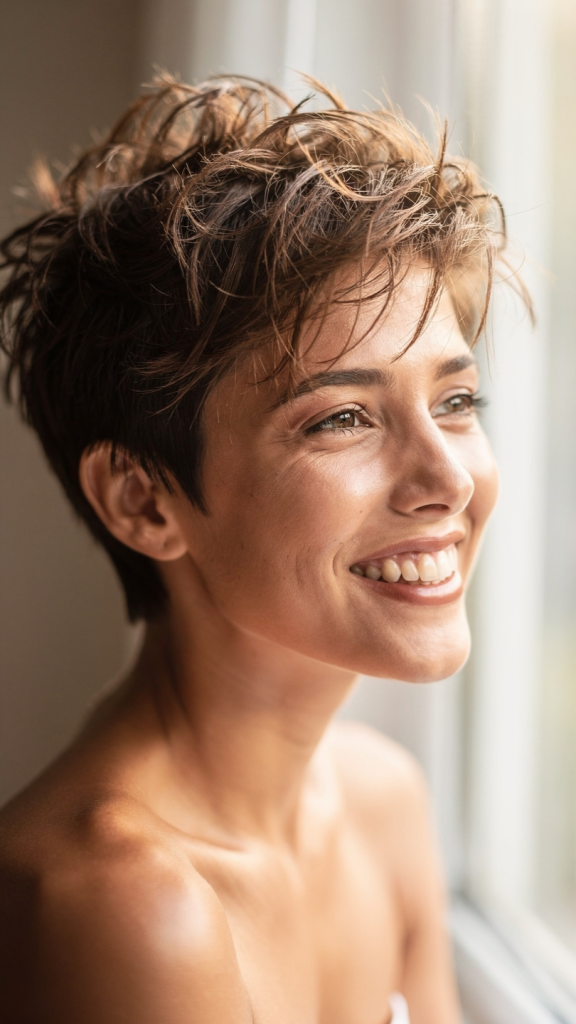
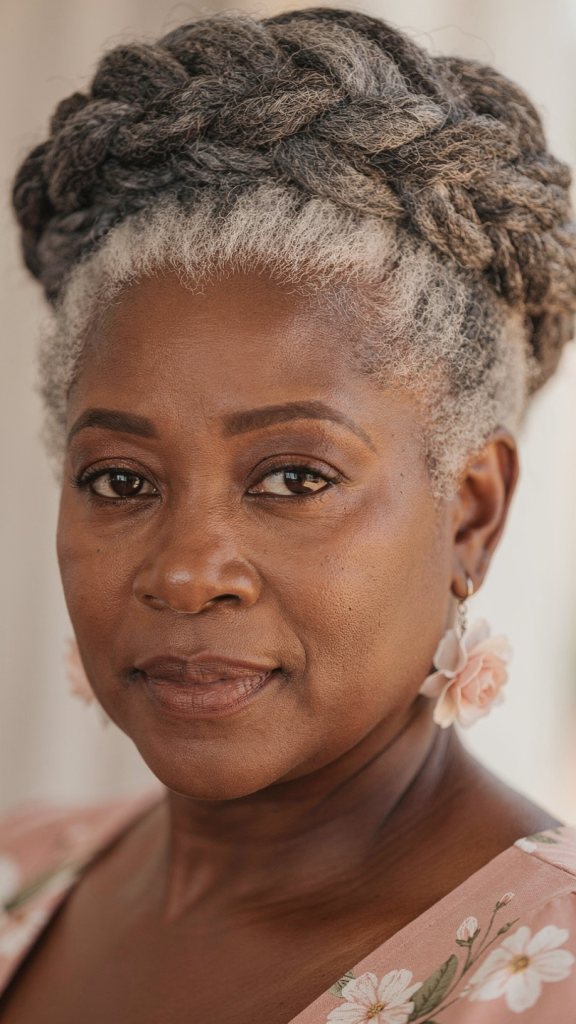
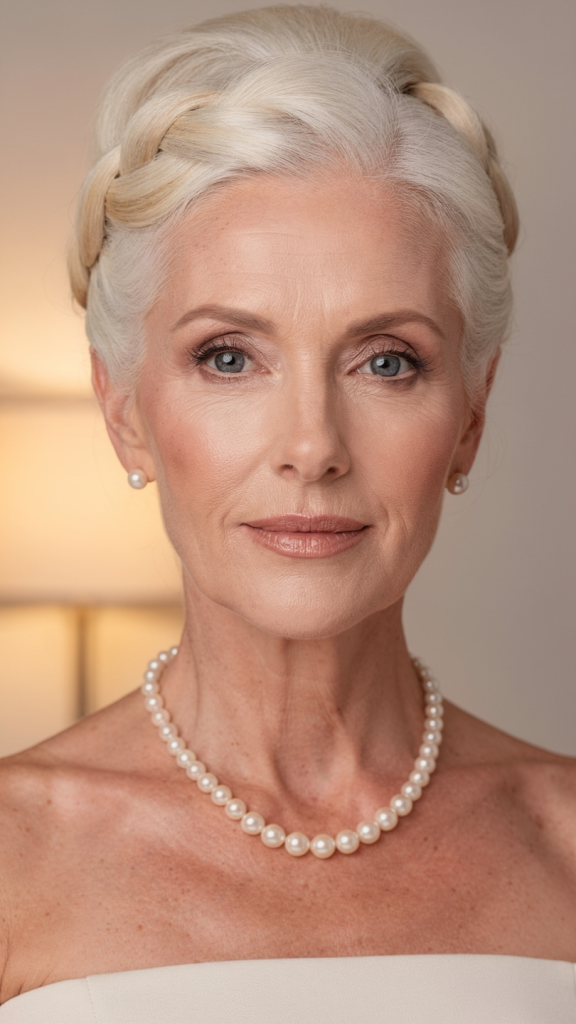
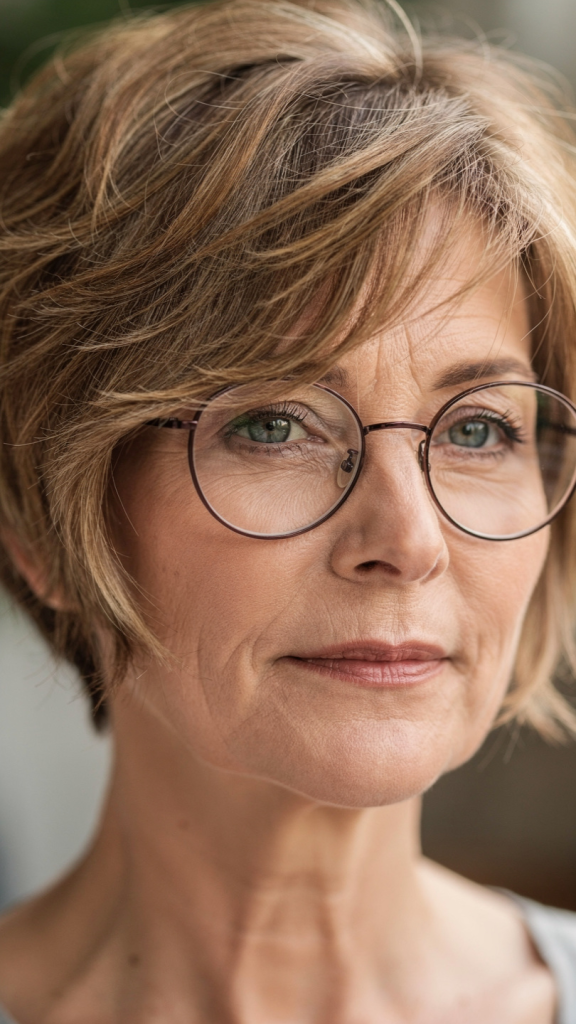
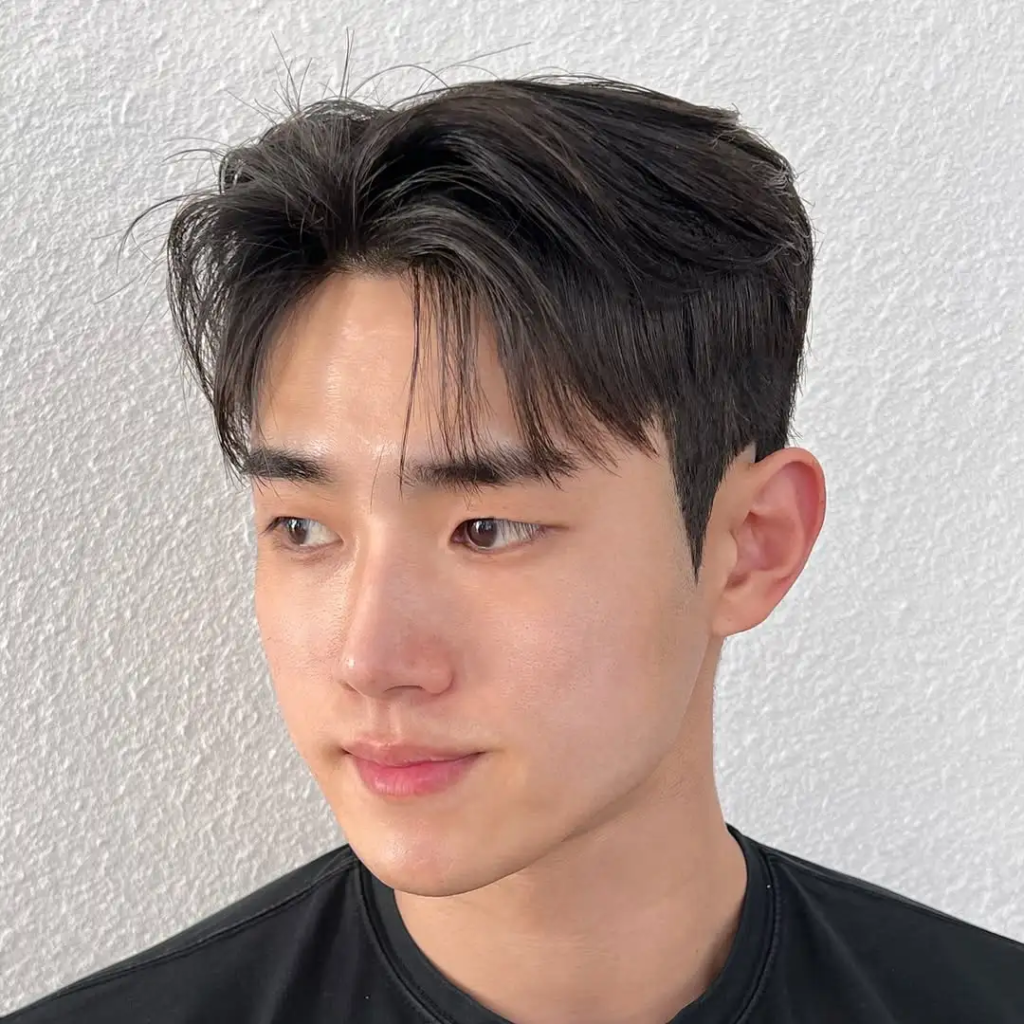
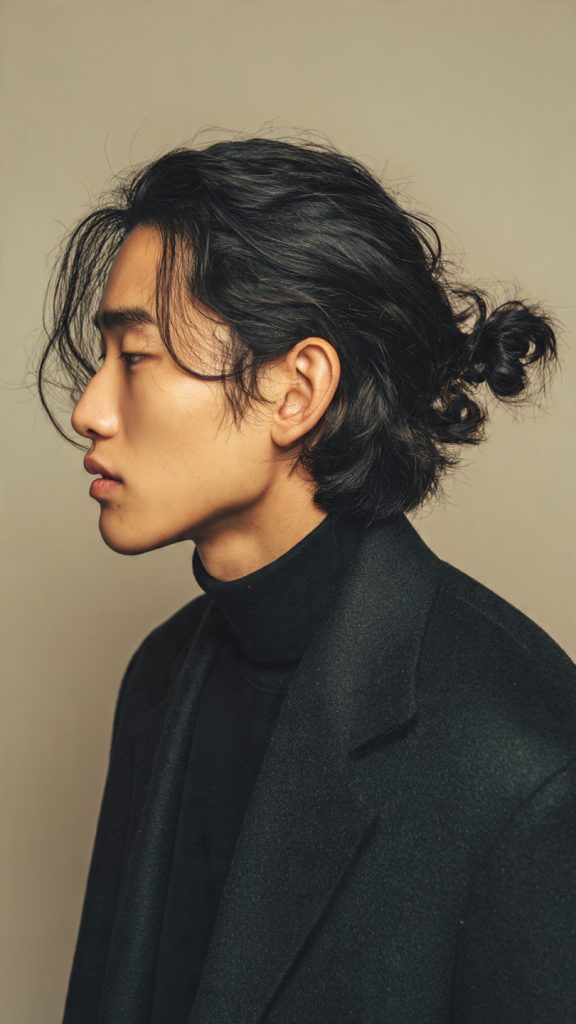
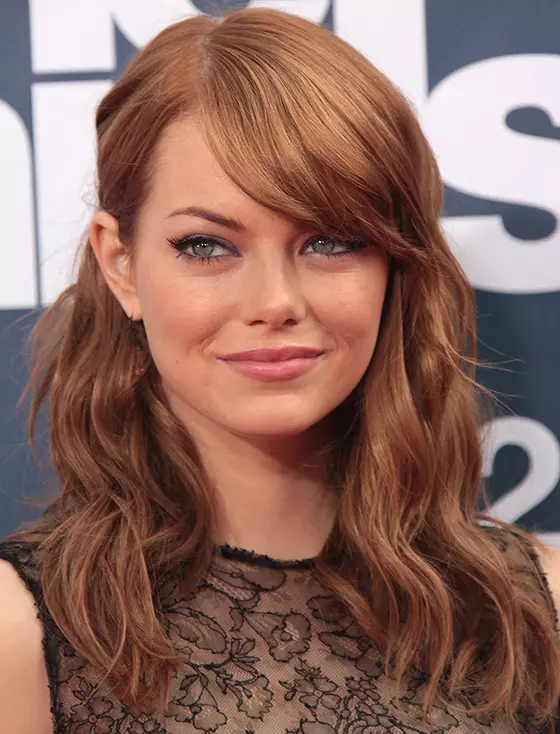
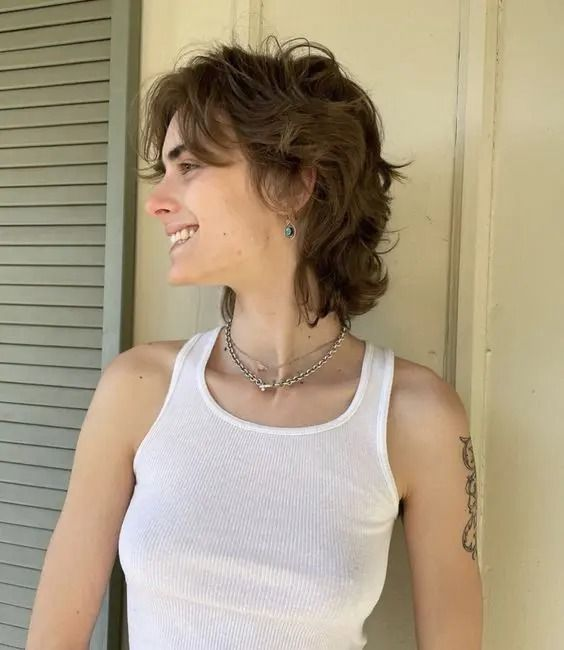
2. Textured Lob with Wispy Curtain Bangs
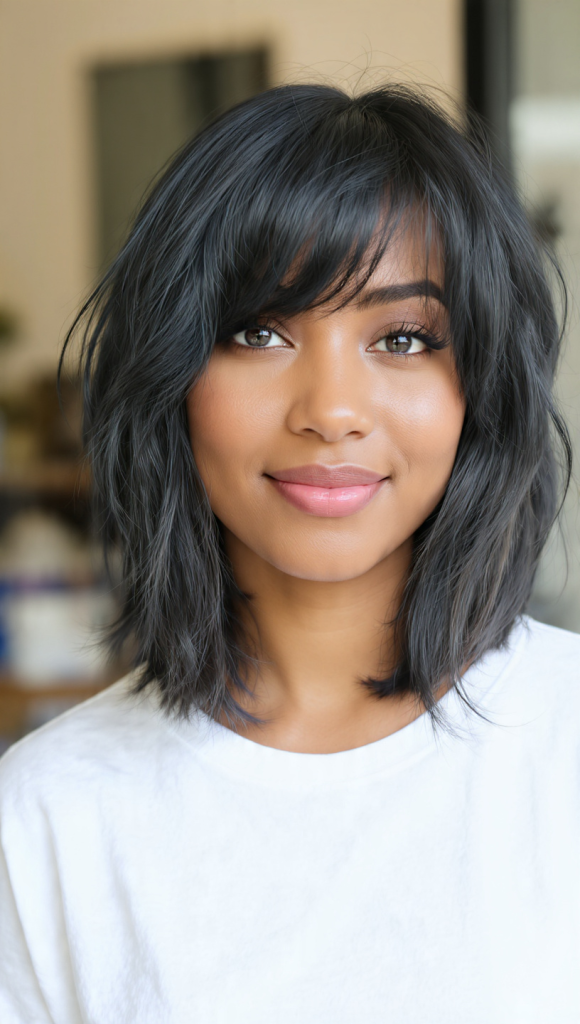
A shoulder-length lob with soft, piece-y texture throughout and light, wispy curtain bangs. The texture adds movement while the bangs soften the face.
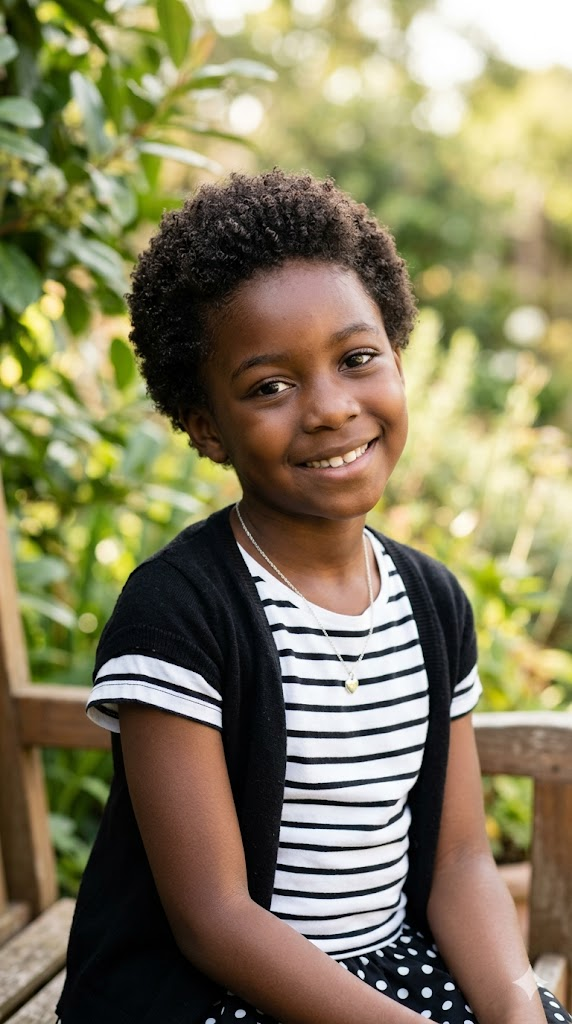
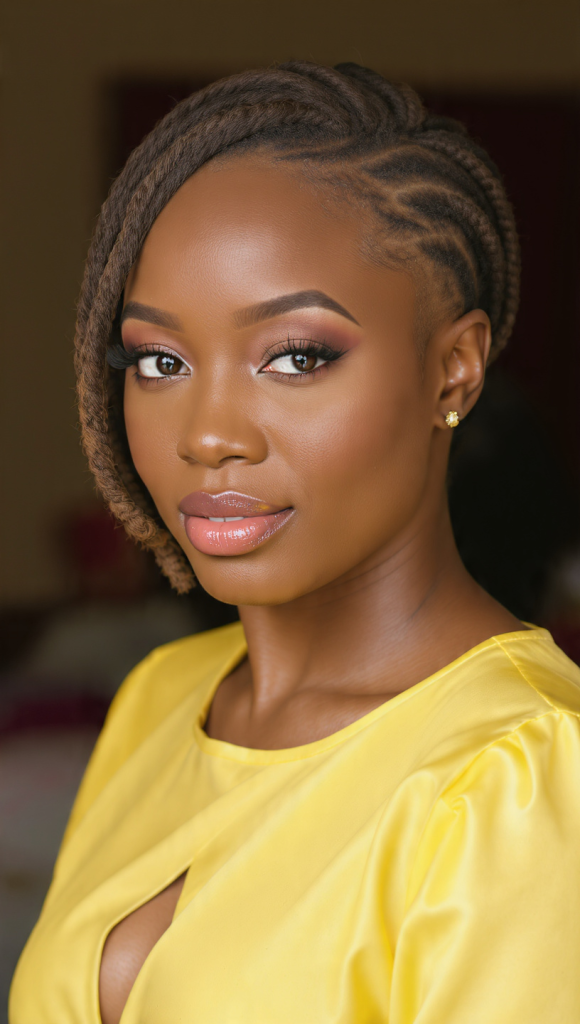
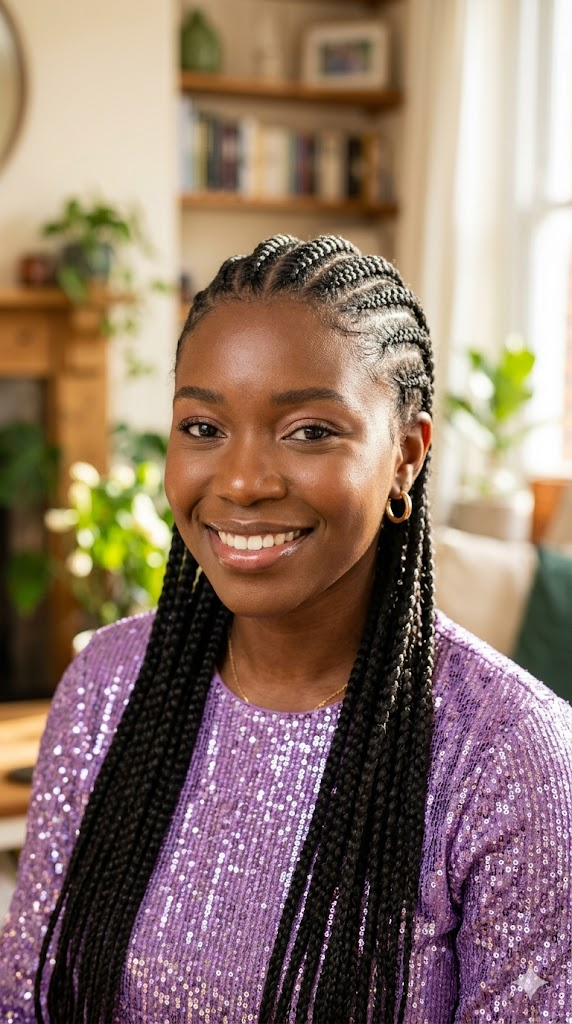
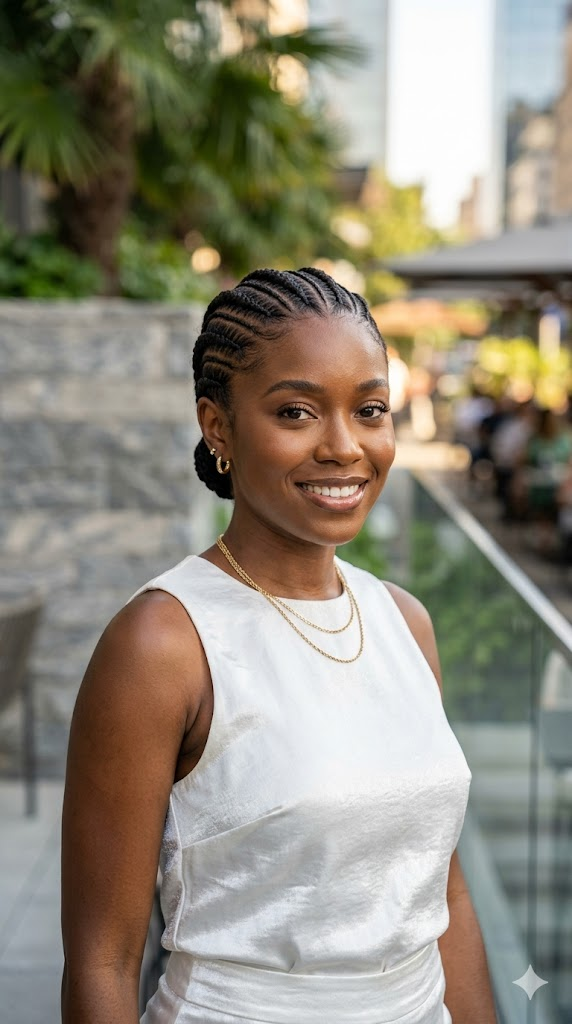
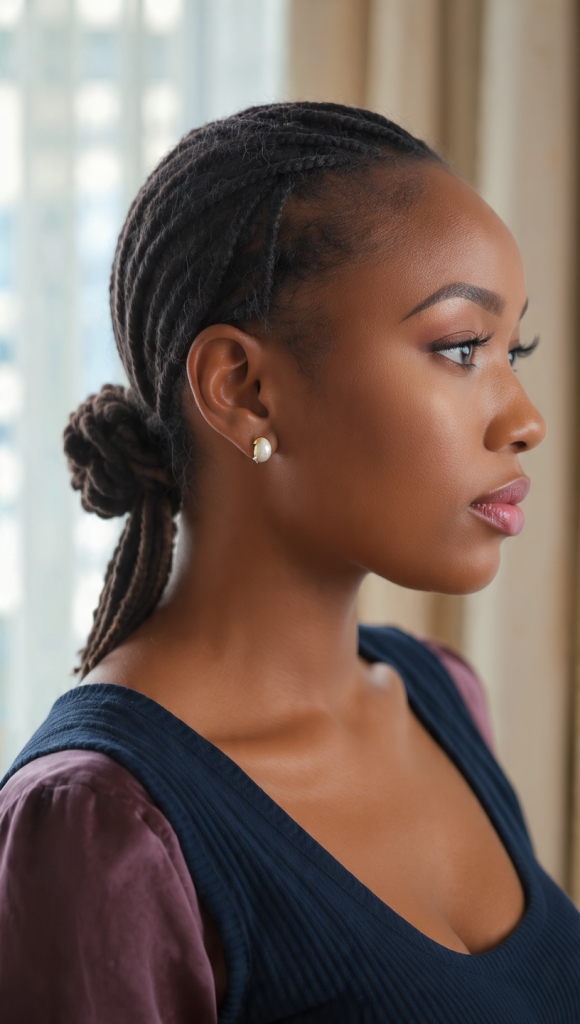
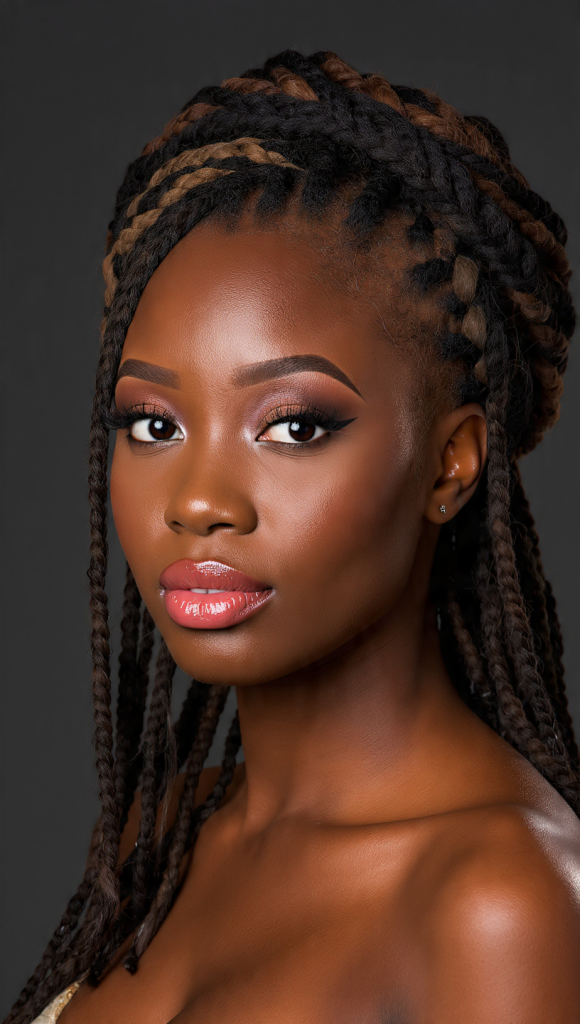
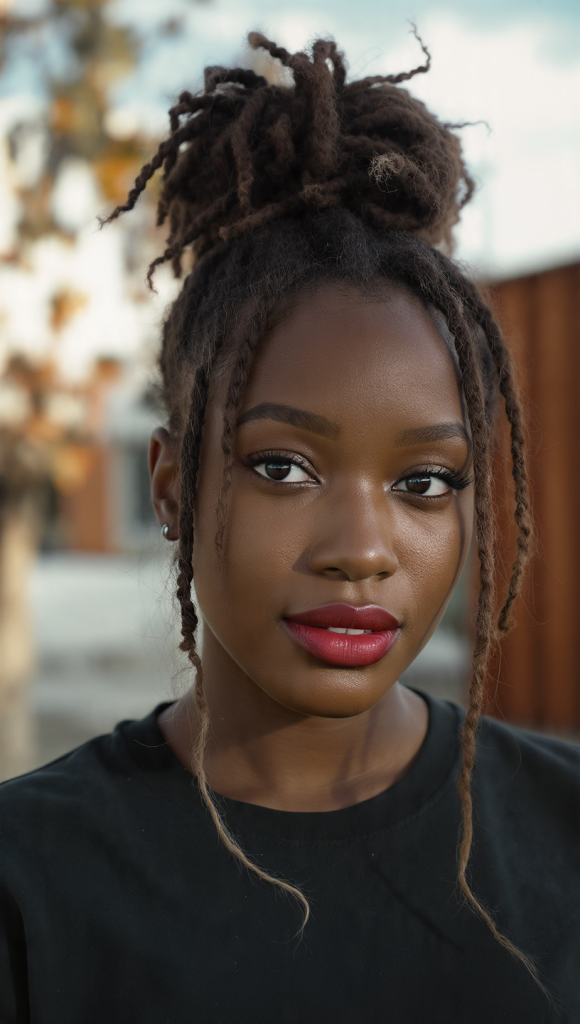
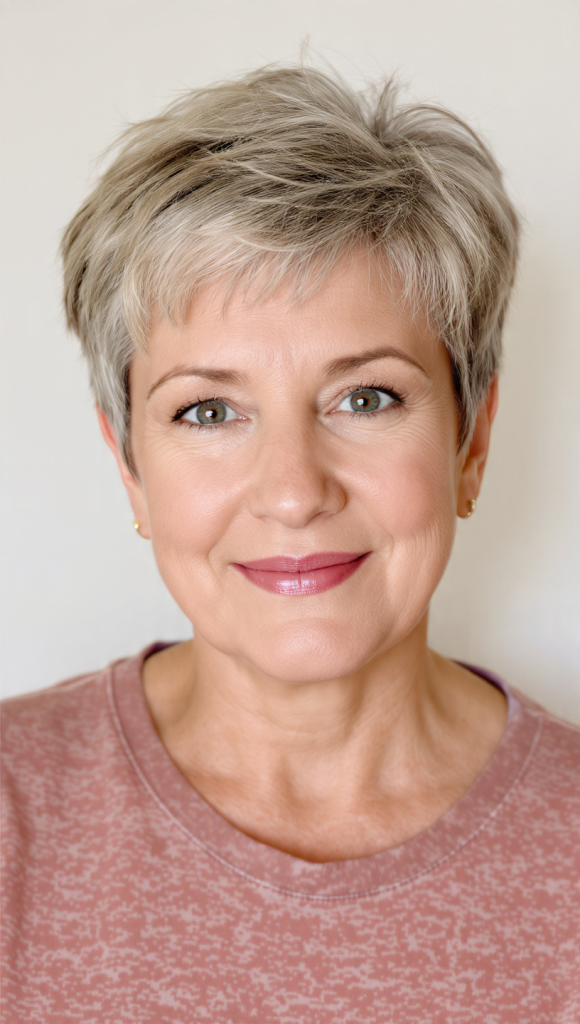
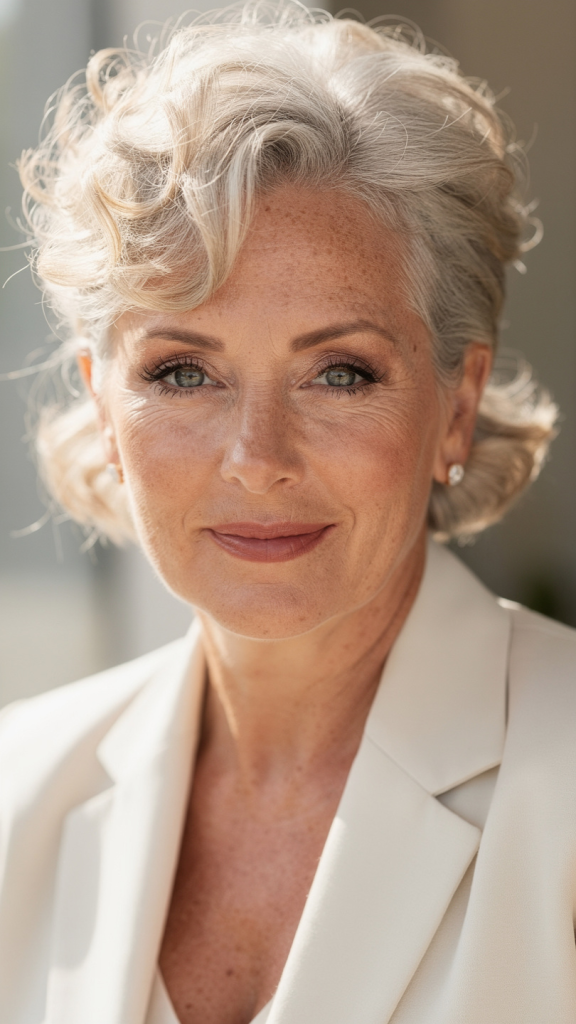
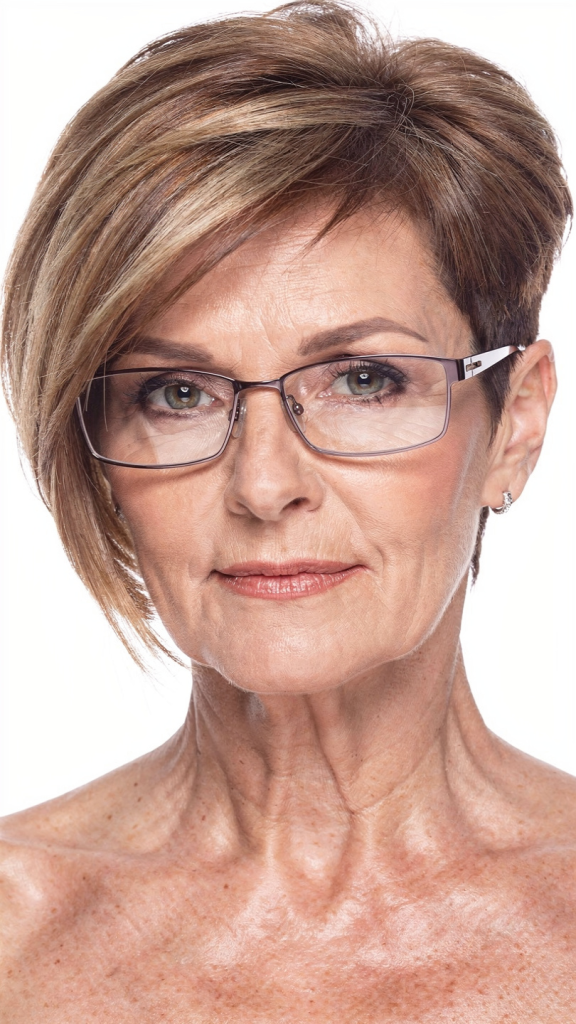
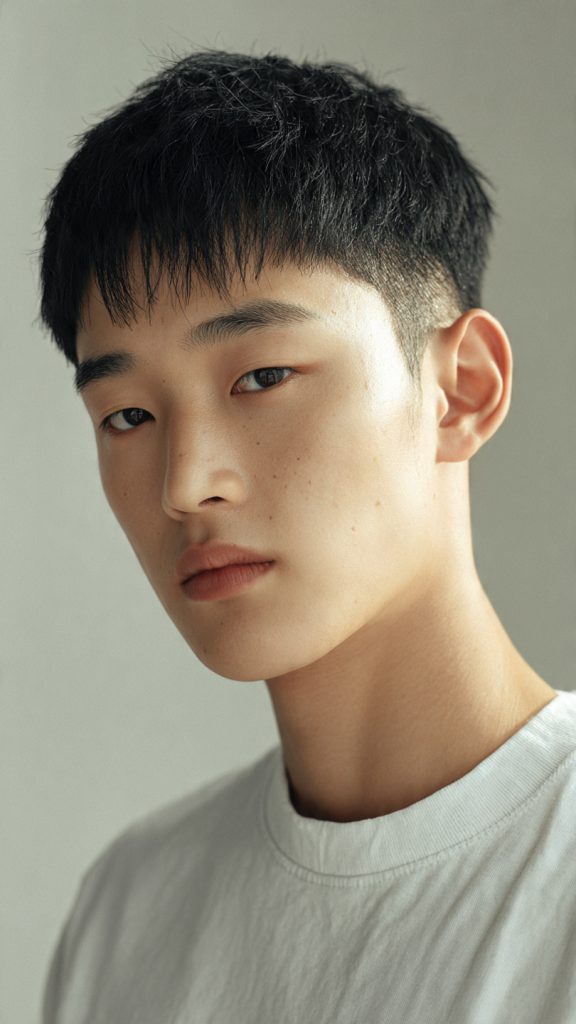
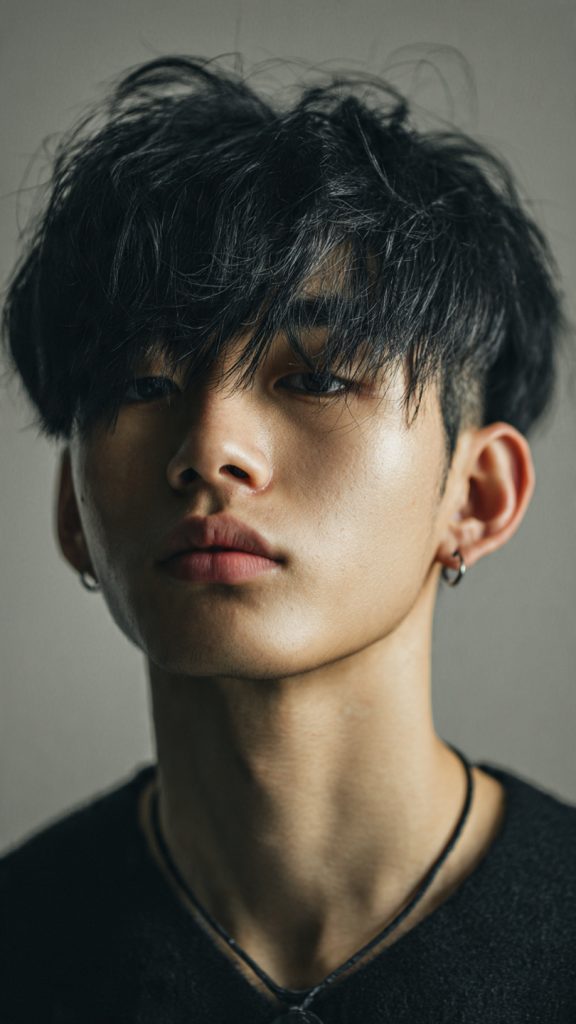
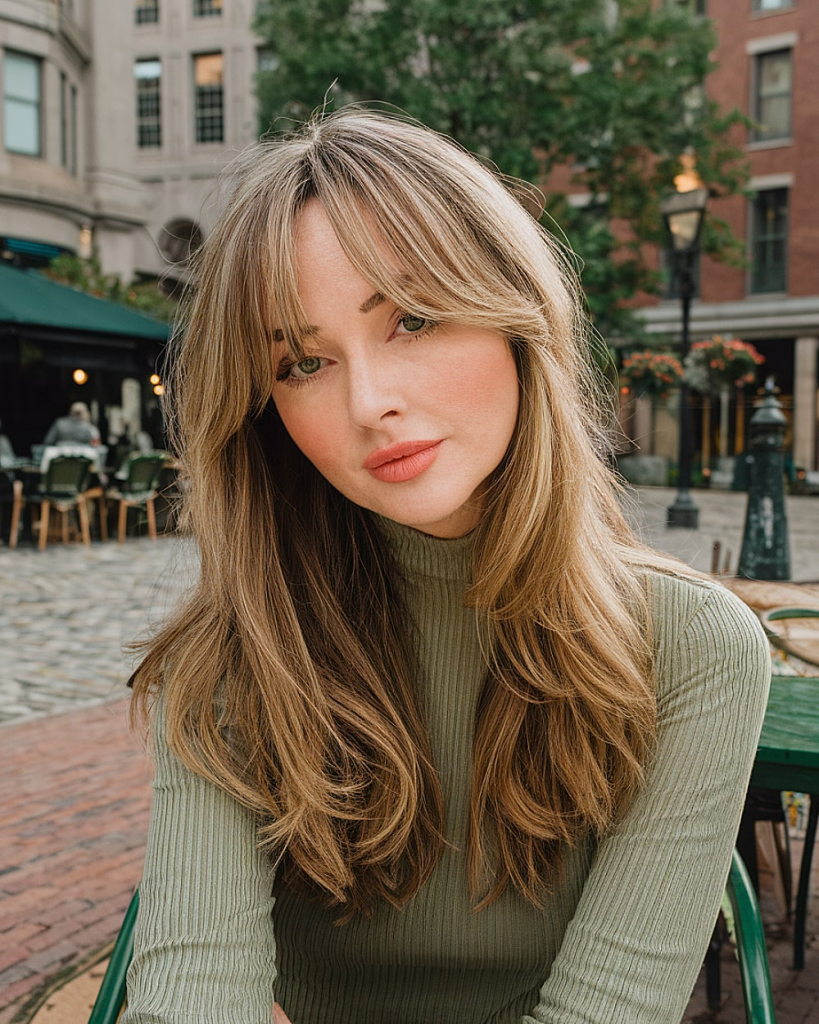
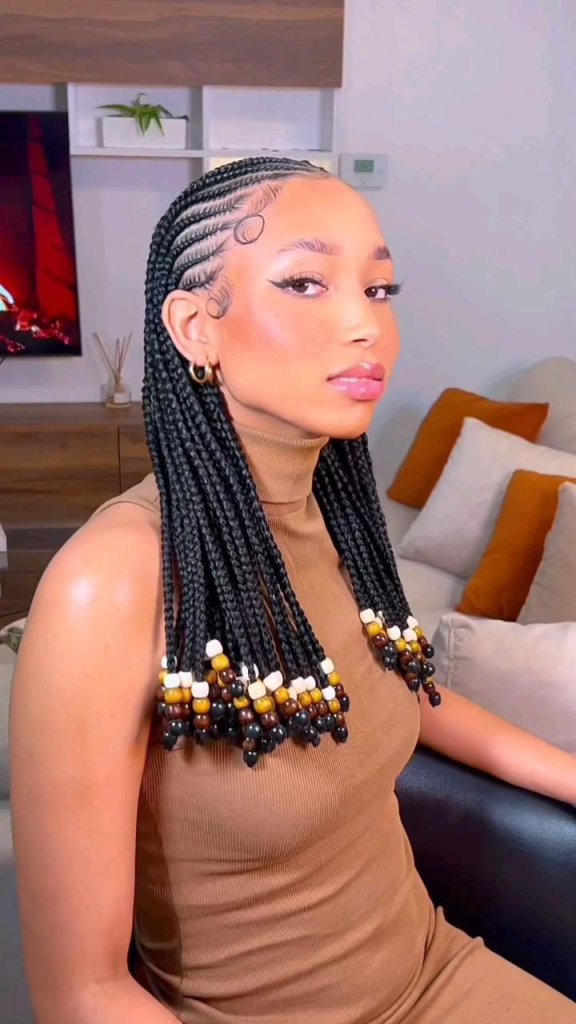
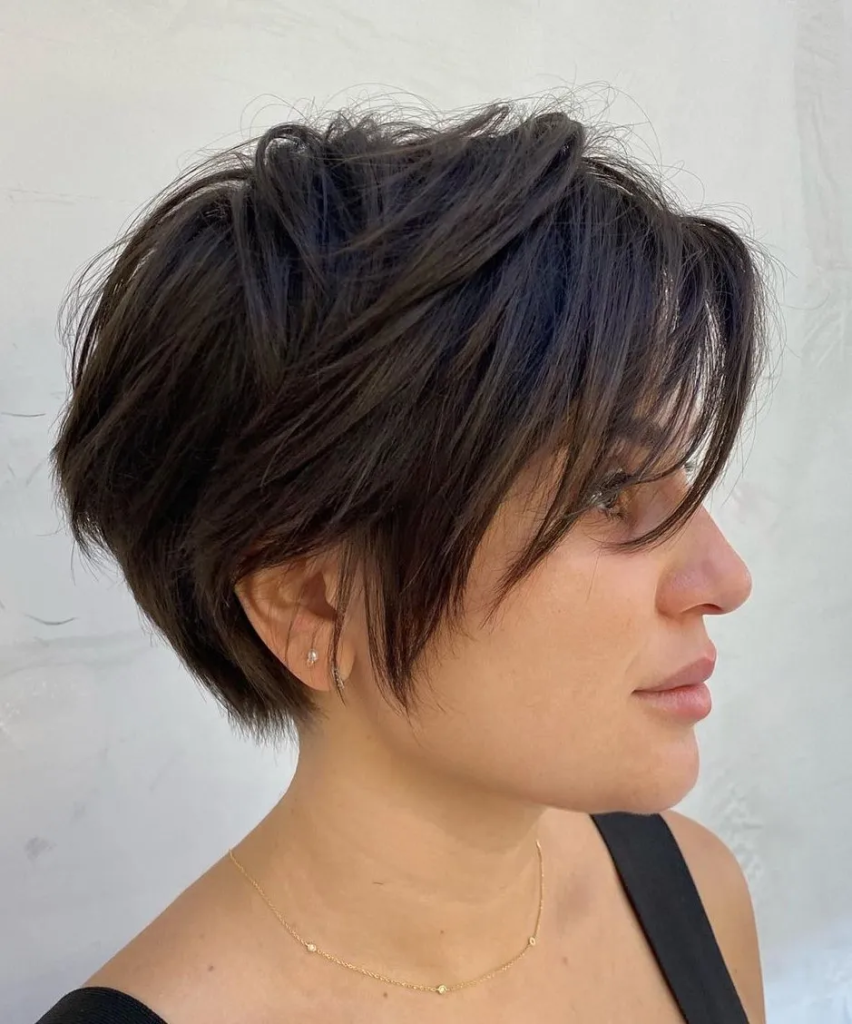
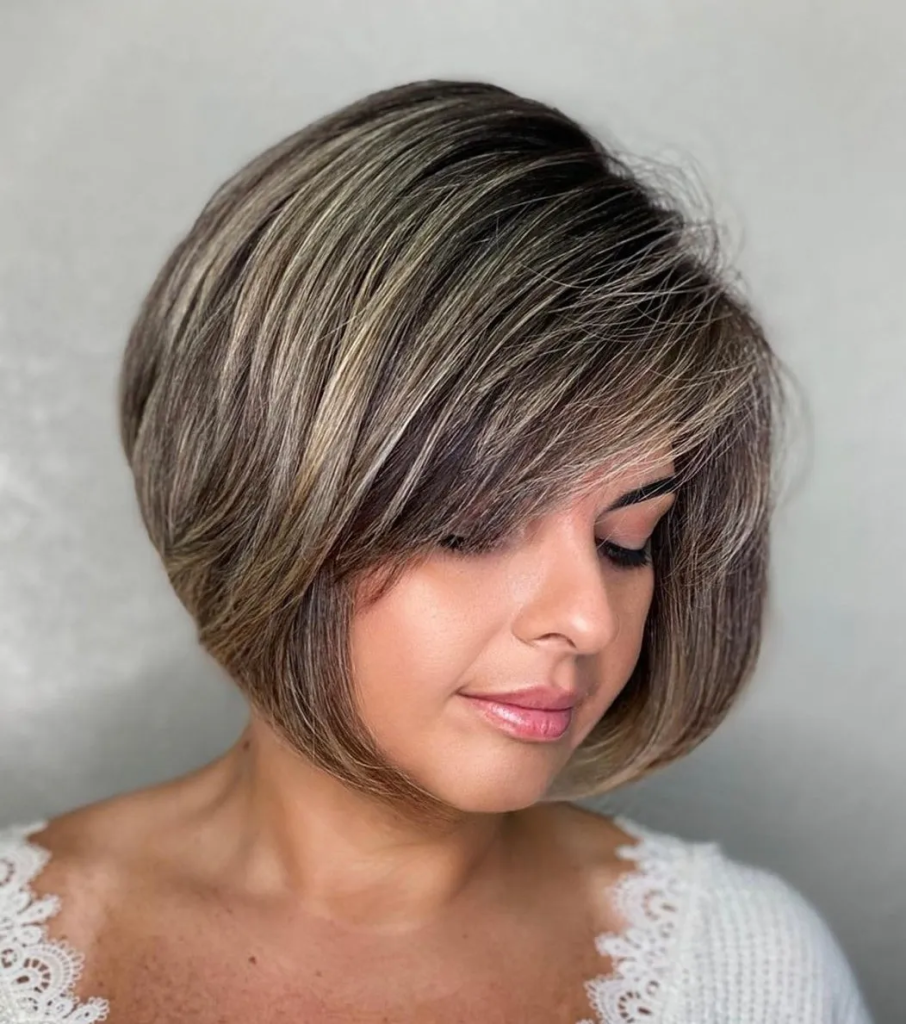
3. Layered Black Lob with Face-Framing Curtain Bangs

Long layers throughout a black lob with curtain bangs that blend seamlessly into face-framing pieces. The layers add volume and the bangs highlight your features.
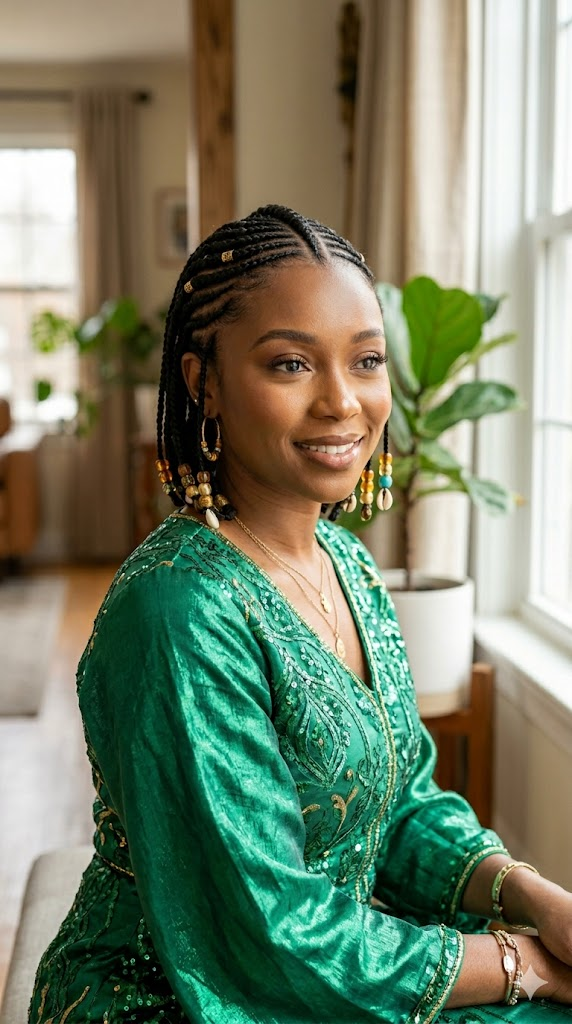
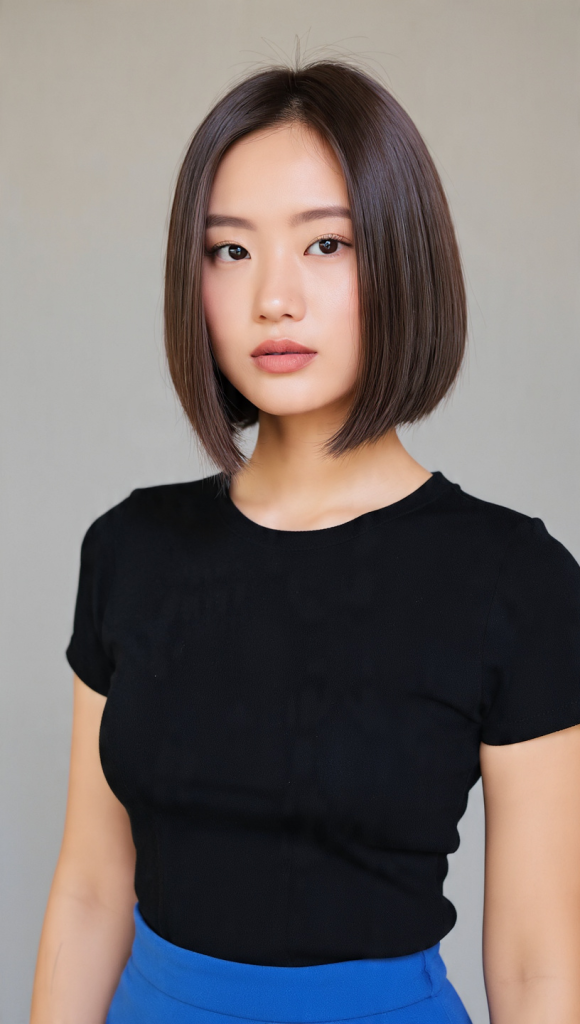
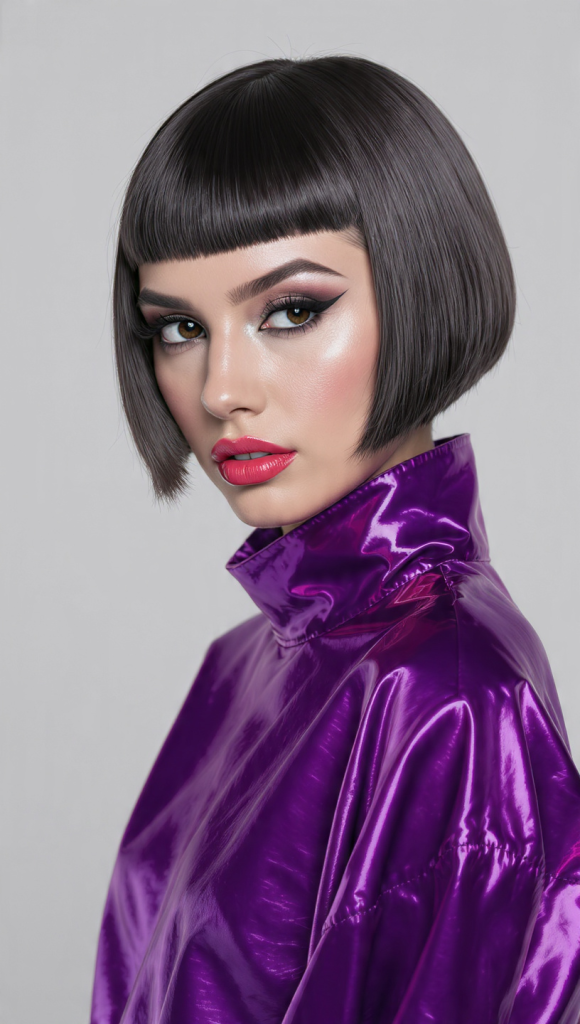
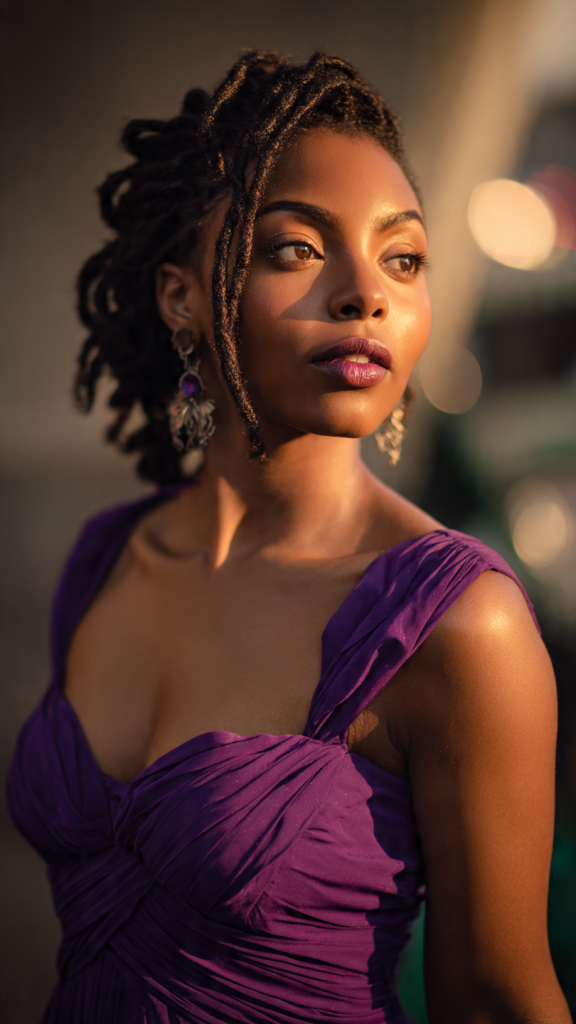
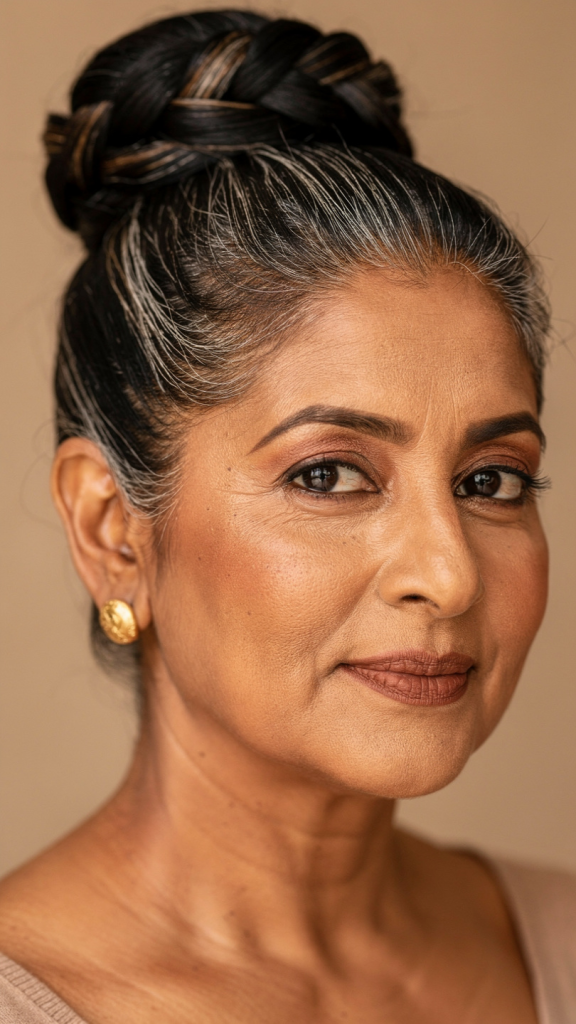
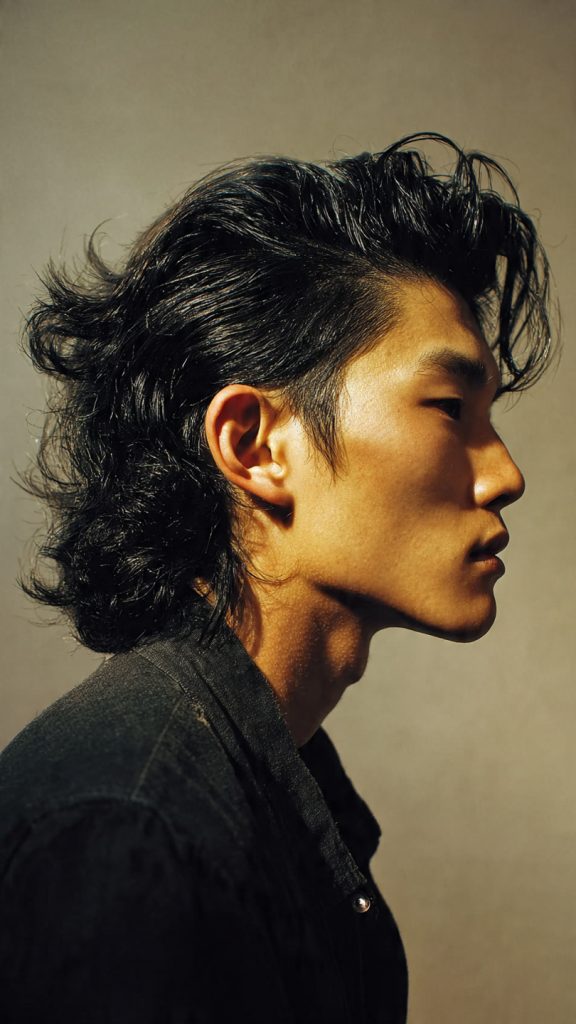
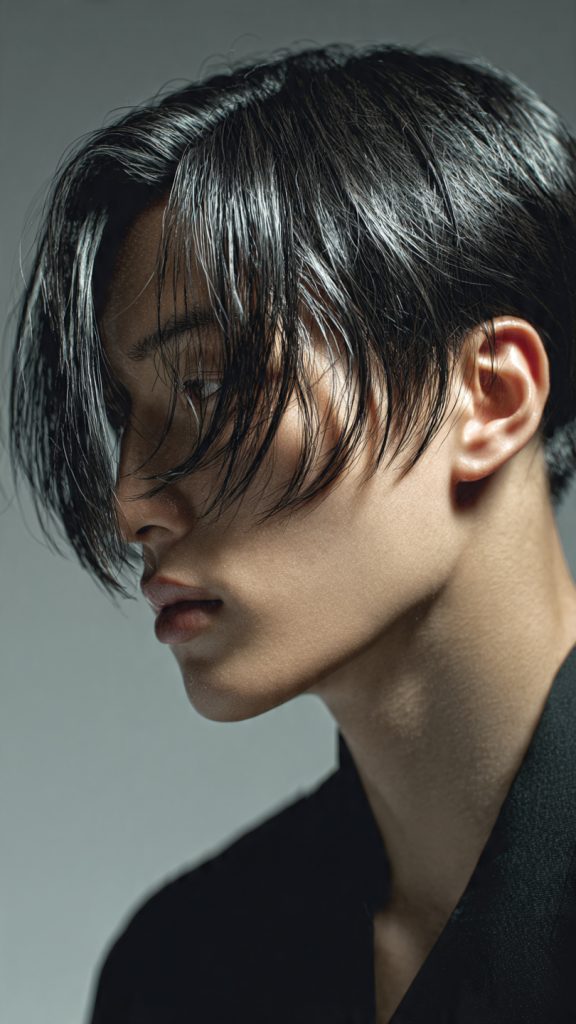
4. Blunt Black Lob with Curtain Bangs
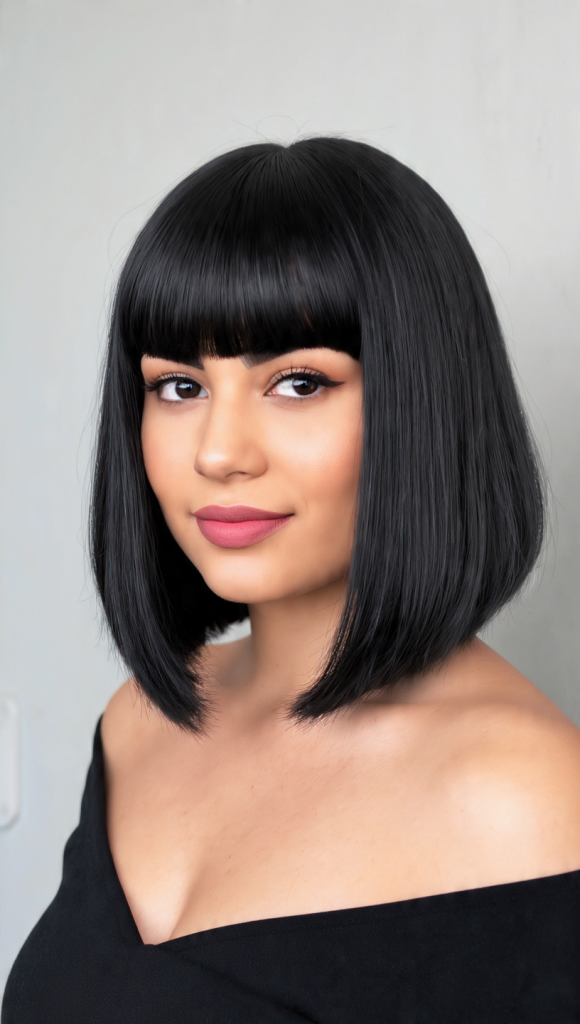
A sharp, one-length blunt cut at shoulder level with precise curtain bangs. The bluntness adds weight and density, making black hair look thick and luxurious.
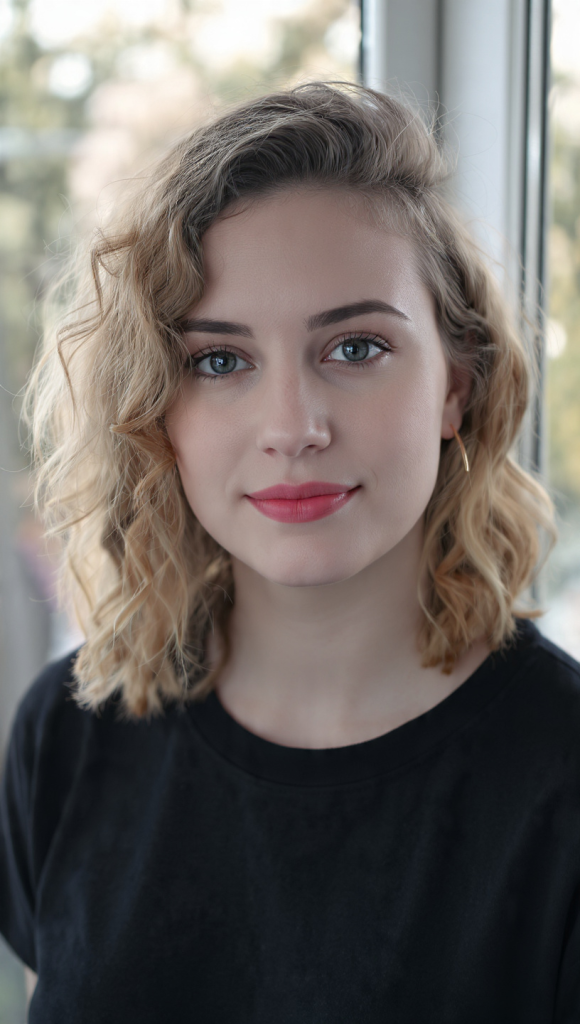
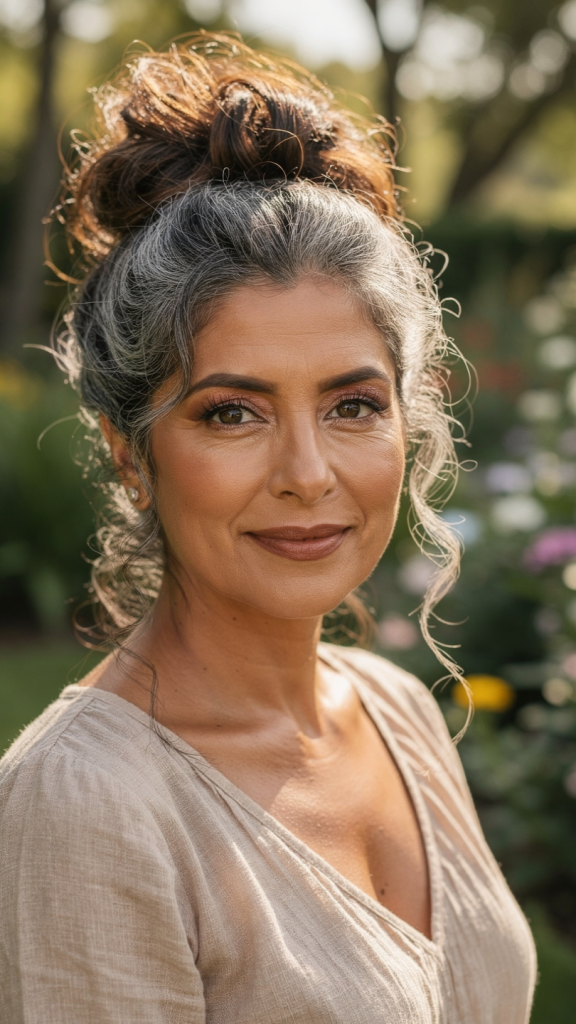
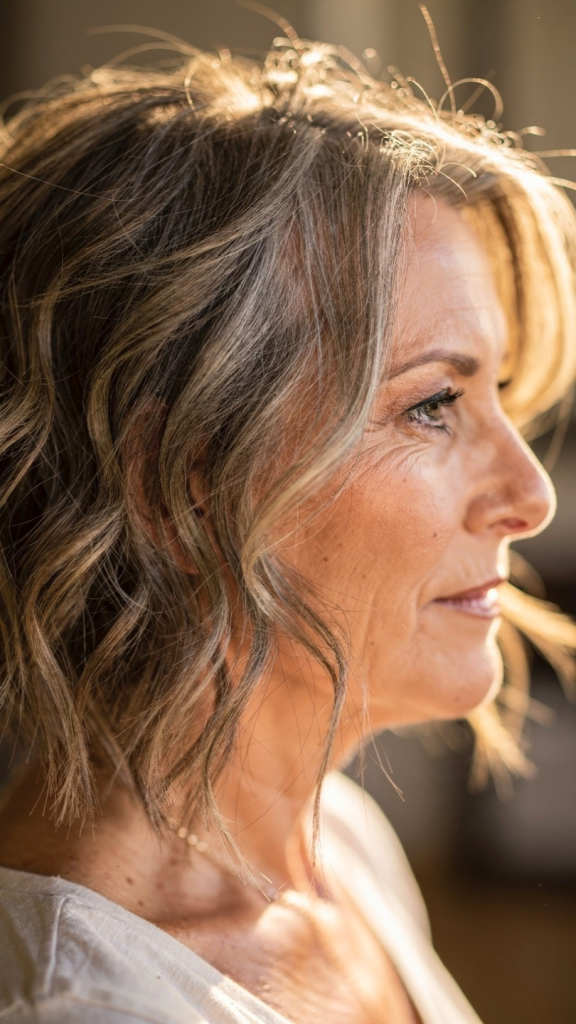
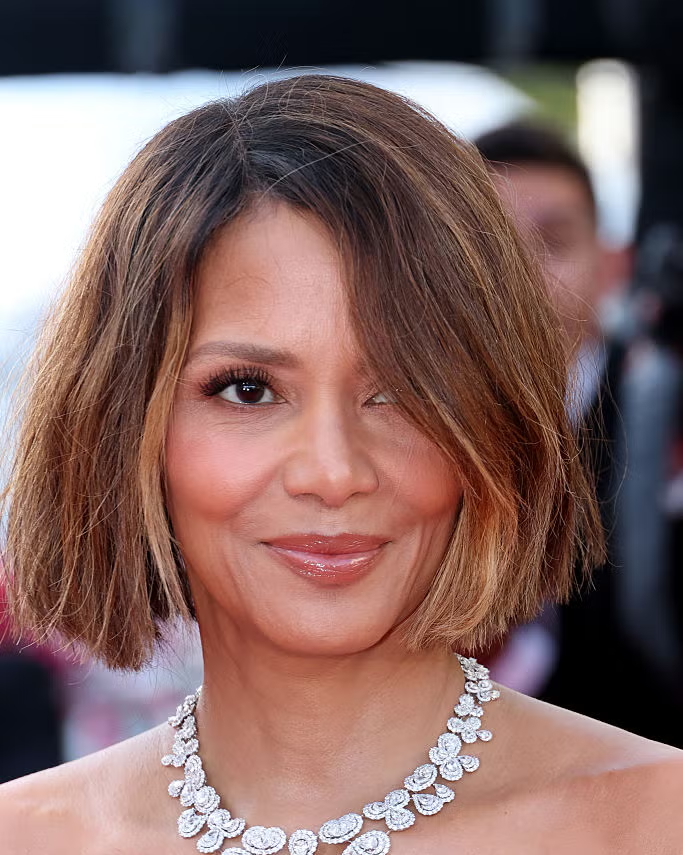
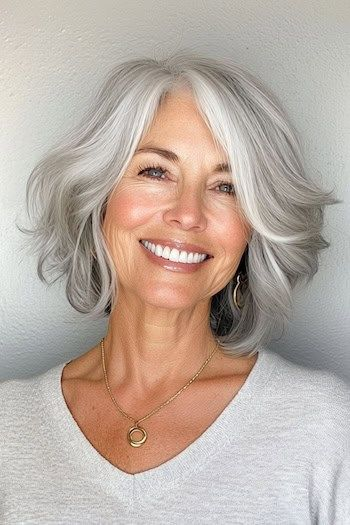
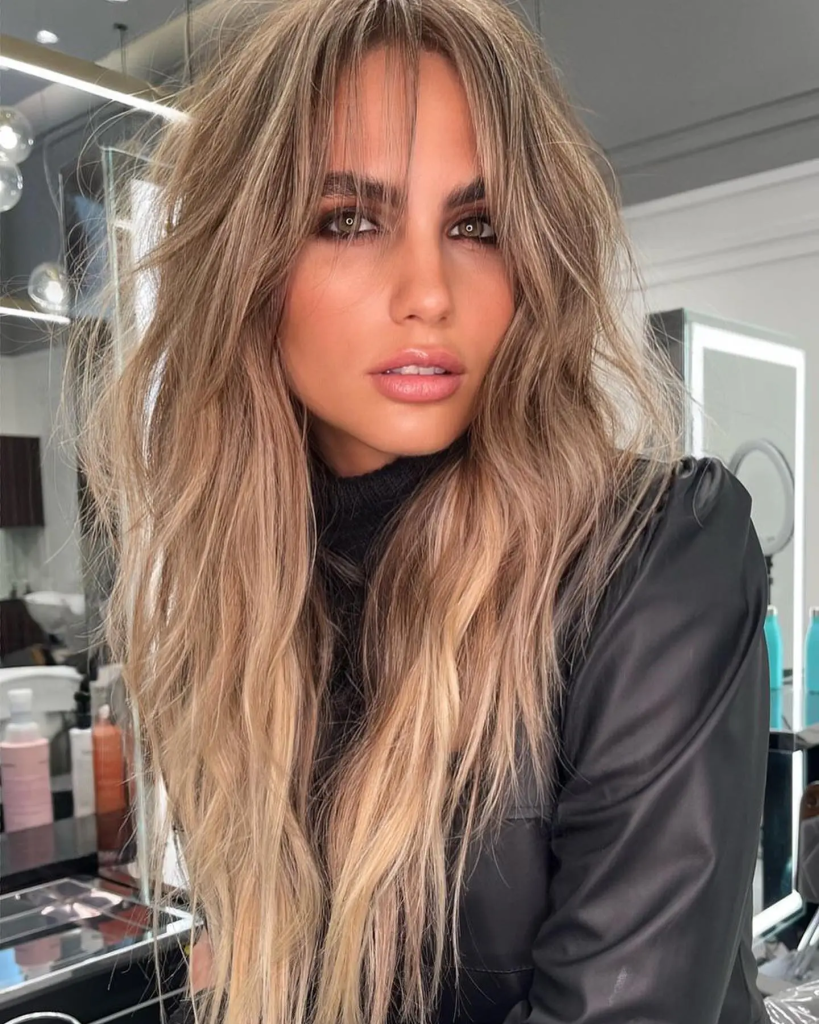
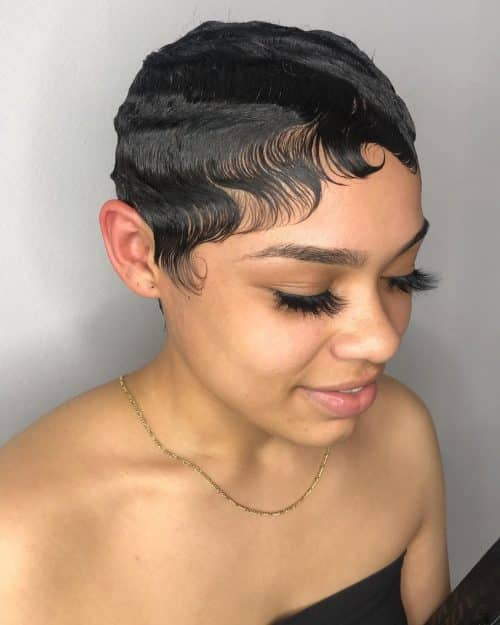
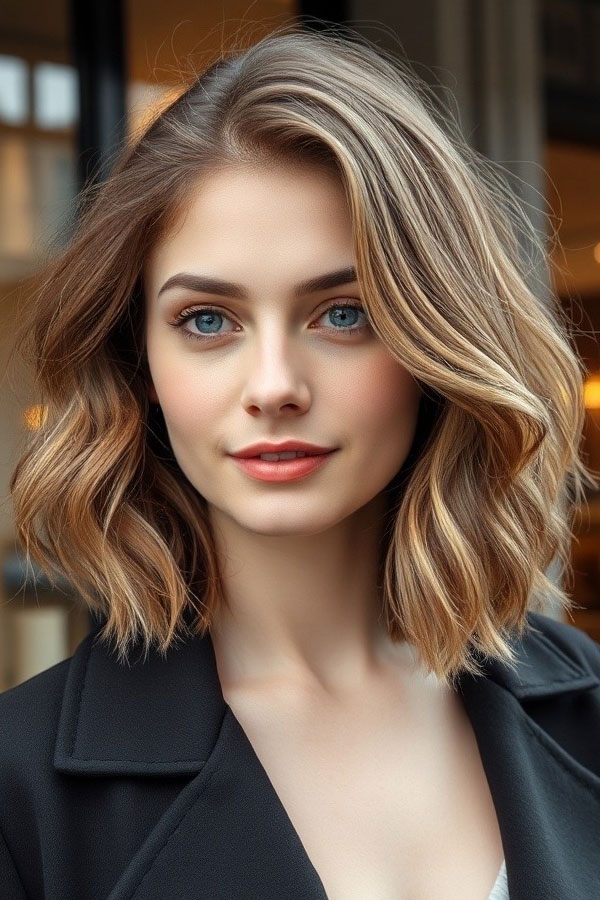
5. Wavy Black Lob with Curtain Bangs

Soft, loose waves on a black lob with curtain bangs. The waves add texture and movement while the bangs soften the overall look. Beachy and romantic.
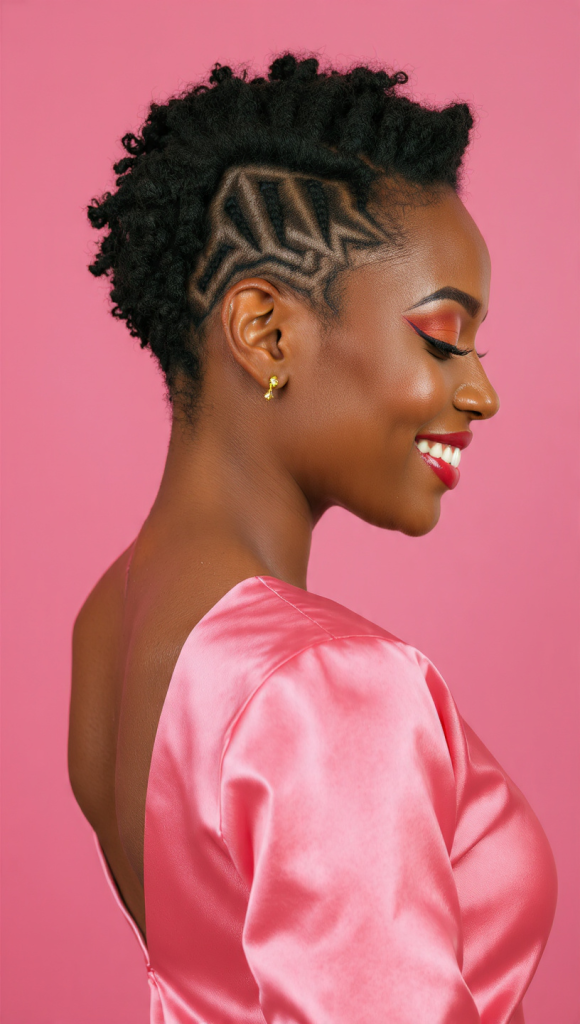
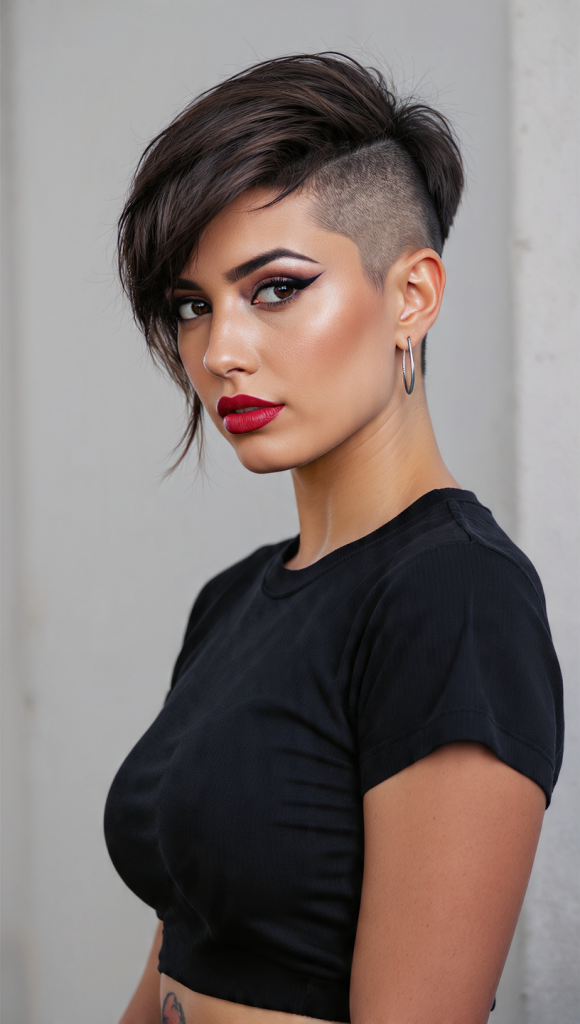
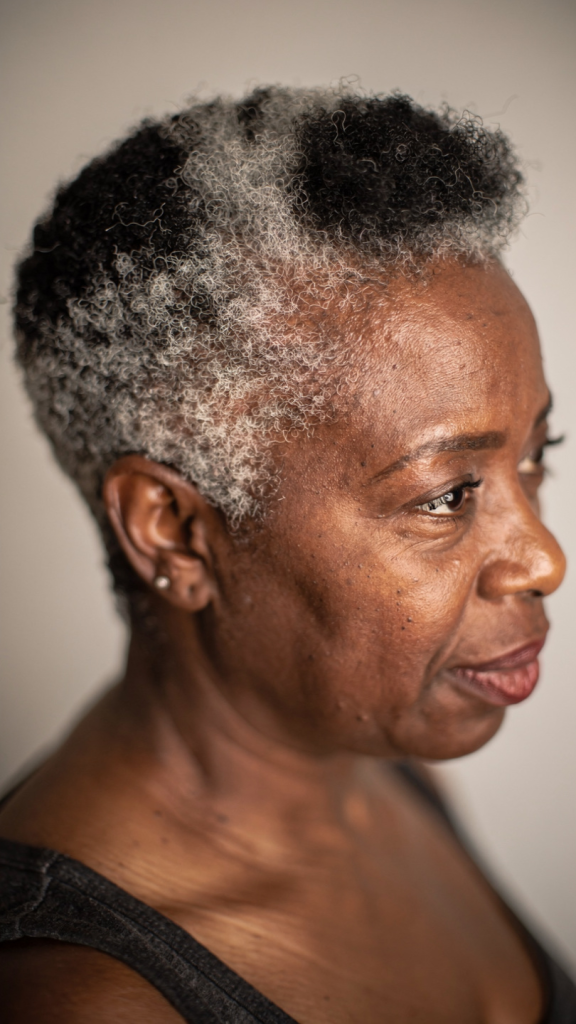
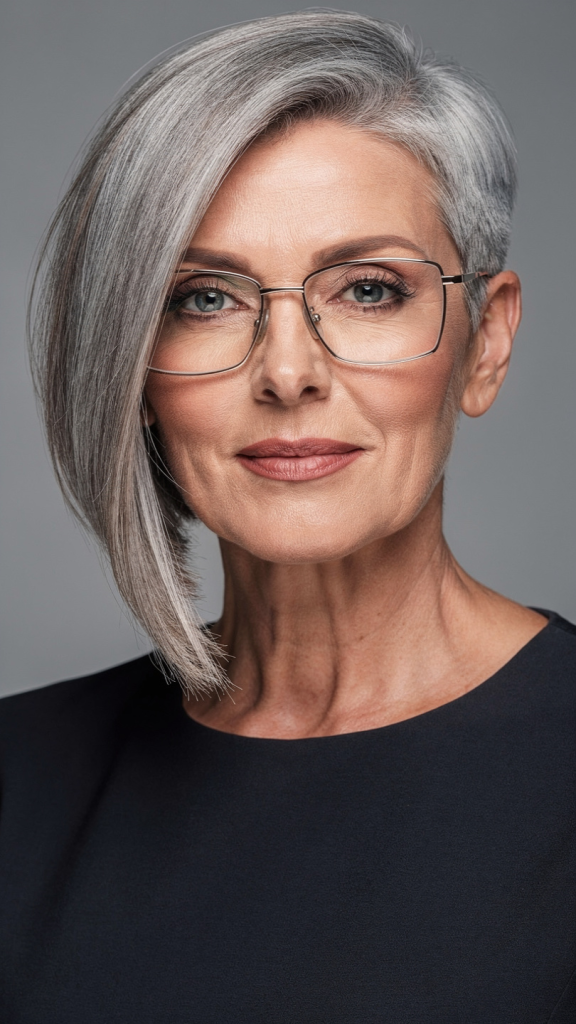
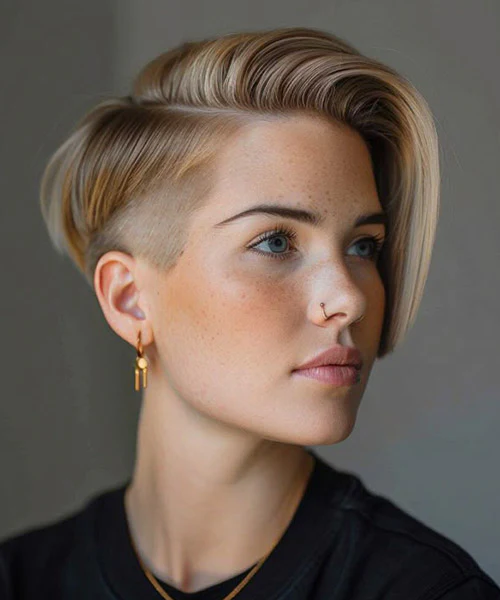
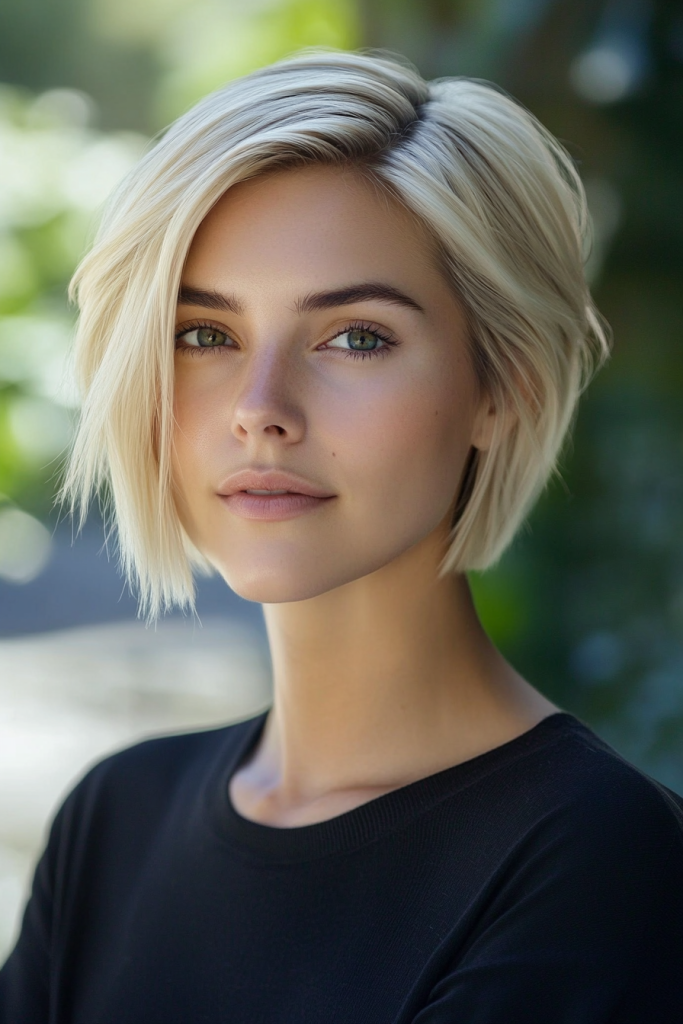
6. Asymmetrical Lob with Curtain Bangs
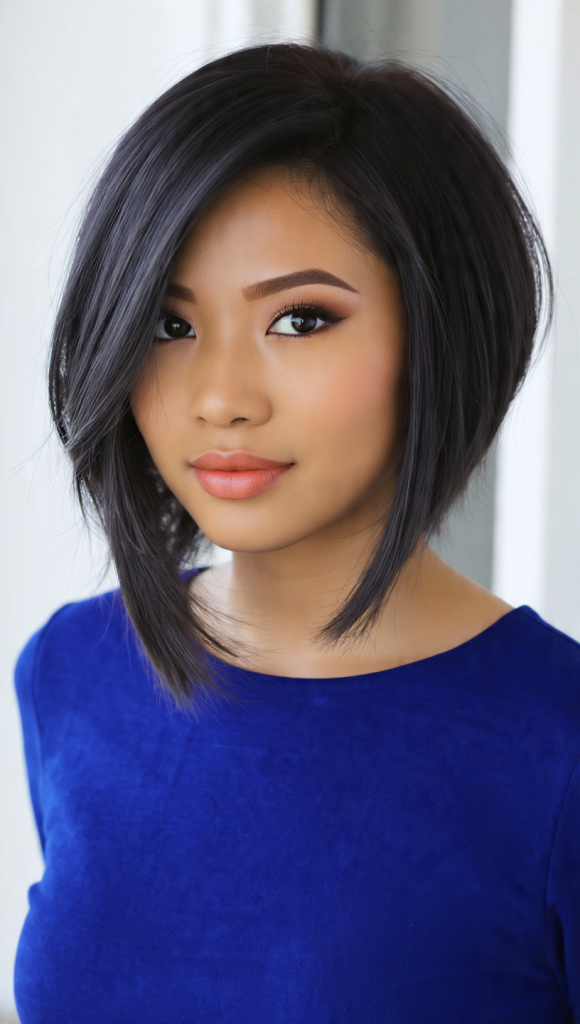
One side is cut slightly longer than the other, paired with curtain bangs. The asymmetry adds visual interest and works beautifully with dark hair.
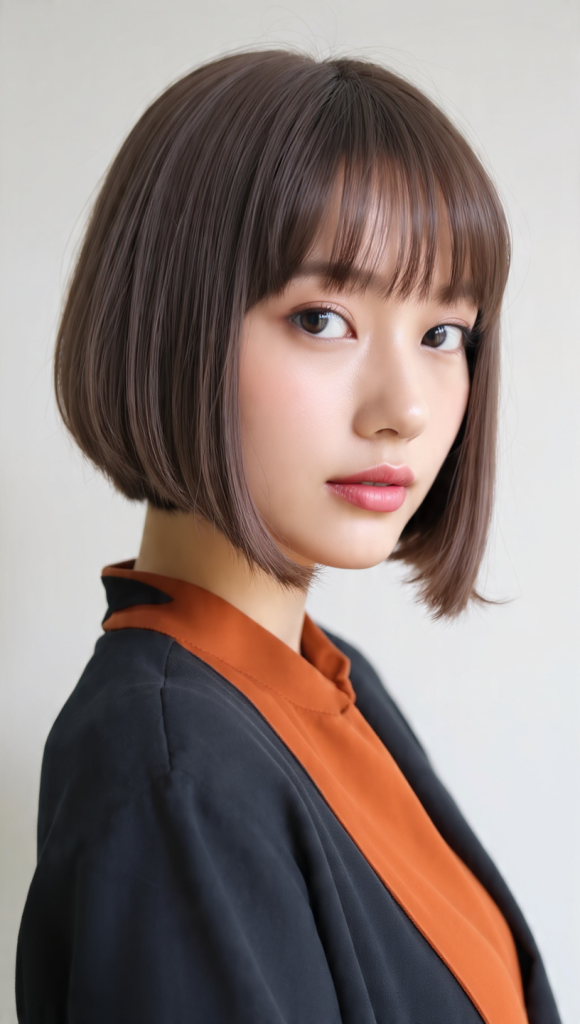
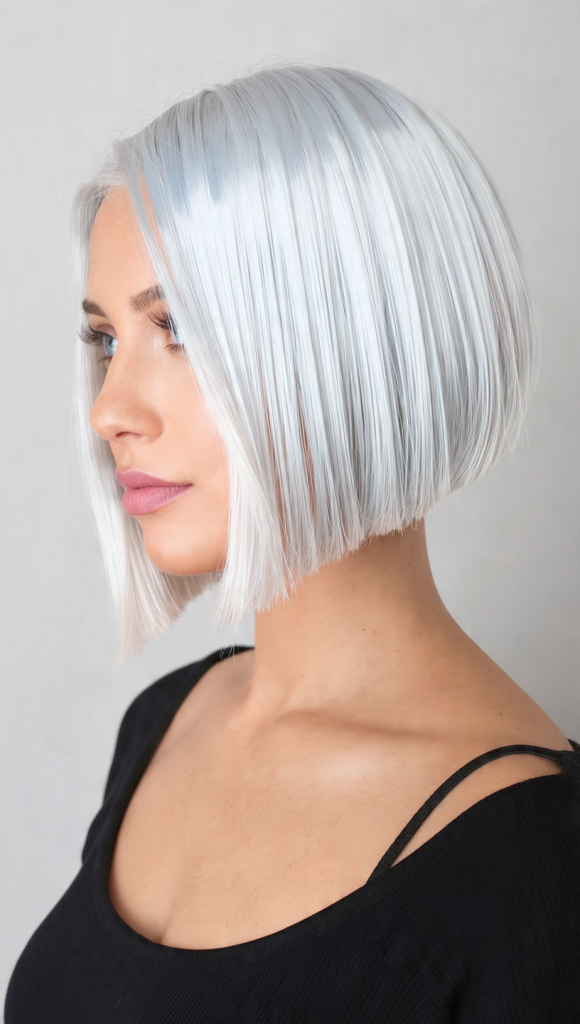
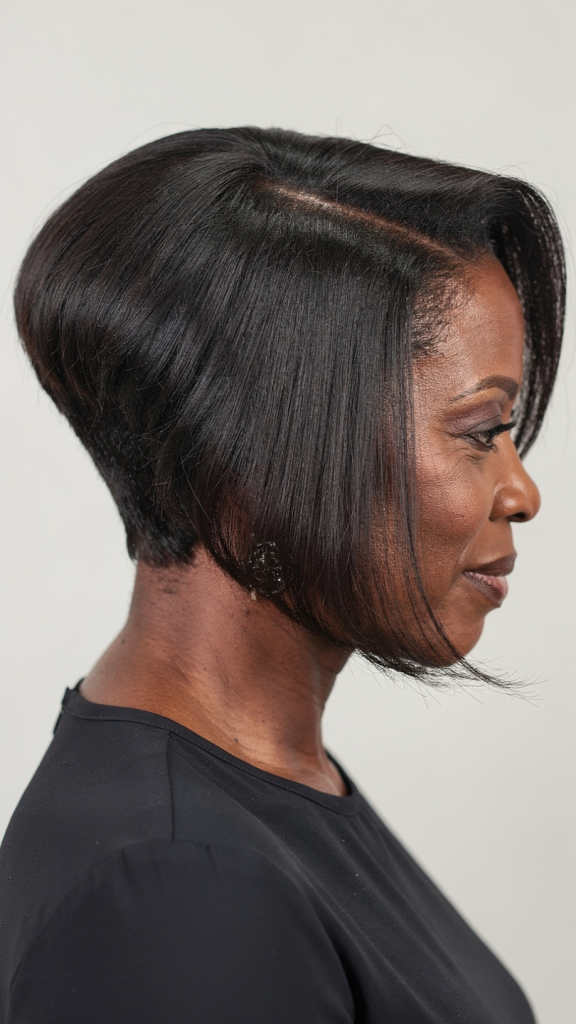
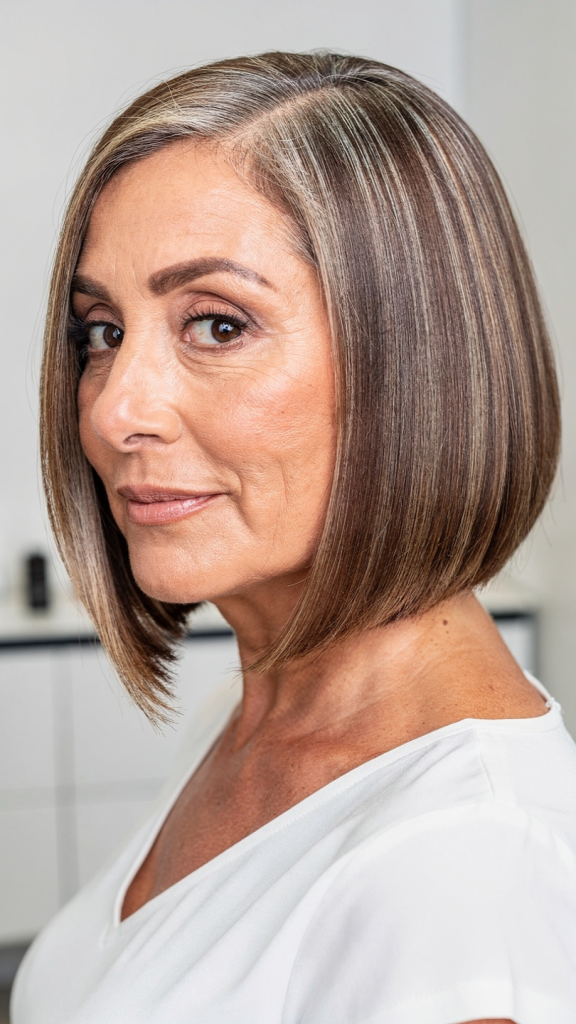
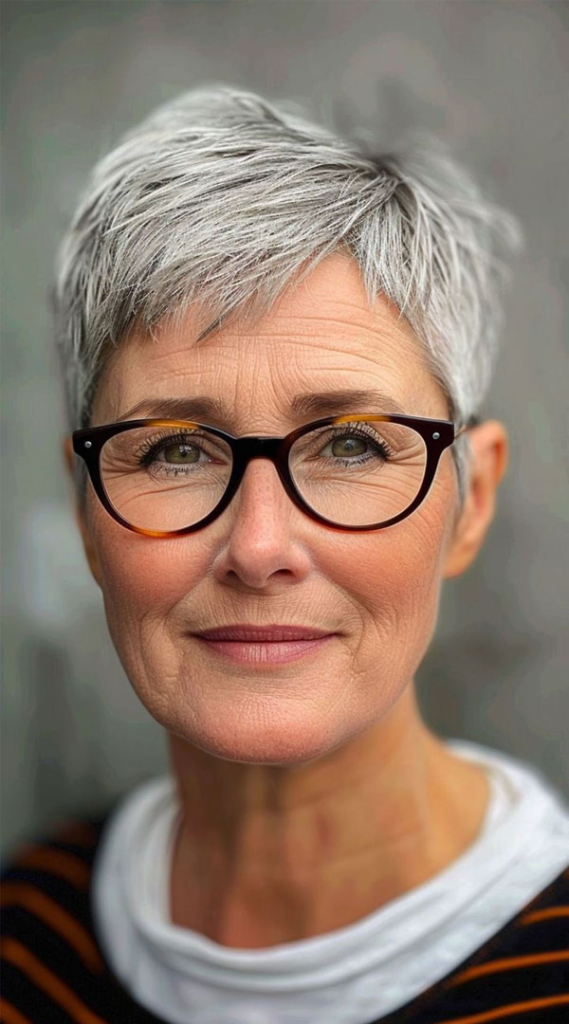
7. Sleek Straight Black Lob with Curtain Bangs
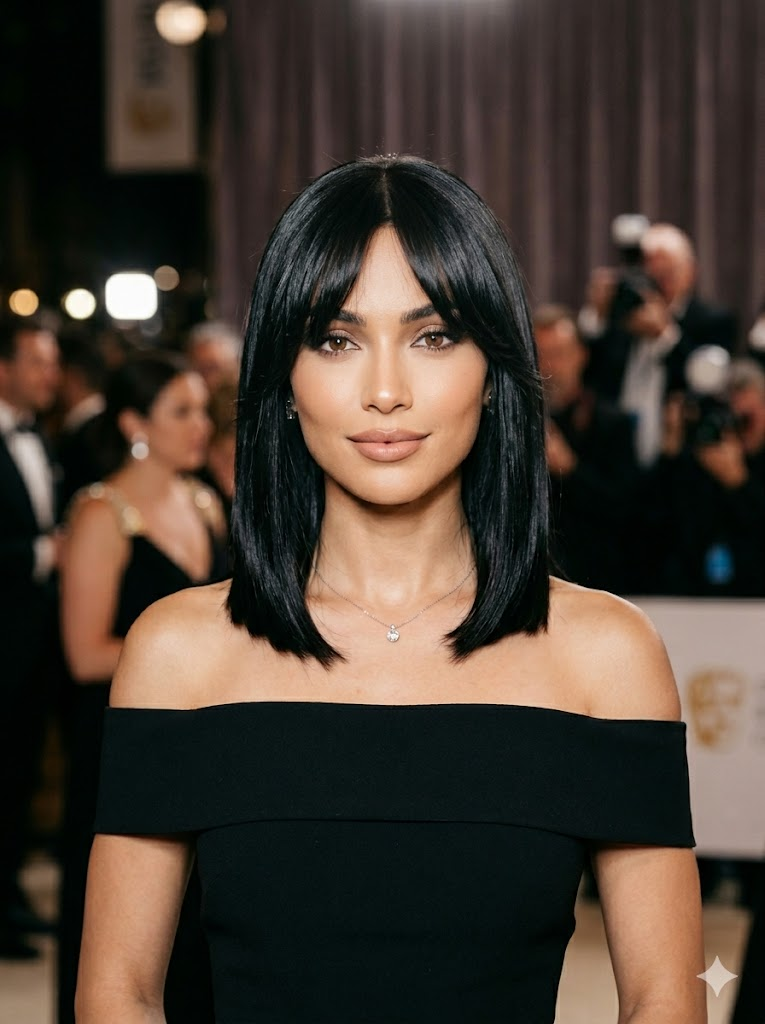
Pin-straight, glossy black lob with precise curtain bangs. The sleekness is striking, and the bangs add softness to an otherwise sharp look. Red carpet ready.
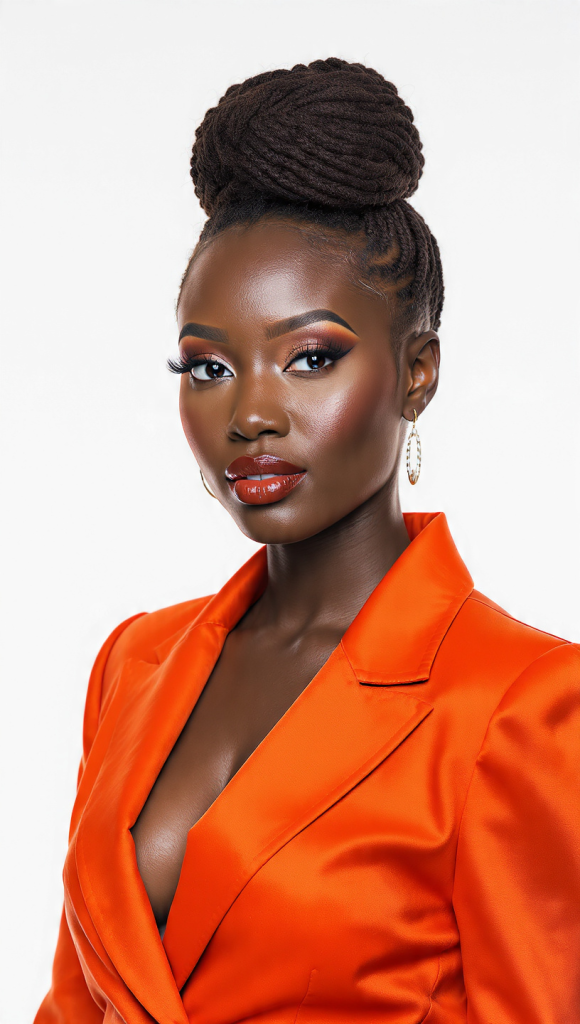
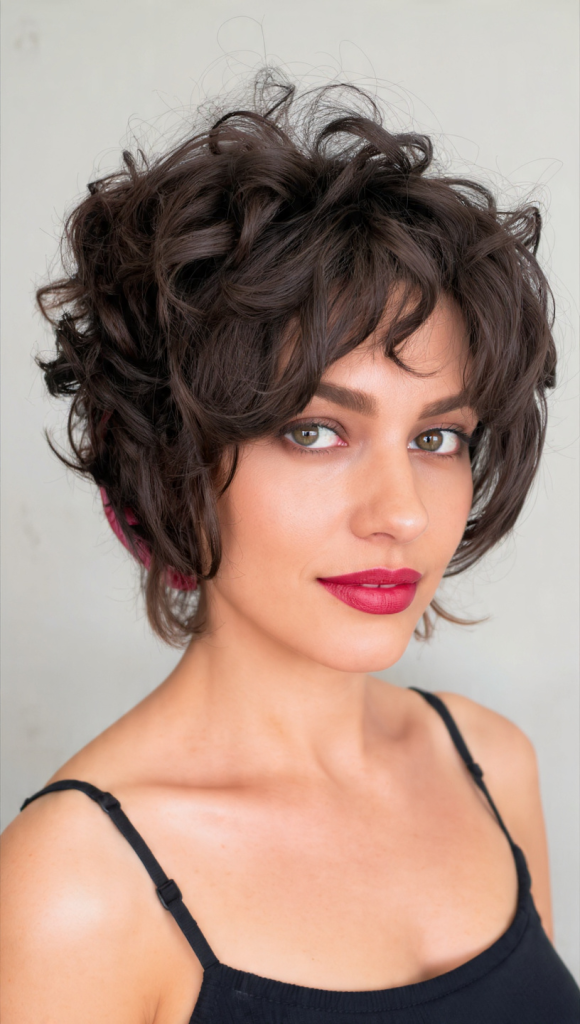
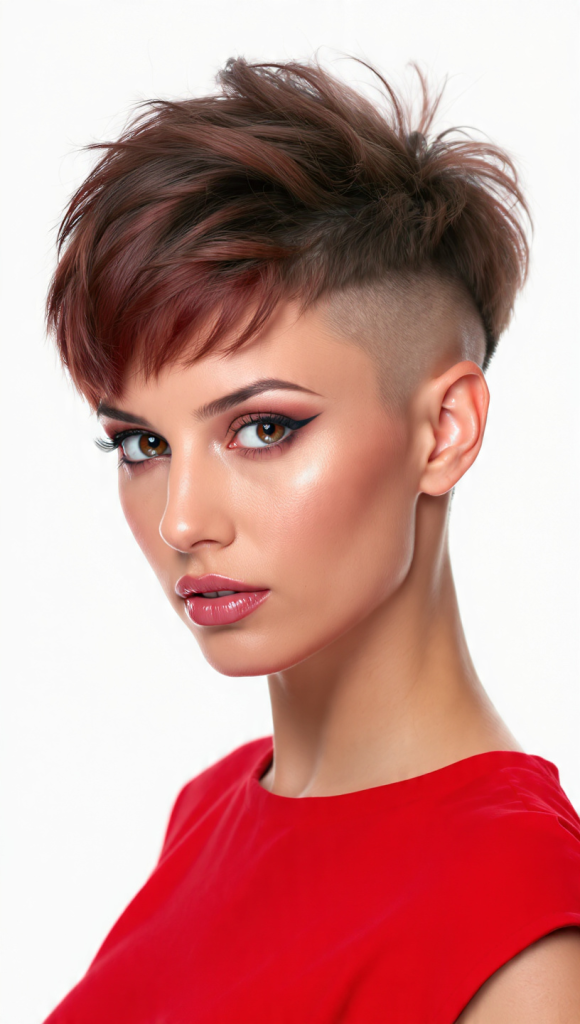
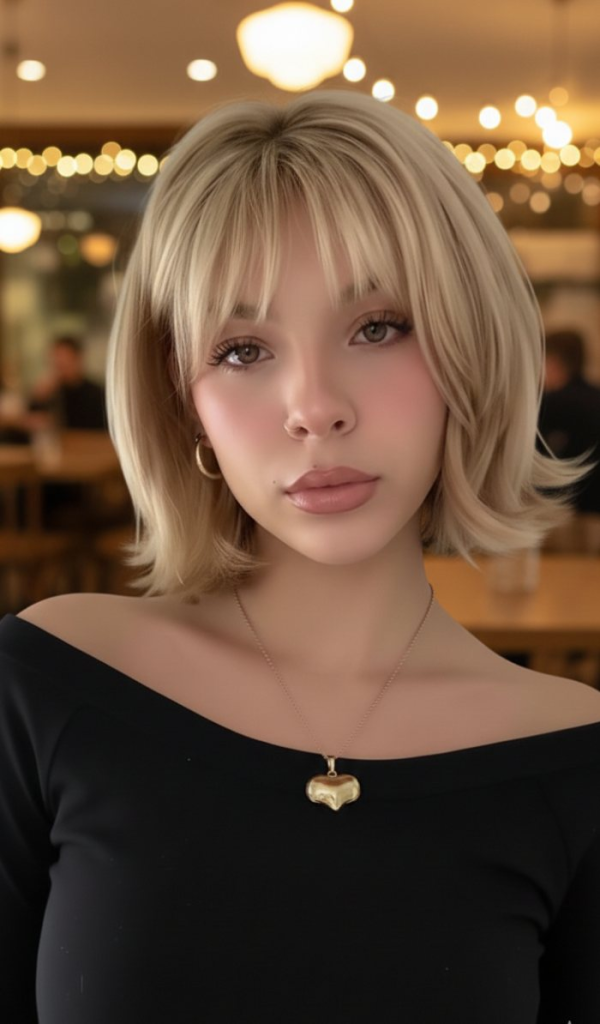
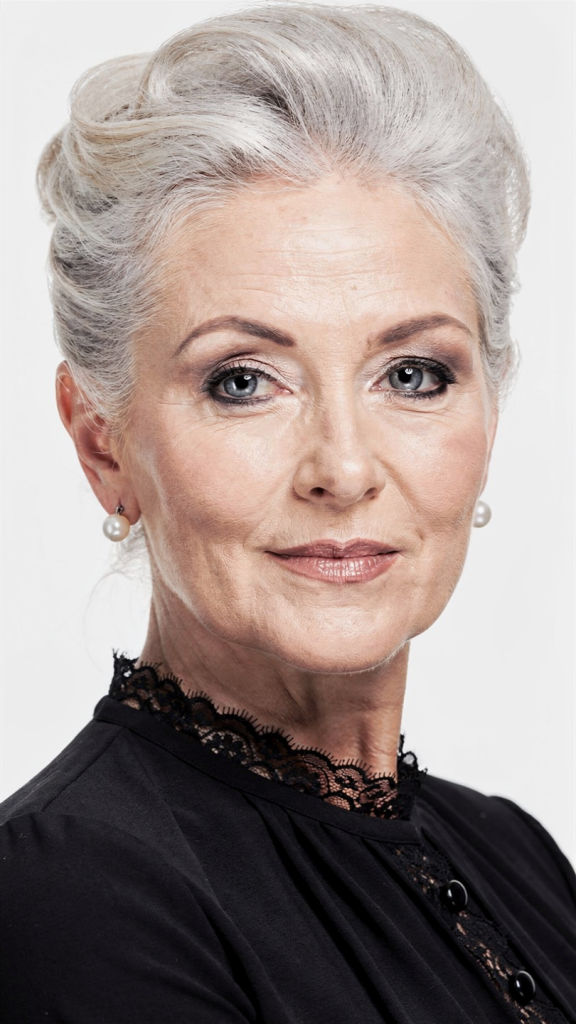
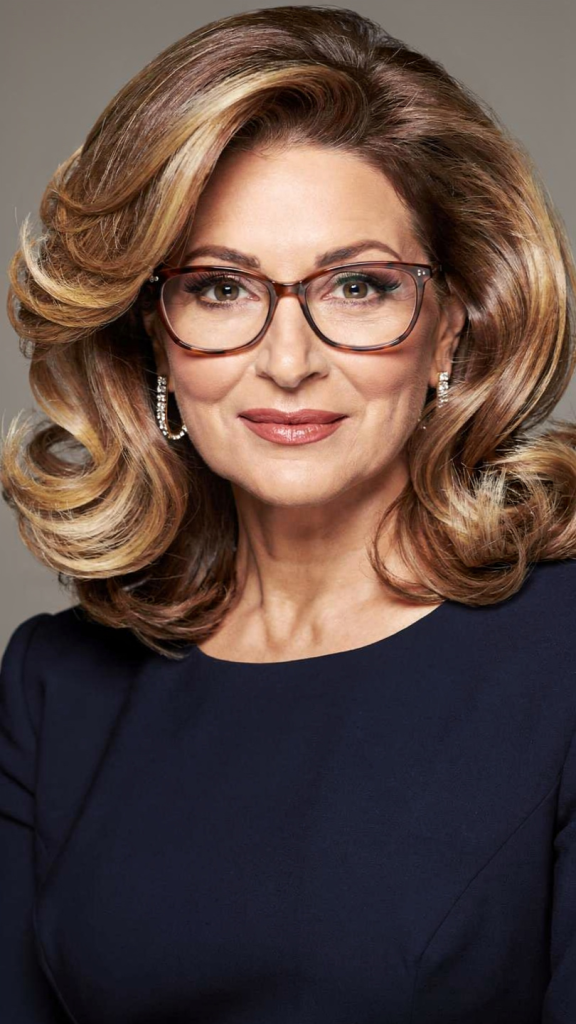
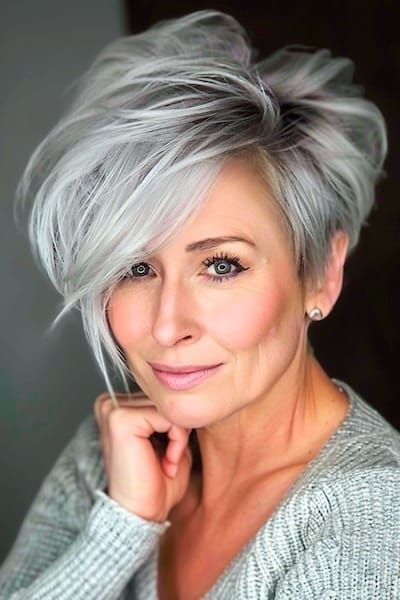
8. Voluminous Blowout Lob with Curtain Bangs

A bouncy, voluminous blowout on a black lob with curtain bangs. Extra height at the crown and soft bends at the ends. Glamorous and youthful.
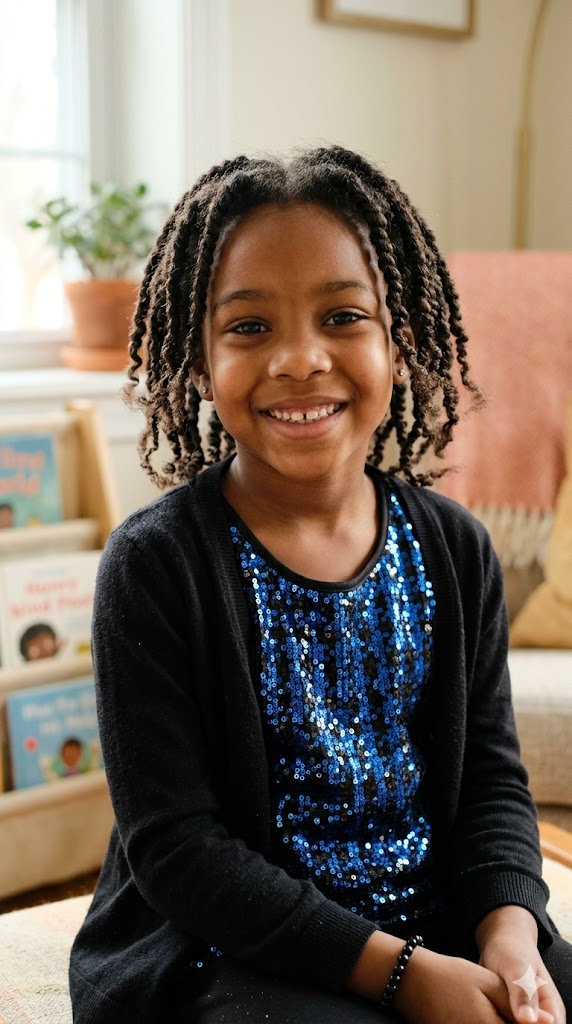
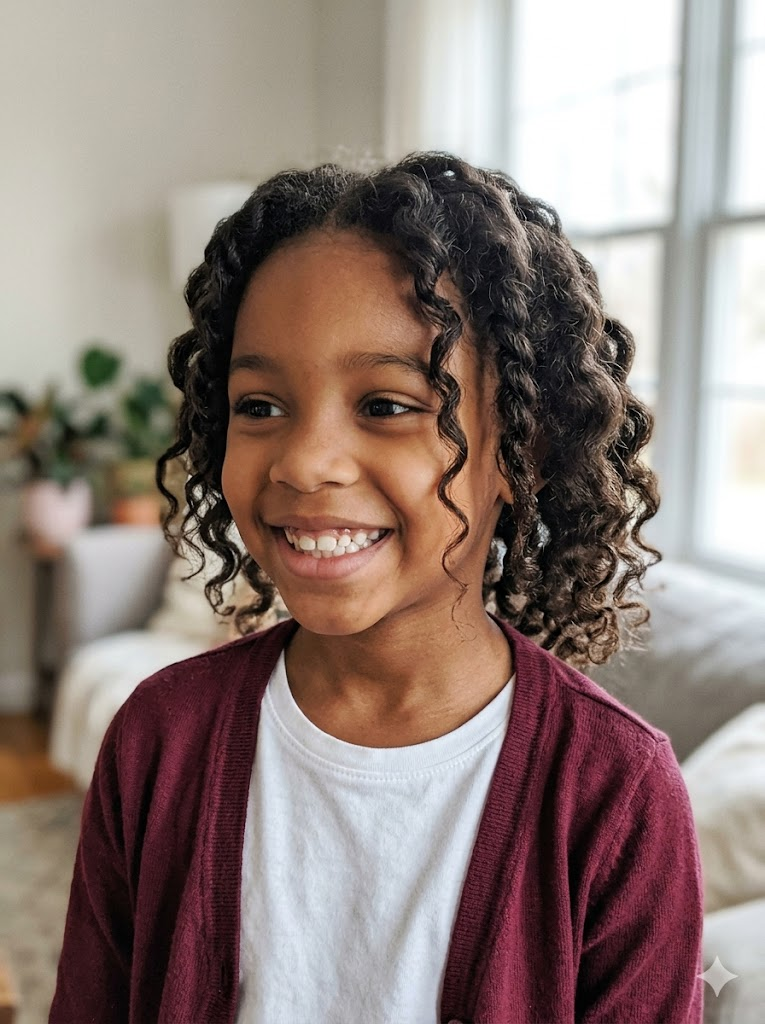
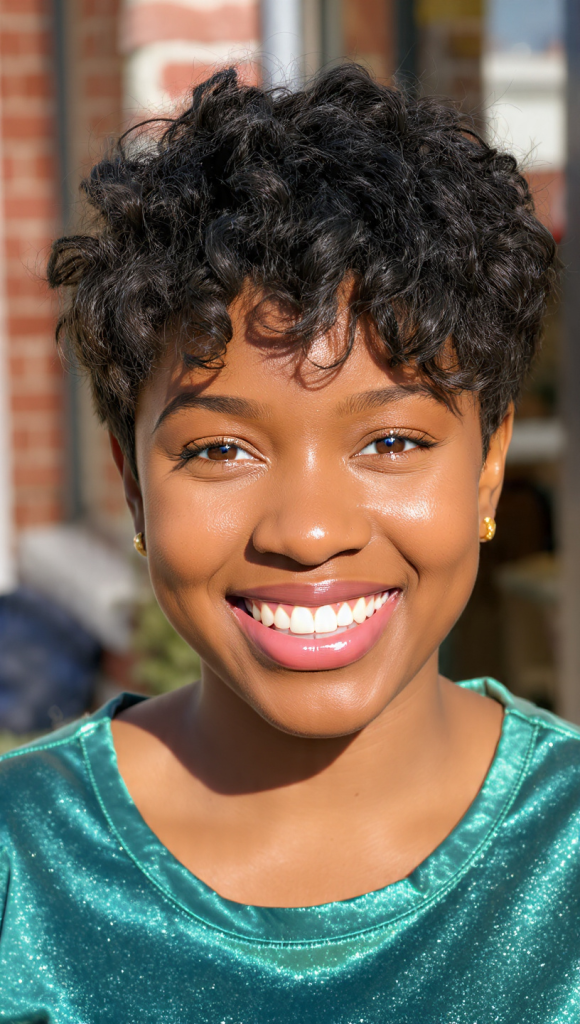
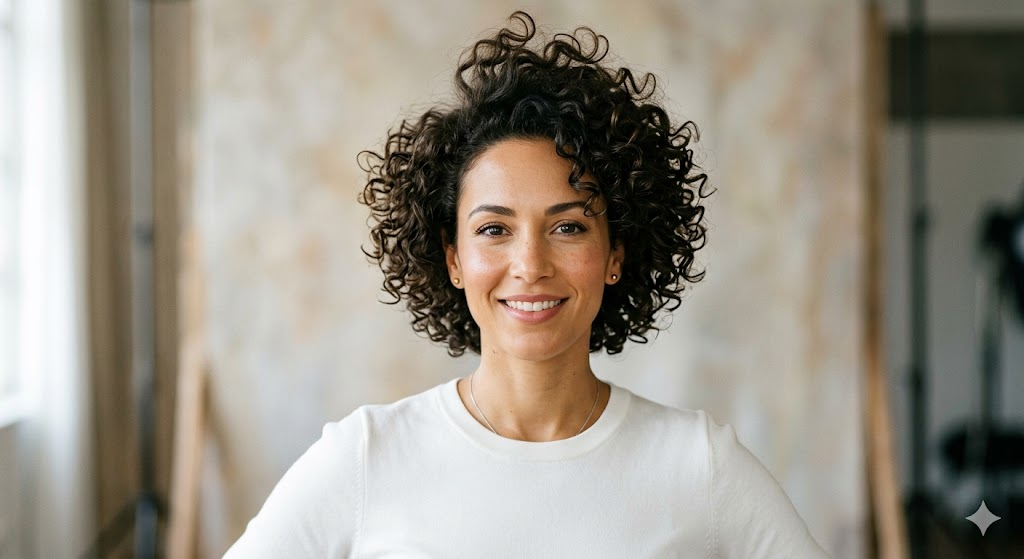
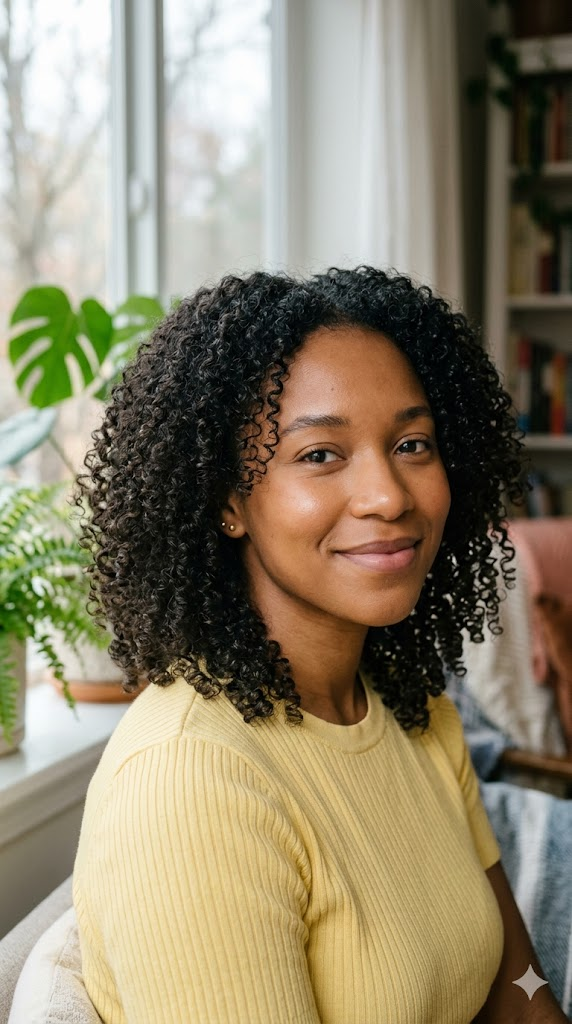
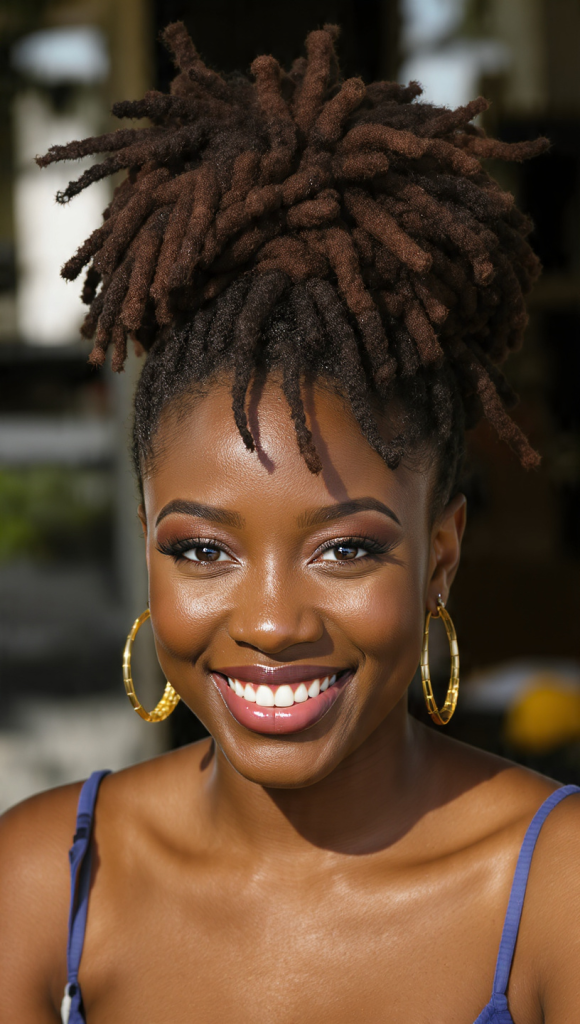
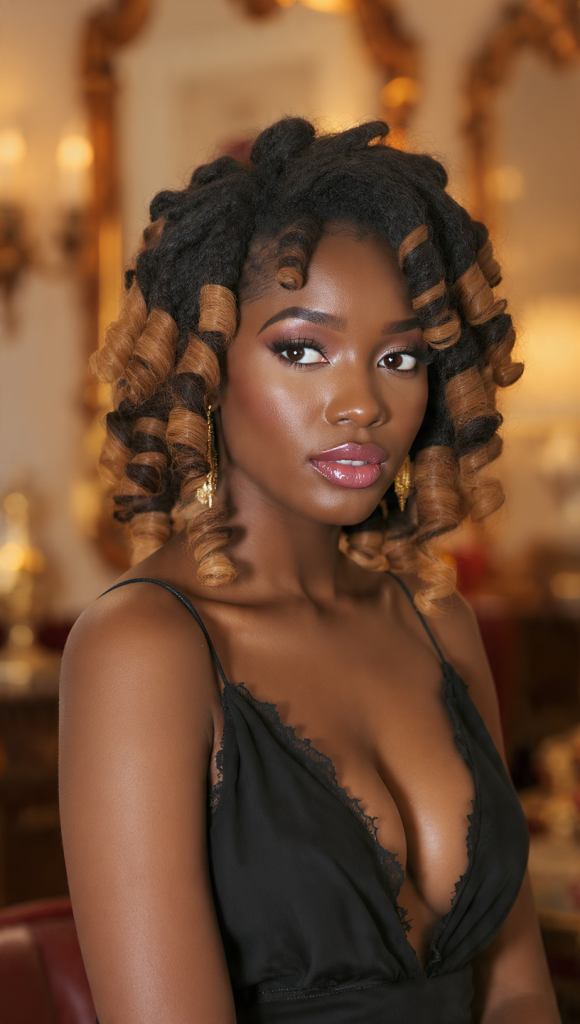
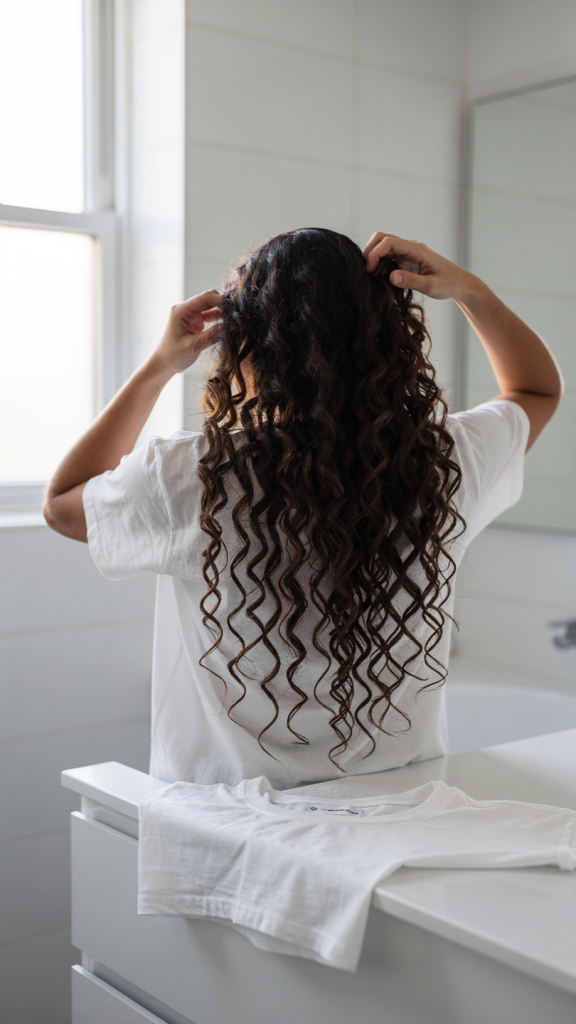
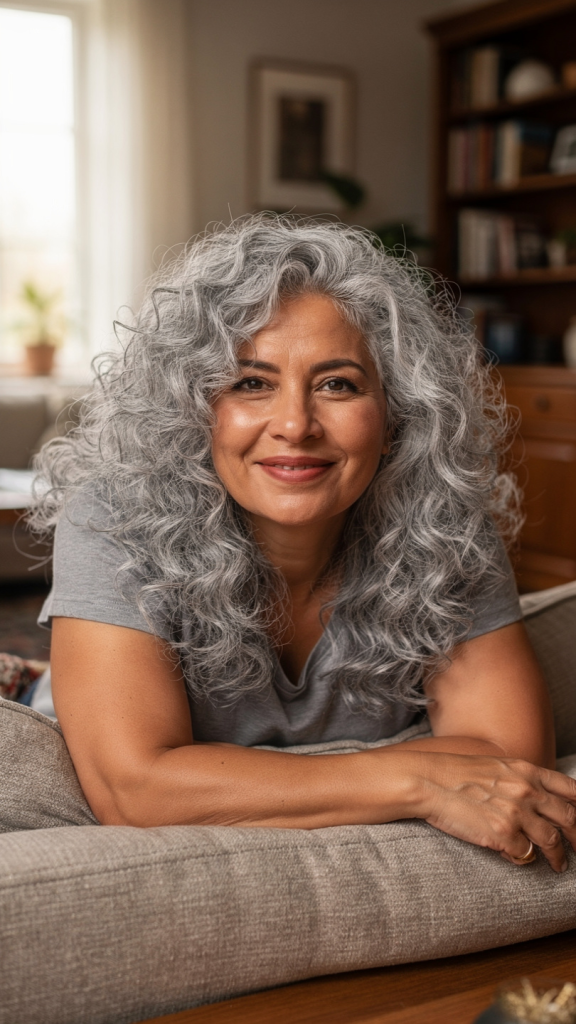
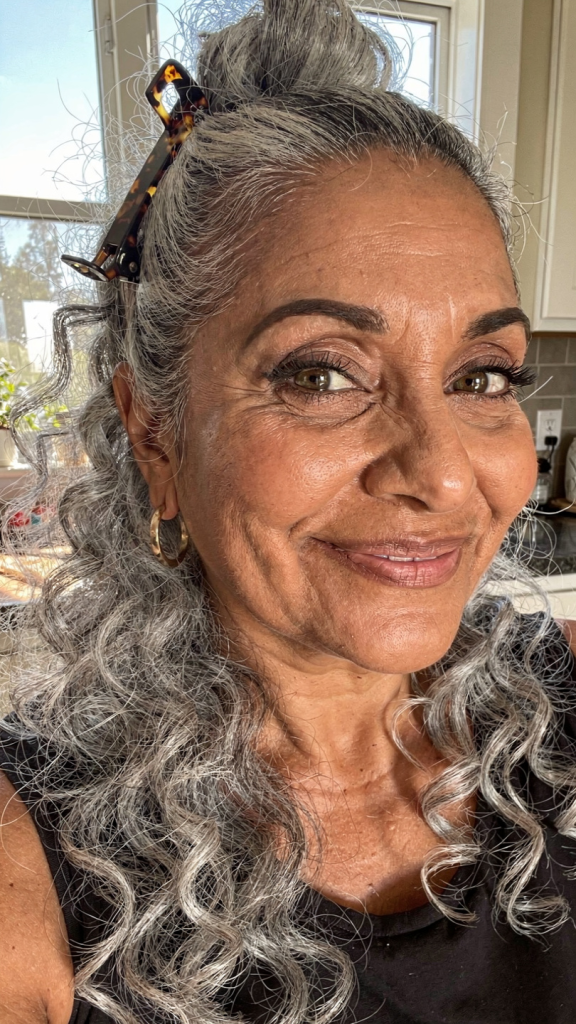
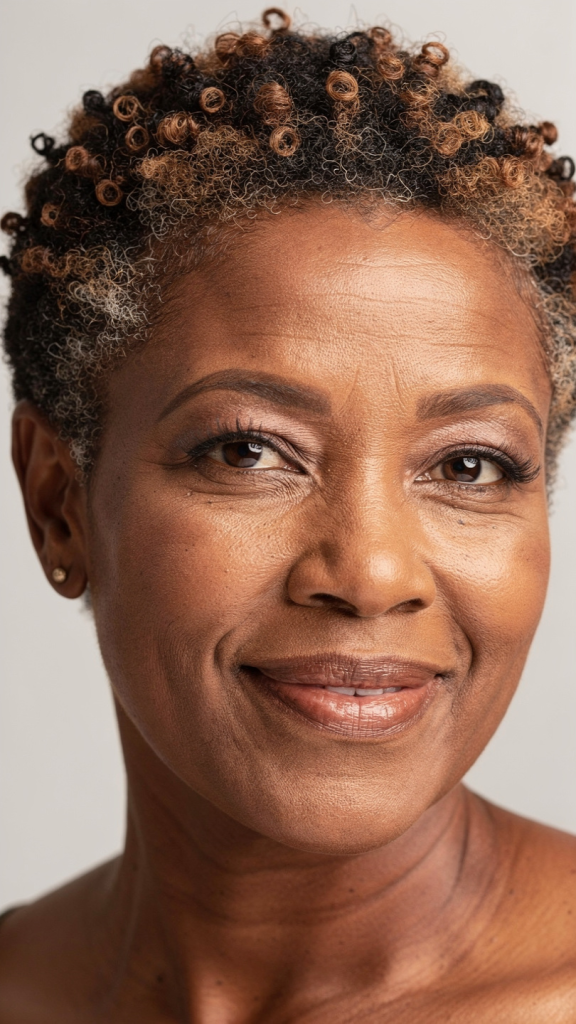
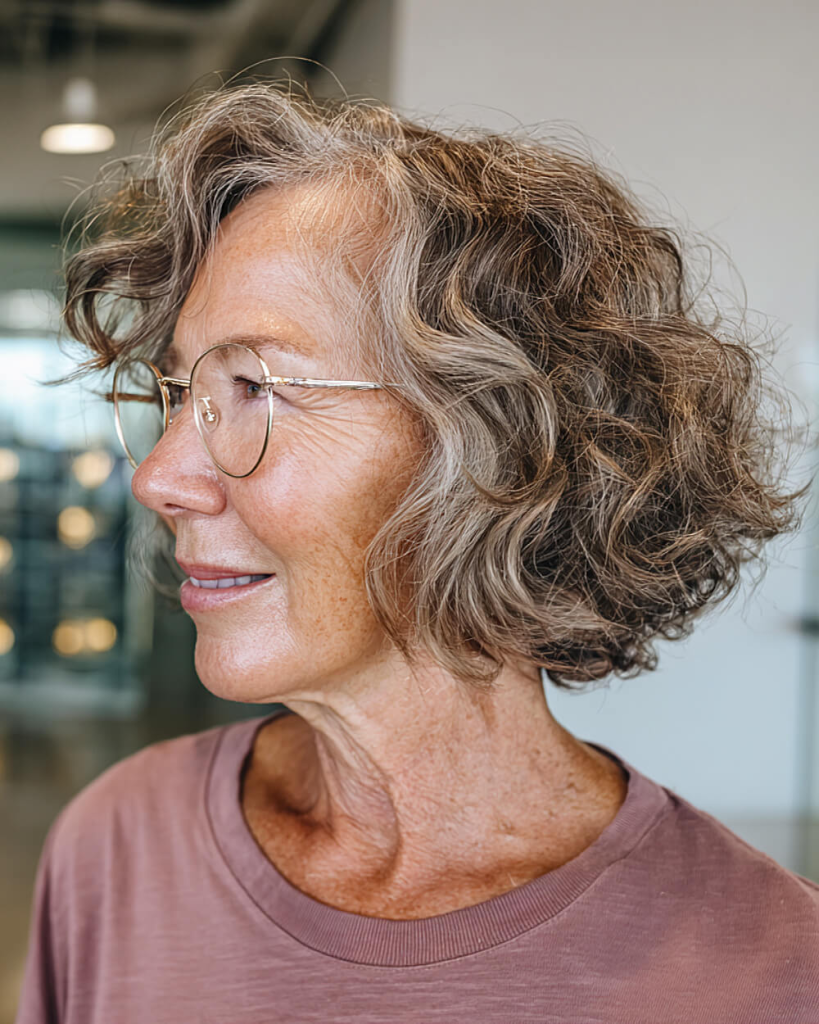
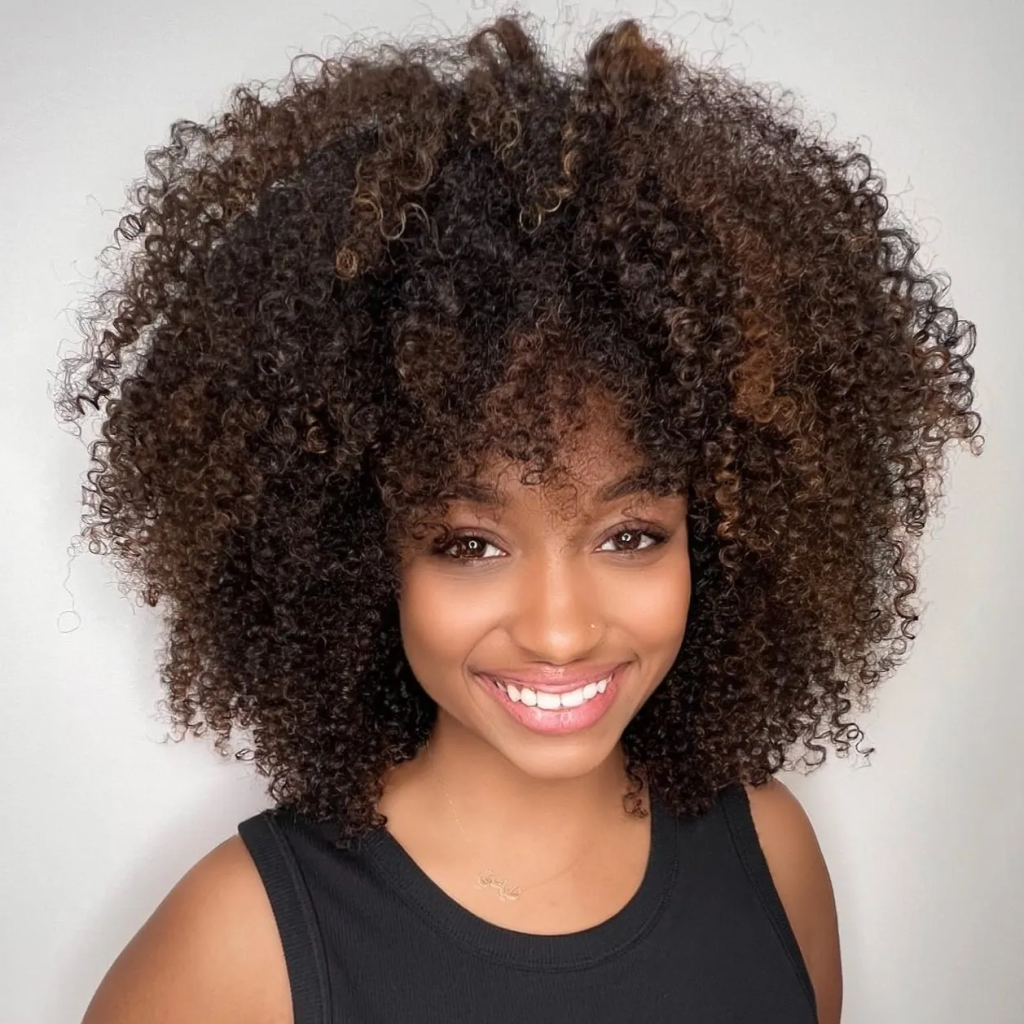
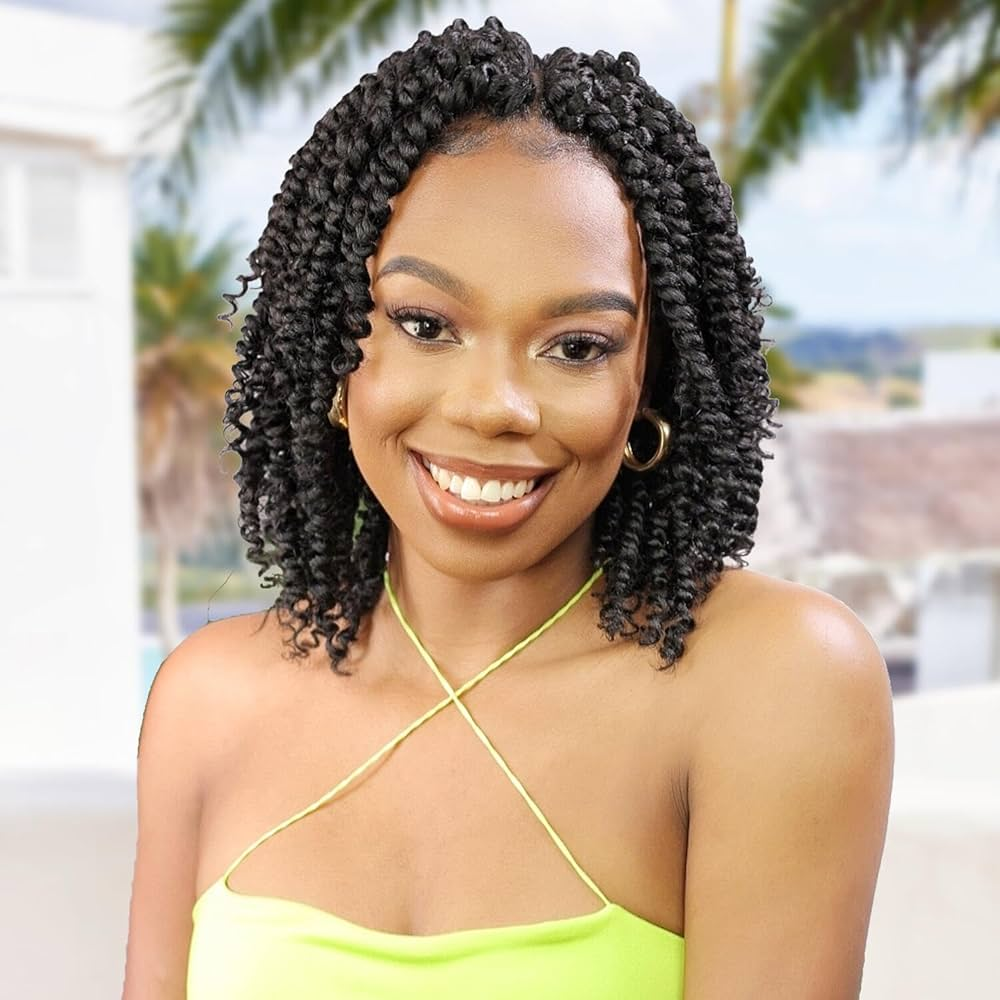
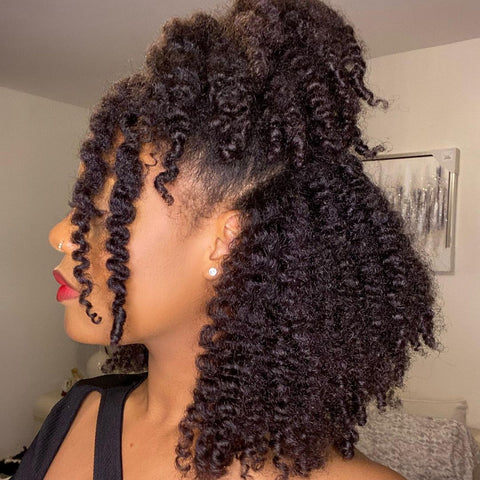
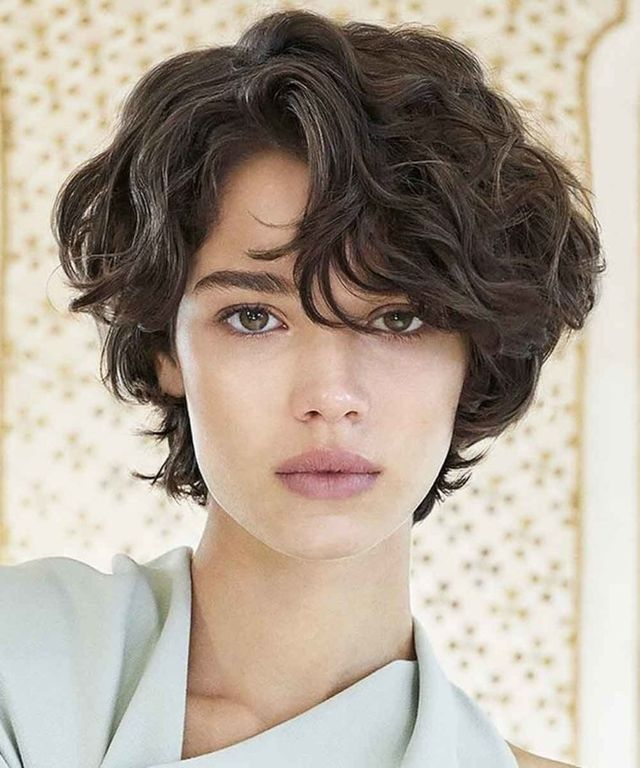
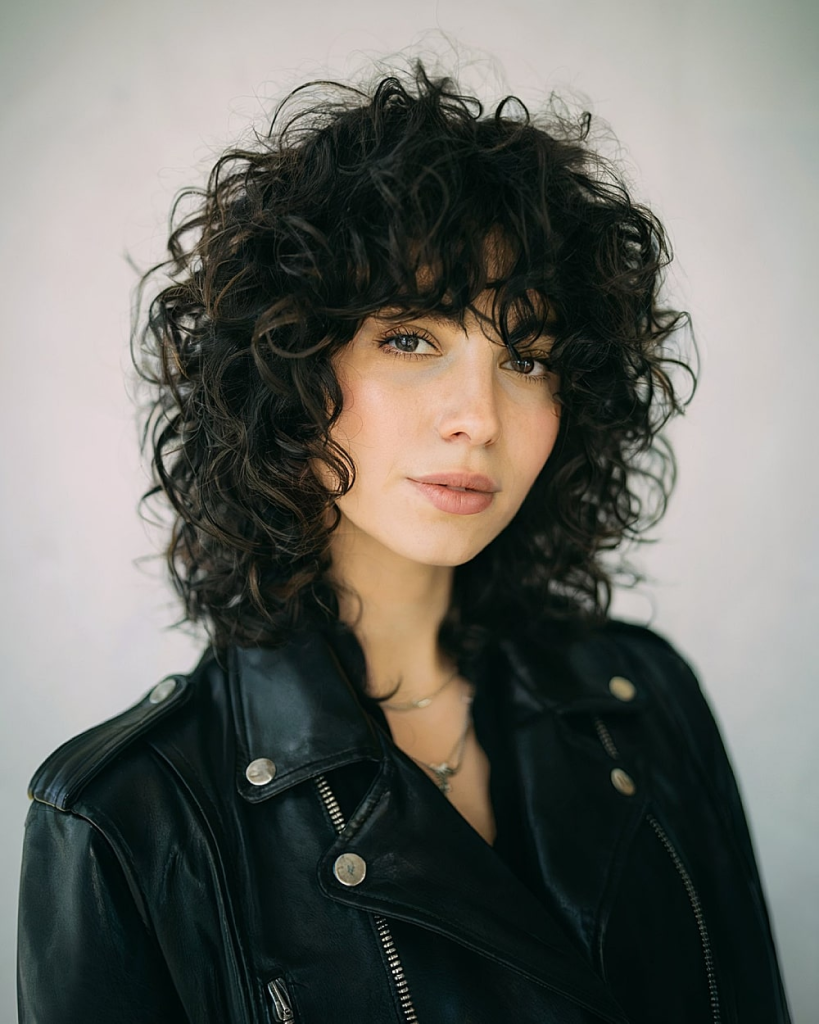
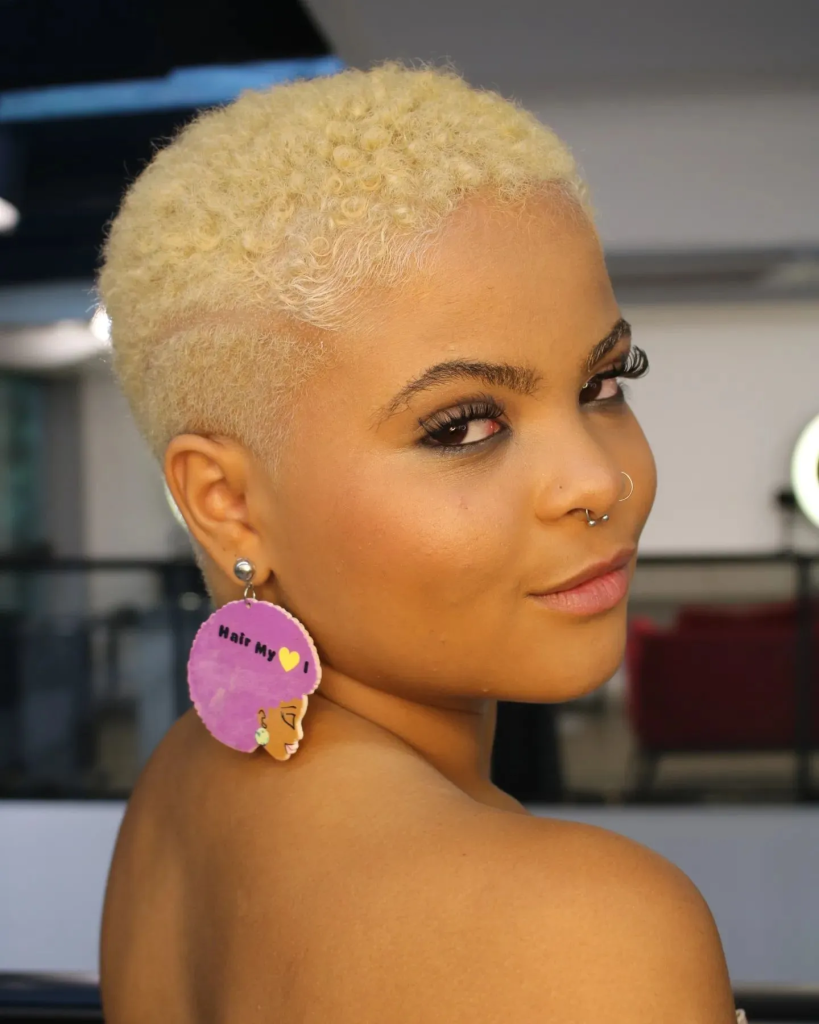
9. Curly Black Lob with Curtain Bangs

For naturally curly or permed black hair. A lob-length cut with curtain bangs that blend into the curls. The bangs soften the face and add shape to the curls.
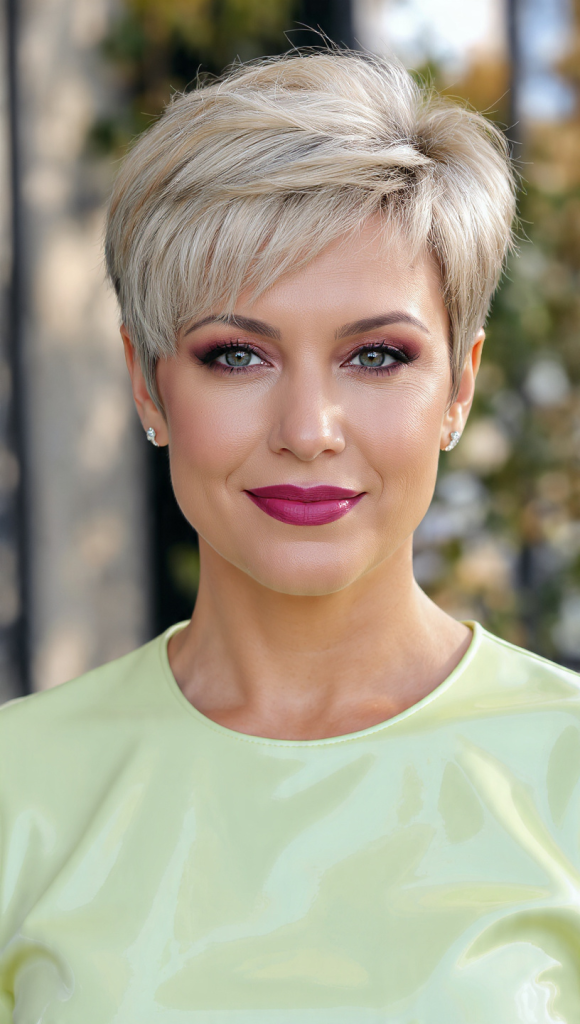
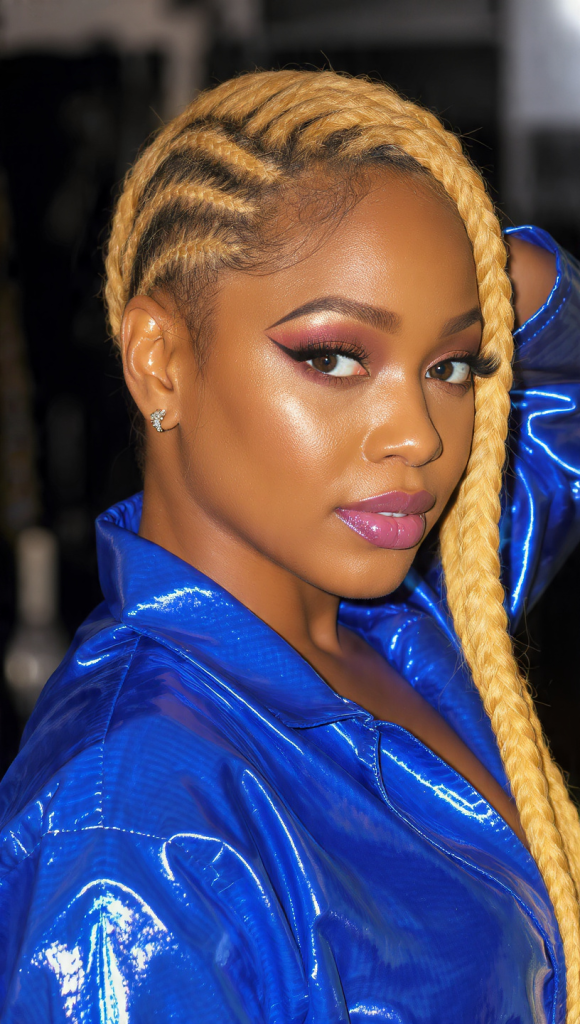
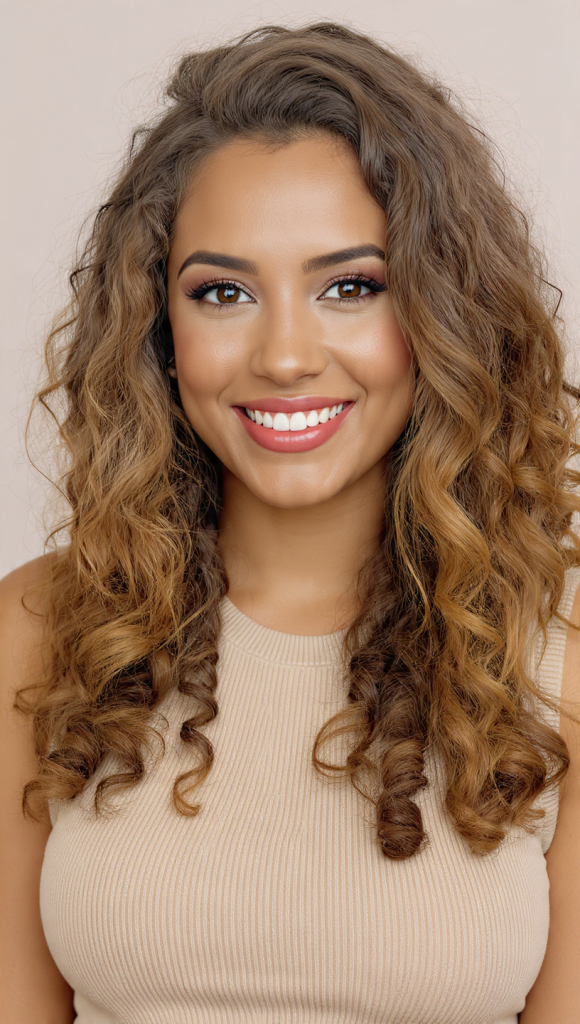
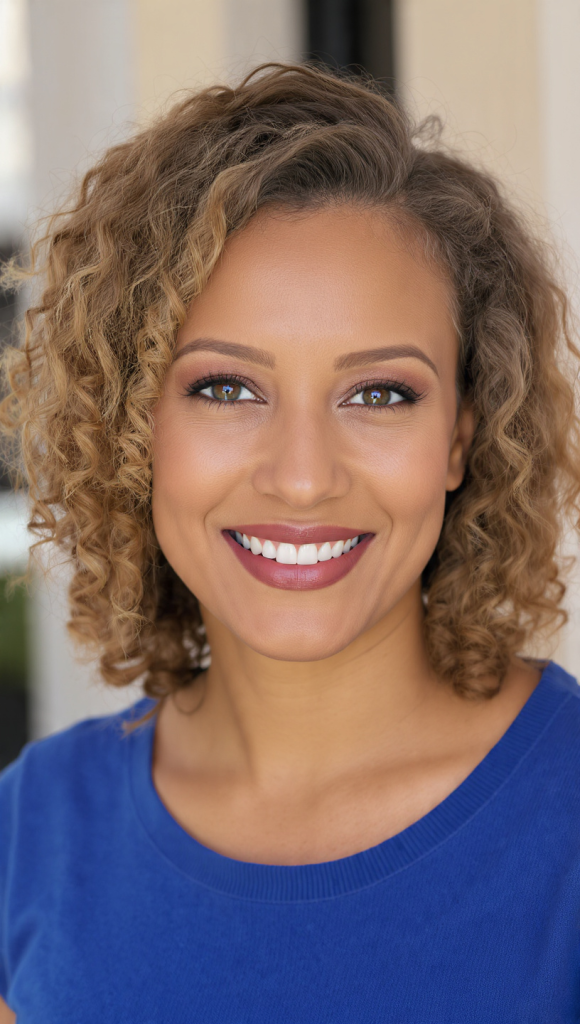
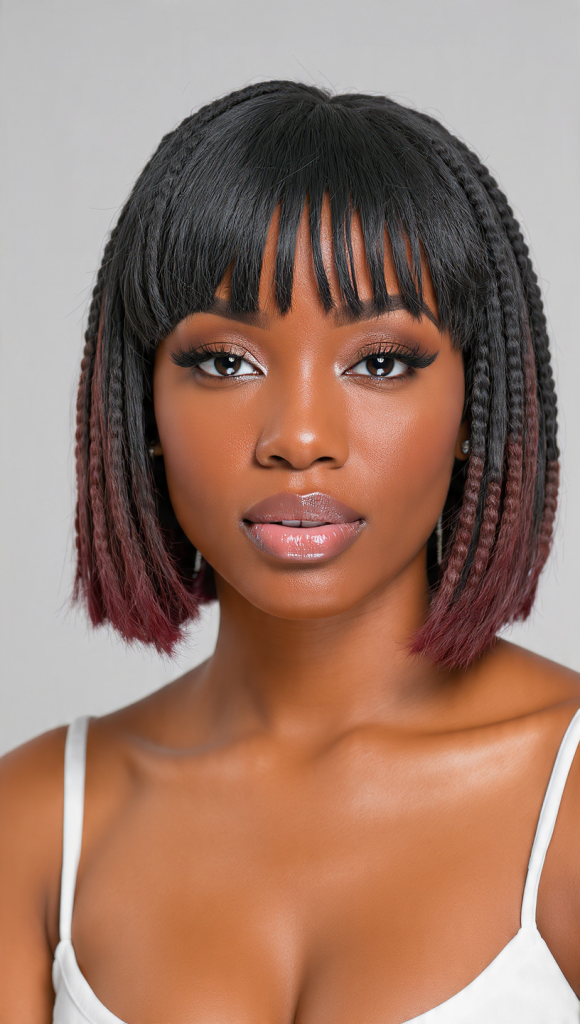
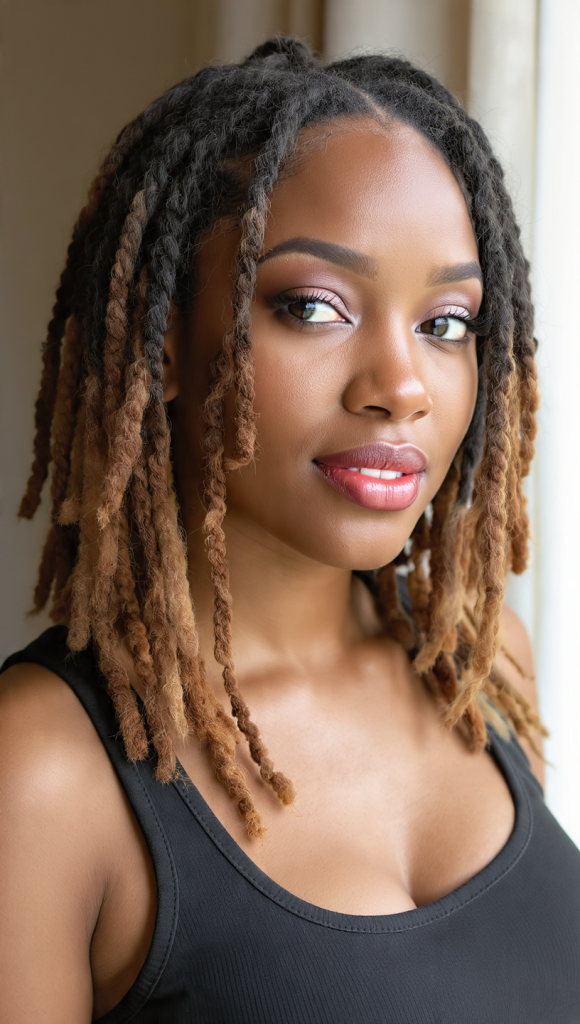
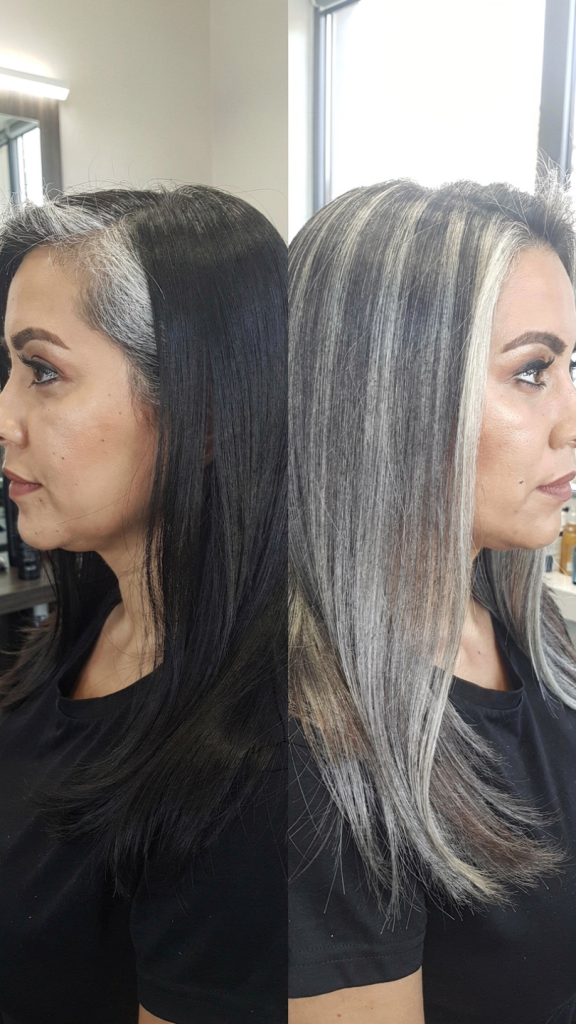
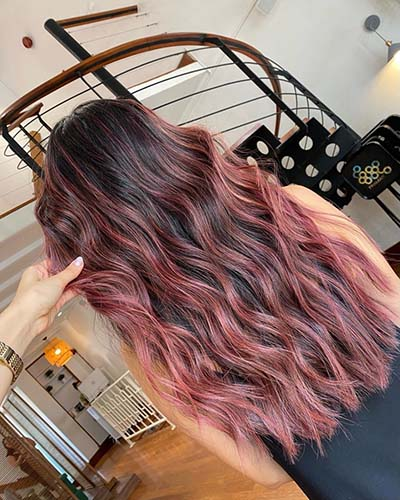
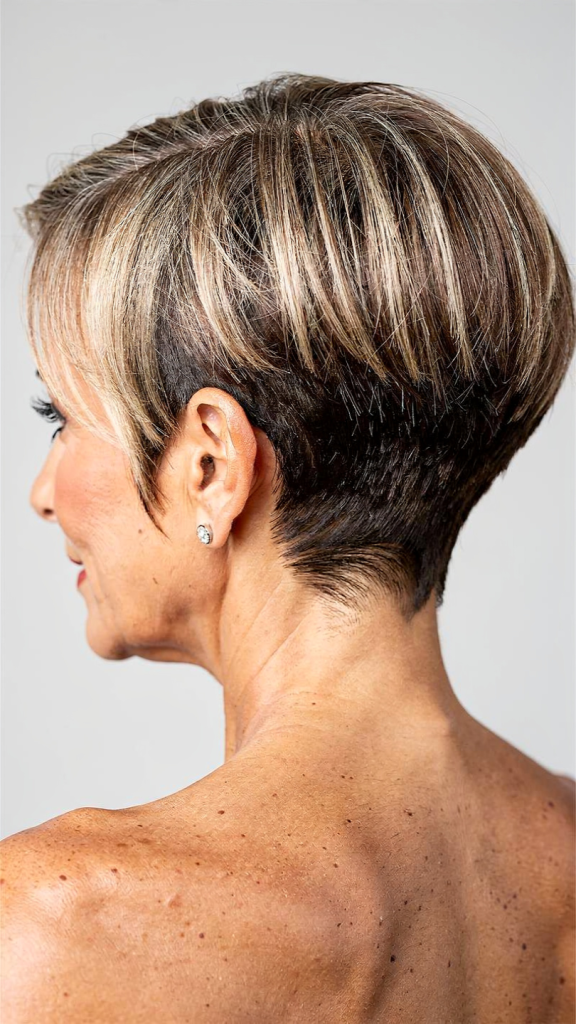
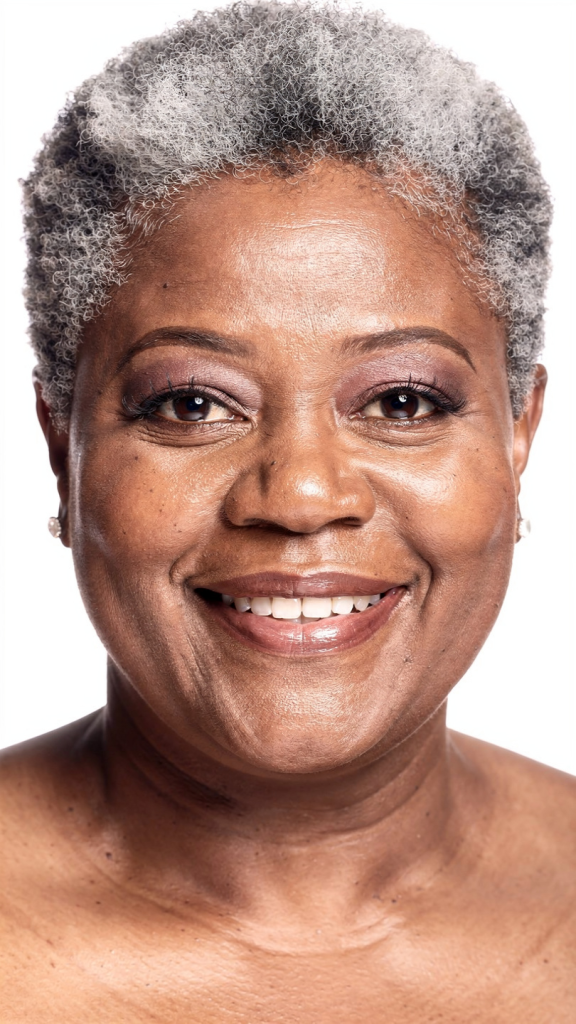
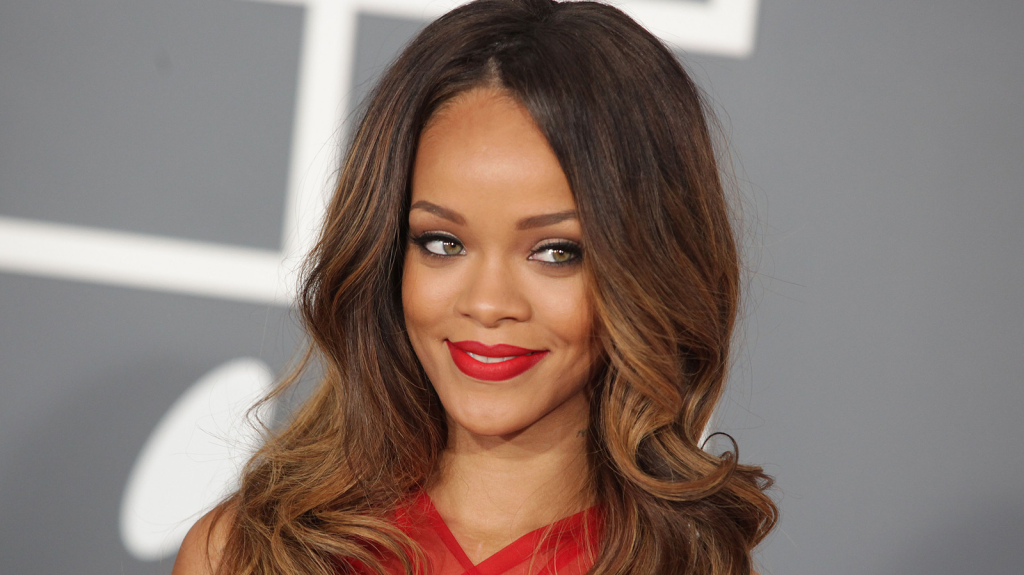
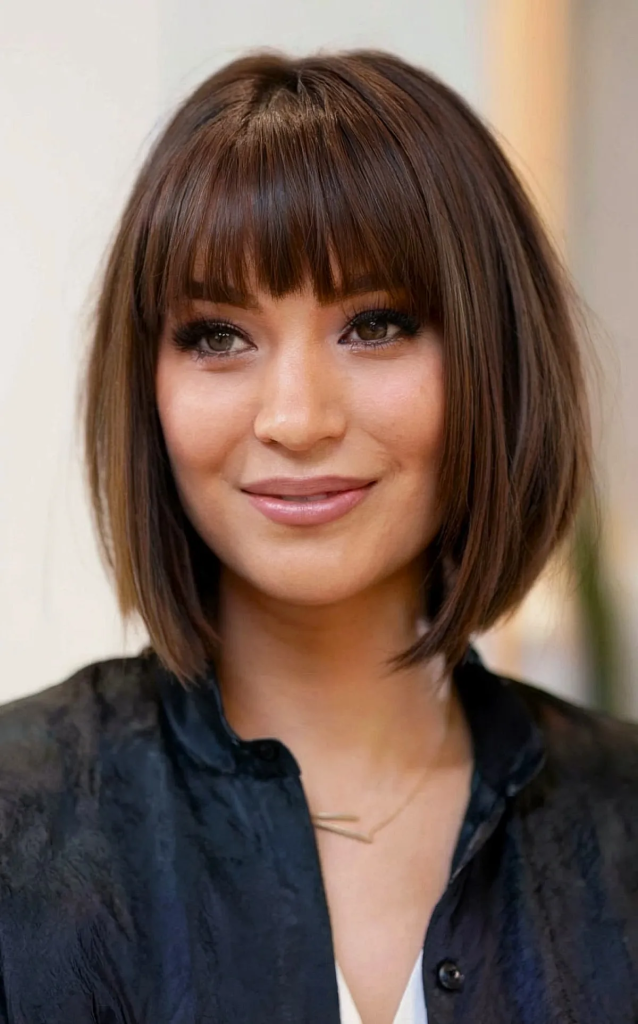
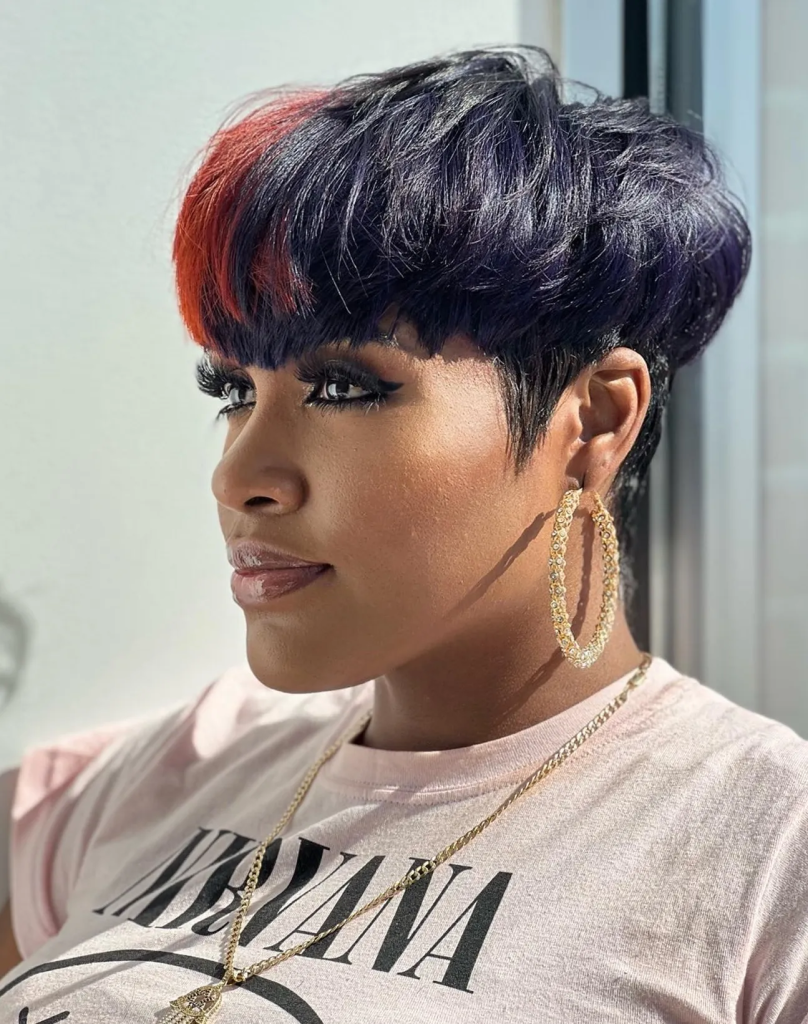
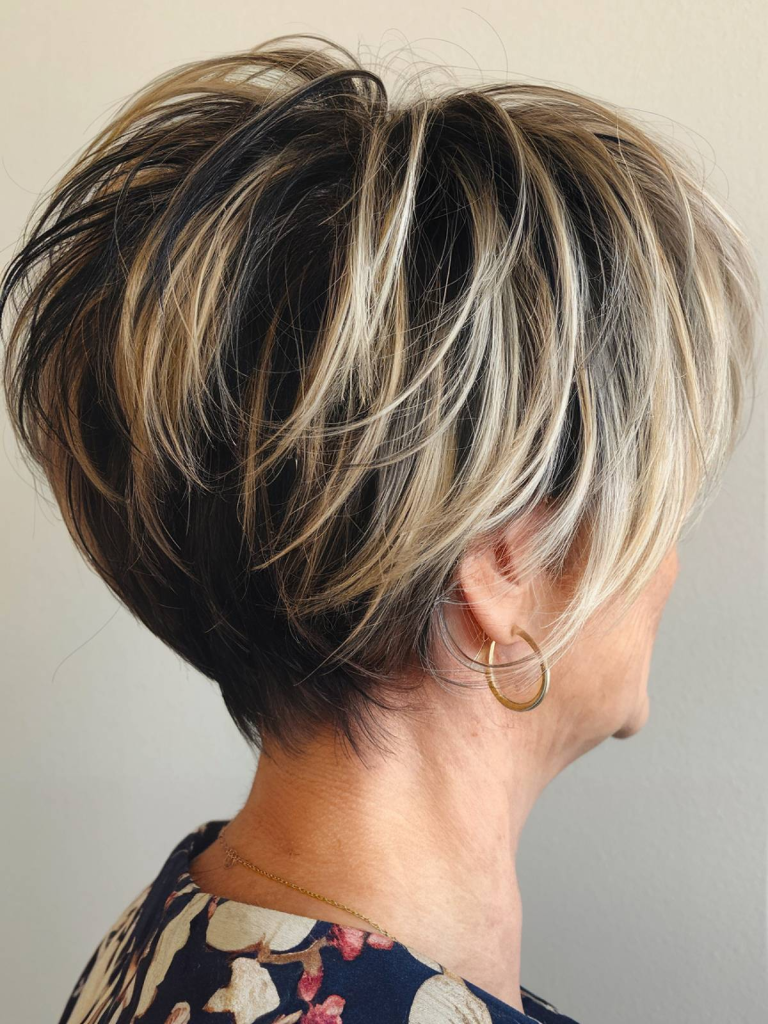
10. Highlighted Black Lob with Curtain Bangs
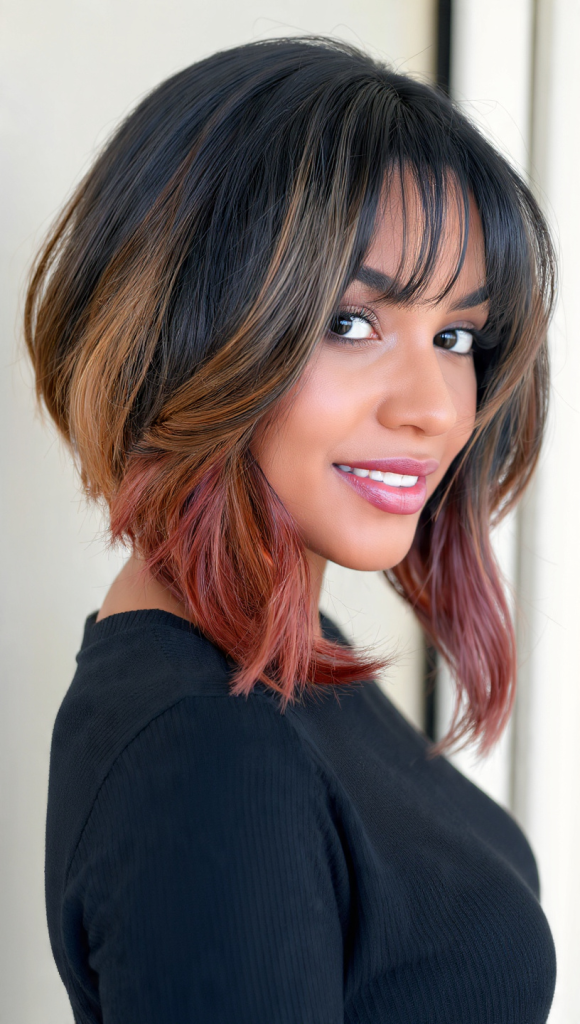
A black lob with subtle caramel, honey, or burgundy highlights and curtain bangs. The highlights add dimension while the bangs frame the face. Modern and dynamic.
Styling Guide
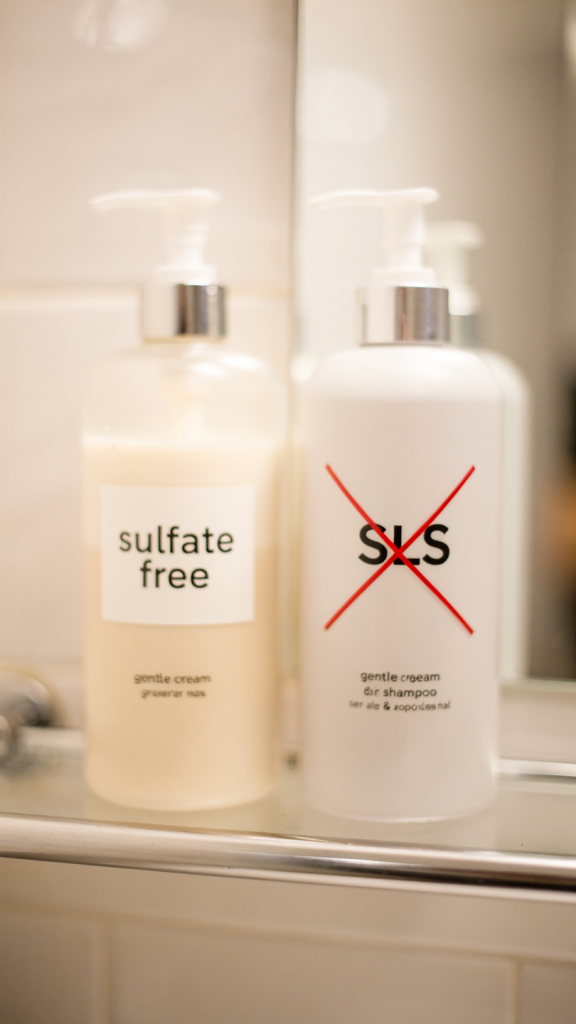
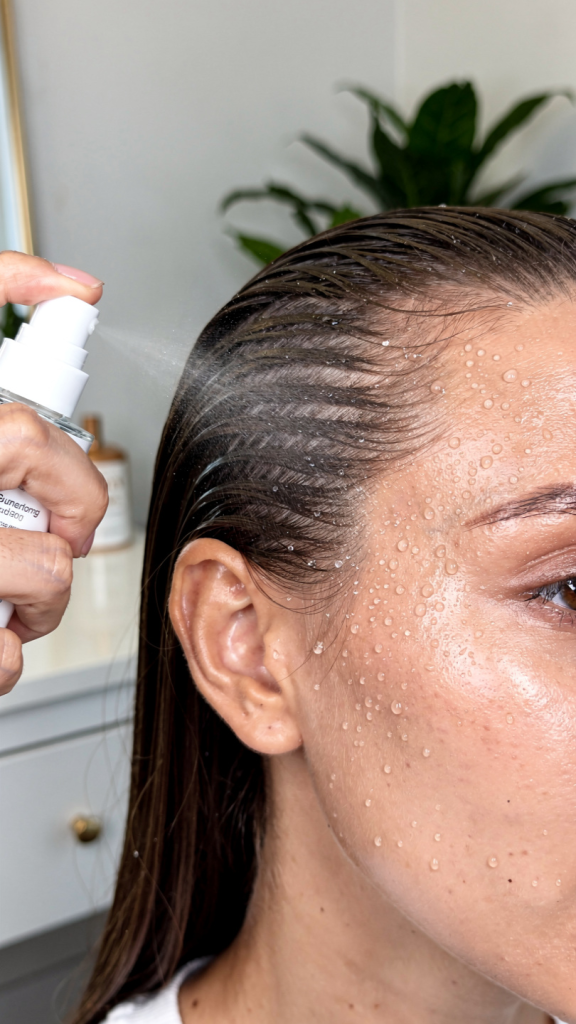
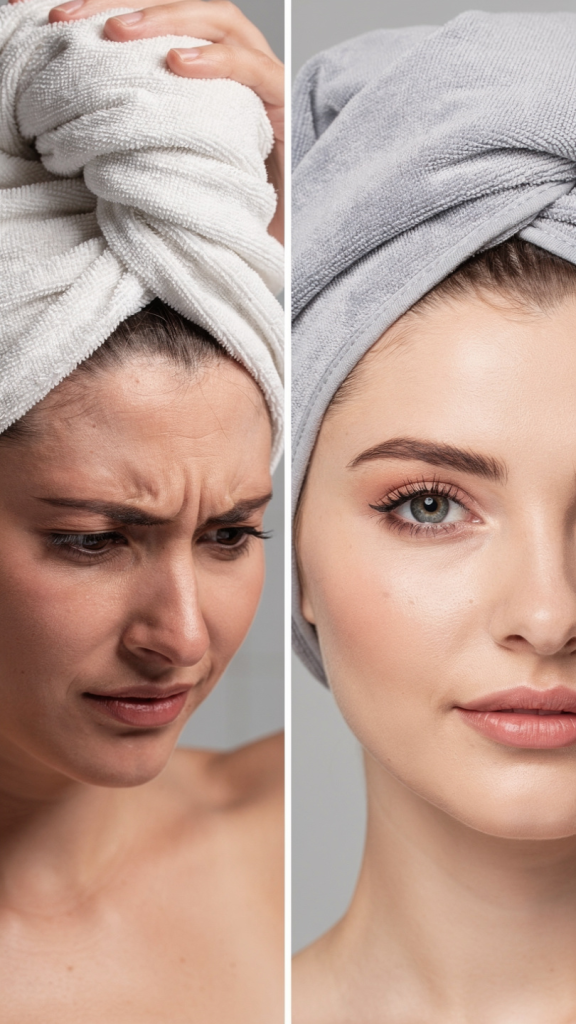
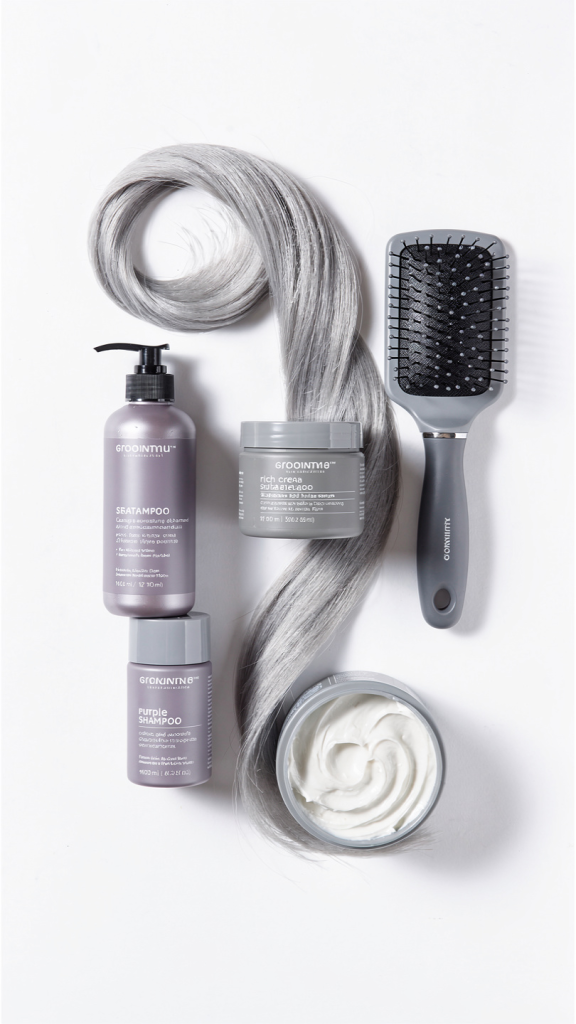
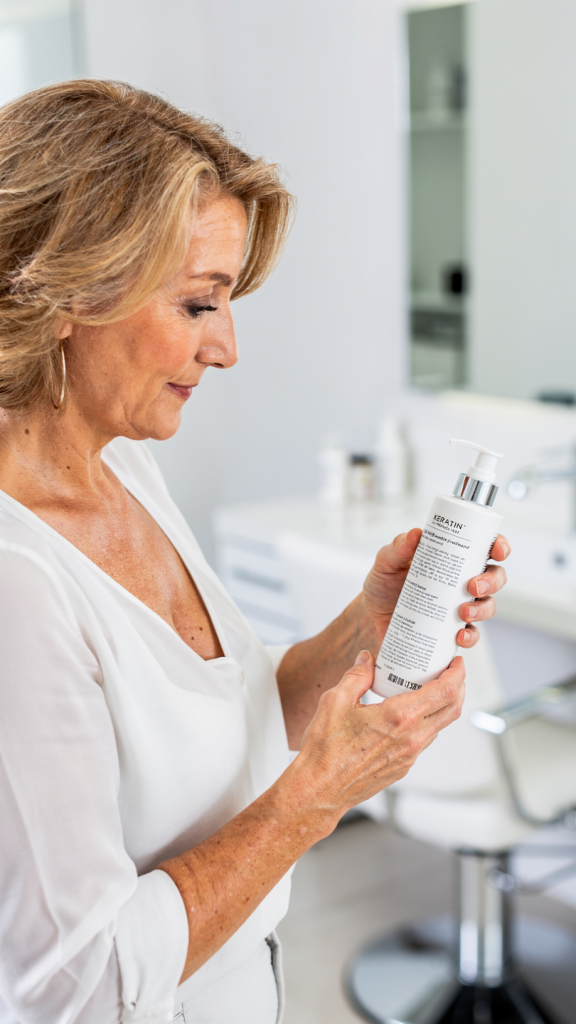
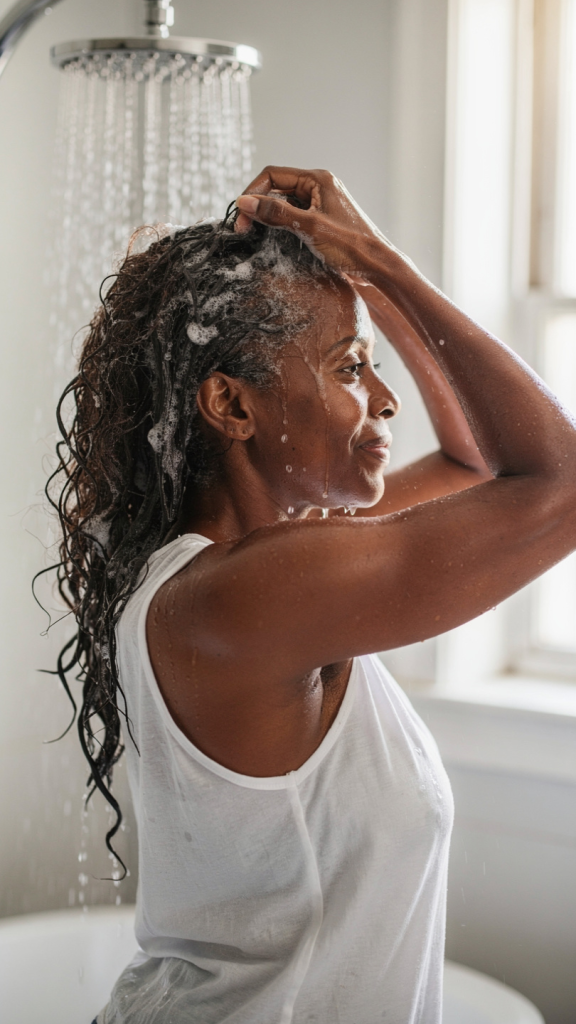
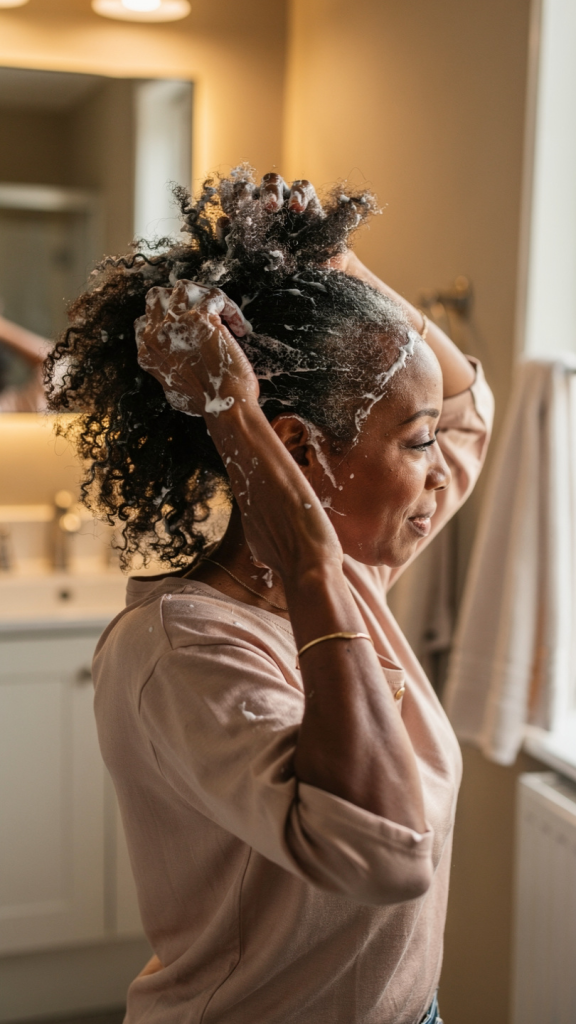
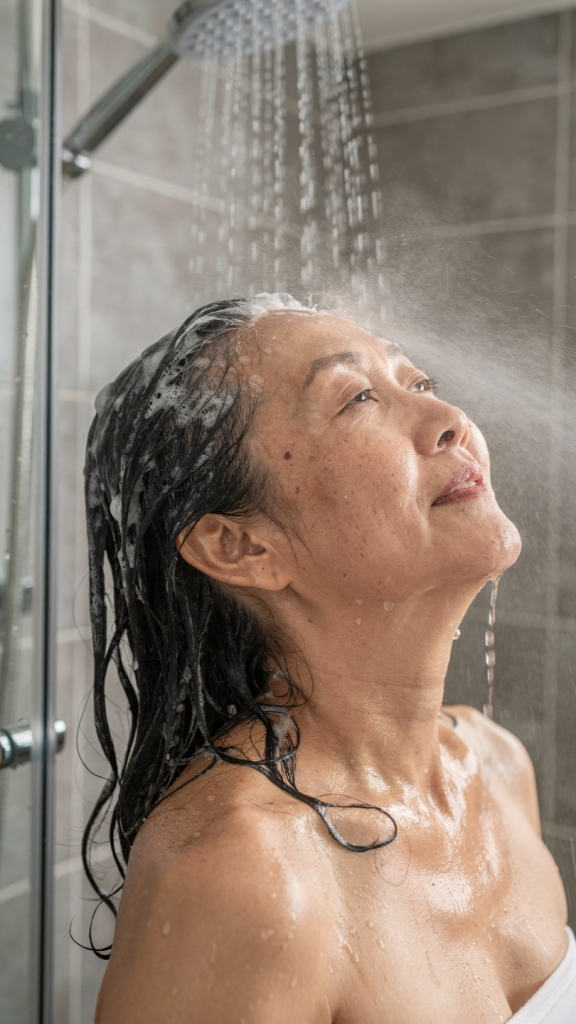
Wash & Prep
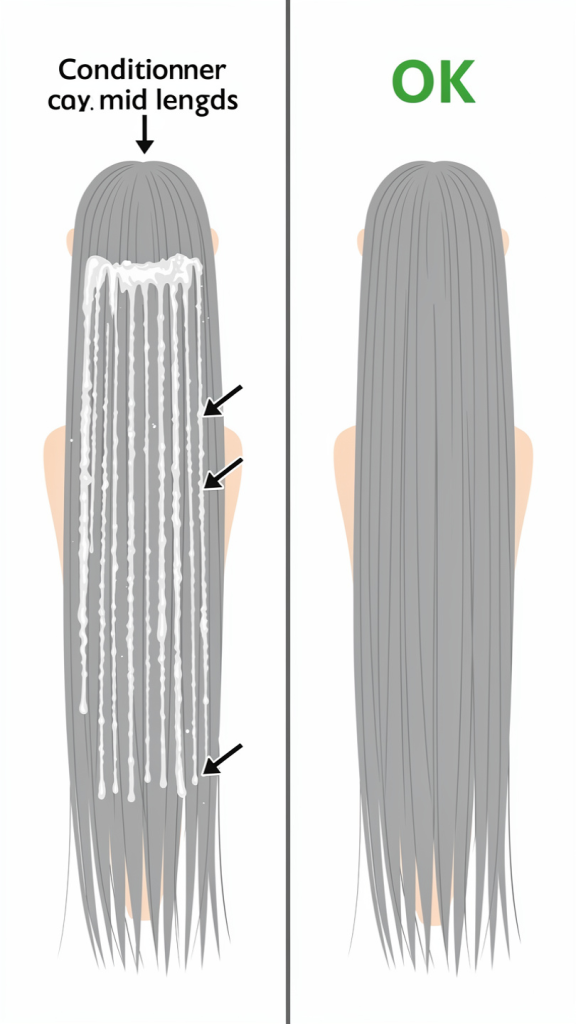
Use a sulfate-free shampoo and a moisturizing conditioner (black hair tends to be drier). Apply a heat protectant and a small amount of mousse or smoothing cream.
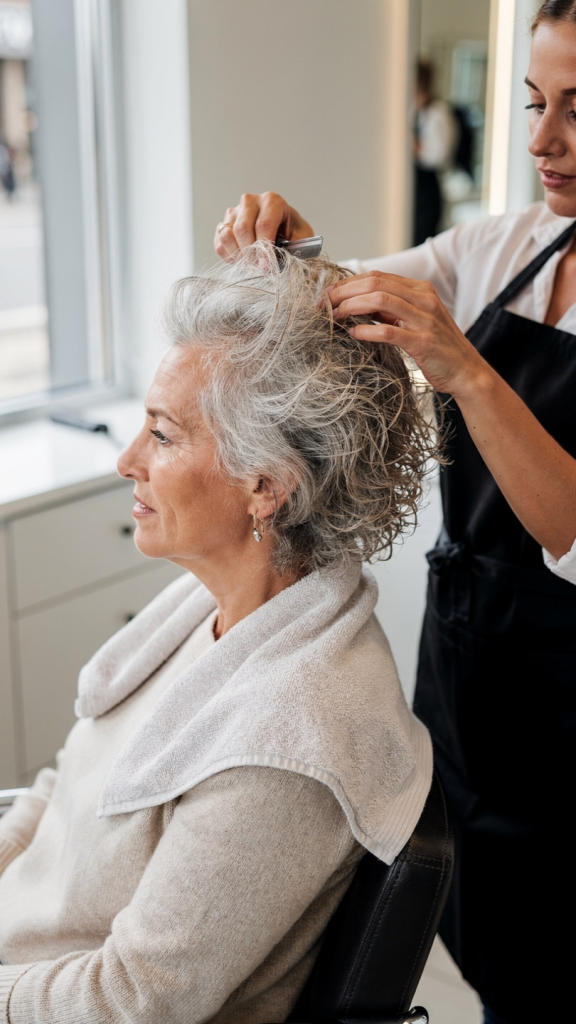
Create the Curtain Bangs
Blow-dry curtain bangs using a round brush, directing them away from your face on each side. The goal is a soft, face-framing curve.
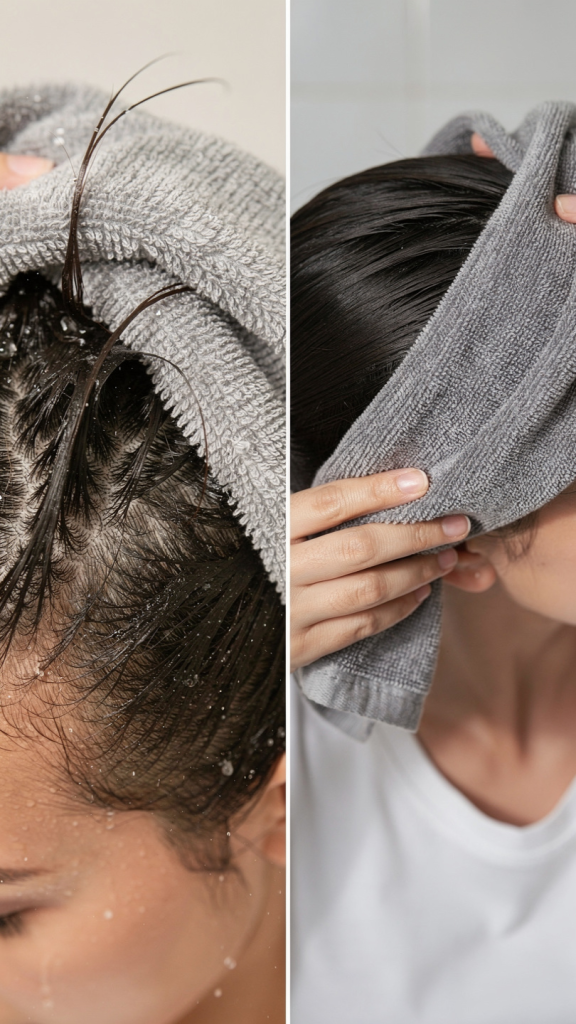
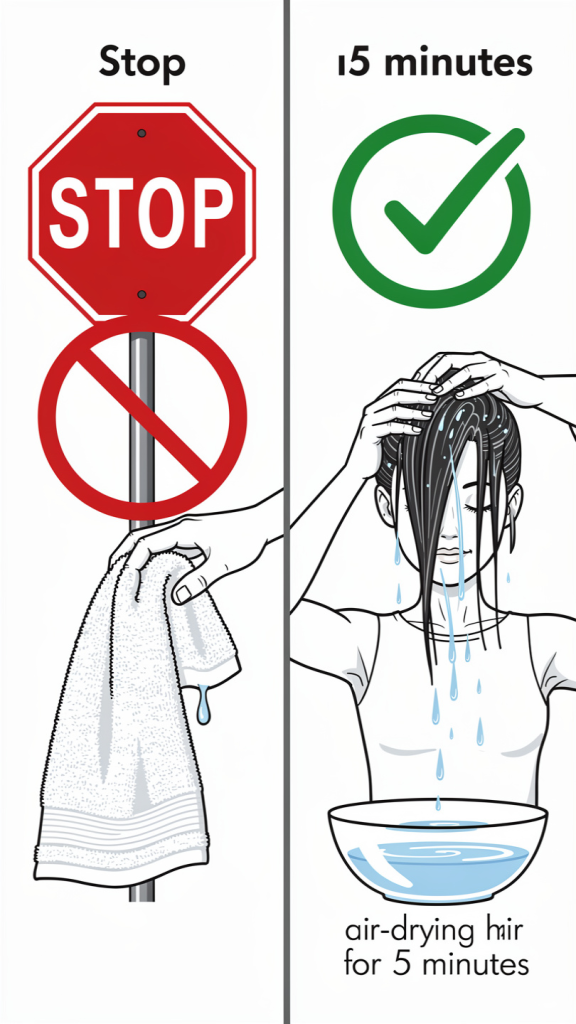
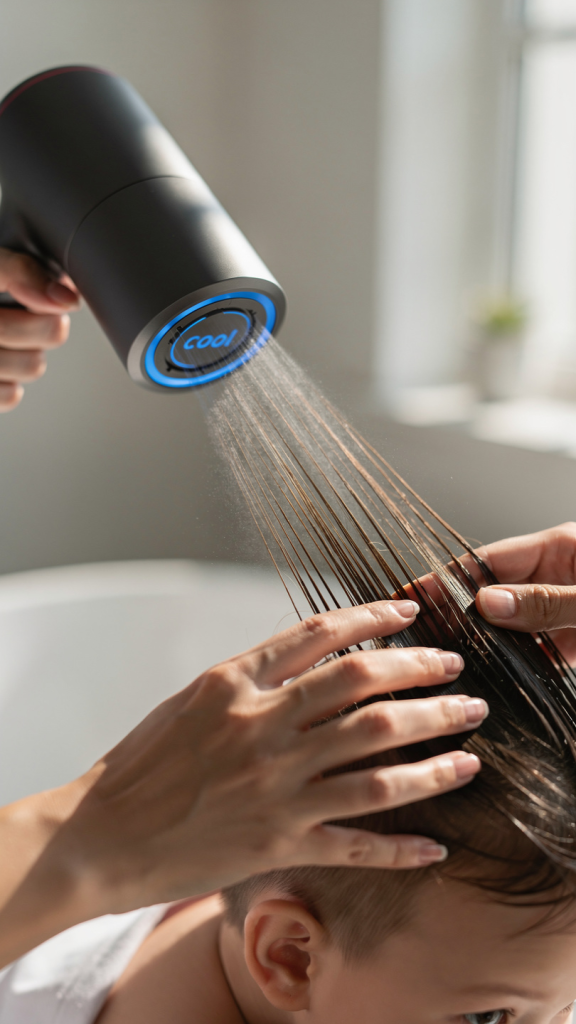
Dry the Lob
Blow-dry the rest of your hair using a round brush. For volume, lift at the crown. For sleekness, direct air downward. For waves, use a diffuser or curling iron.
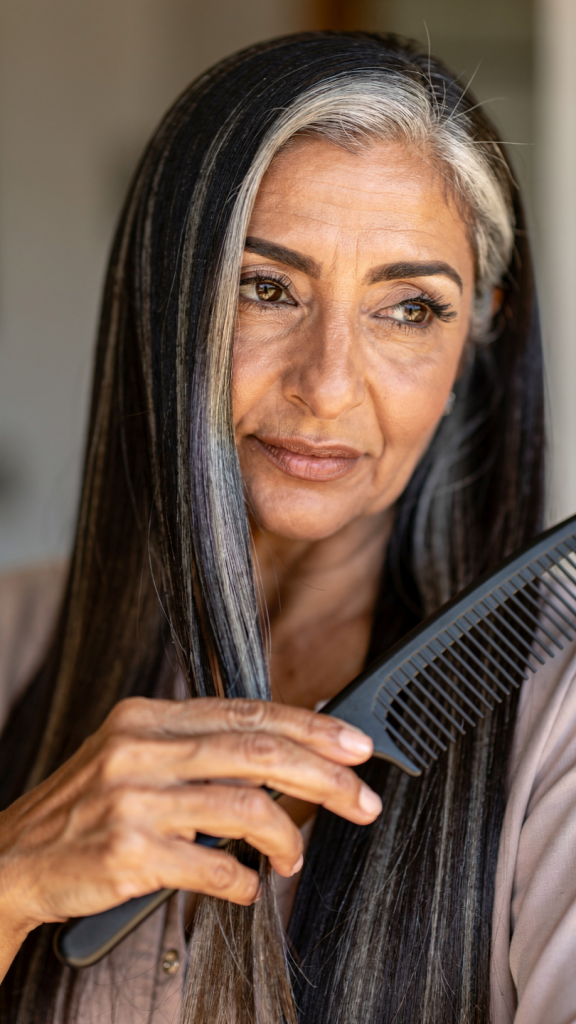
Style the Bangs
Curtain bangs should part in the middle and sweep to each side. Use a small flat iron or round brush to add a slight bend. They should never lie flat against your forehead.
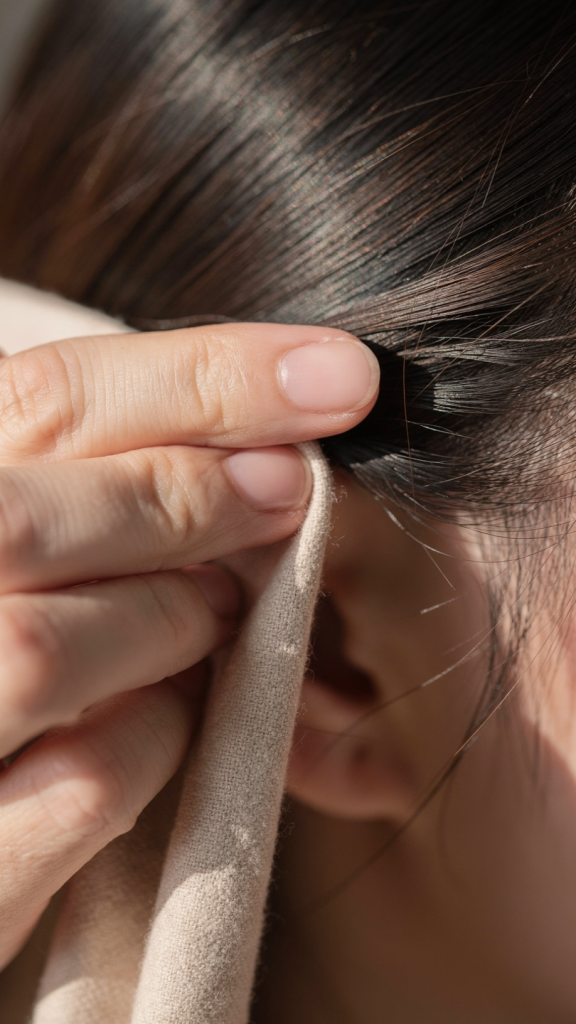
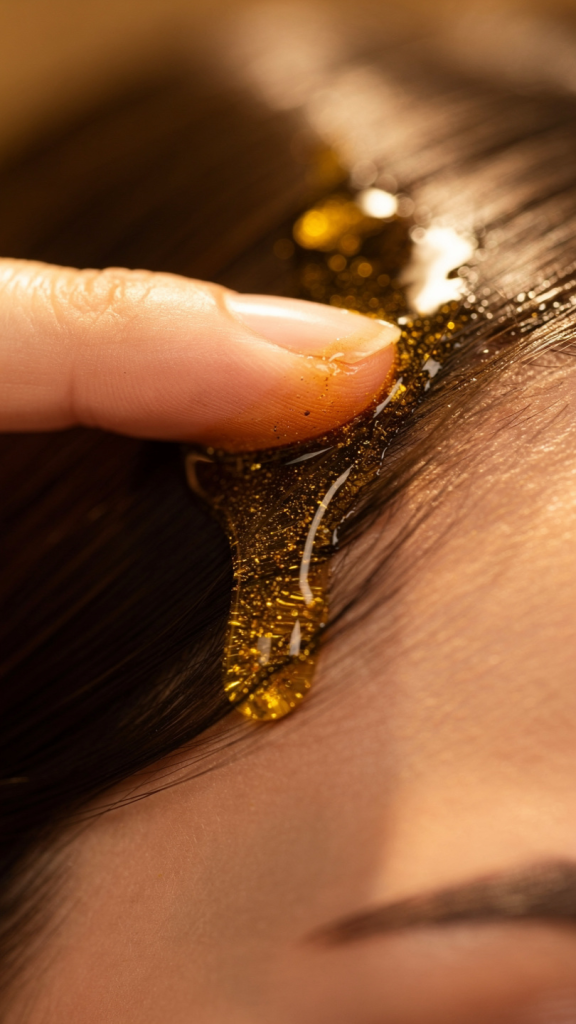
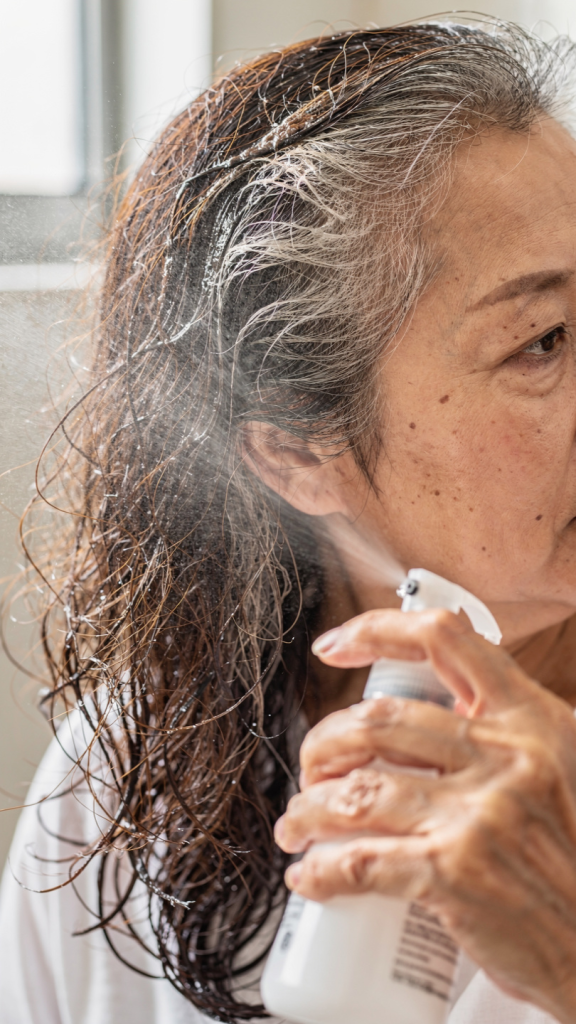
Finish with Shine
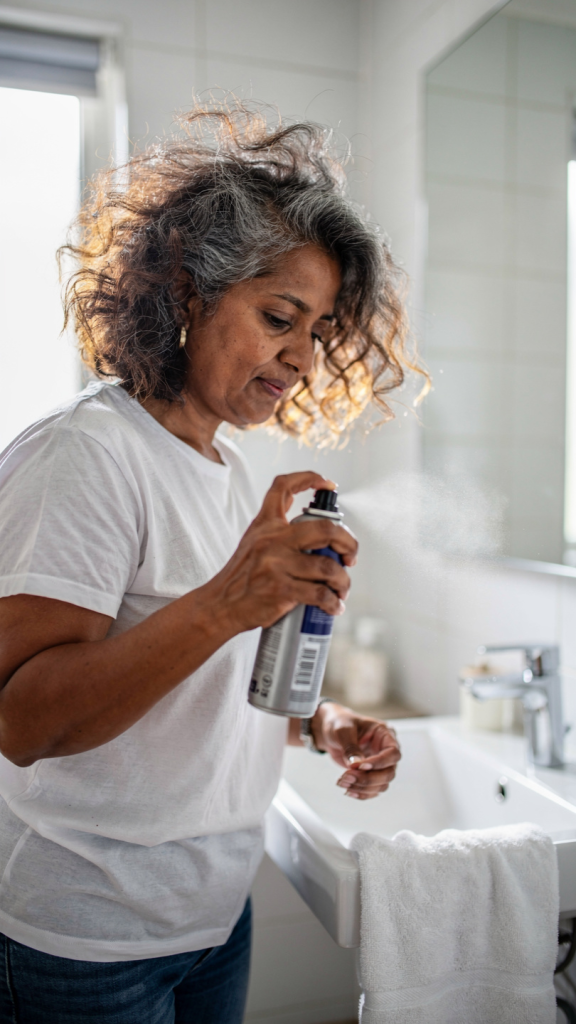
Black hair looks best with shine. Mist with shine spray or add a drop of lightweight oil (argan or jojoba) to your palms and glaze over the finished style.
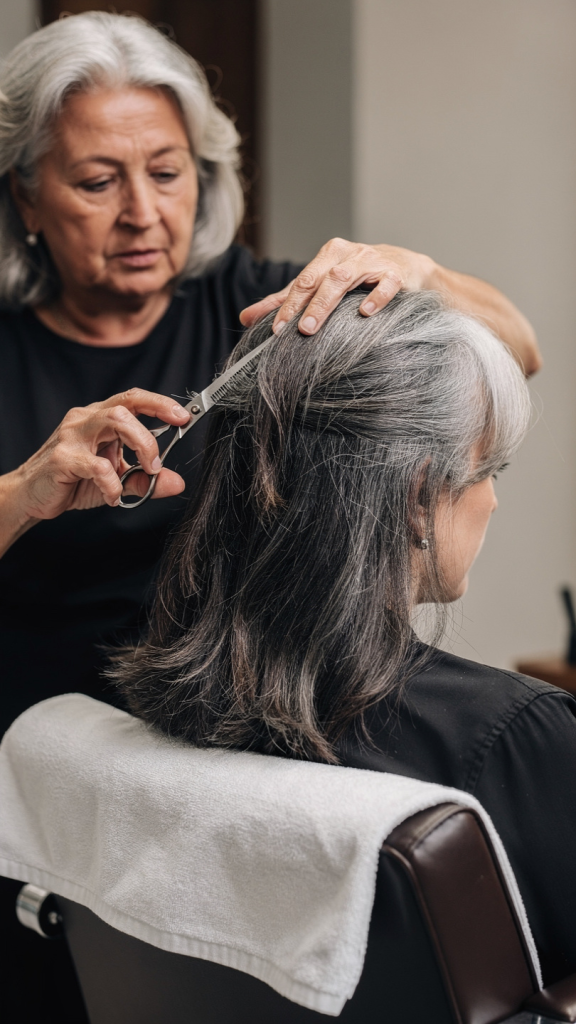
Quick Tip
Curtain bangs on black hair require regular trims every 3 to 4 weeks to maintain the shape. Between trims, use dry shampoo to keep them fresh and bouncy, not greasy.
Conclusion
A long bob with curtain bangs on black hair is a stunning combination. The dark color makes the cut and bangs stand out, while the curtain bangs add softness and sophistication. These 10 ideas—from classic sleek to wavy to highlighted—prove that black hair can be versatile, modern, and absolutely gorgeous. Bring your favorite idea to your stylist, maintain your bangs with regular trims, and enjoy your chic new look.