Prom night is your time to shine, and while the dress sets the stage, your hair delivers the finale. Whether you’re aiming for timeless elegance, modern volume, or romantic softness, the right hairstyle completes your entire look.
Best Hairstyle for Each Dress Style
Choosing your prom hairstyle becomes easier when you consider your dress’s neckline and silhouette. Use this quick guide to match your look perfectly.
| Dress Style | Recommended Hairstyle | Why It Works |
|---|---|---|
| Off-the-shoulder | Messy Low Bun with Tendrils | Exposes the collarbone and shoulders while soft tendrils frame the face. |
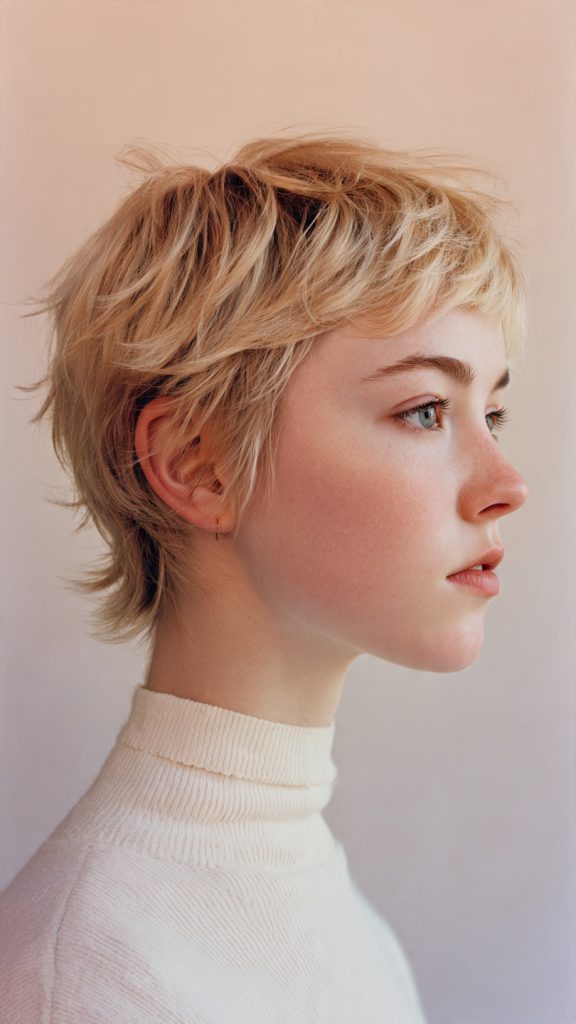
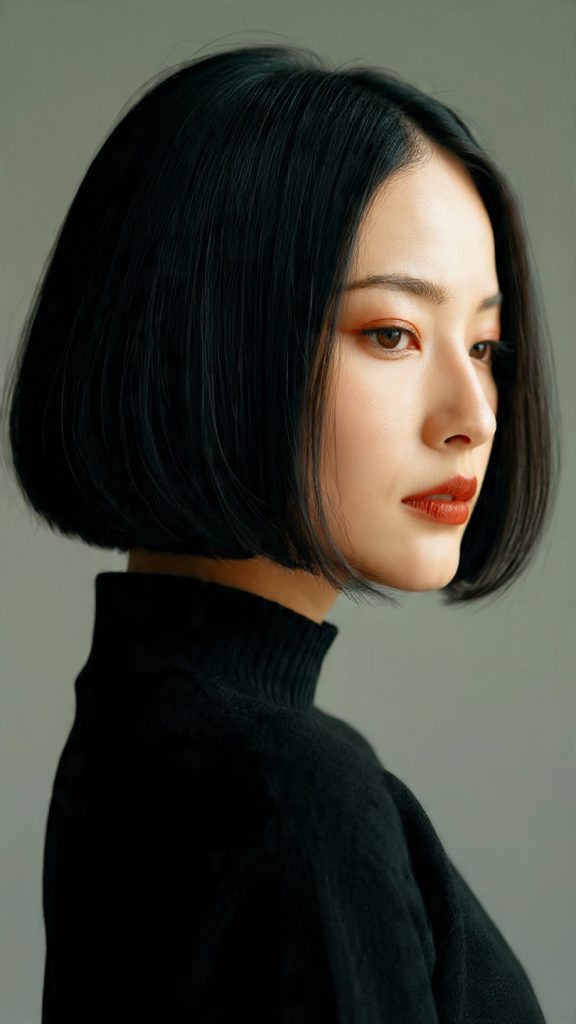
| High neck / Turtleneck | Sleek High Ponytail or Sleek Glass Hair | Keeps the focus on the dress’s neckline without visual clutter. |
| Deep V-neck | Old Hollywood Deep Side Waves or Asymmetrical Side Swept Curls | Adds drama and balances the exposed décolletage. |
| Backless dress | Sleek High Ponytail or Braided Crown | Shows off bare back while keeping hair completely up or off to one side. |
| Strapless | Hollywood Voluminous Blowout or Half-Up Half-Down | Fills the open space above the dress with soft volume and movement. |
| A-line / Ball gown | Loose Textured Updo or Braided Crown | Creates an elegant, princess-like contrast to the full skirt. |
| Slip dress / Minimalist | Accessorized Slicked-Back Bun or Sleek Glass Hair | Matches the clean lines and modern simplicity of the dress. |
| Sparkly / Beaded dress | Bubble Ponytail or High Ponytail with Deep Wave Extensions | Lets the dress shine without competing; hair becomes a secondary statement. |
Below, we break down 13 of the hottest prom hairstyles—each with a one-to-two-sentence explanation to help you find your perfect match.
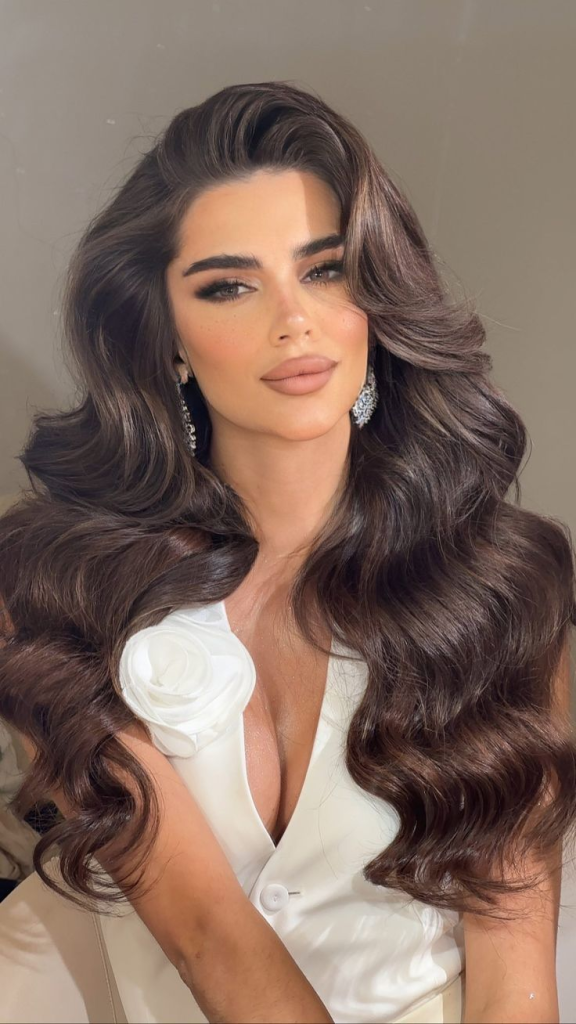
1. Old Hollywood Deep Side Waves
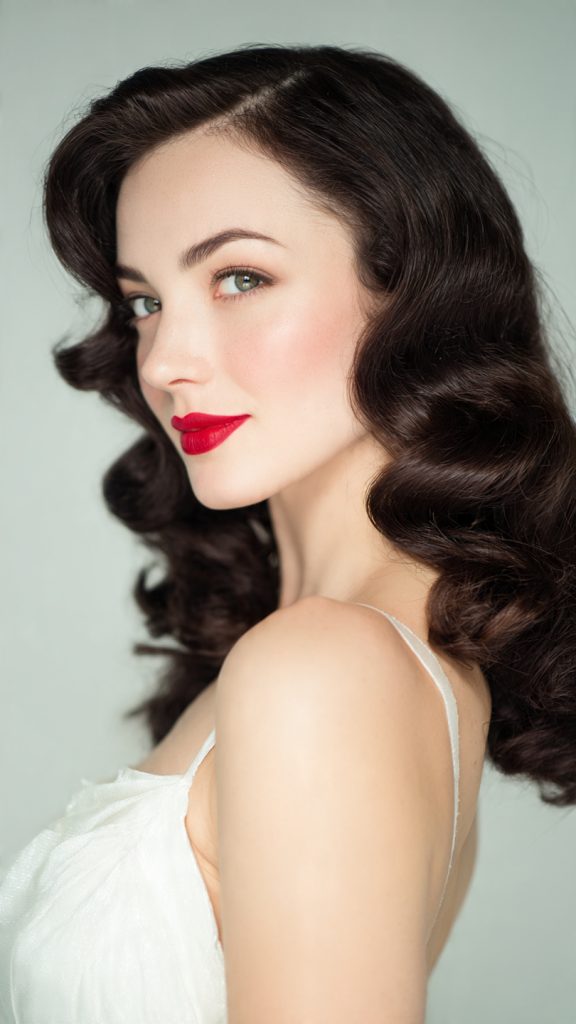
This glamorous, polished style features a deep side part and soft, finger-wave curls that scream vintage sophistication. It works beautifully on medium to long hair and pairs perfectly with a bold red lip.
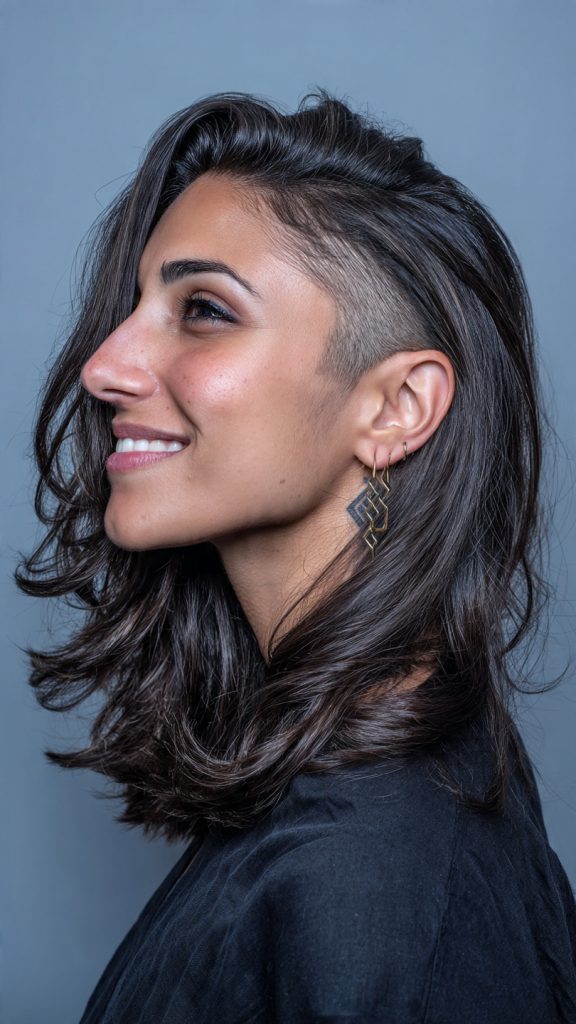
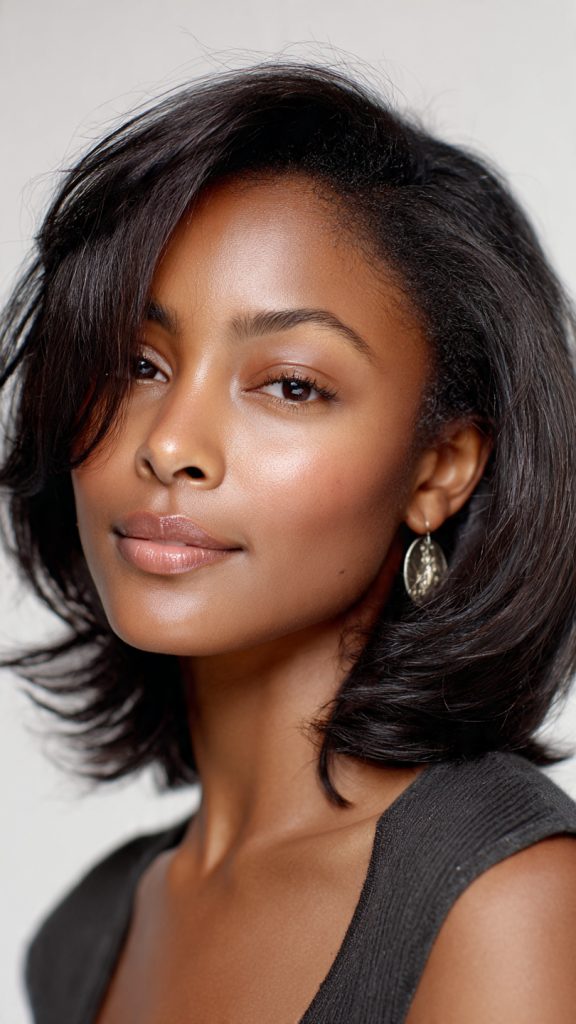
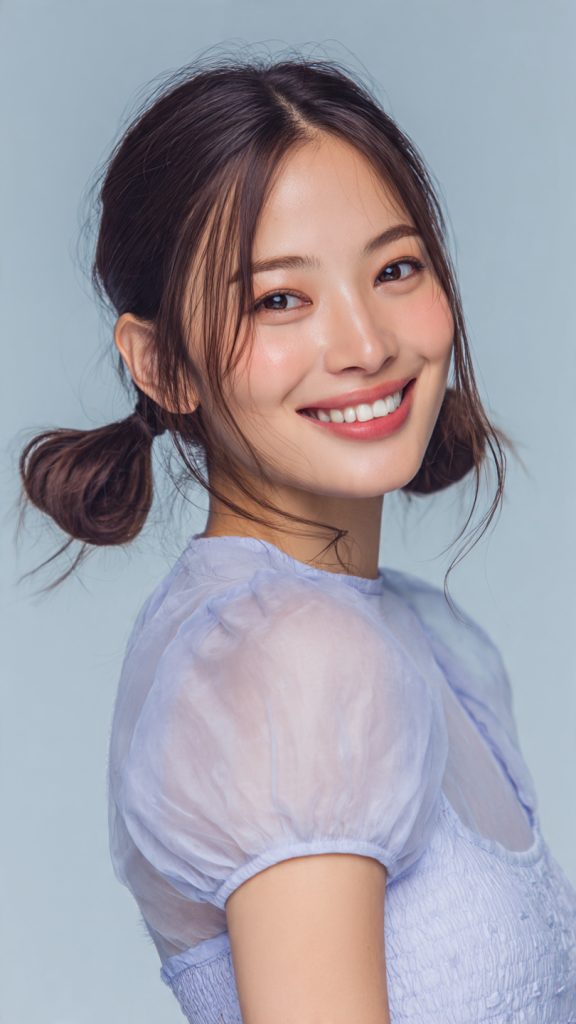
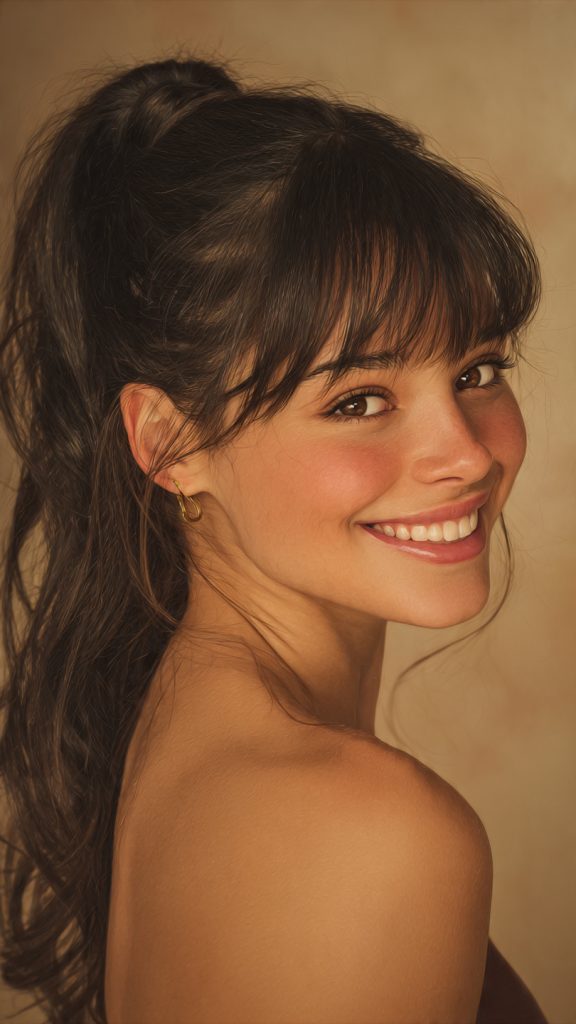
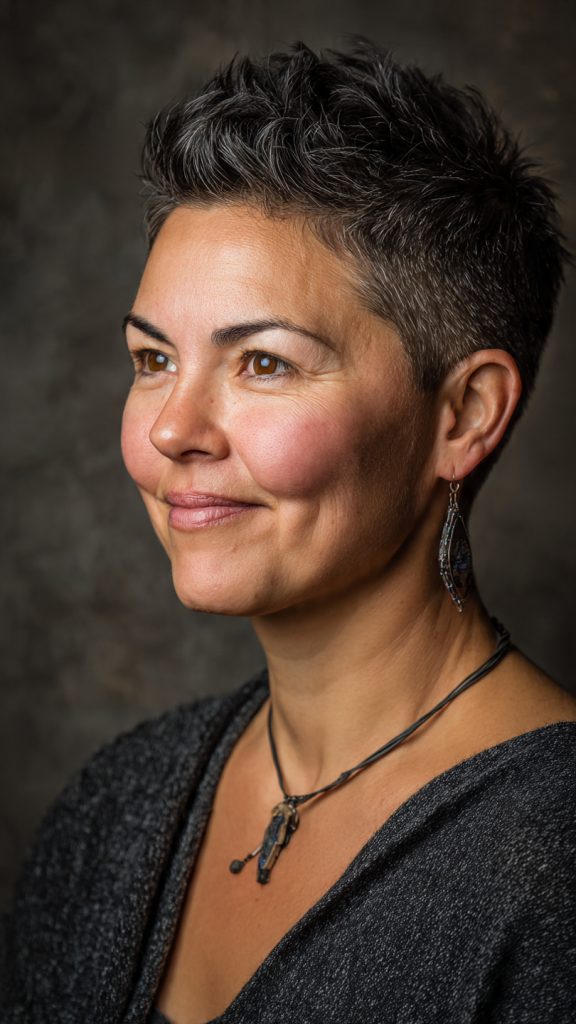
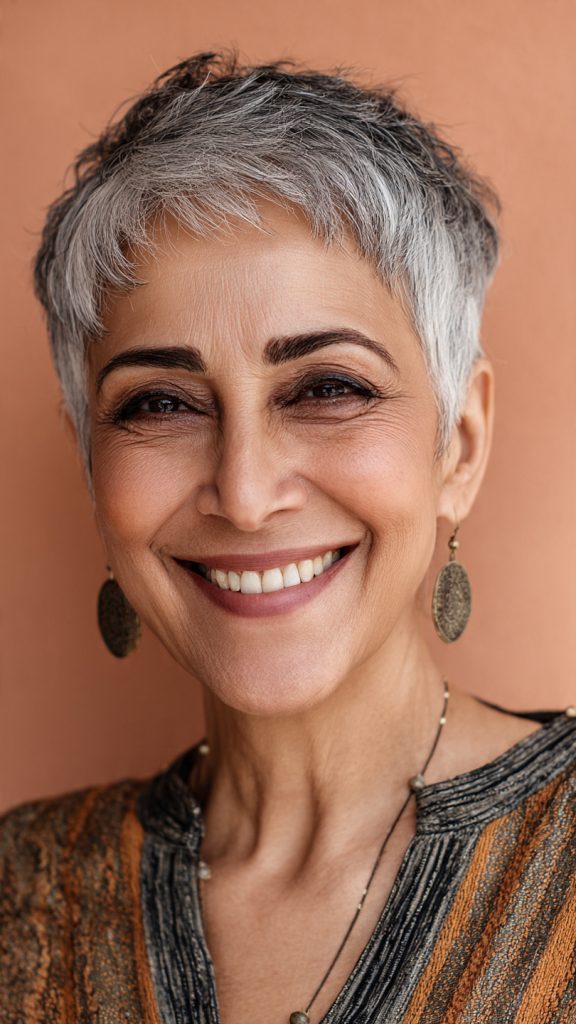
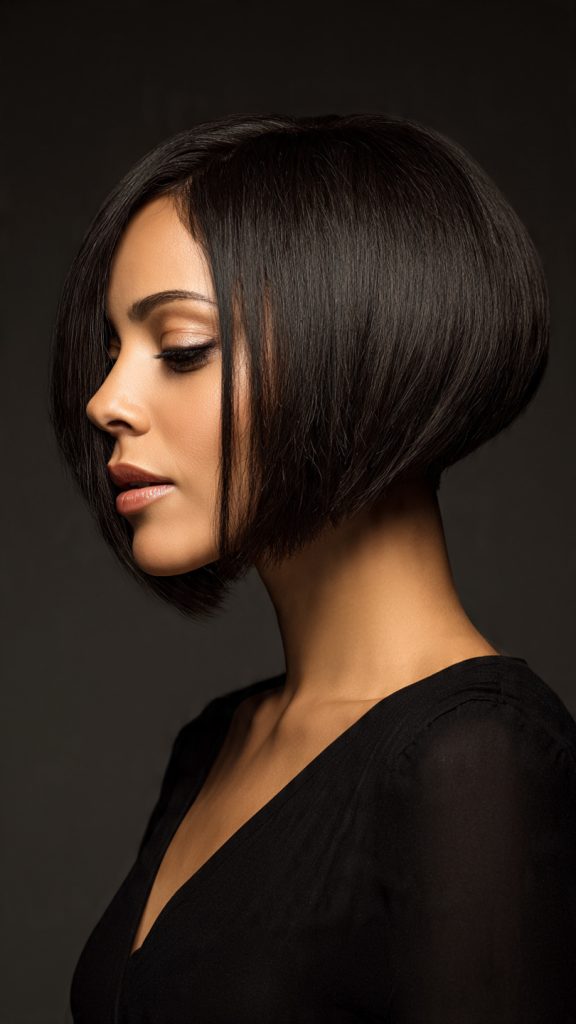
2. Sleek High Ponytail
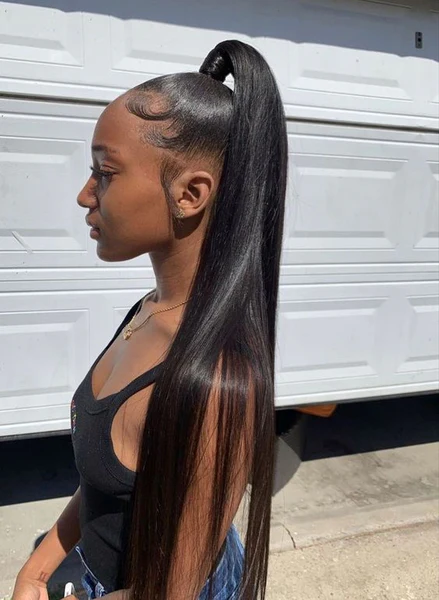
Wrap a strand of hair around the base to elevate this sharp, chin-hugging ponytail from basic to red-carpet ready. It’s a go-to for showing off dramatic earrings and a toned back.
3. Bubble Ponytail
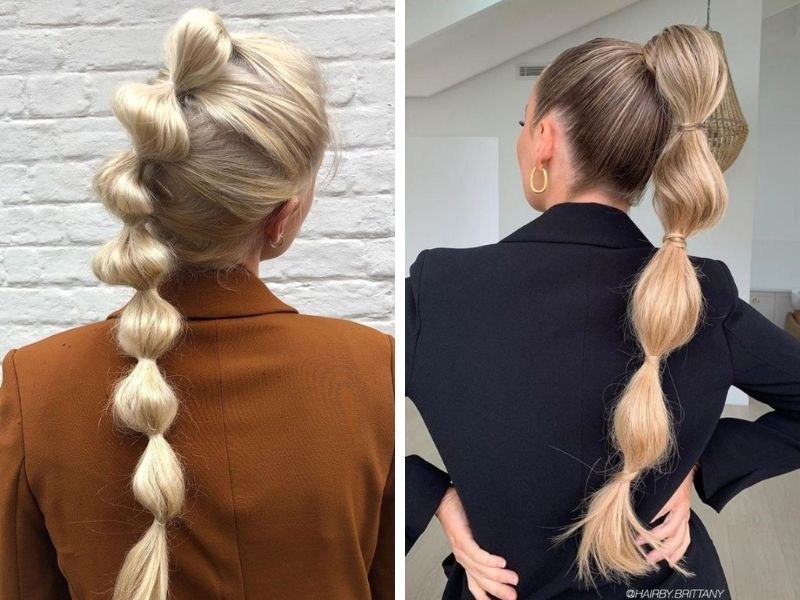
Create a series of “bubbles” by adding small elastic bands down the length of a high or low ponytail, then gently tugging each section. This playful, modern style adds instant volume and texture to straight or wavy hair.
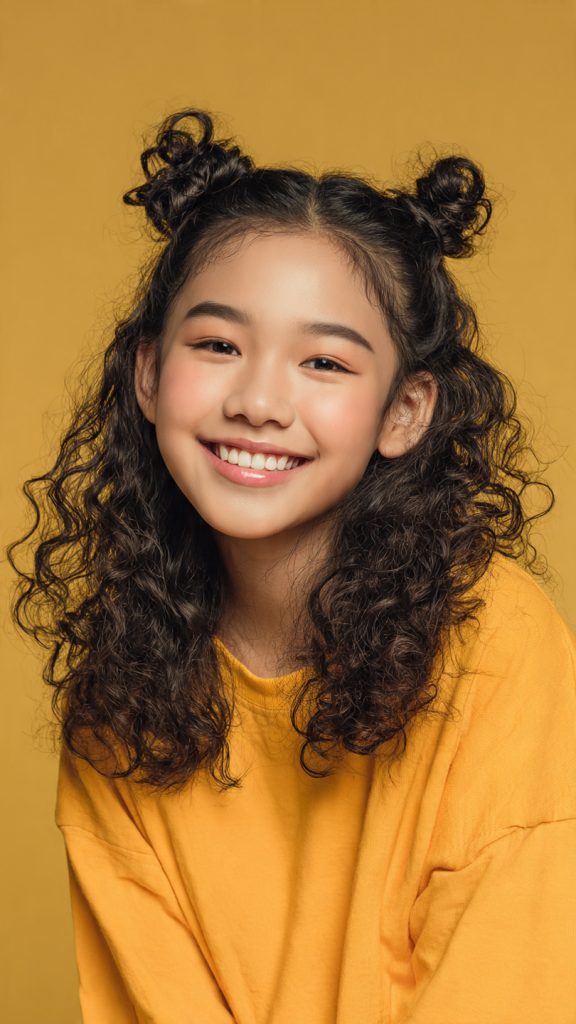
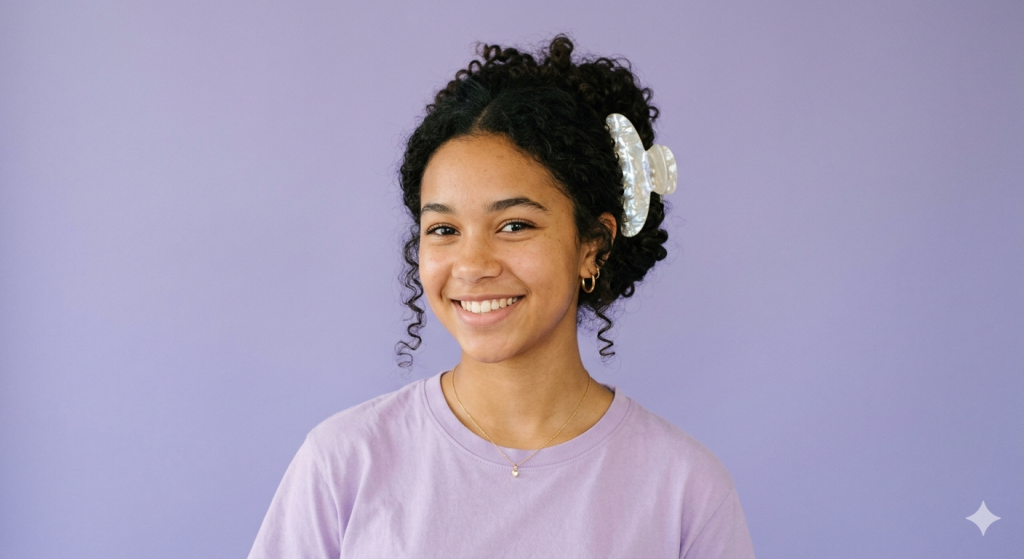
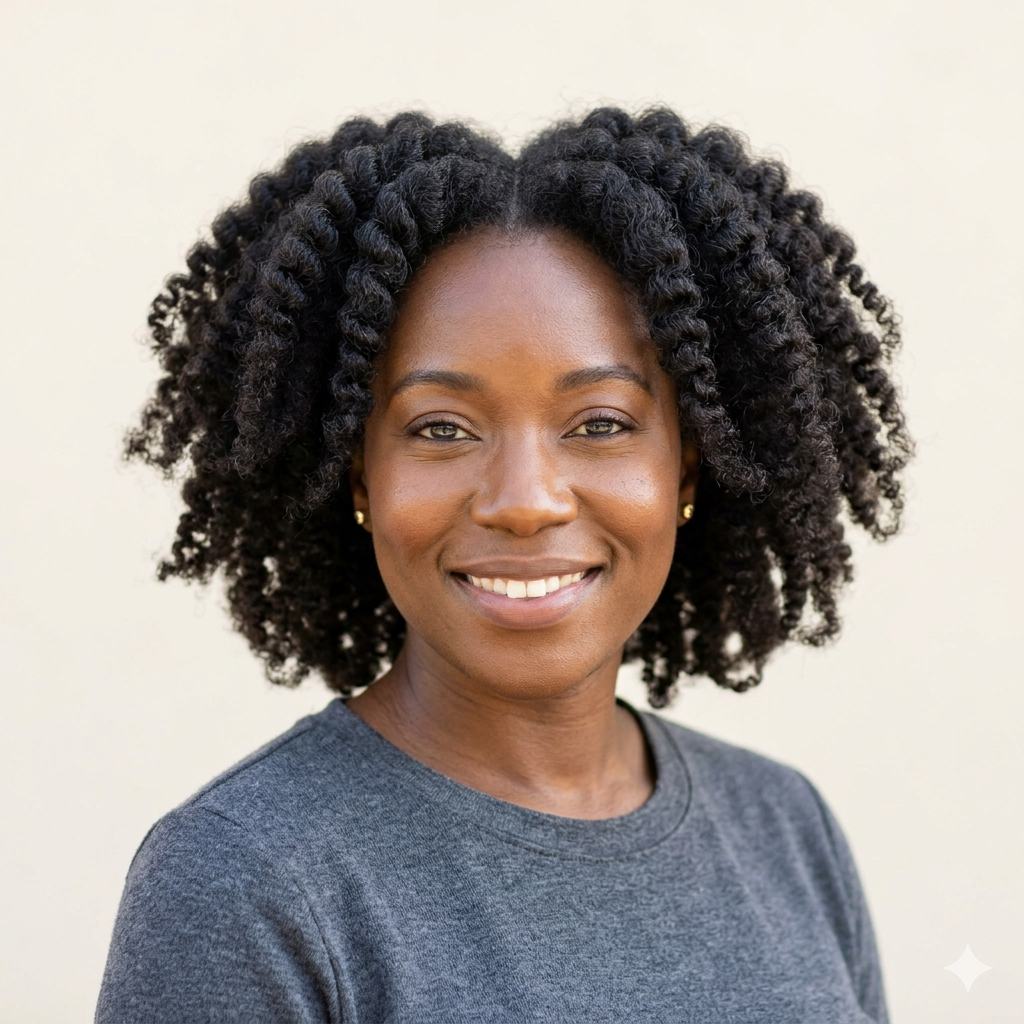
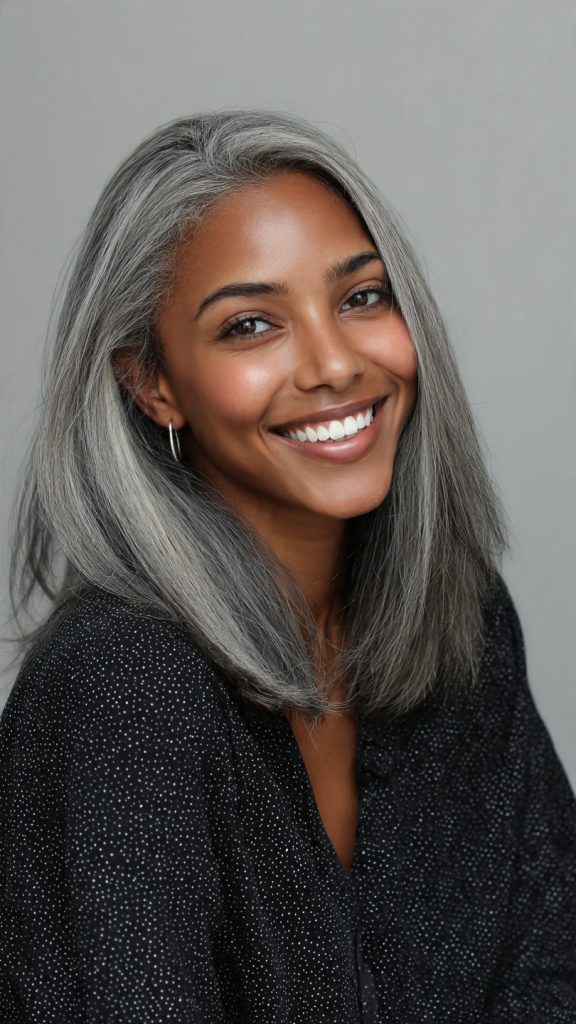
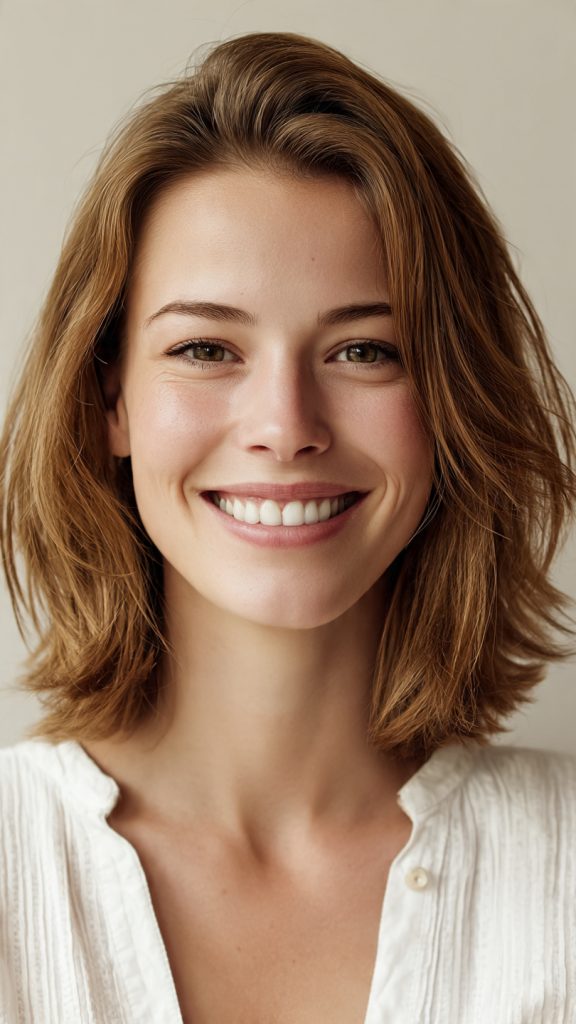
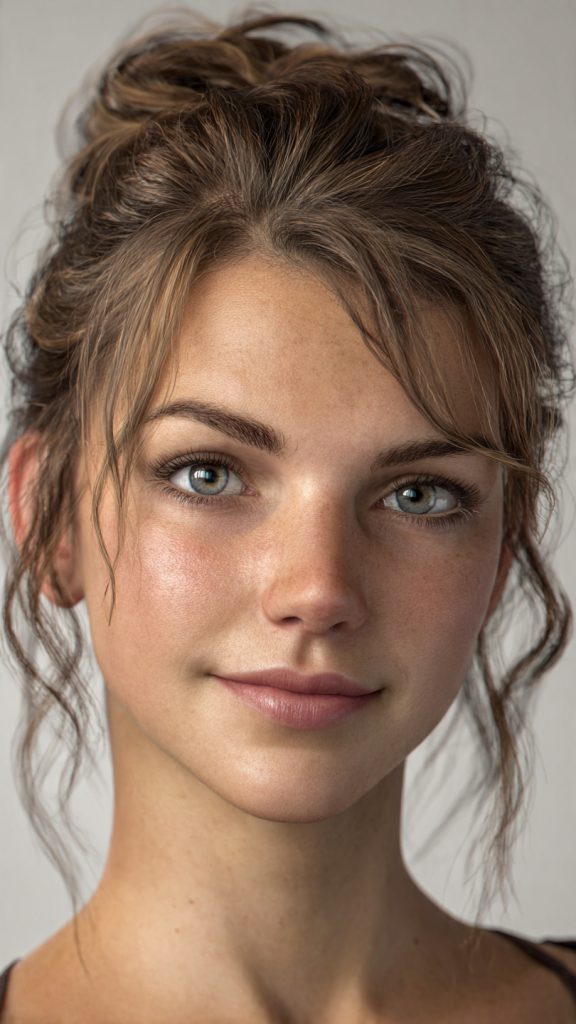
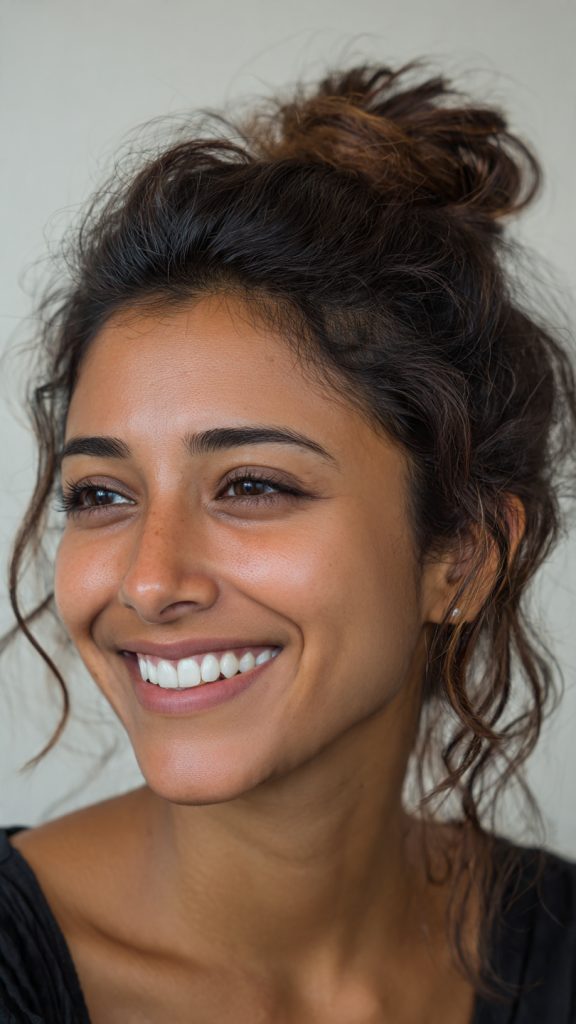
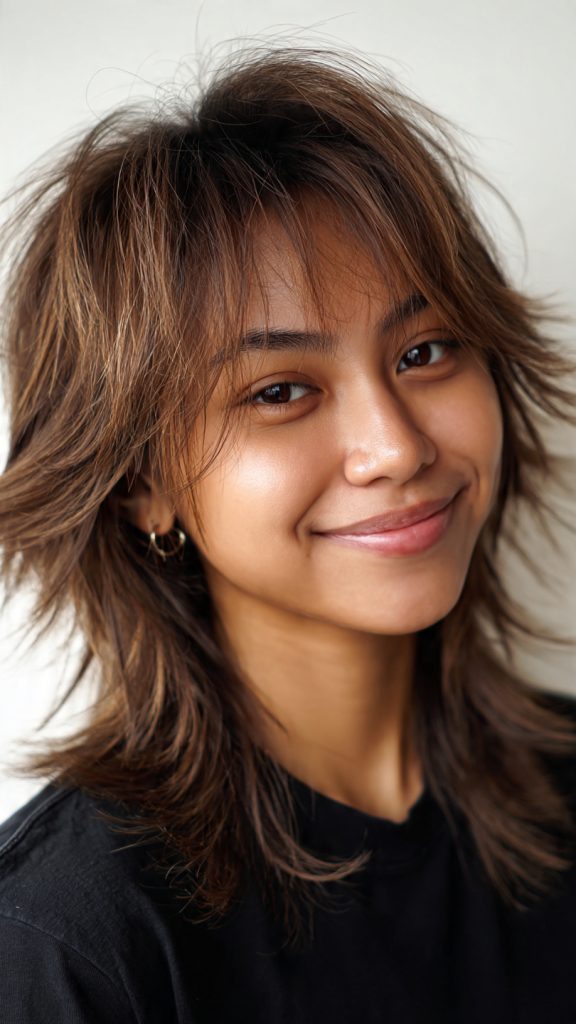
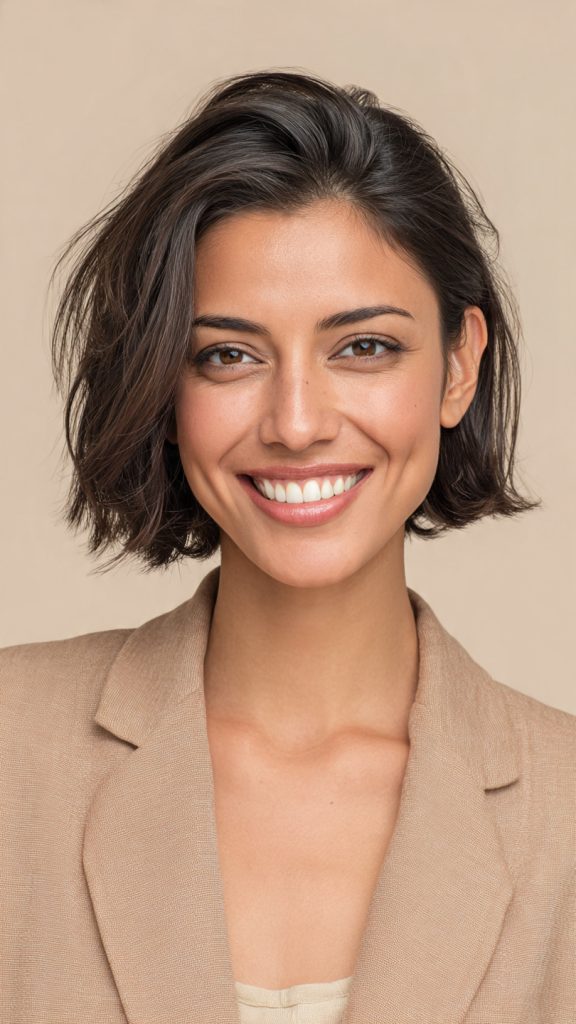
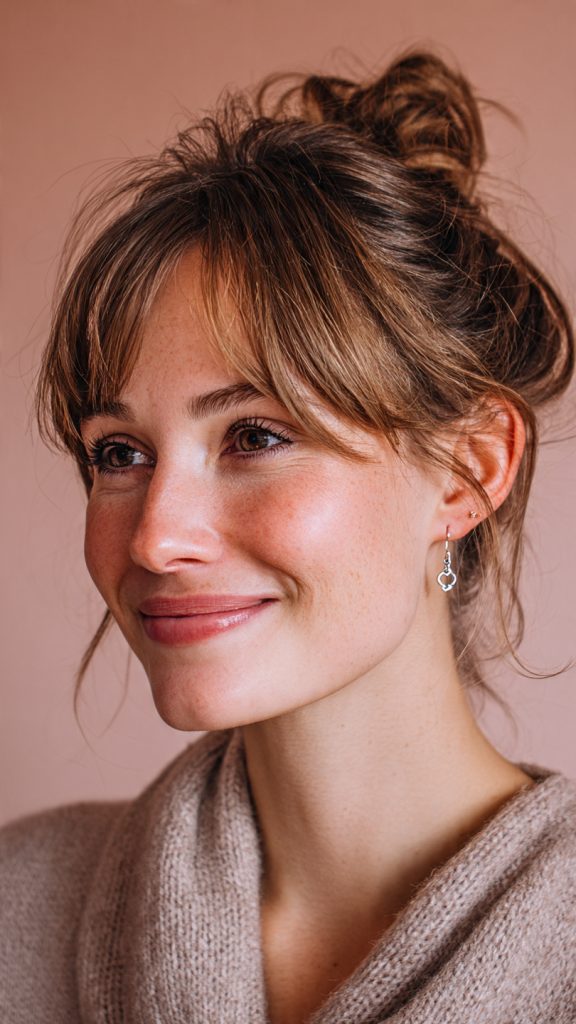
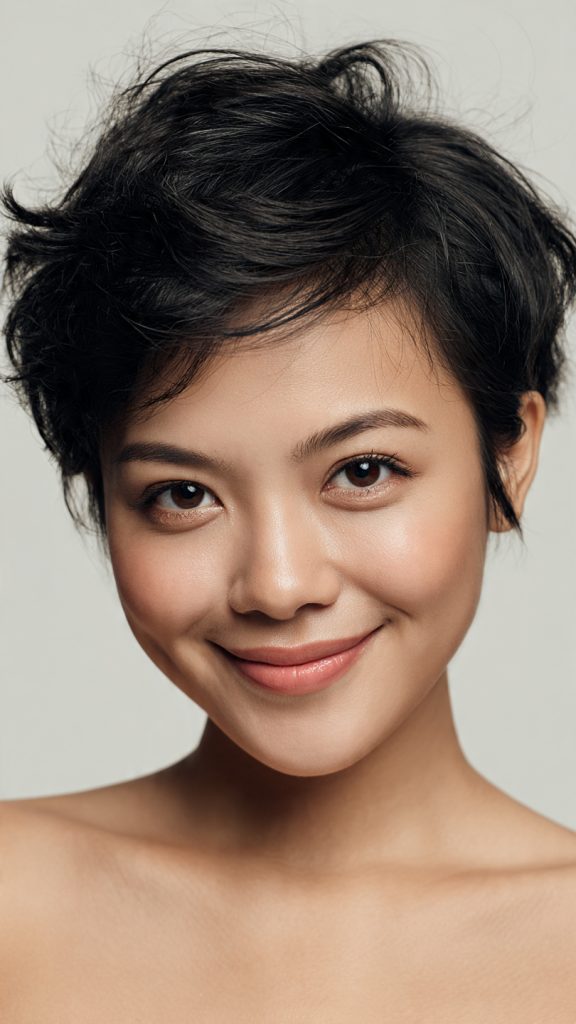
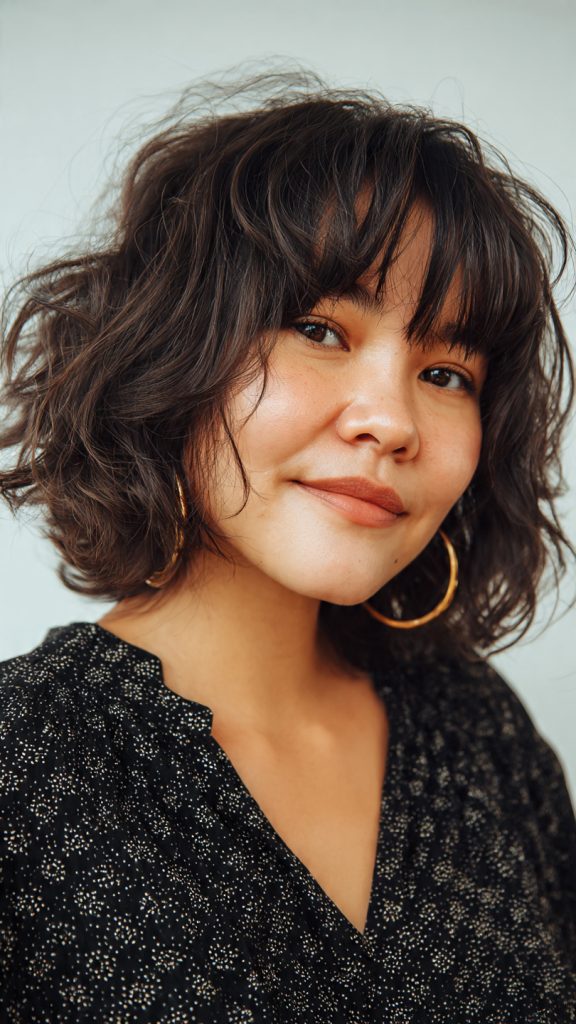
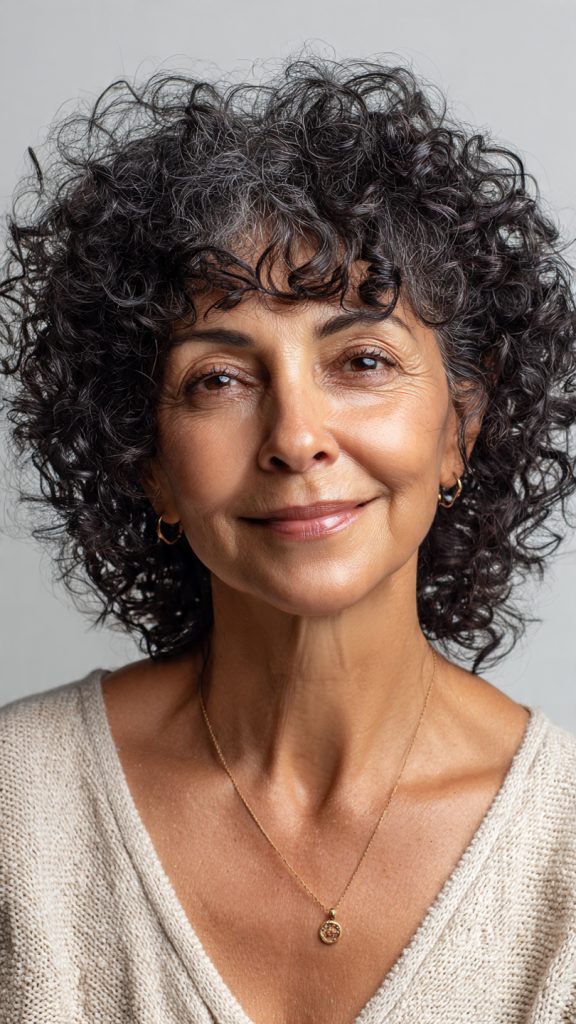
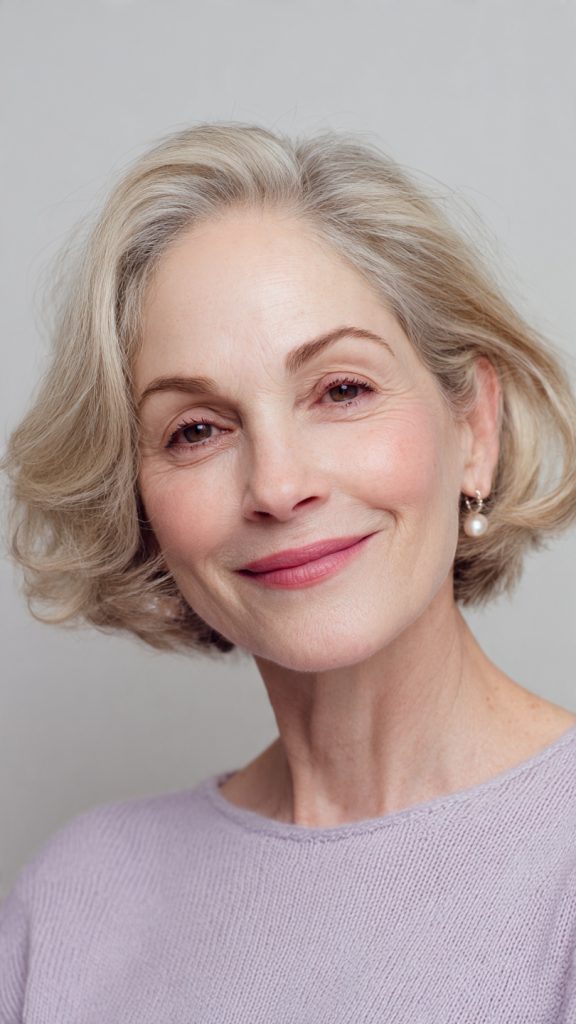
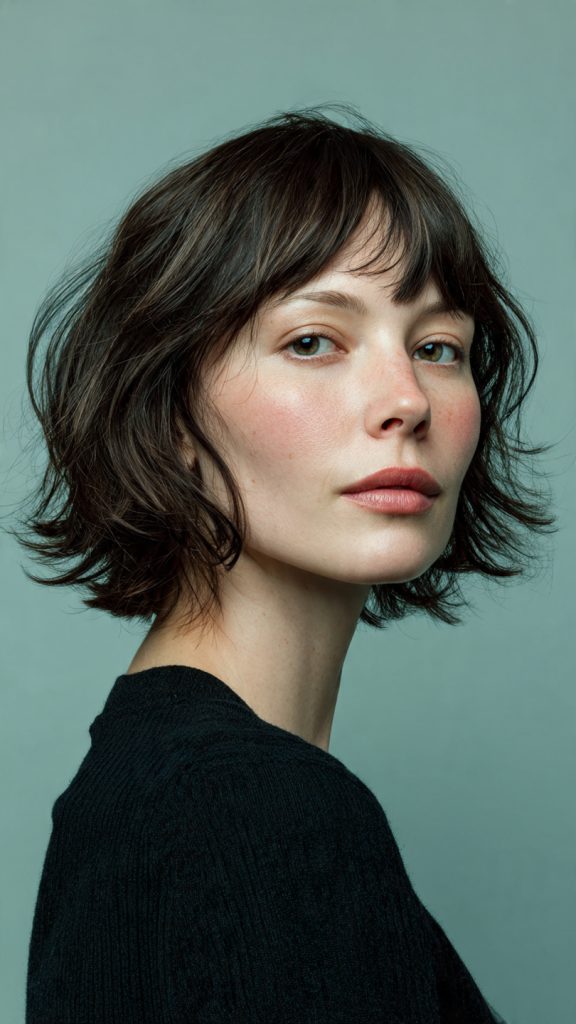
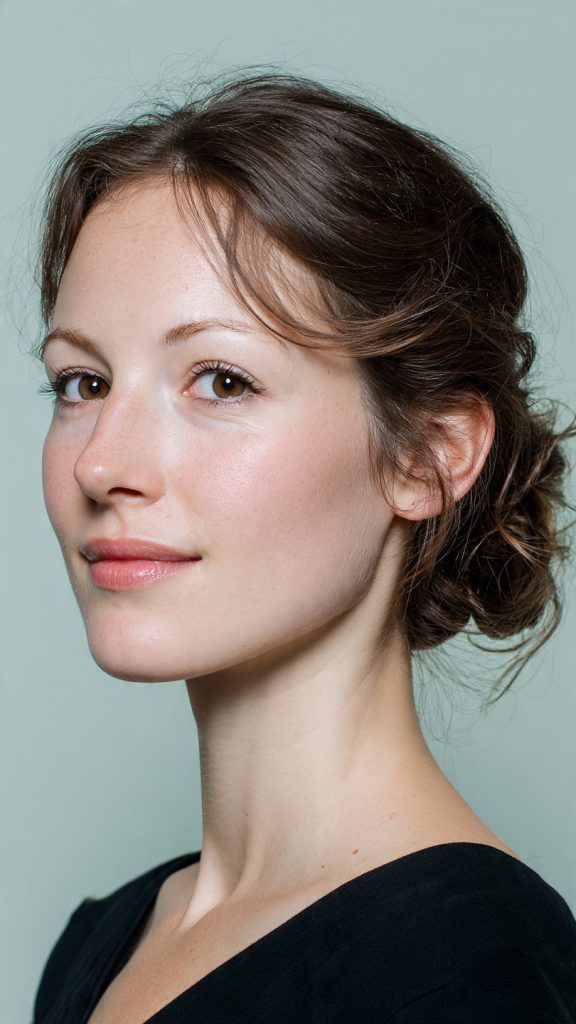
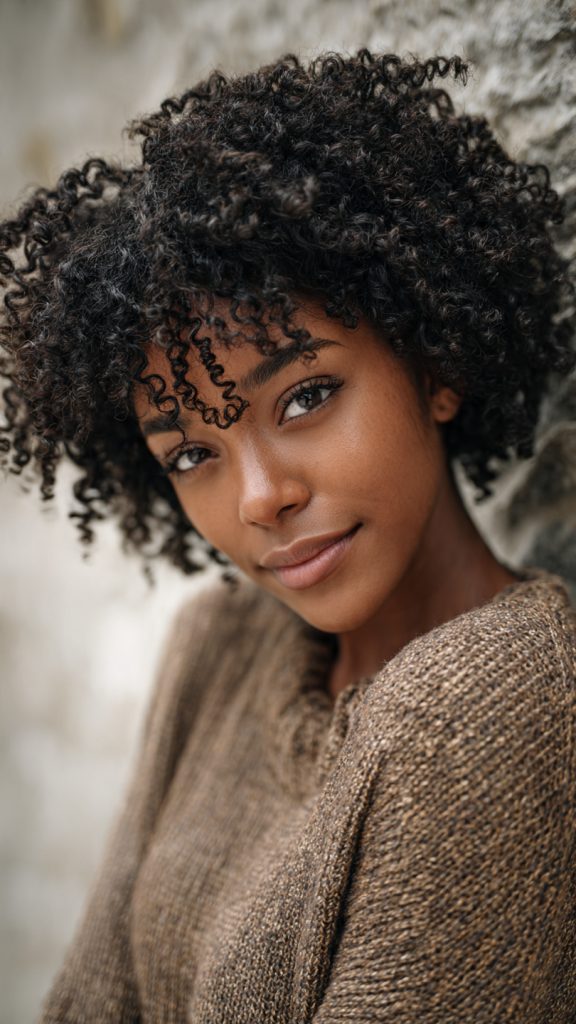
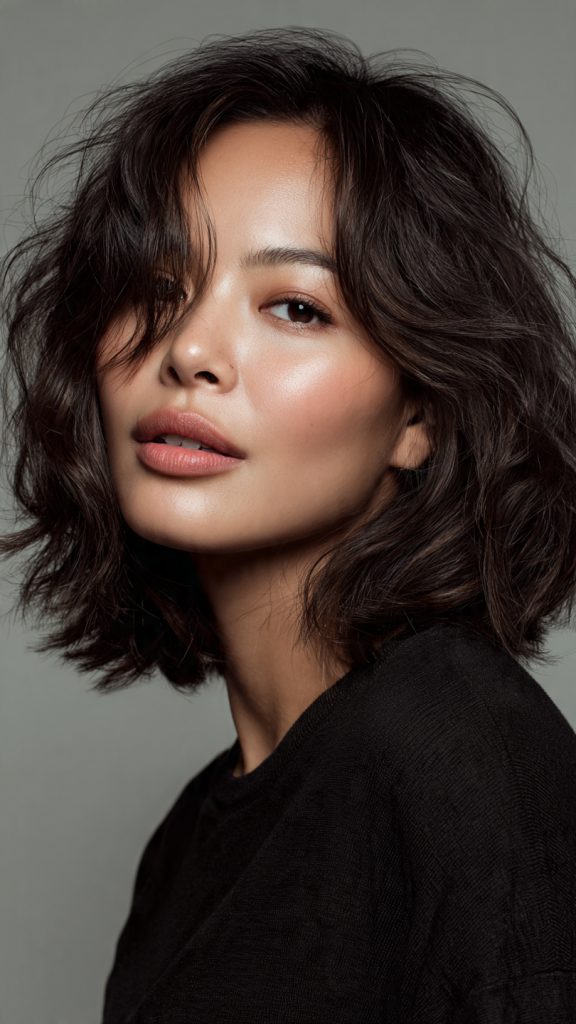
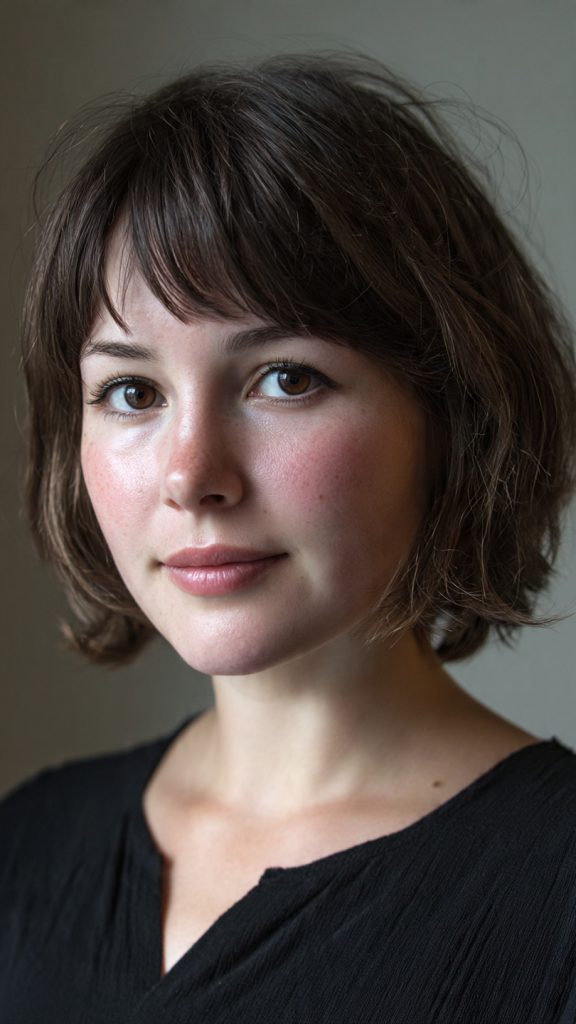
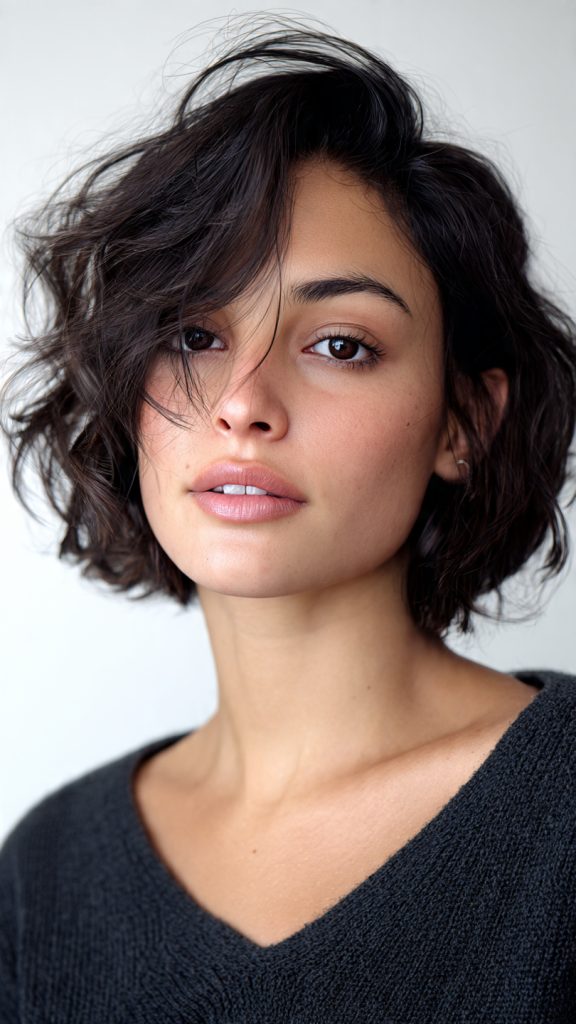
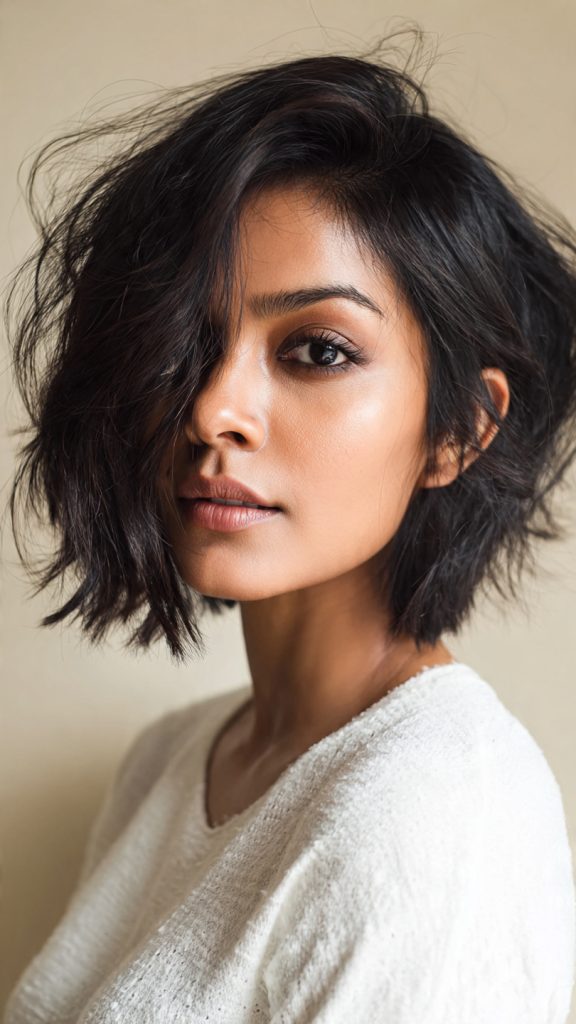
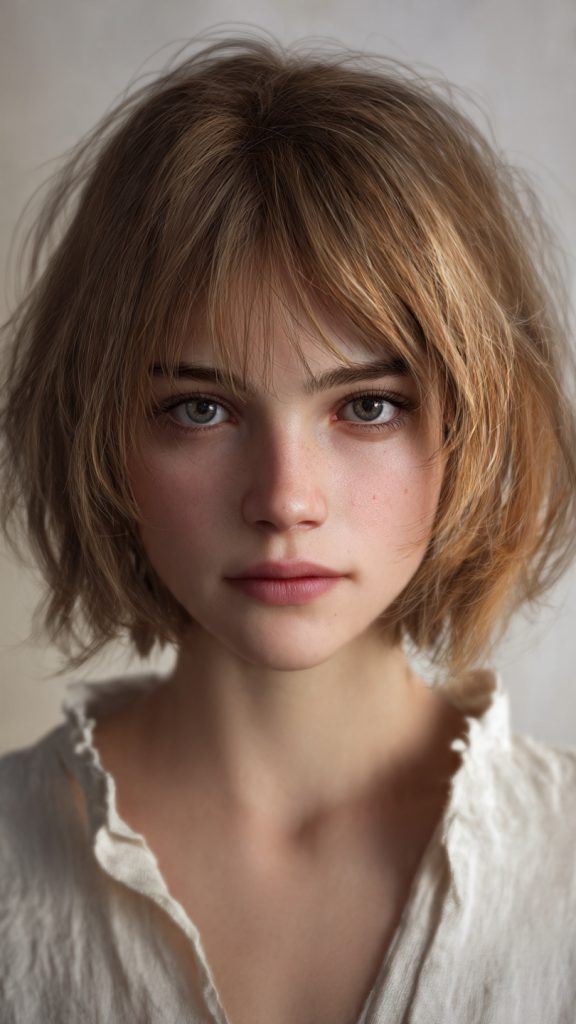
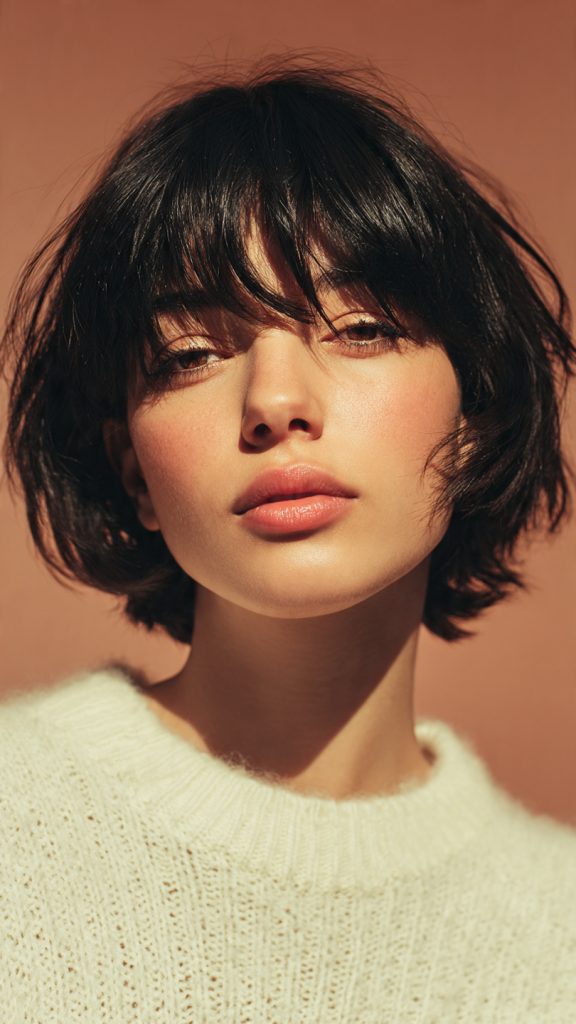
4. Loose, Textured Updo
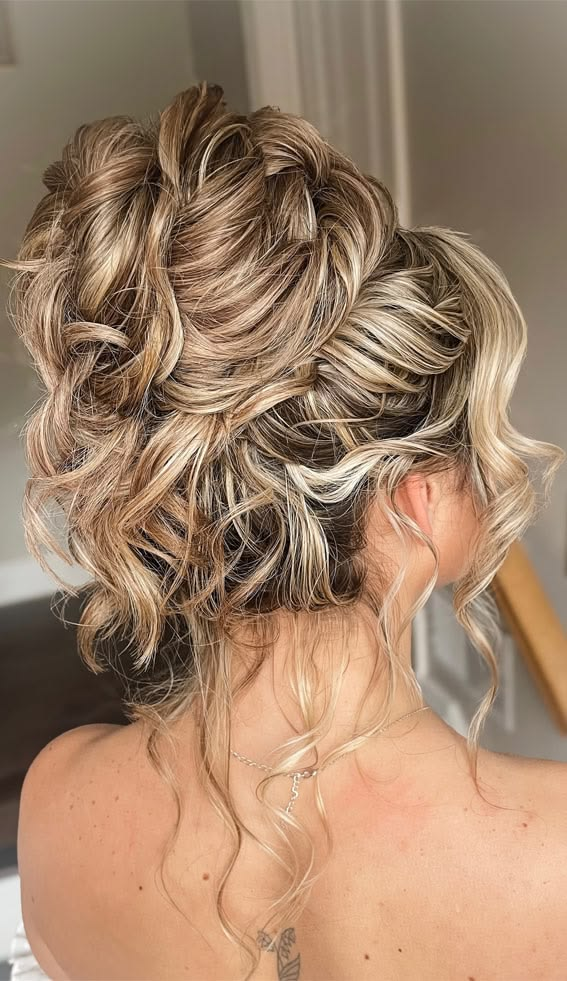
Think a relaxed bun or twist with face-framing pieces left out for an effortlessly chic vibe. It’s ideal for dancers who want their hair up without looking too stiff or formal.
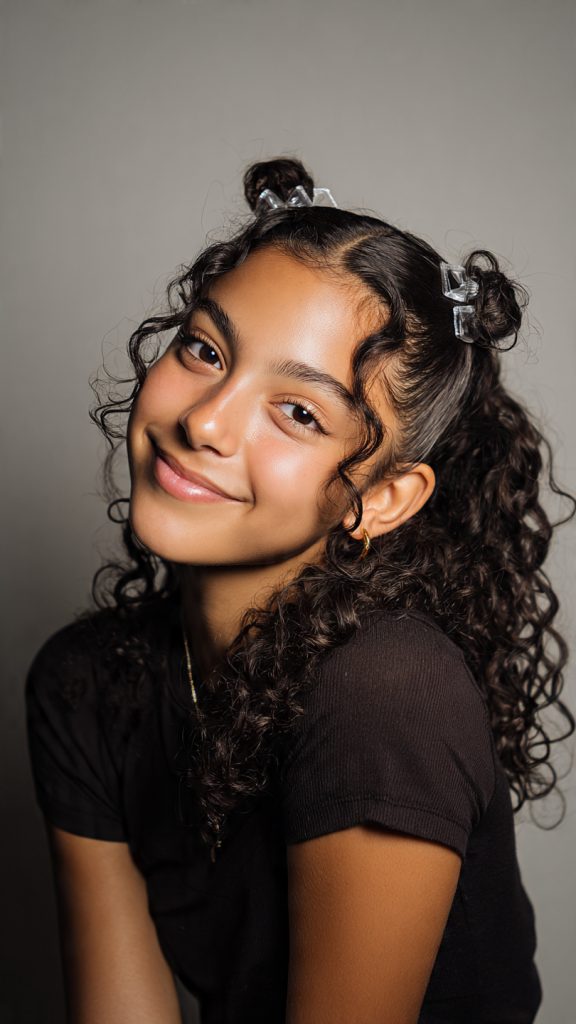
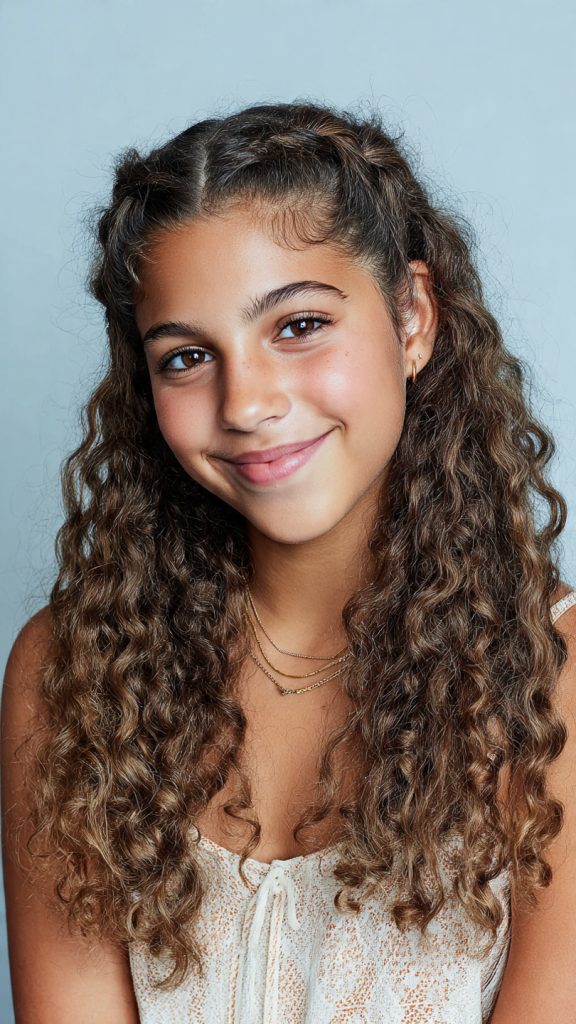
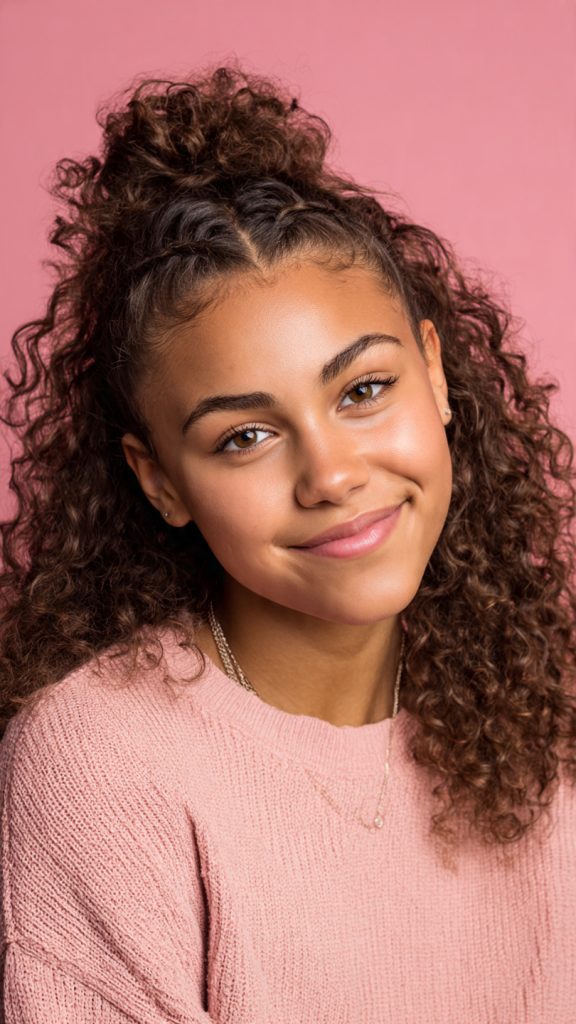
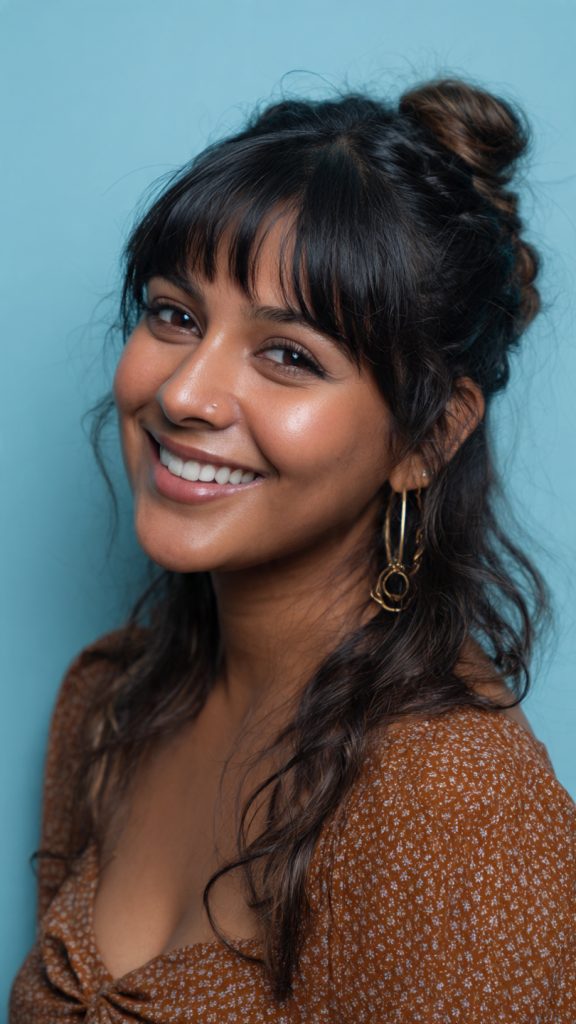
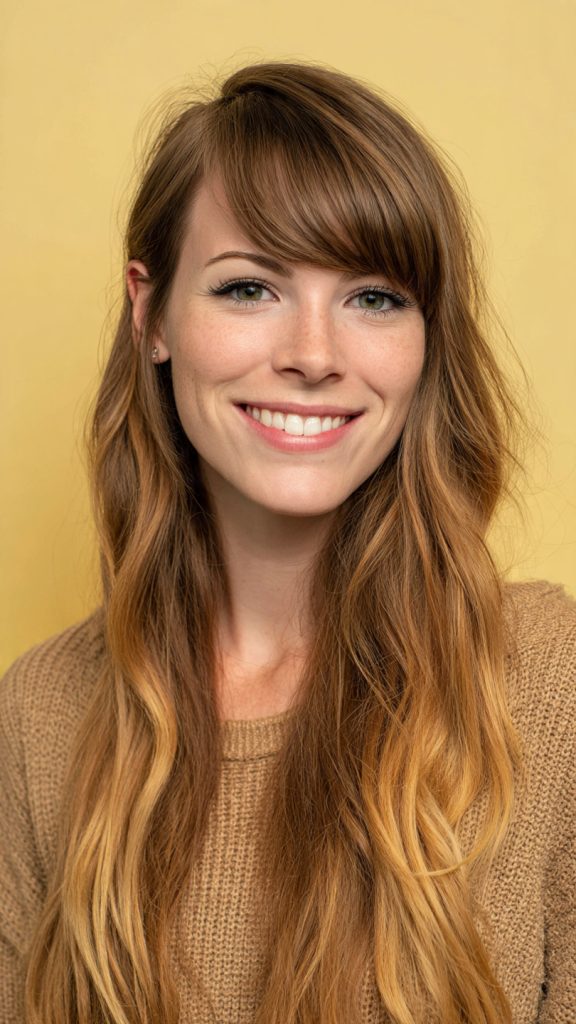
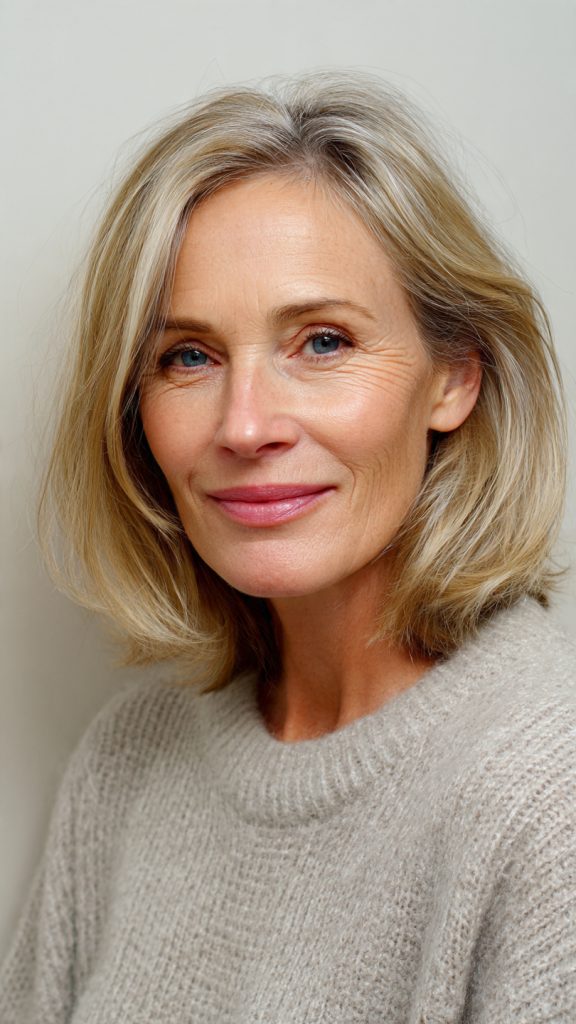
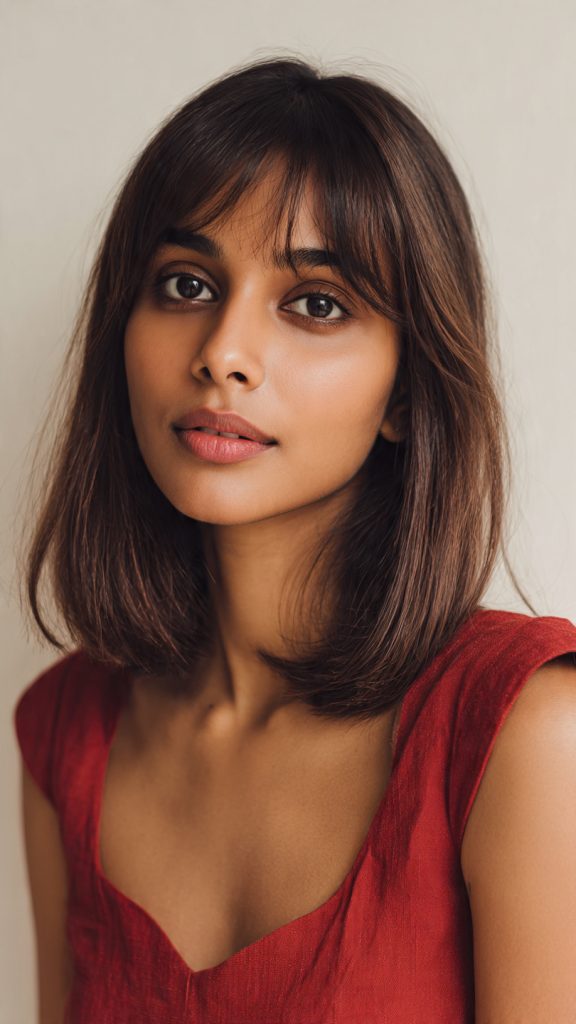
5. Half-Up Half-Down with a Twist
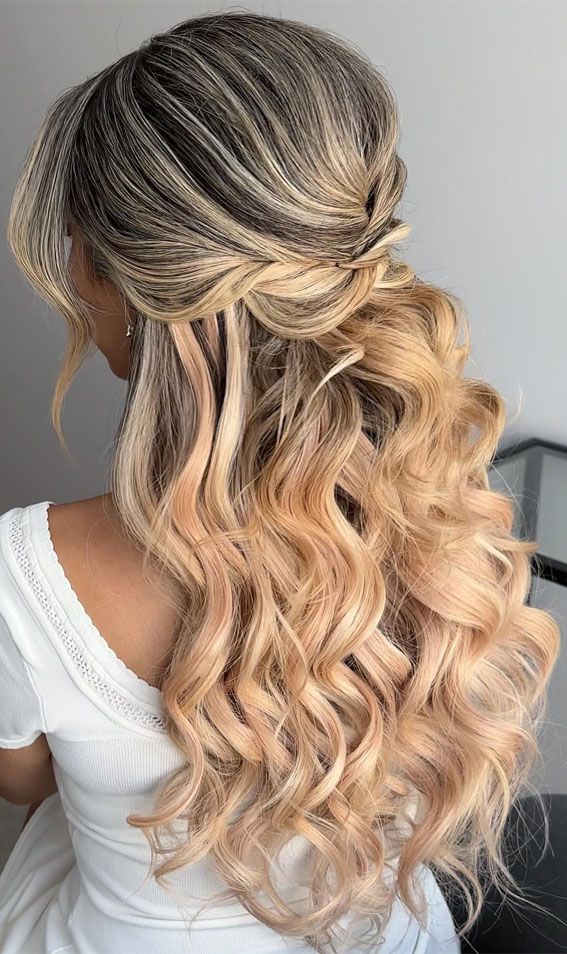
Take two small sections from the front, twist them back, and pin them at the crown, leaving the rest of your hair flowing. This universally flattering style combines the romance of loose waves with the practicality of keeping hair off your face.
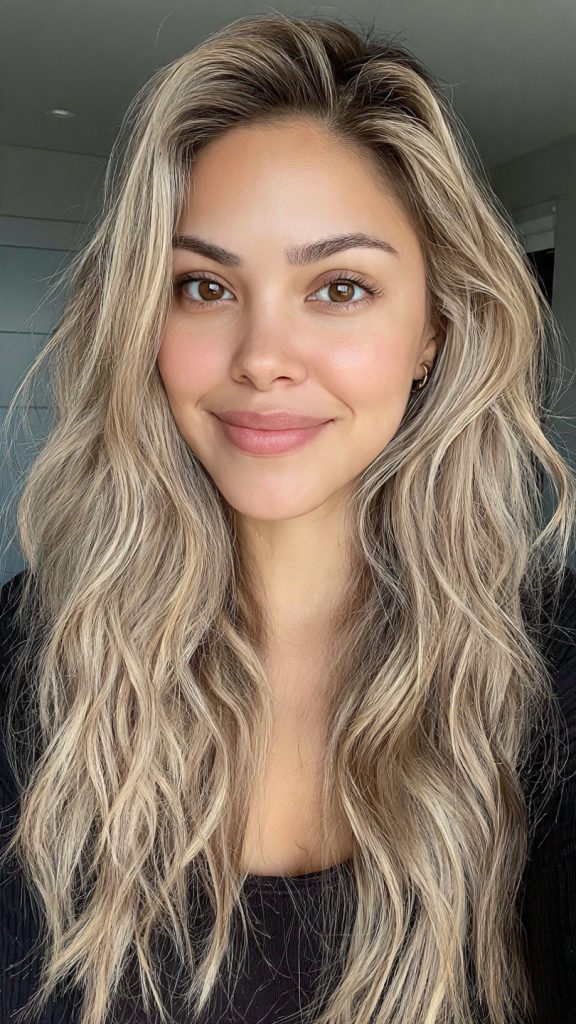
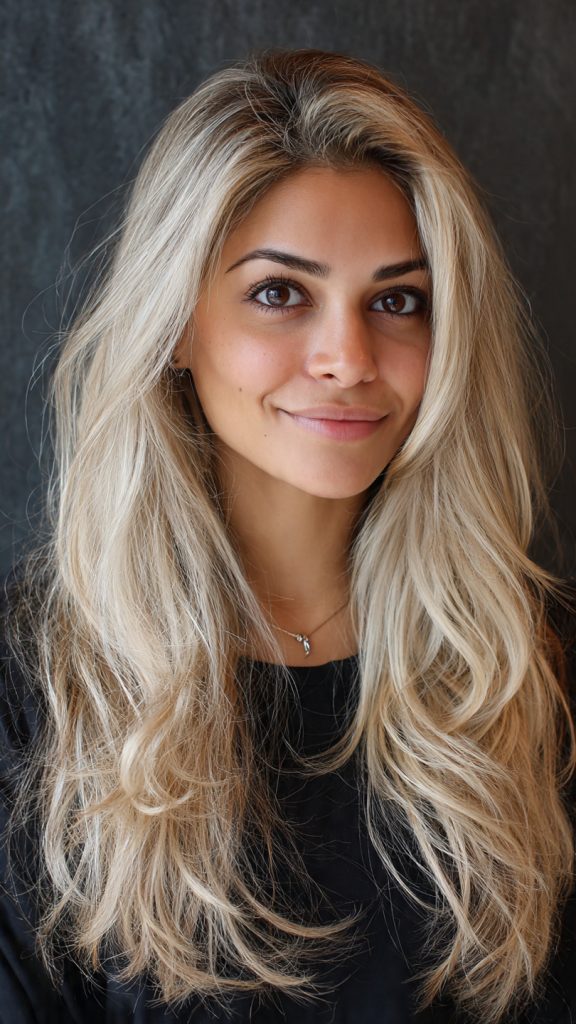
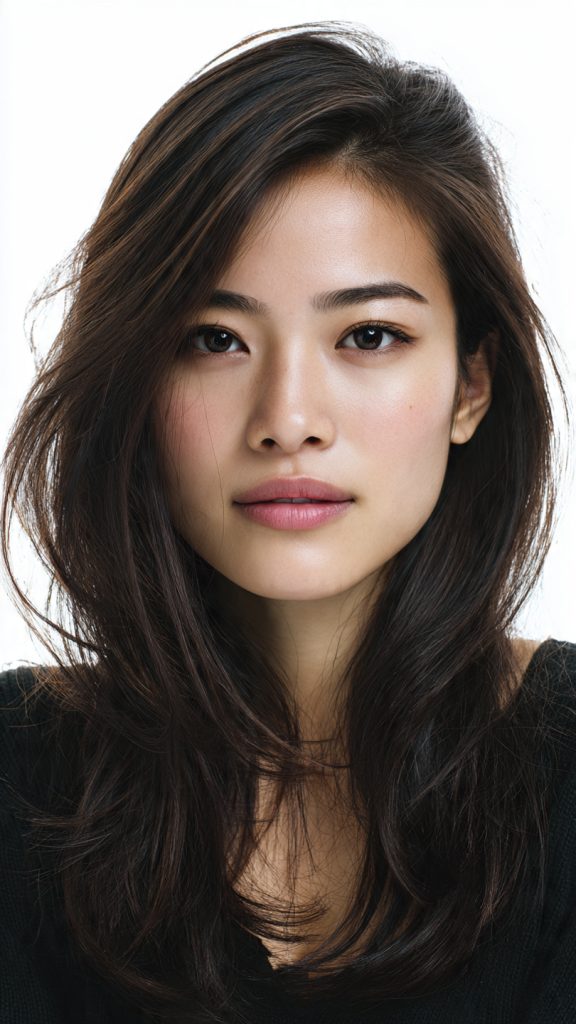
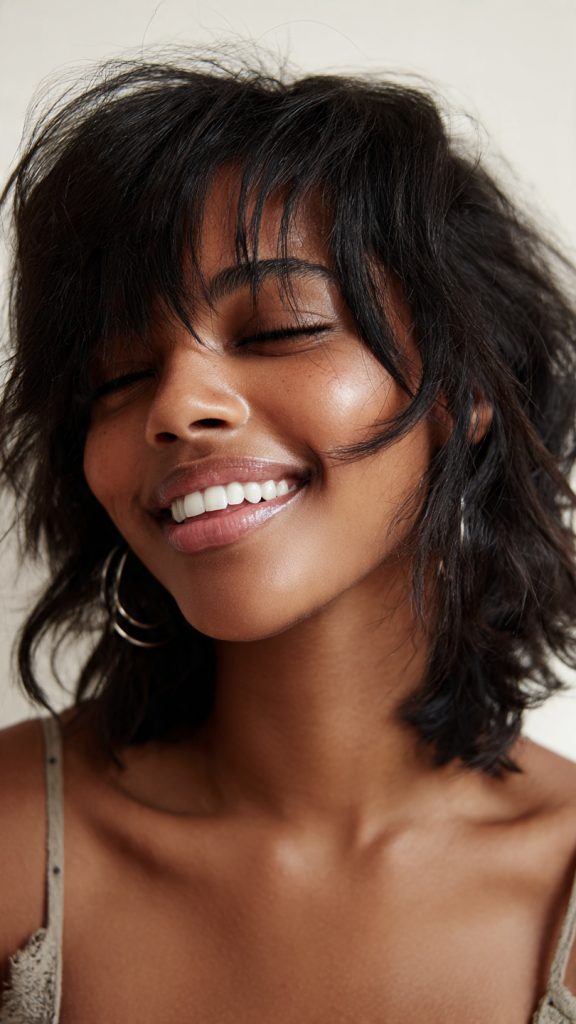
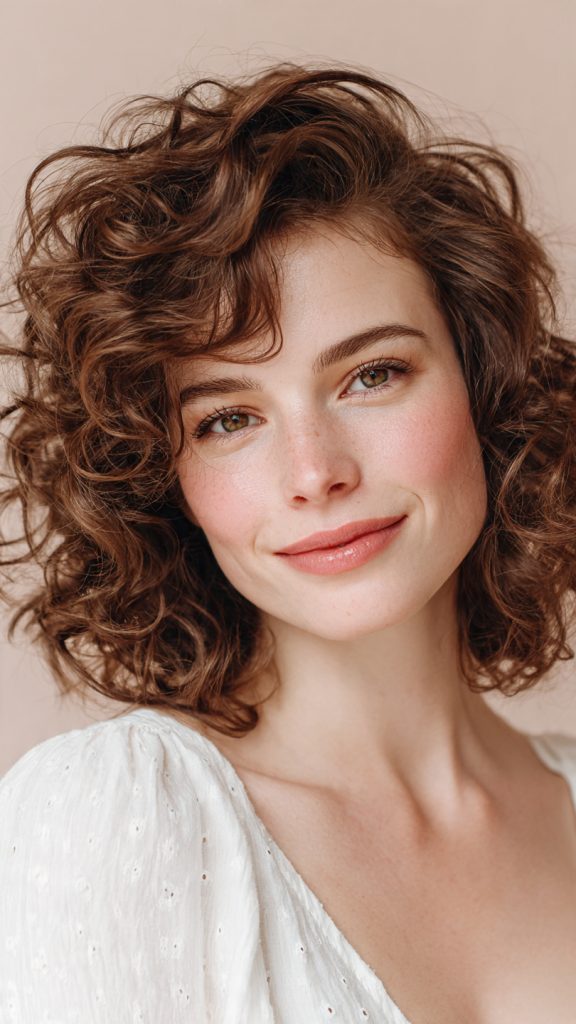
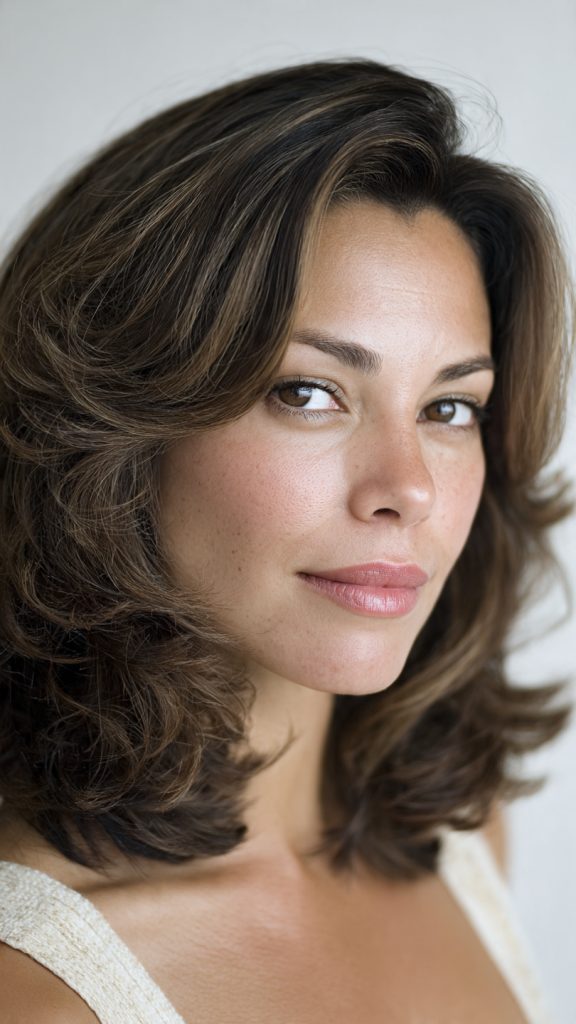
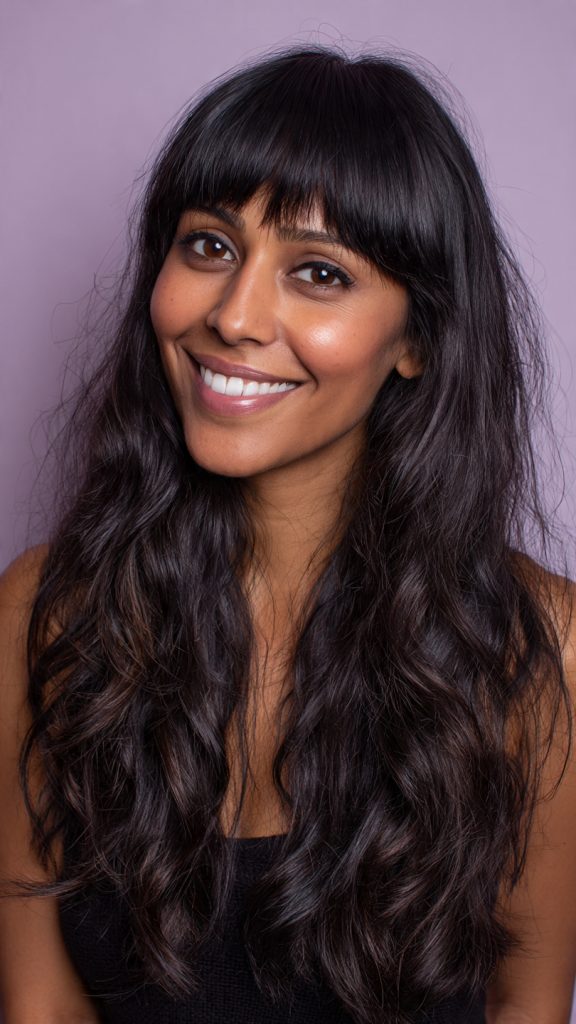
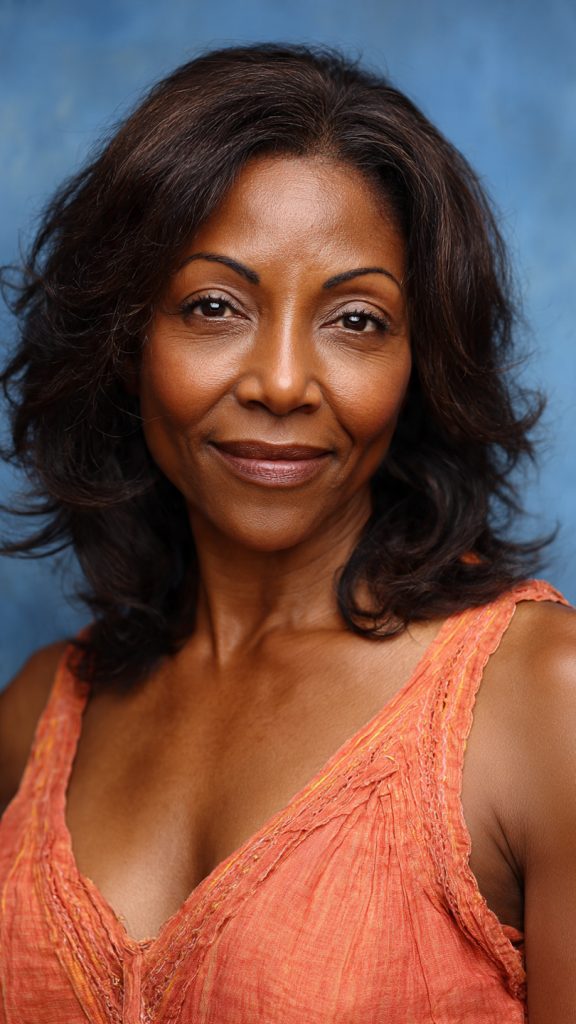
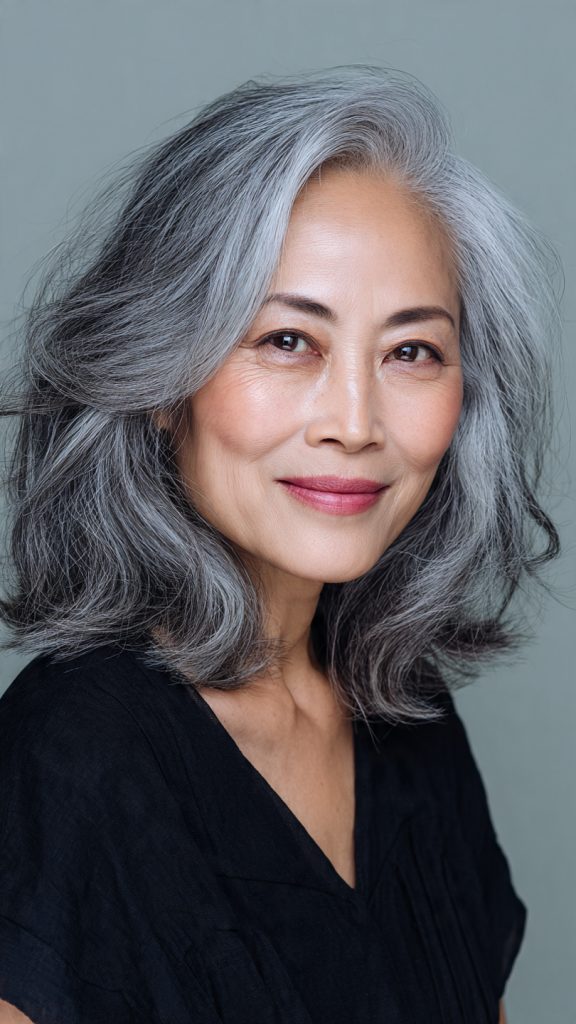
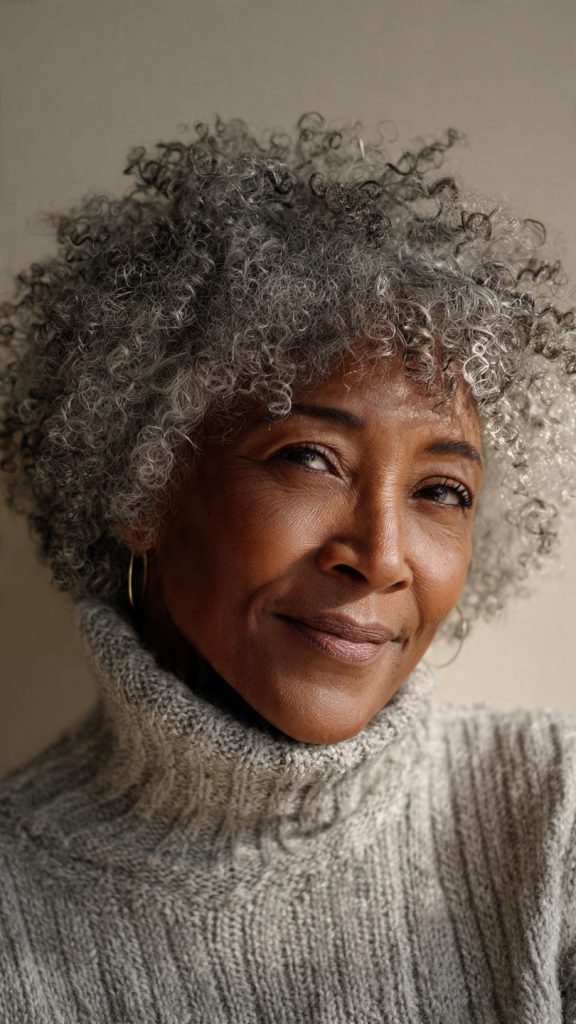
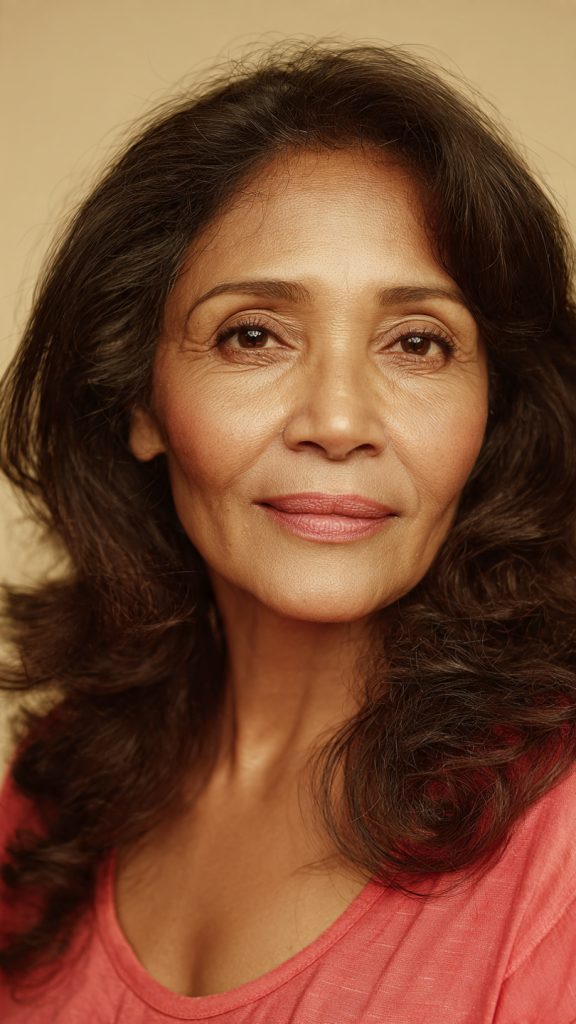
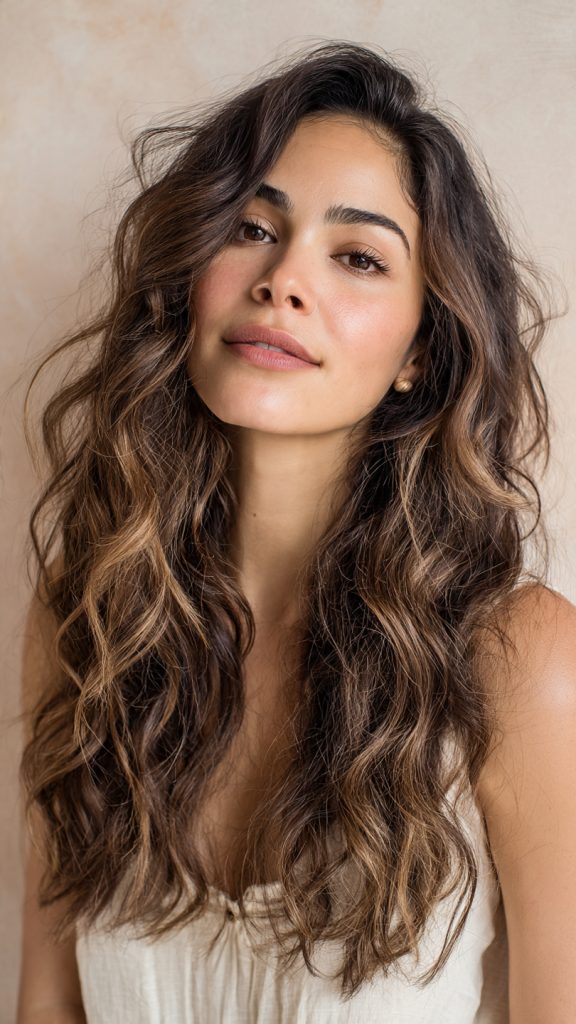
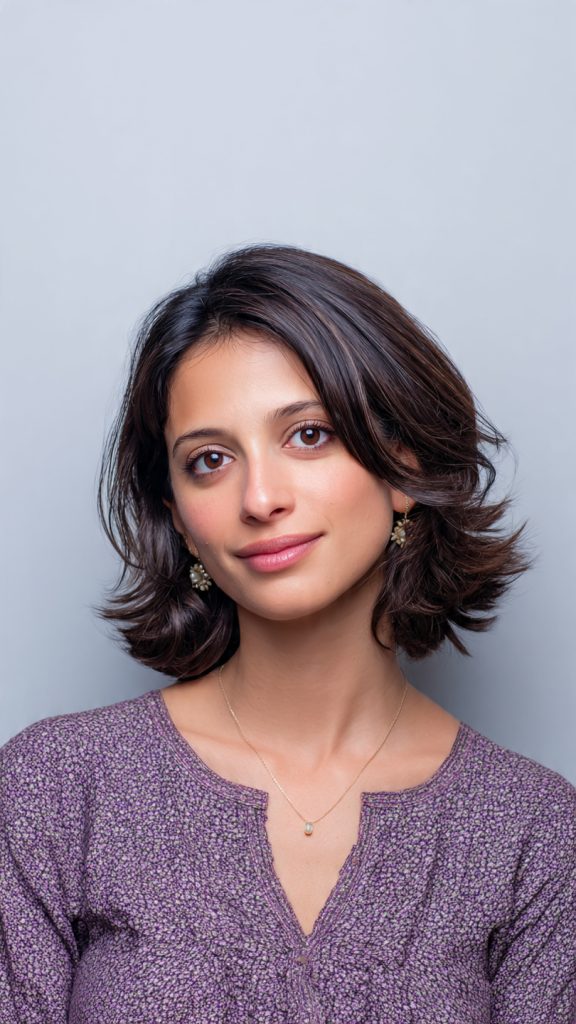
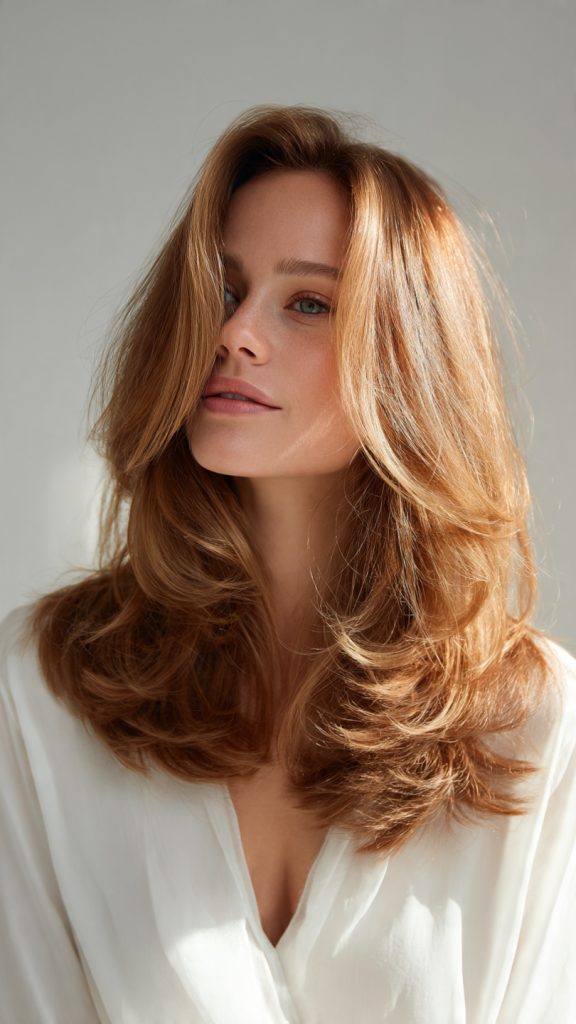
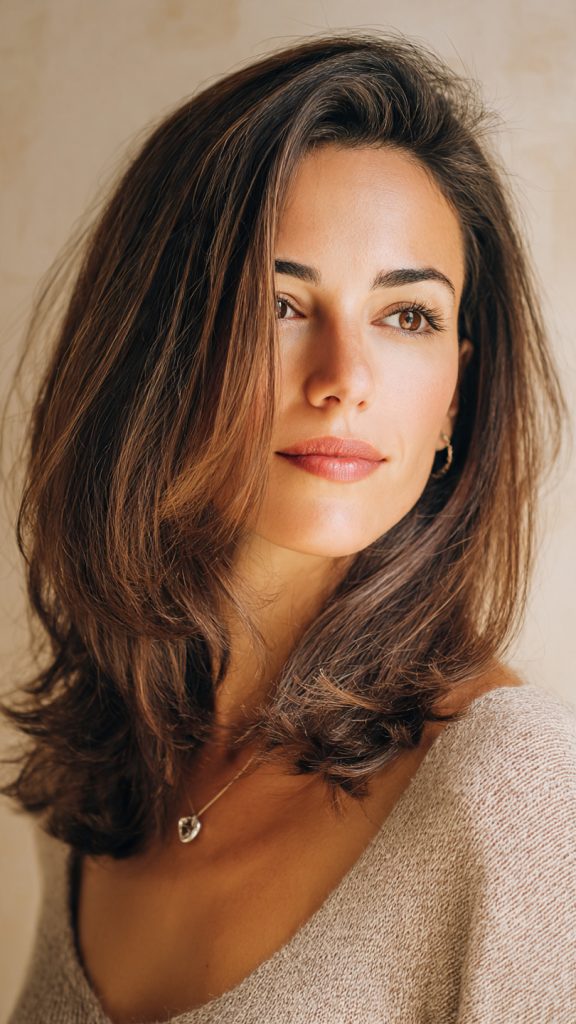
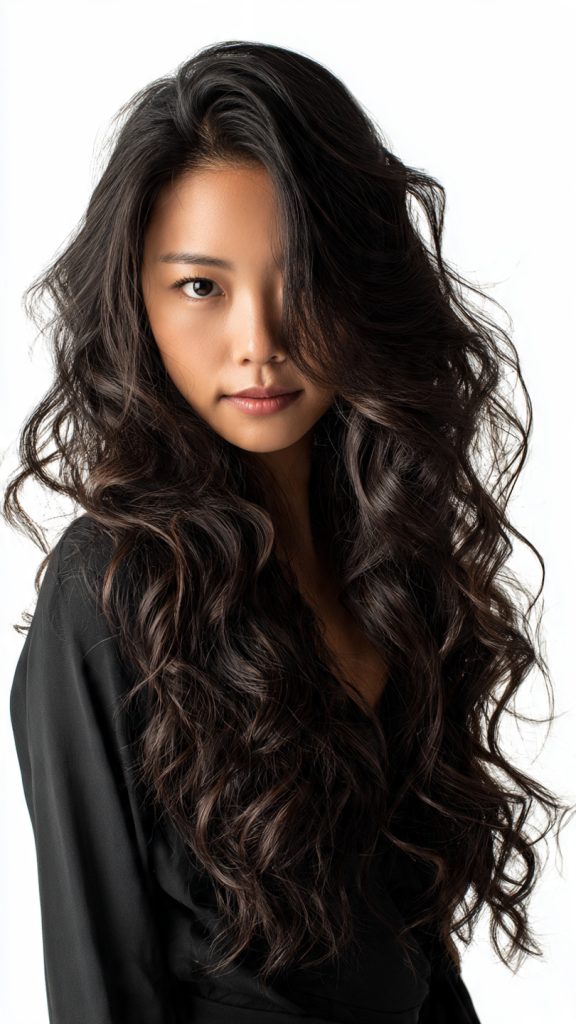
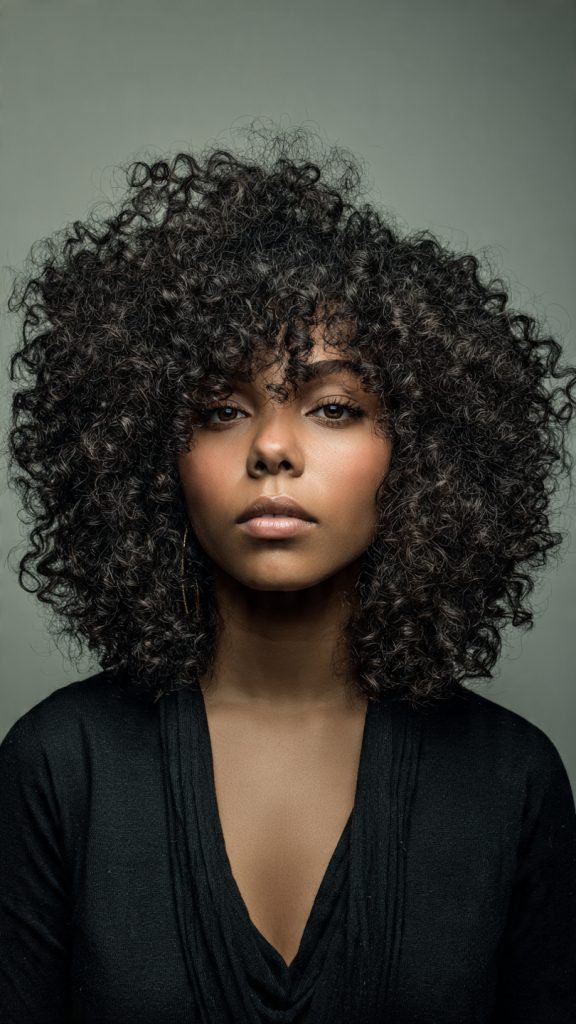
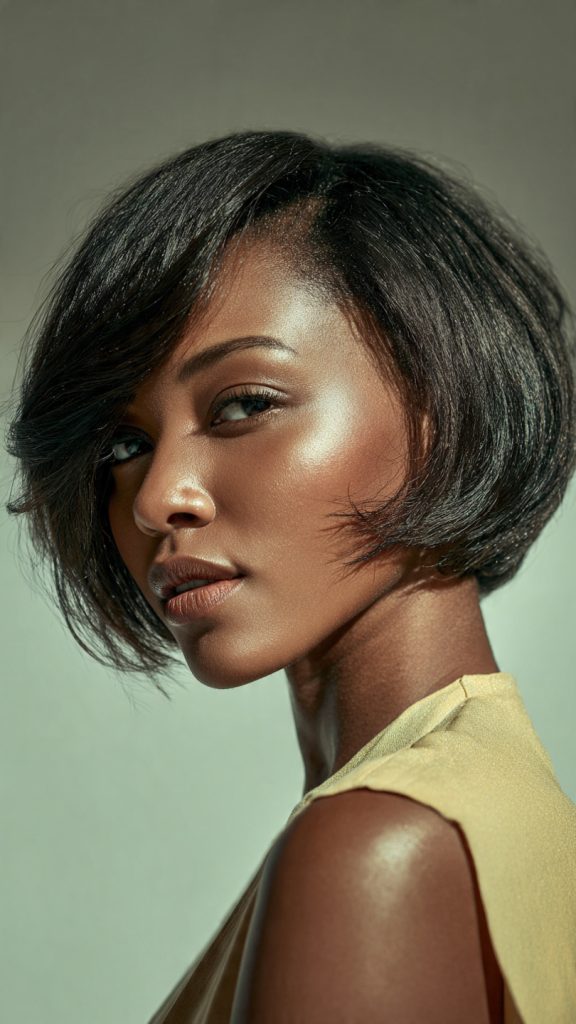
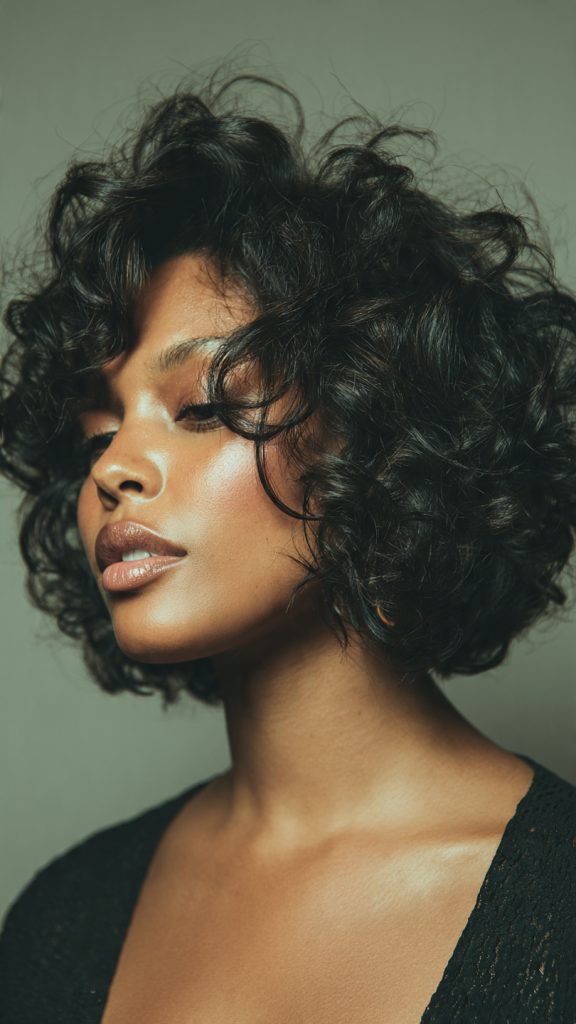
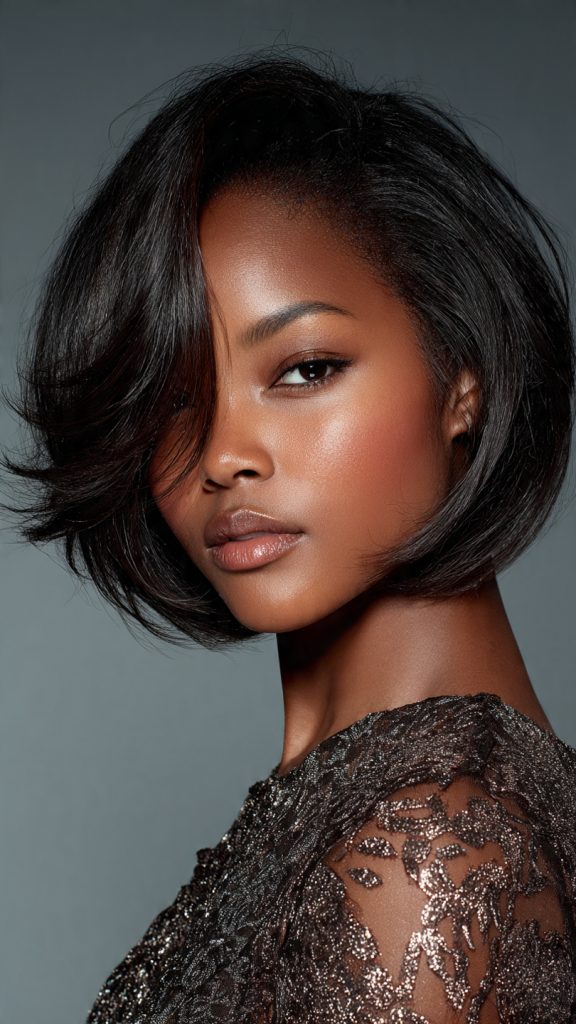
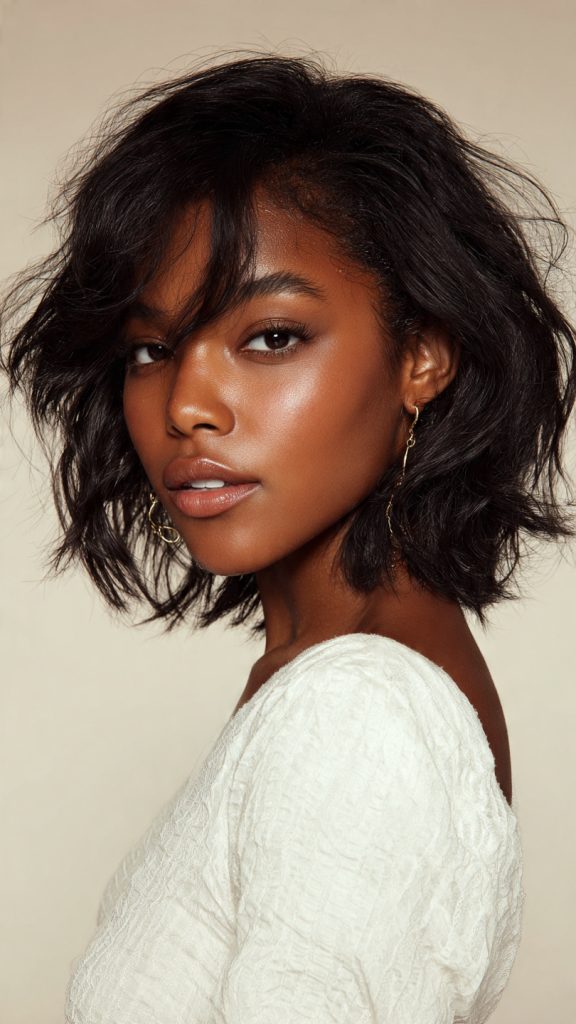
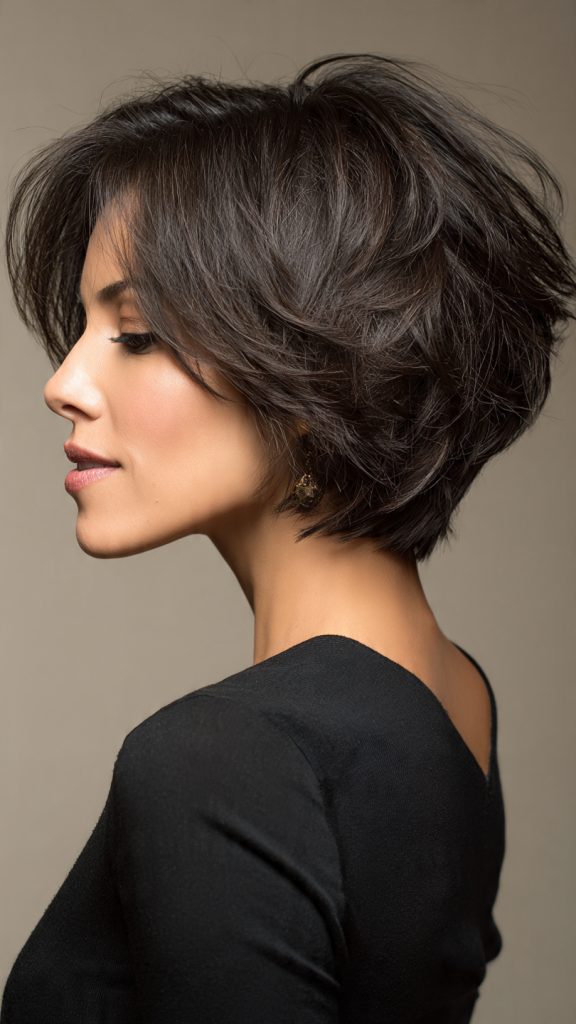
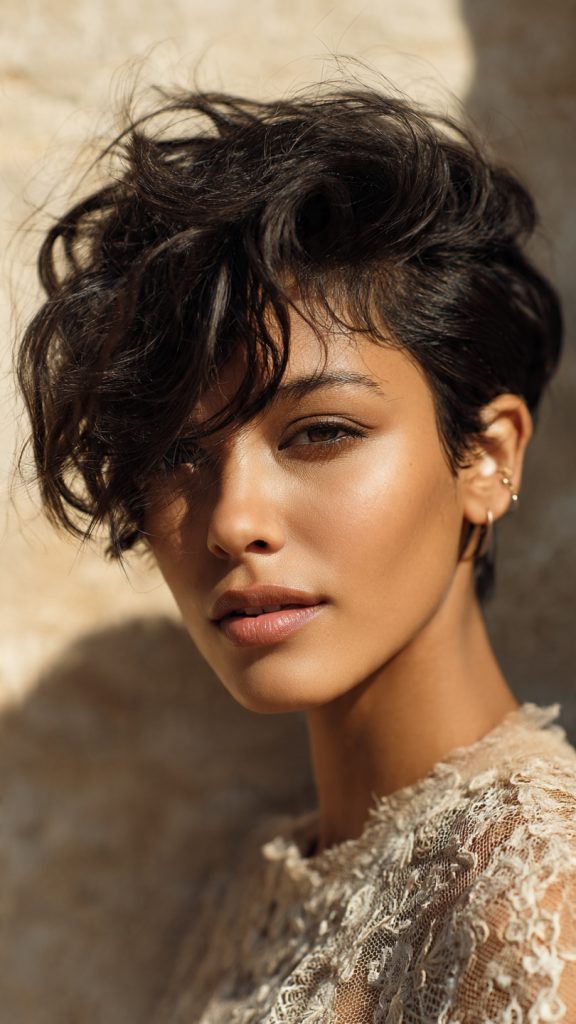
6. Hollywood Voluminous Blowout
Massive, bouncy volume with ends flipped under or softly curled gives you that supermodel-worthy mane. This look screams confidence and is a top choice for women with finer hair seeking body and movement.
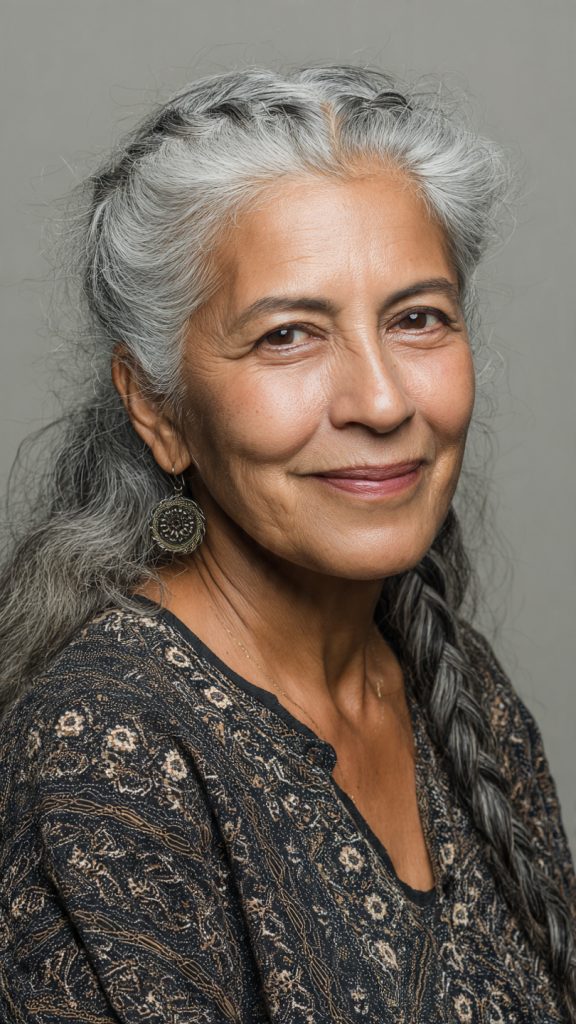
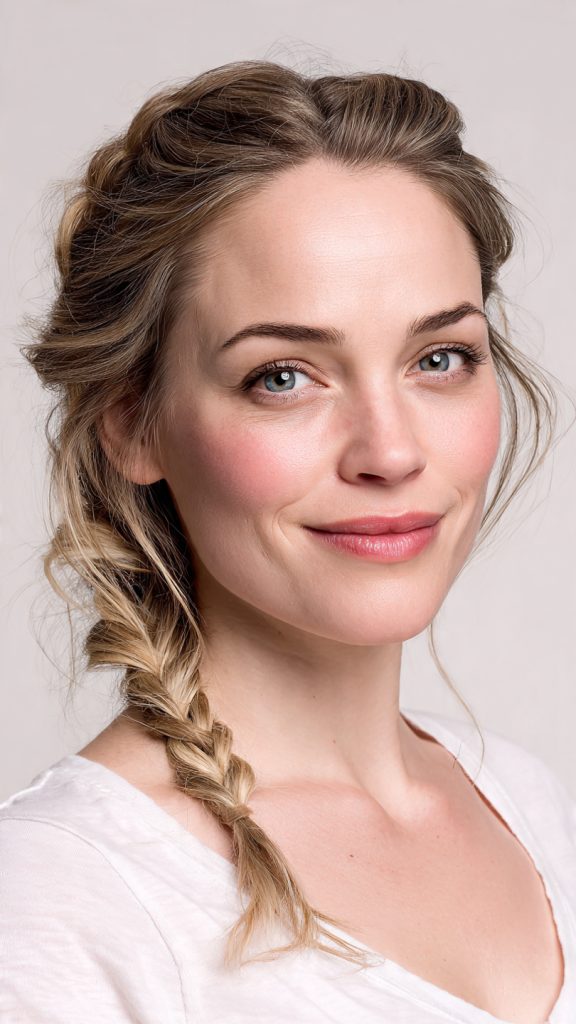
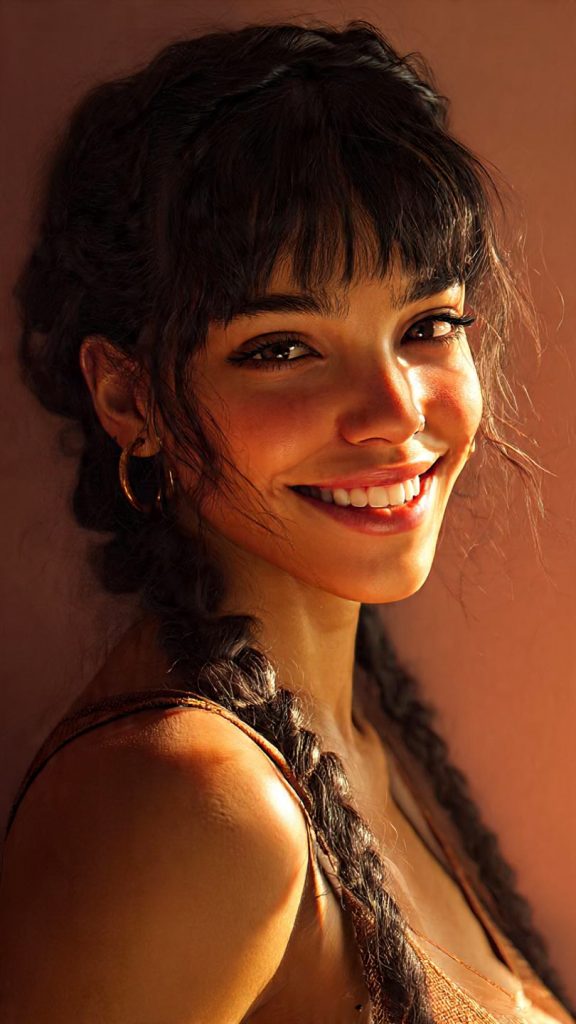
7. Braided Crown
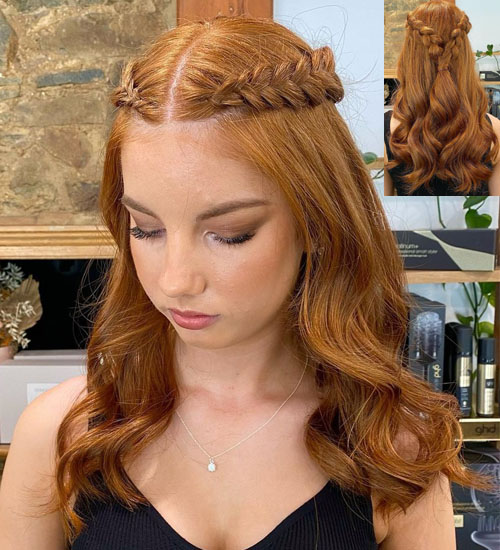
A Dutch or French braid that wraps around your head like a halo creates a fairytale, bohemian effect. It keeps every strand secure while looking intricate and delicate—no pins falling out midway through the night.
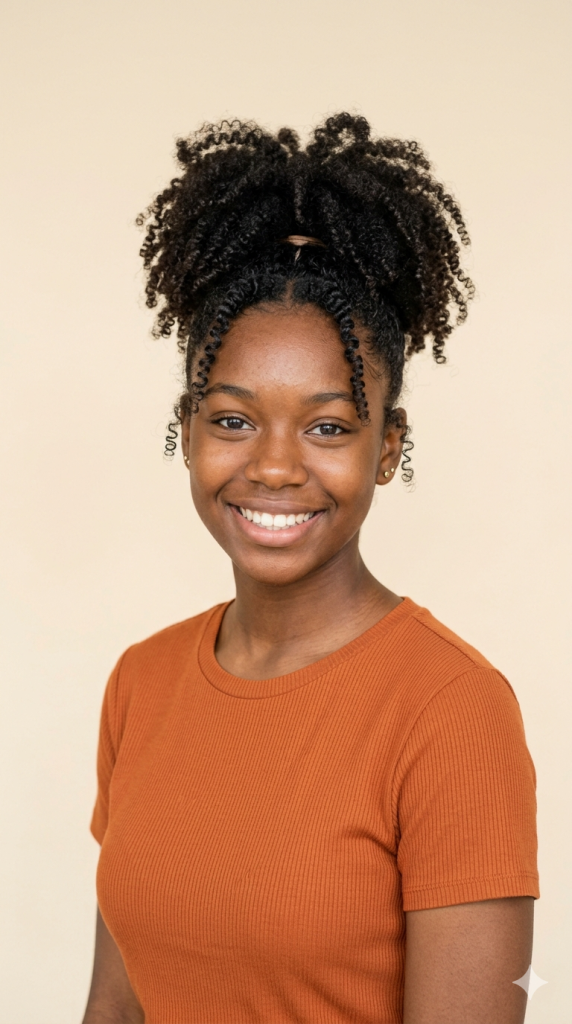
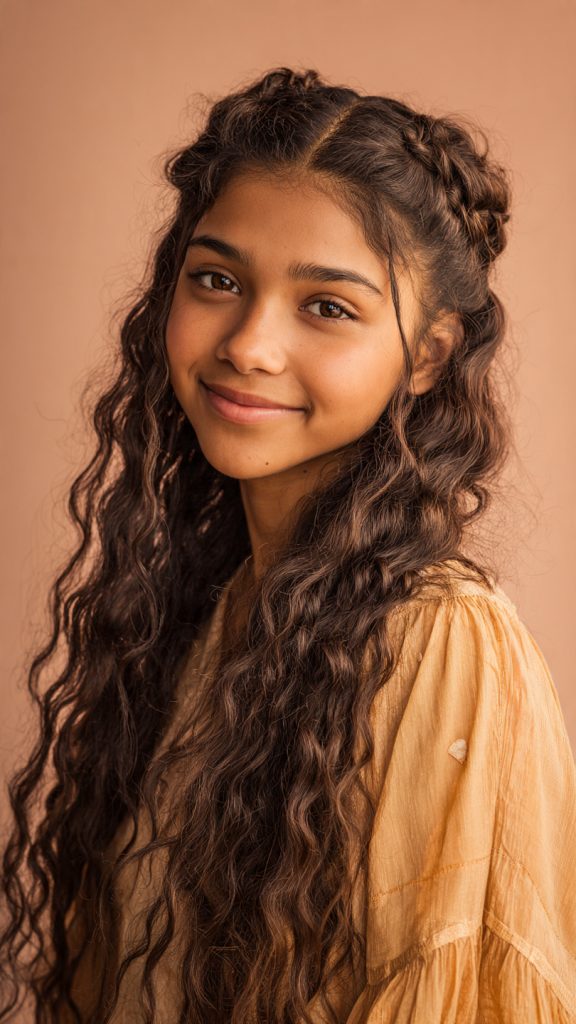
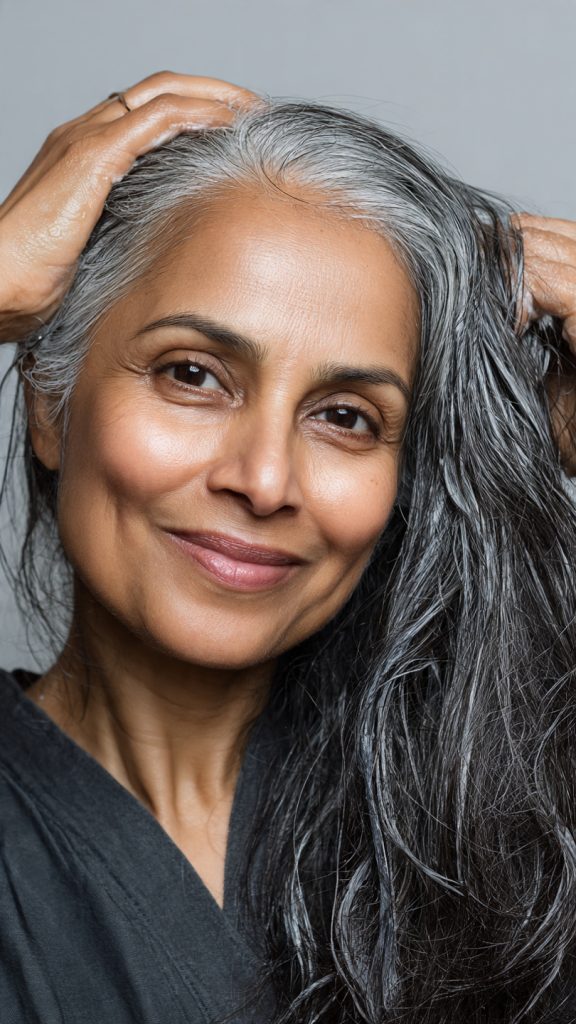
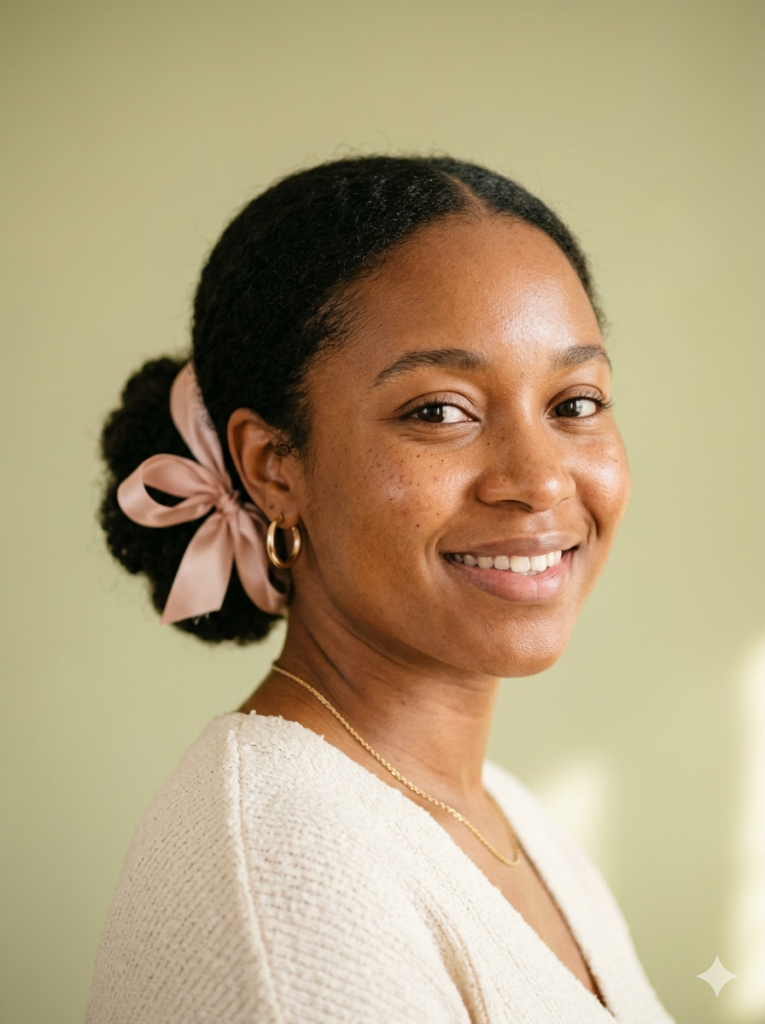
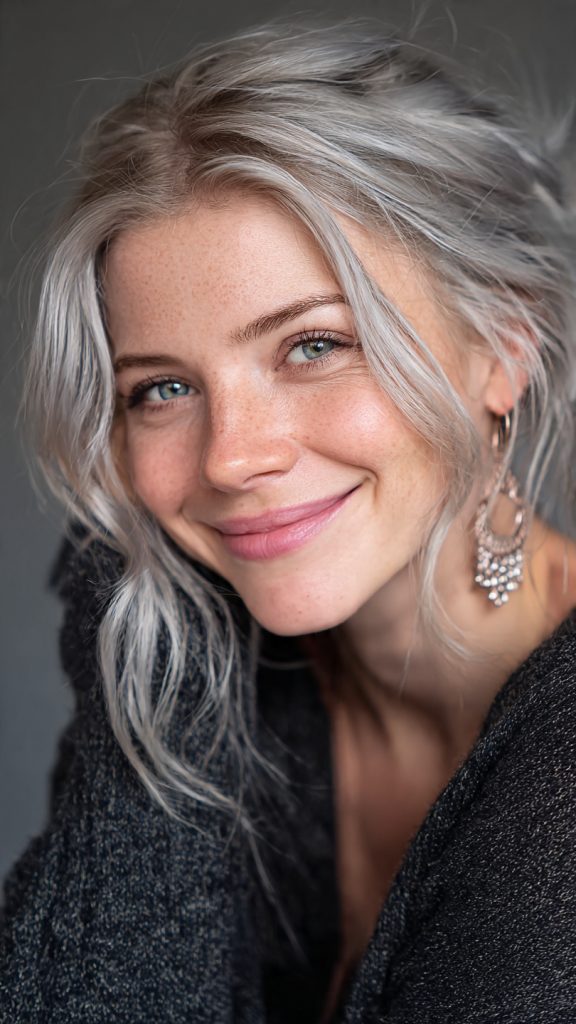
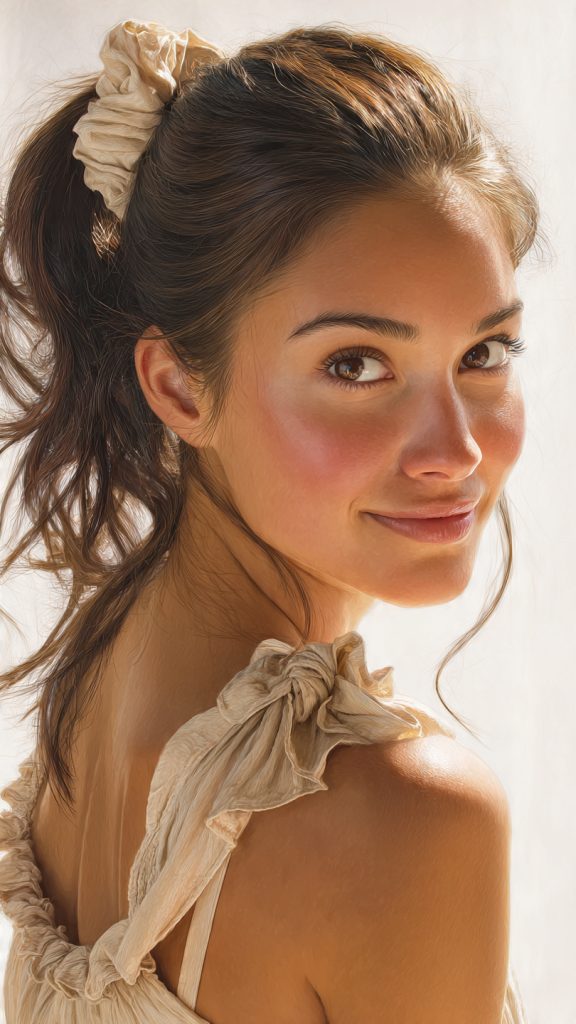
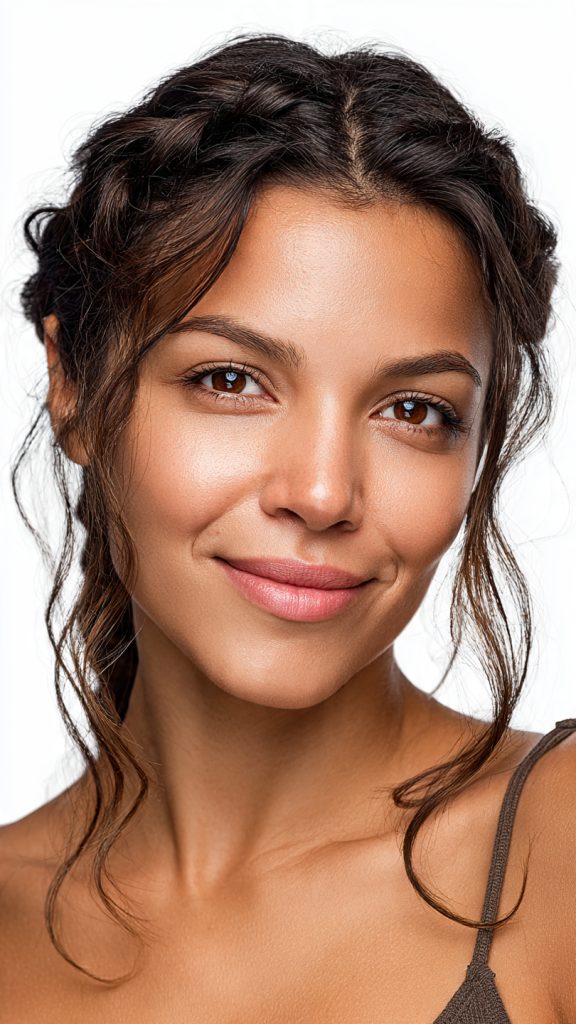
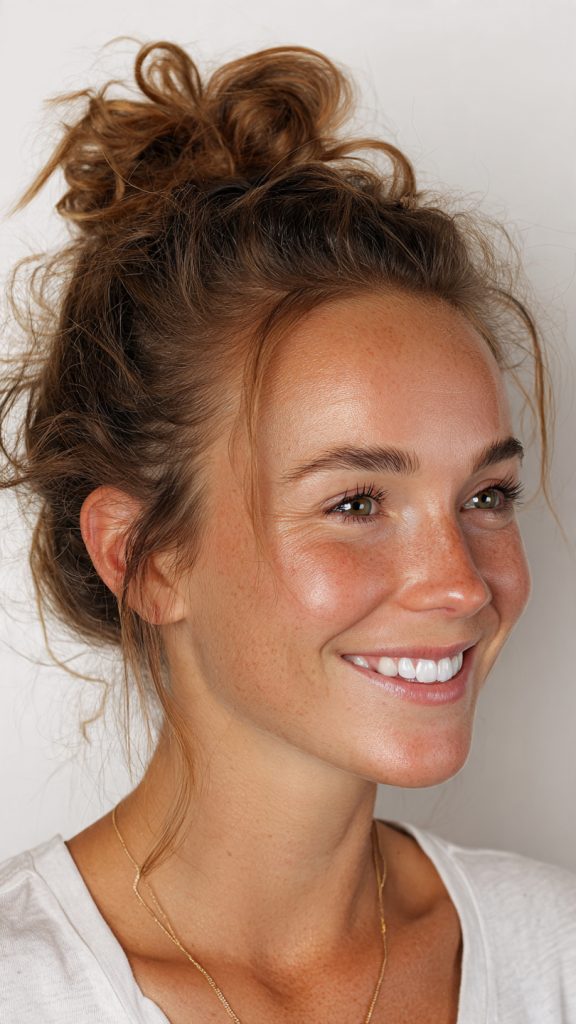
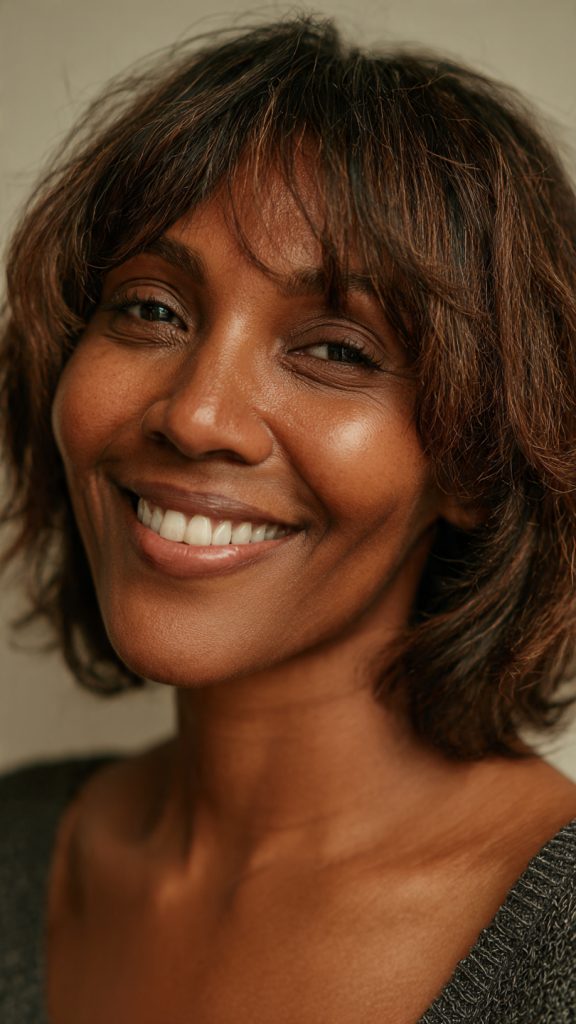
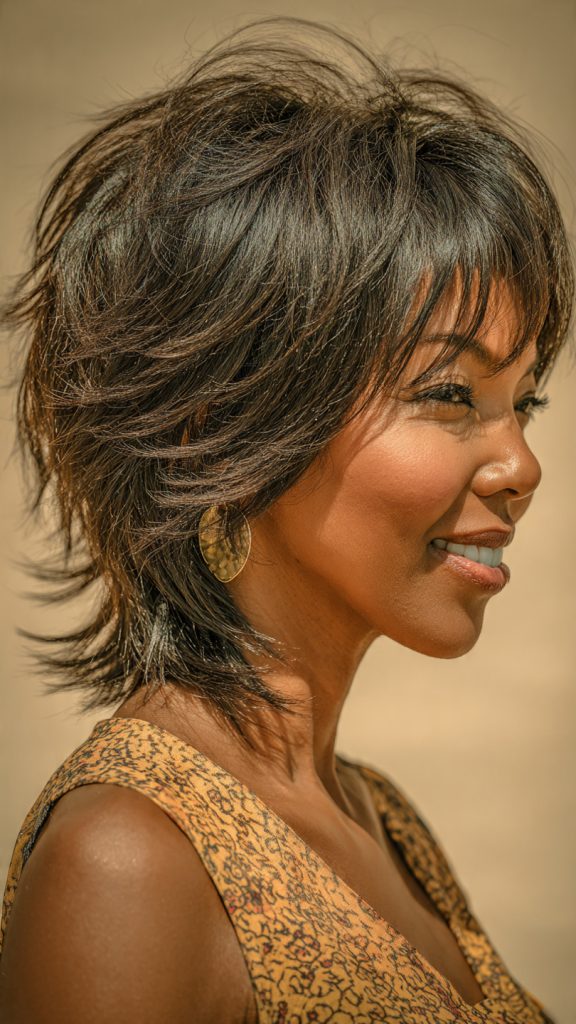
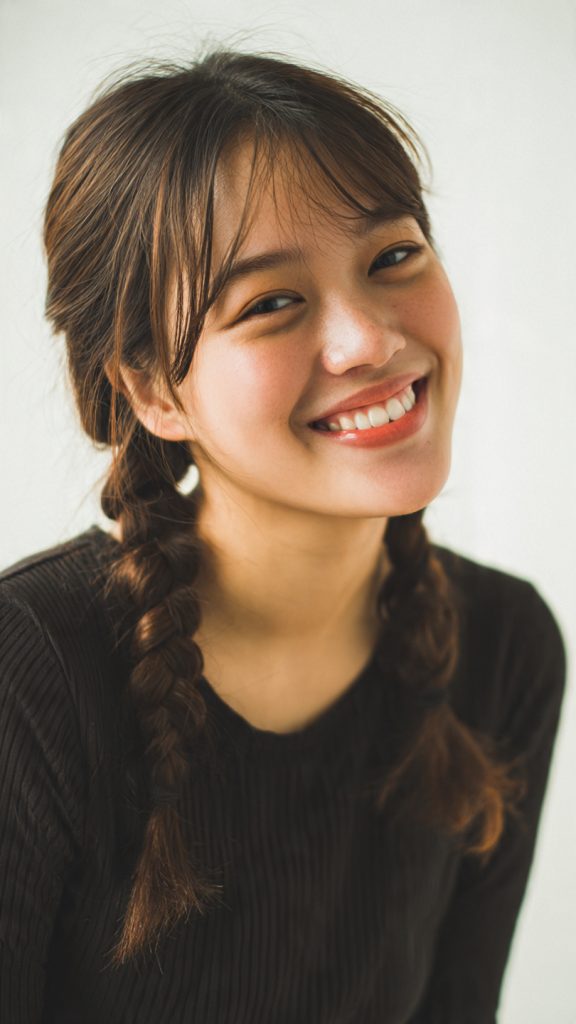
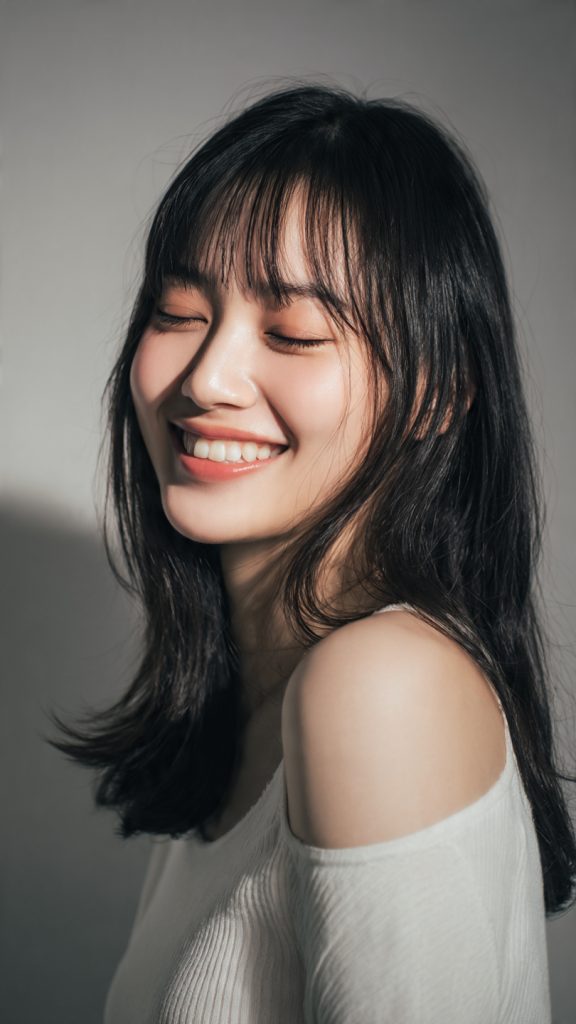
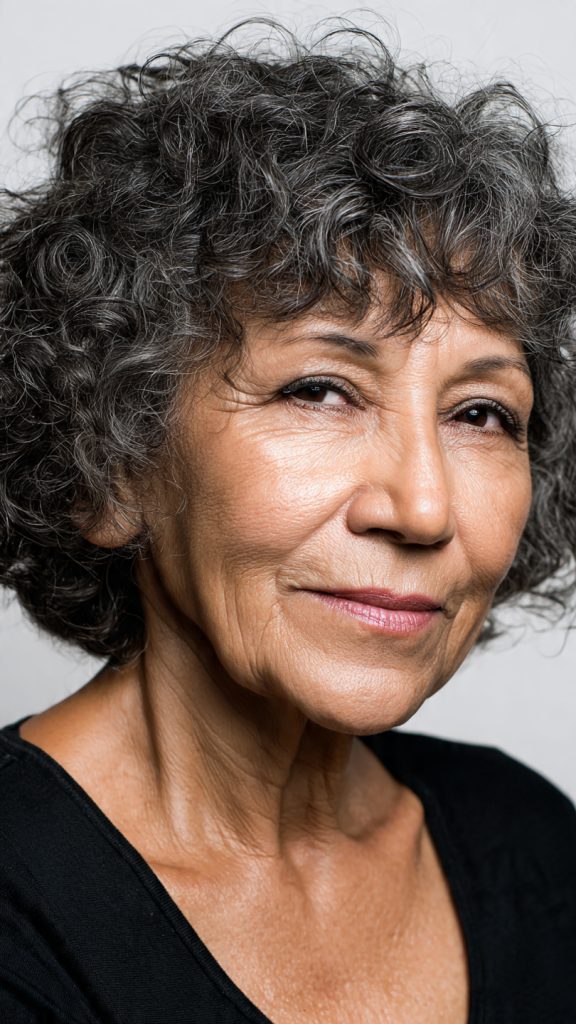
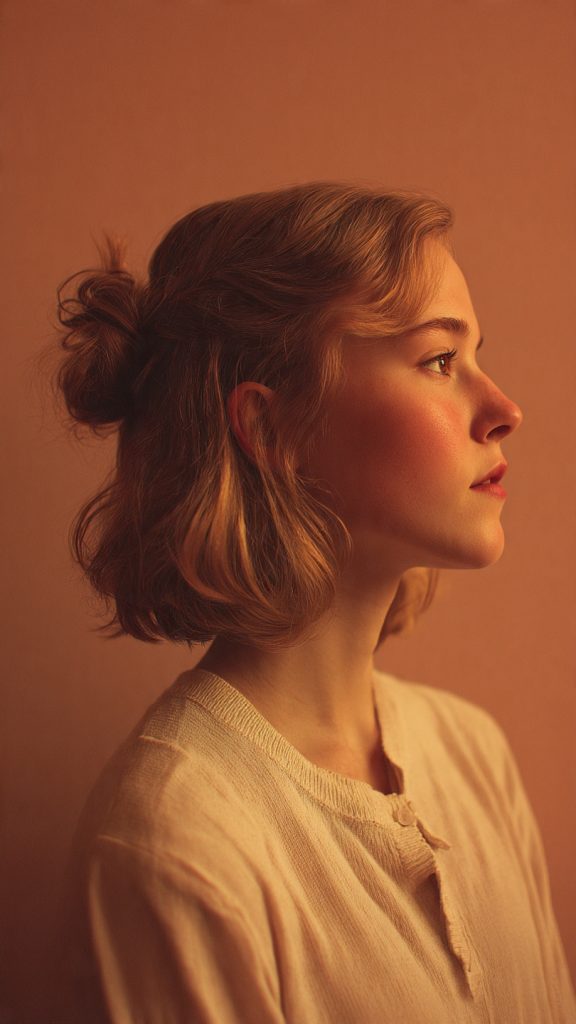
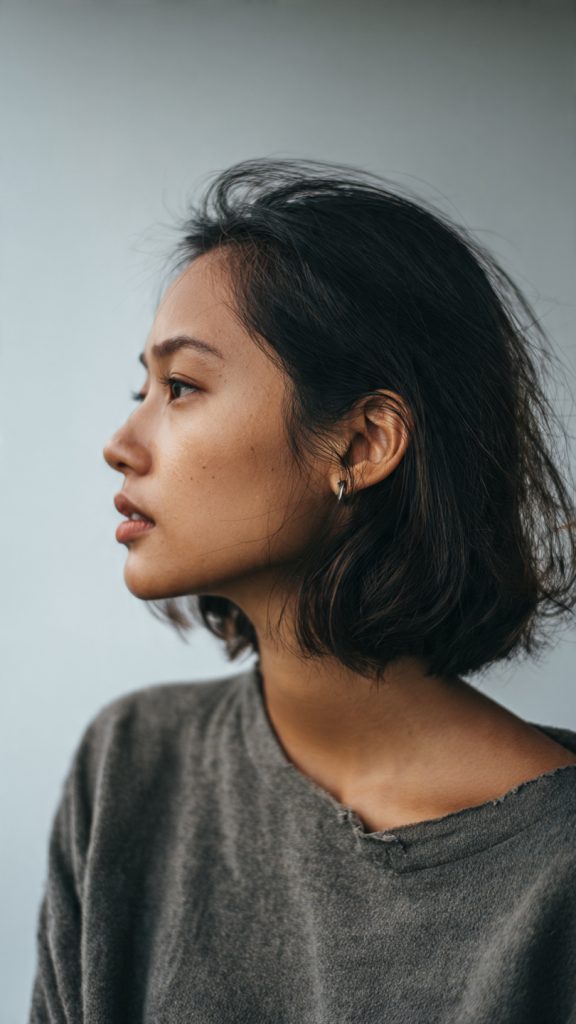
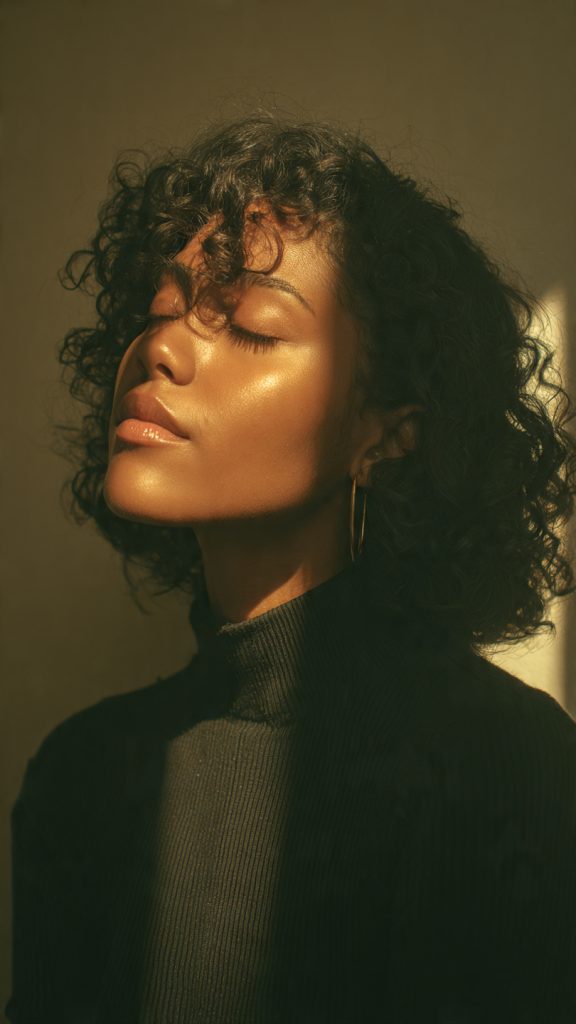
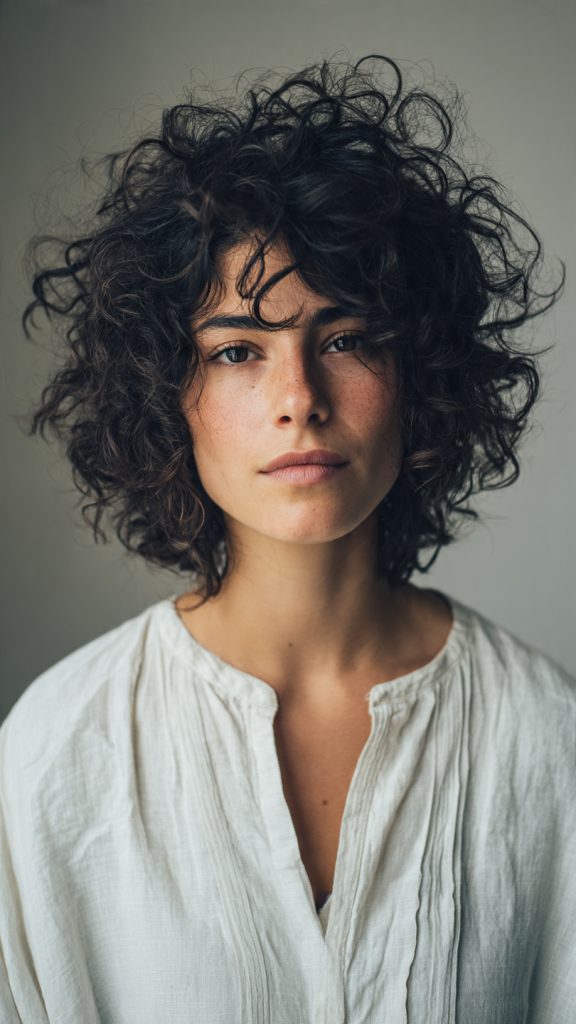
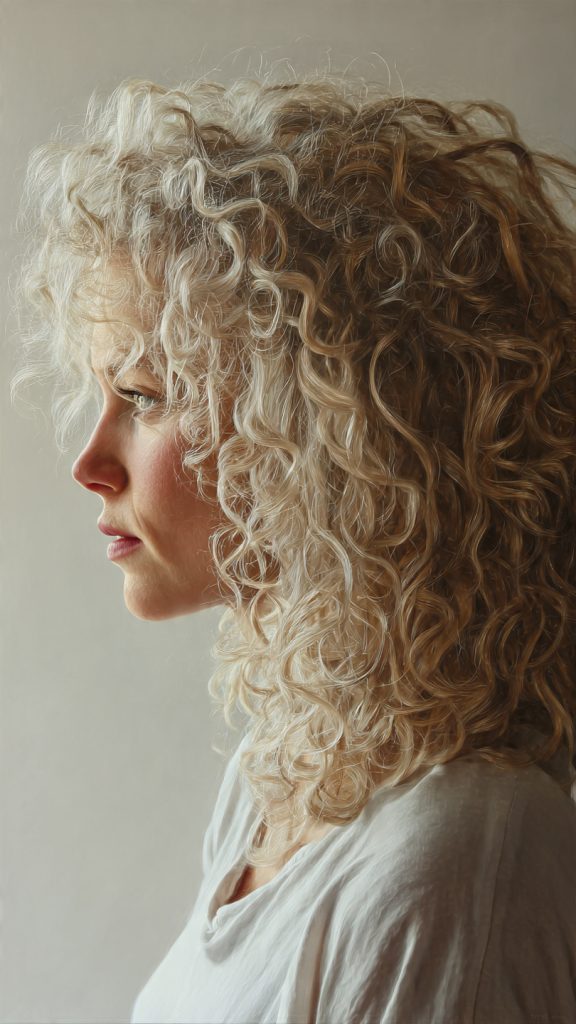
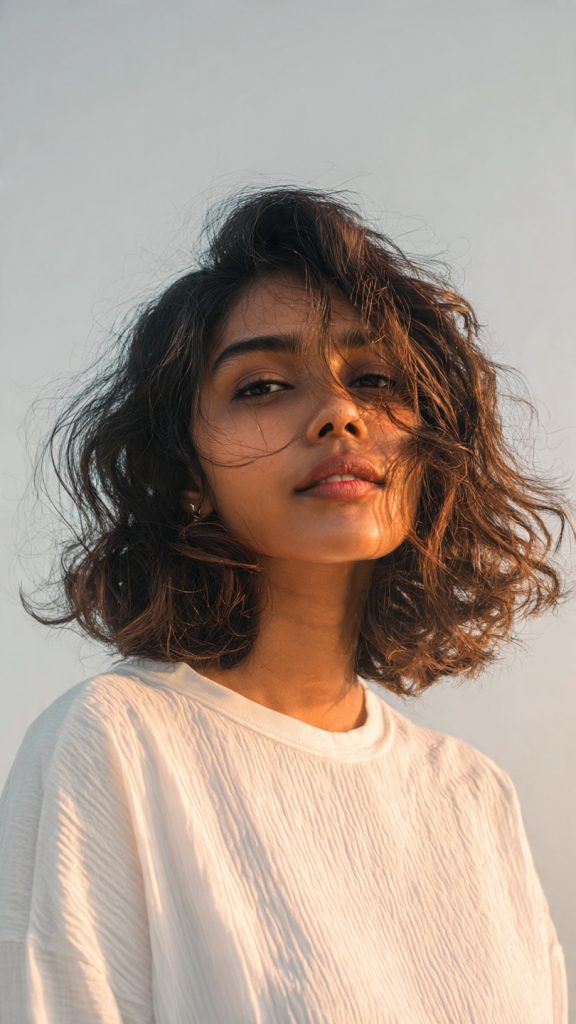
8. Messy Low Bun with Tendrils
Pull hair into a low, undone bun at the nape of your neck and deliberately pull out a few soft tendrils near your ears and temples. This style is the perfect balance of relaxed and romantic, especially for off-the-shoulder dresses.
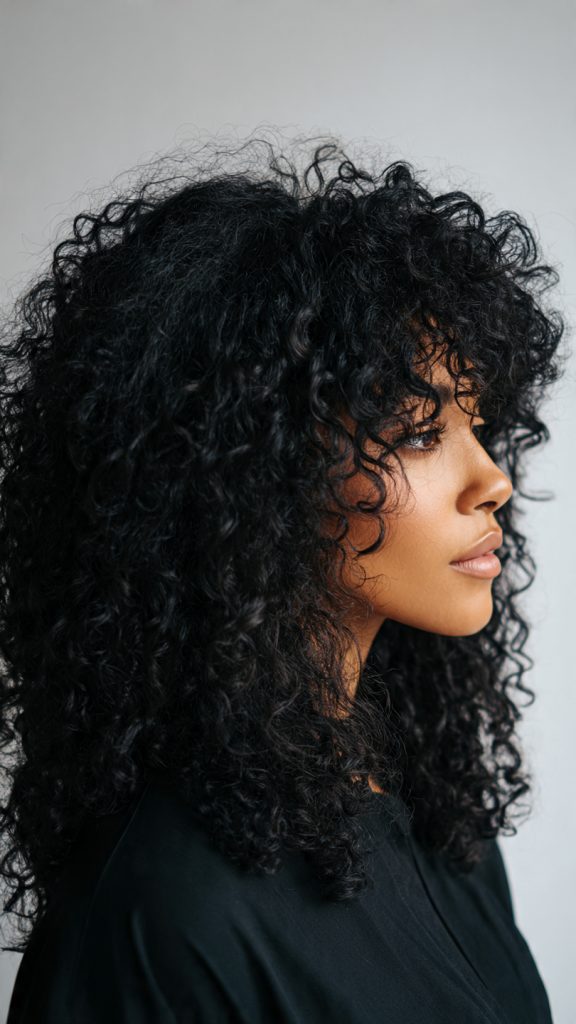
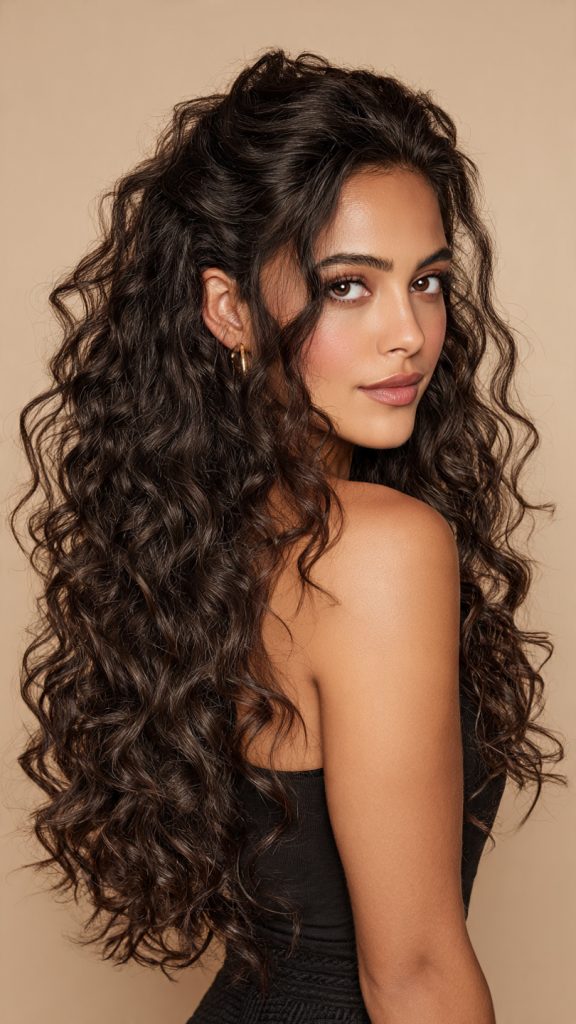
9. High Ponytail with Deep Wave Extensions
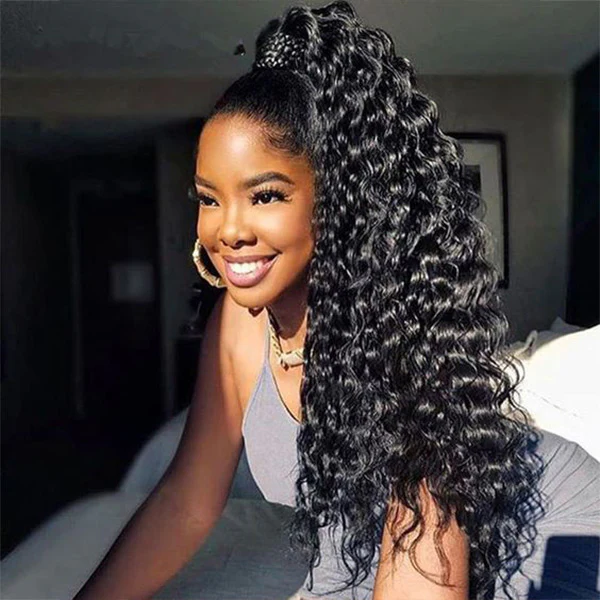
Clip in or blend wavy extensions to create a super-long, voluminous high ponytail that sways with every step. It’s a dramatic, high-impact look that guarantees you’ll stand out on the dance floor.
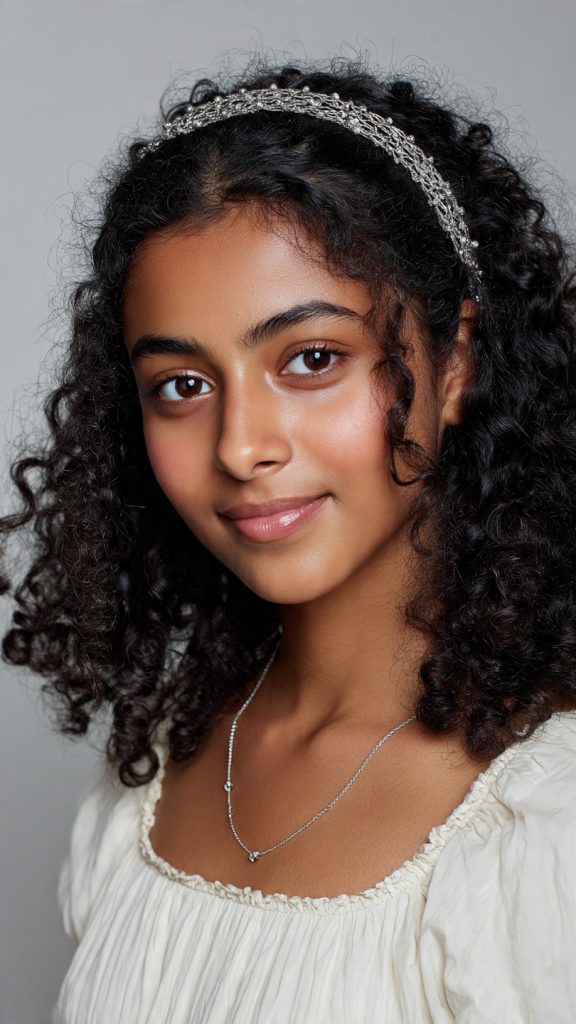
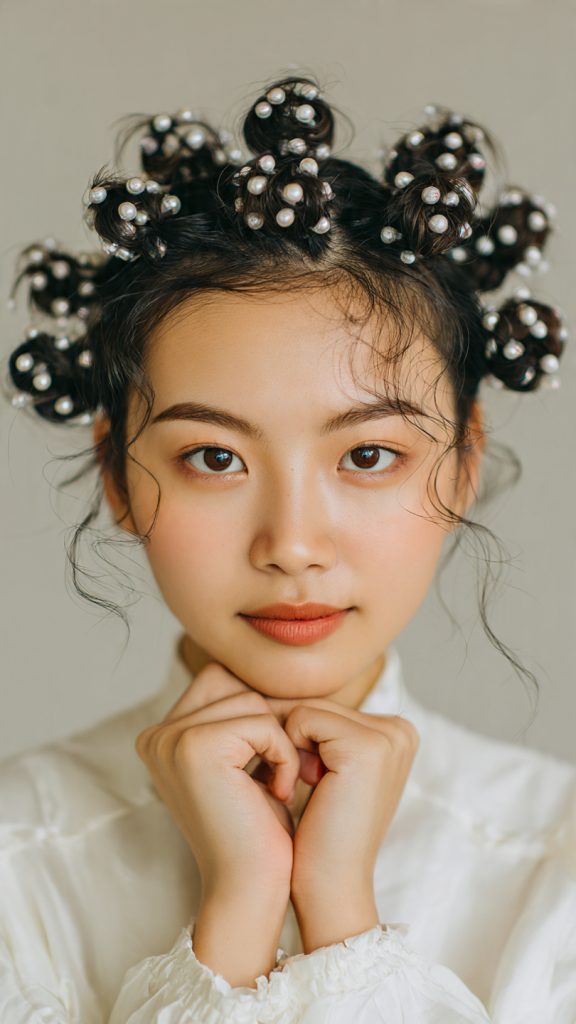
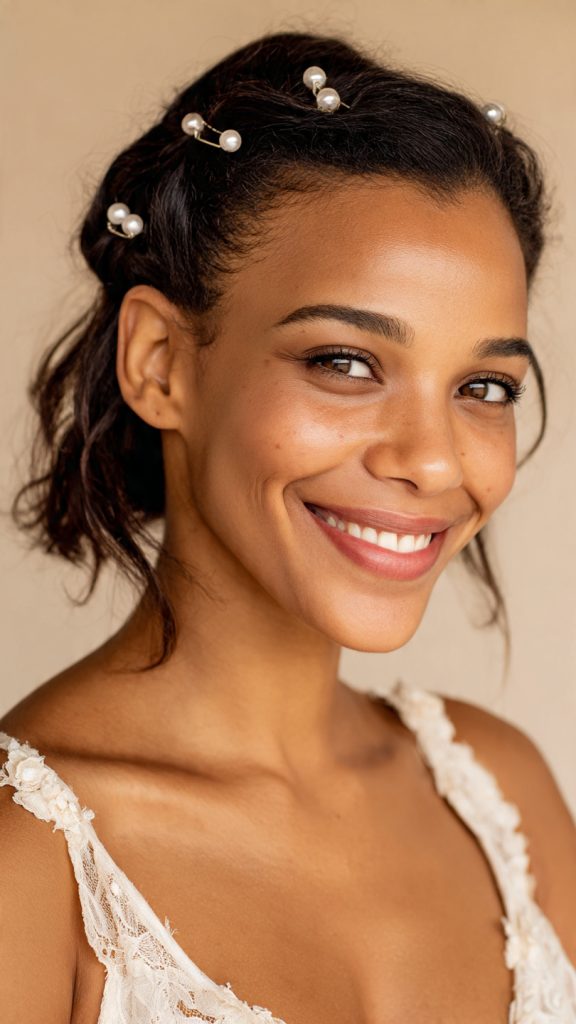
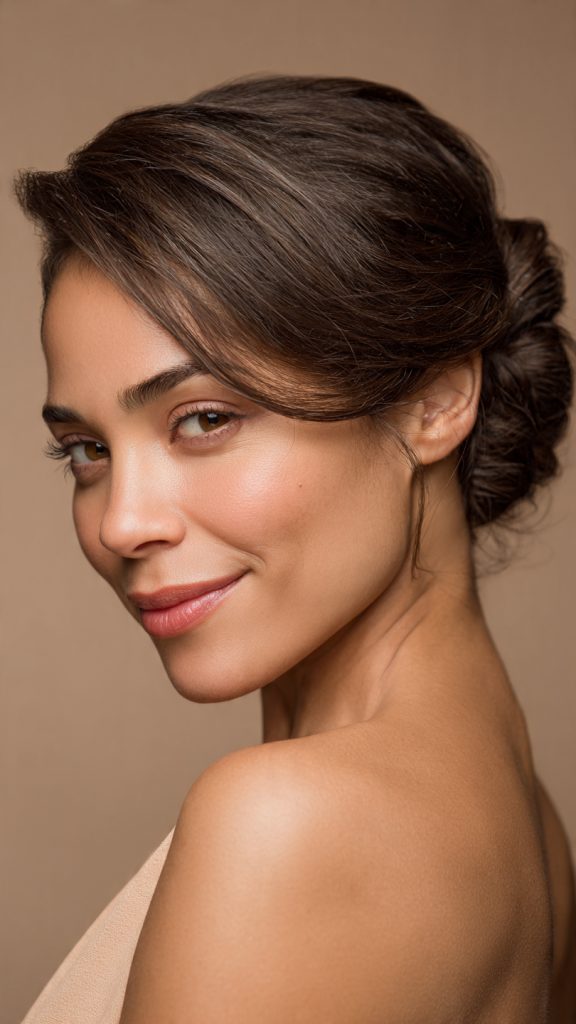
10. Accessorized Slicked-Back Bun
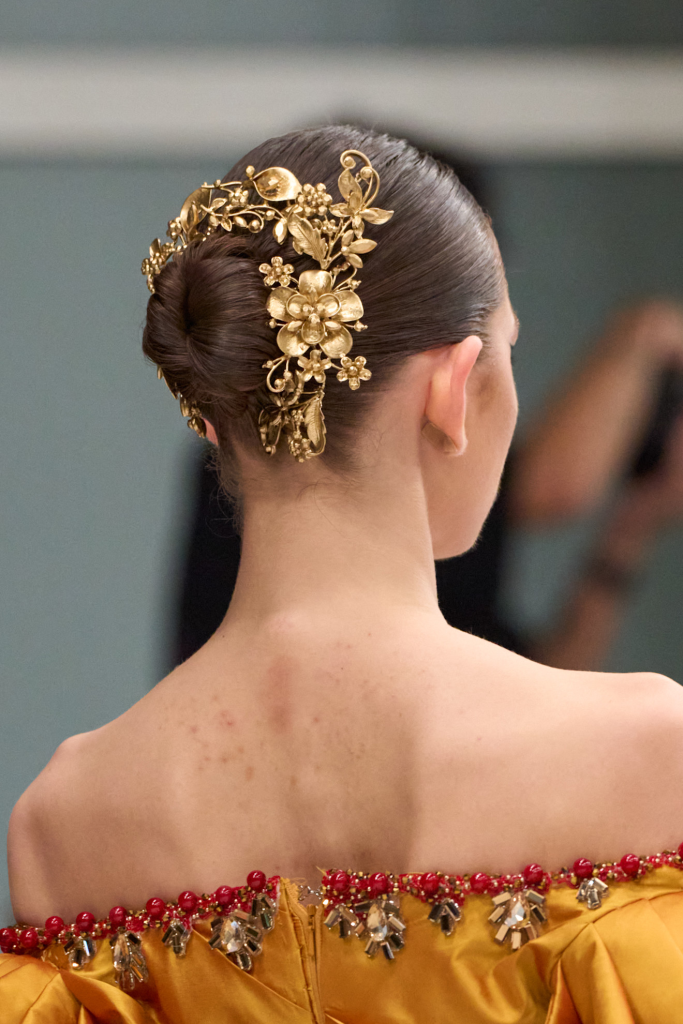
Comb hair tightly back into a sleek, low or mid bun, then add a pearl pin, crystal barrette, or metallic chain. The accessory becomes the star, making a simple style feel luxe and photo-ready.
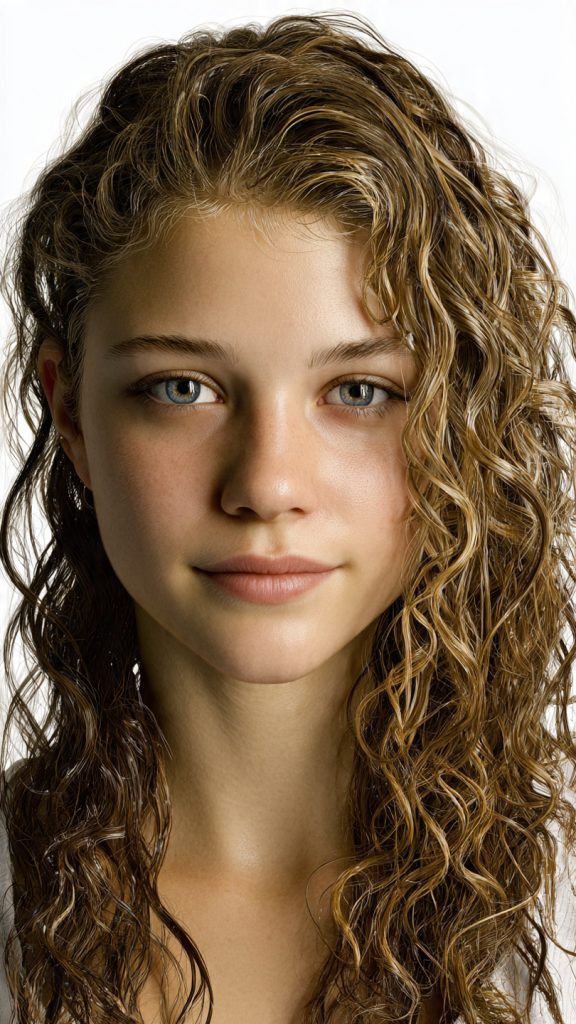
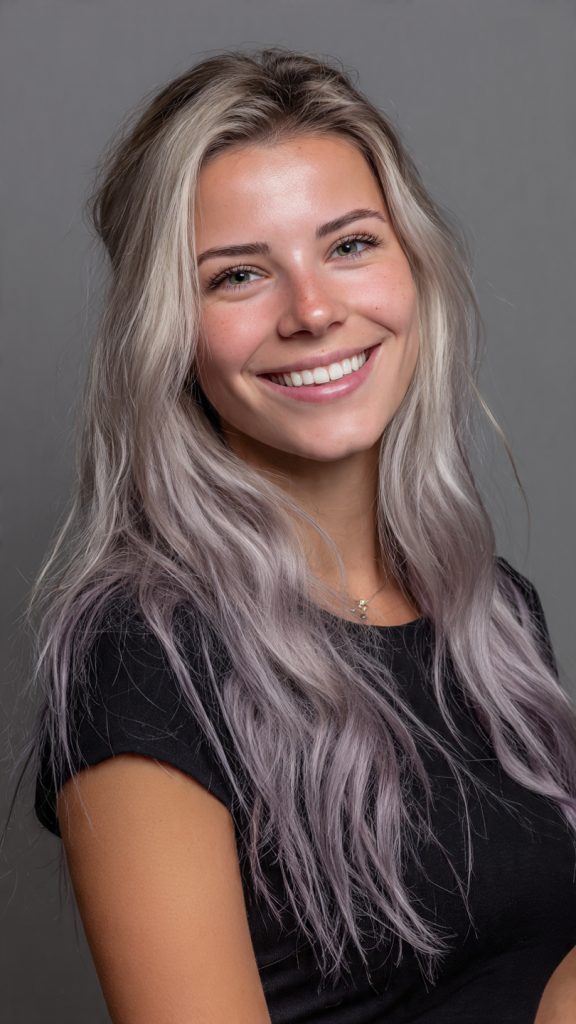
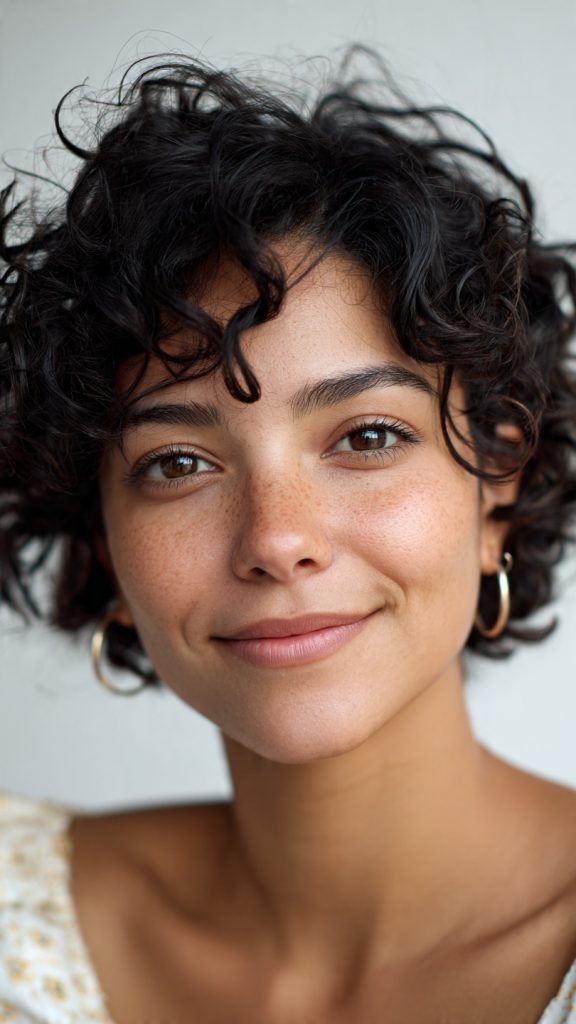
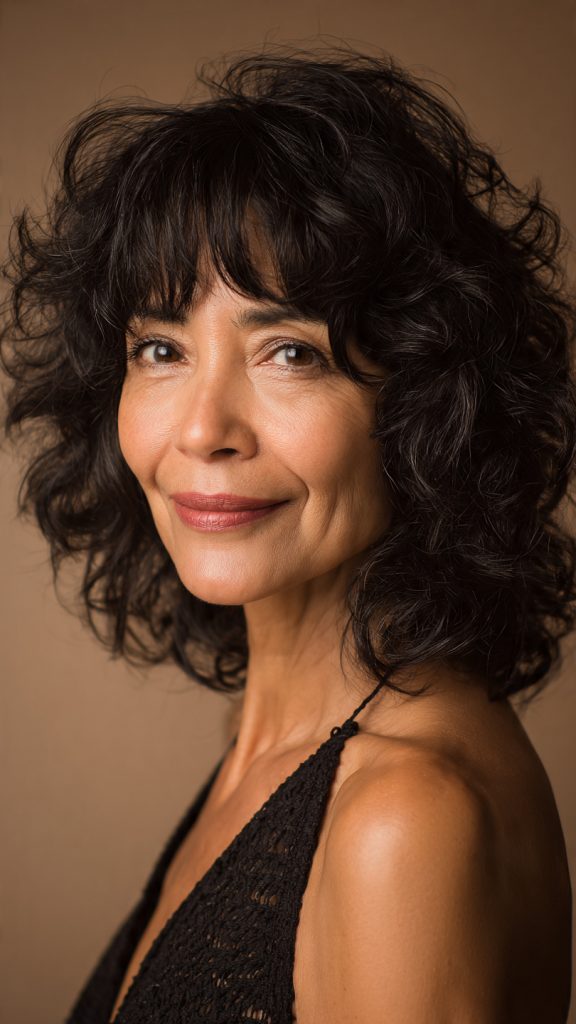
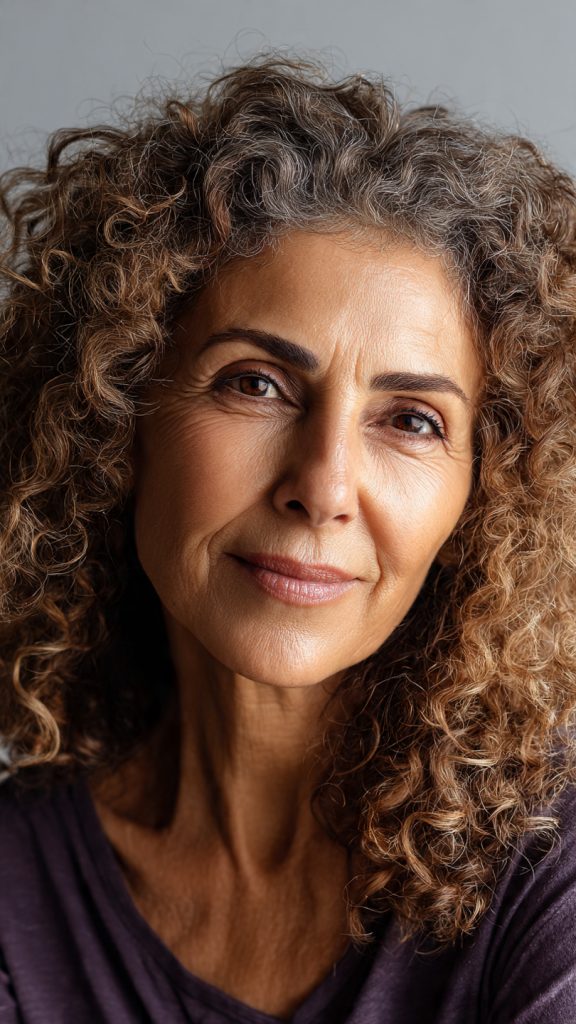
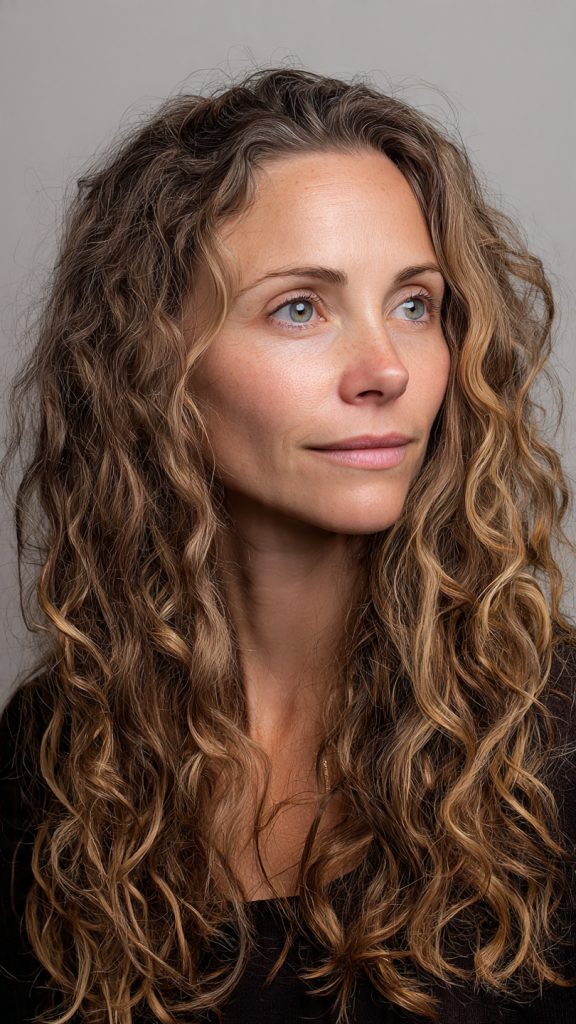
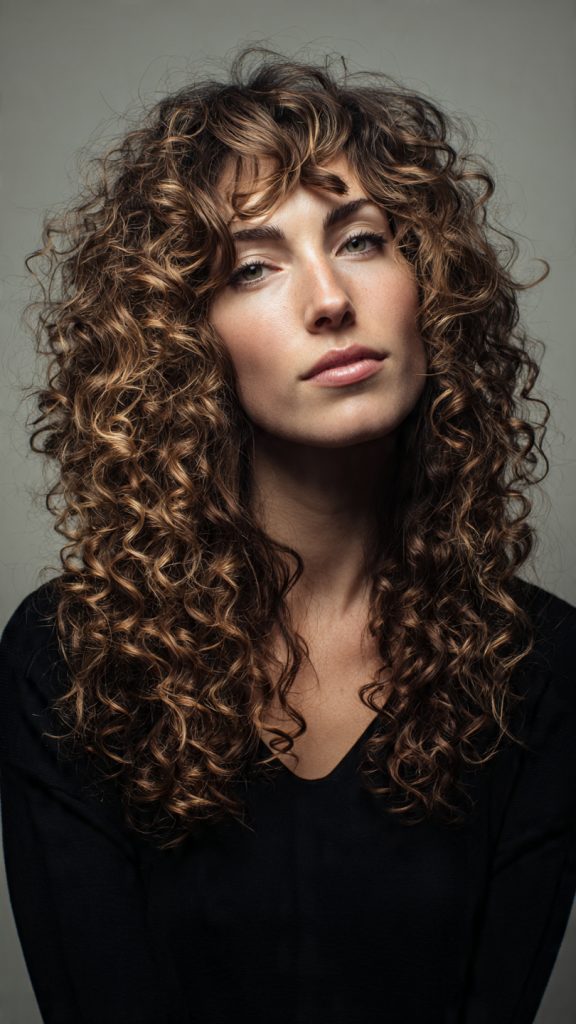
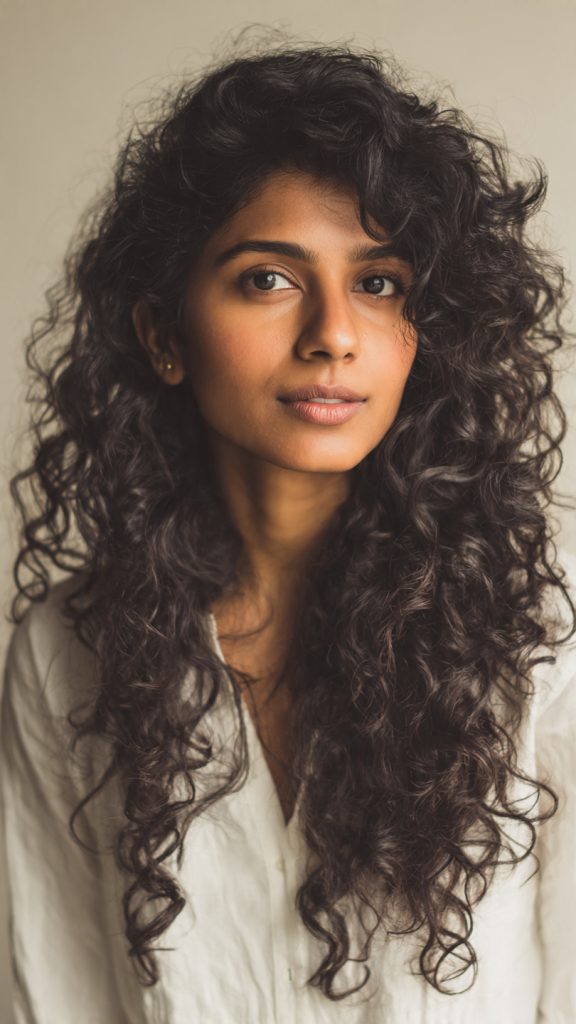
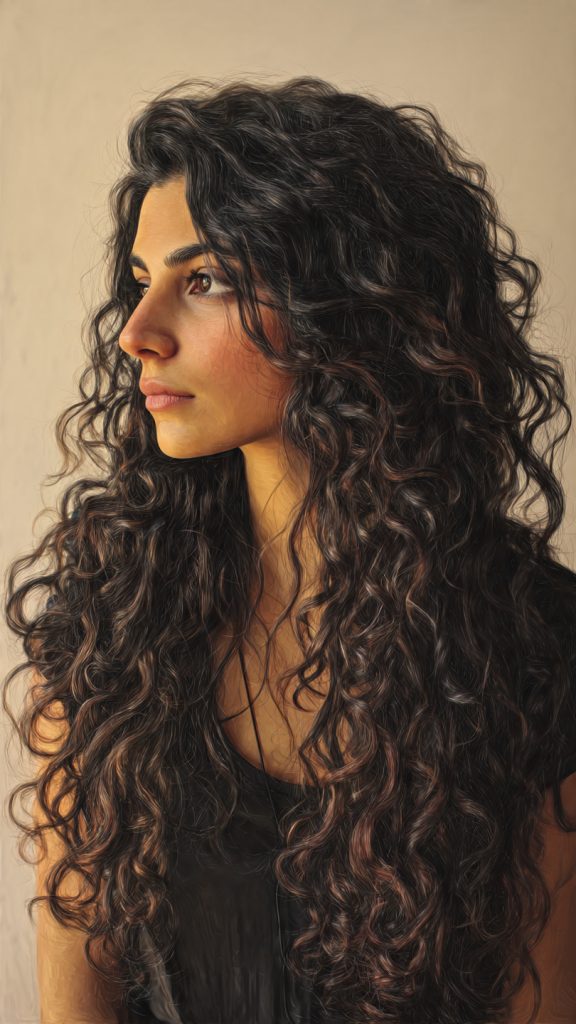
11. Waterfall Braid into Loose Curls
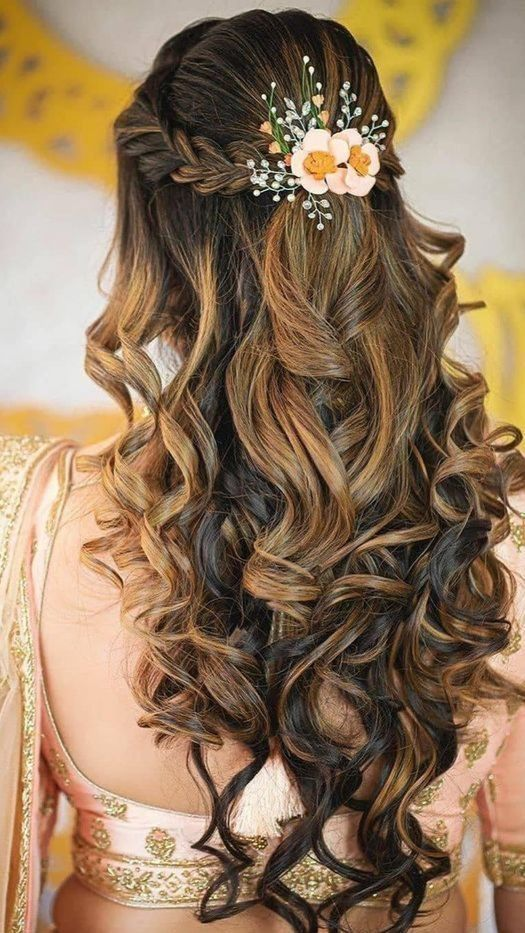
A single waterfall braid starts at the temple and cascades across the crown, merging into long, loose curls. This intricate yet wearable style adds a “wow” factor without requiring an all-day setup.
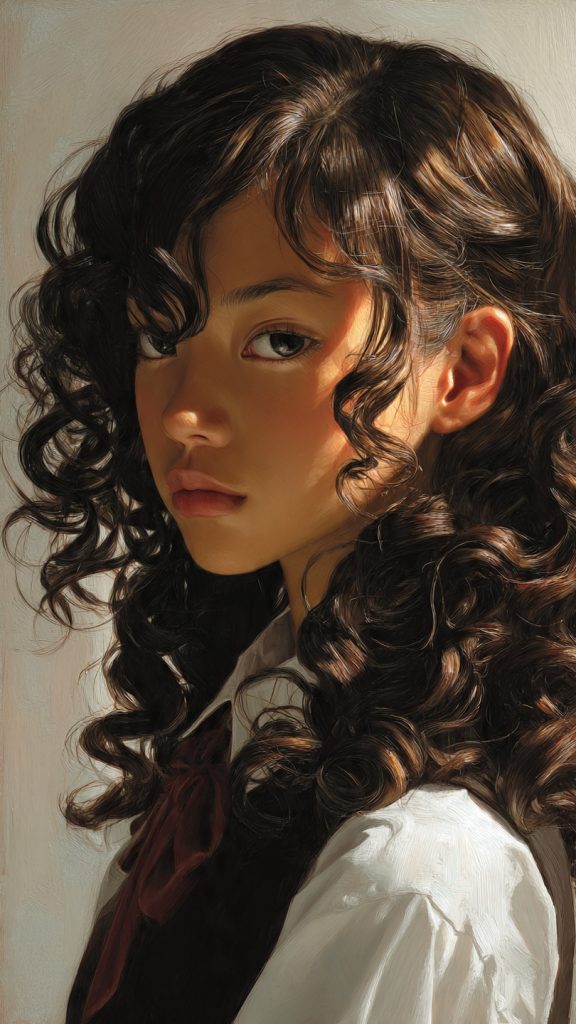
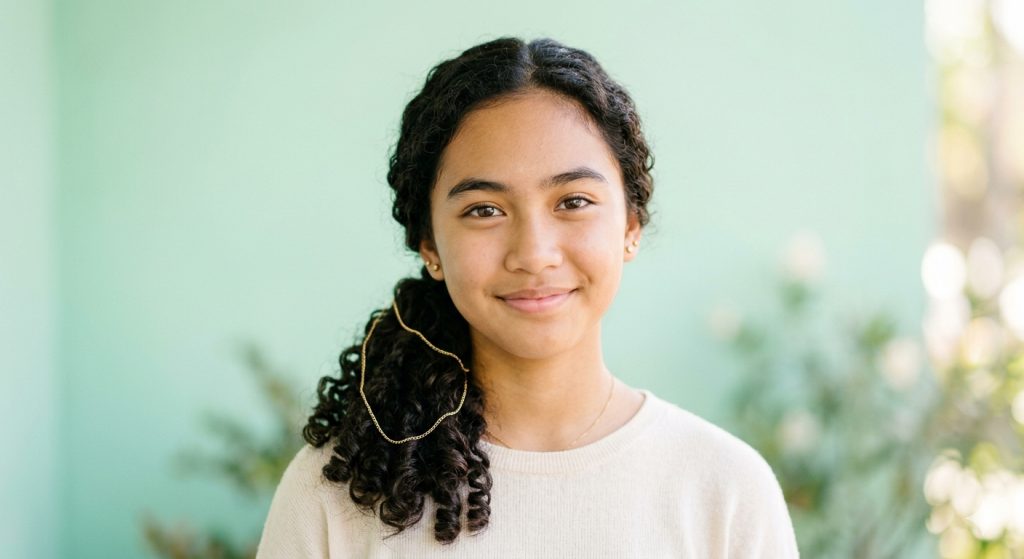
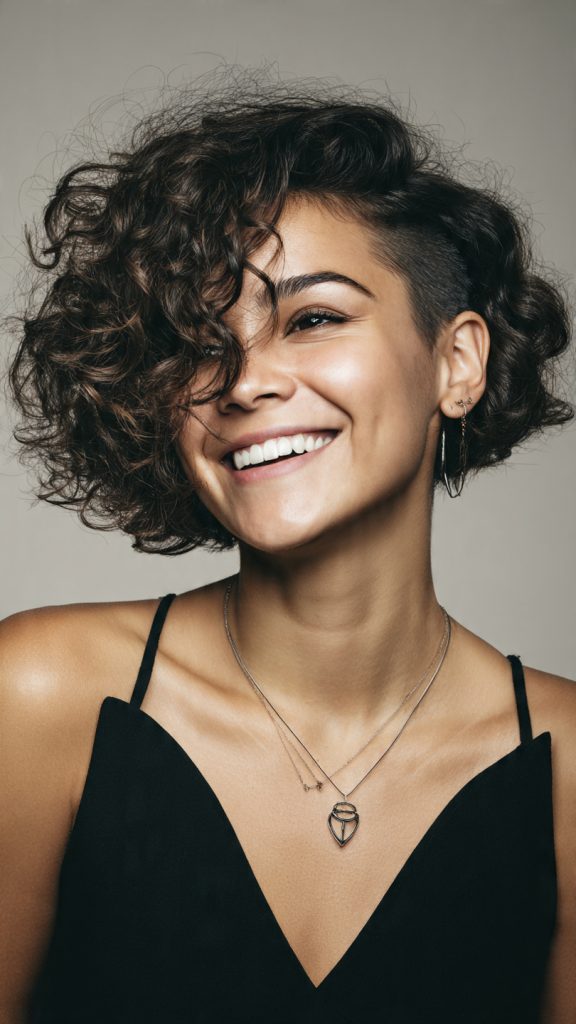
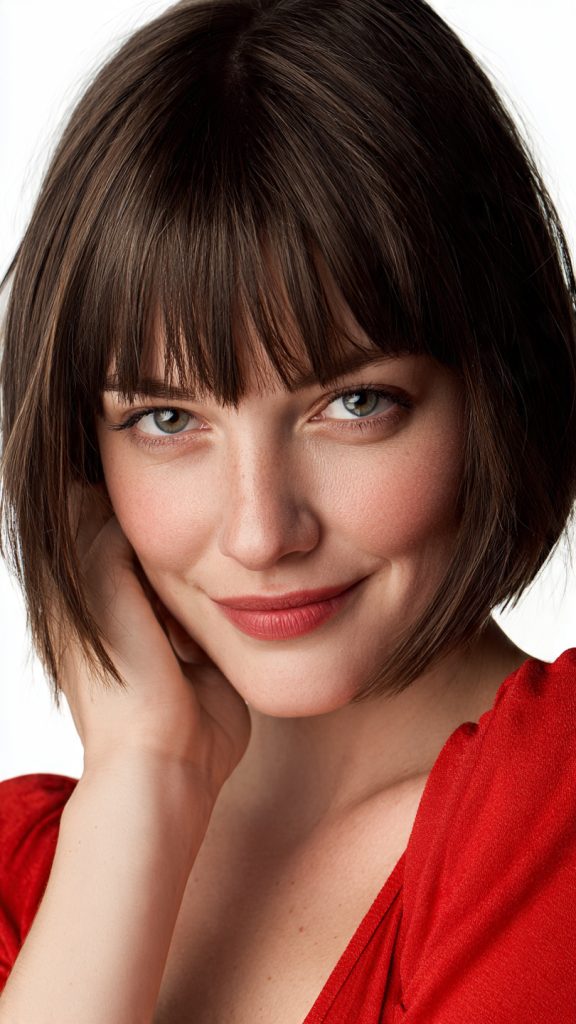
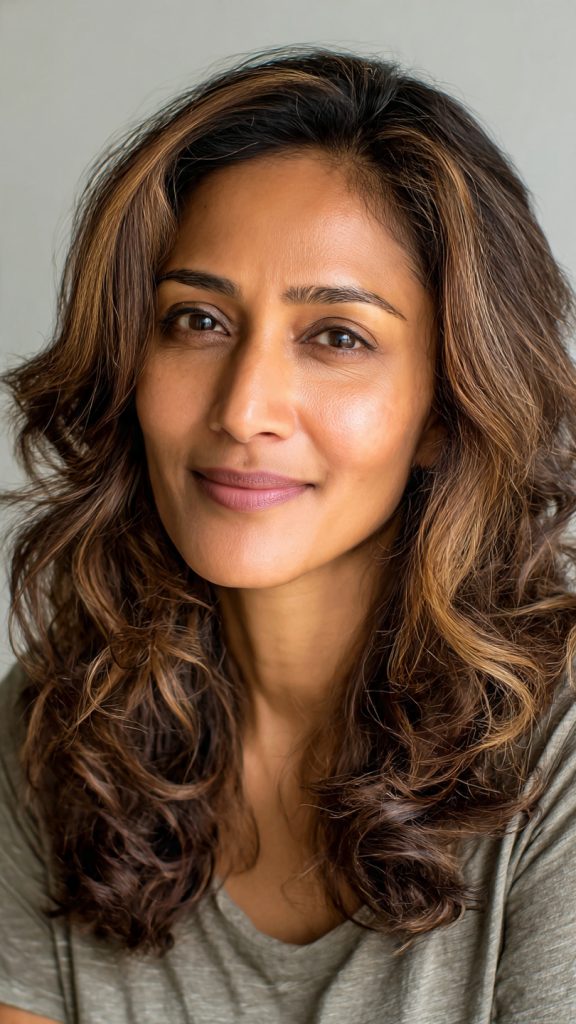
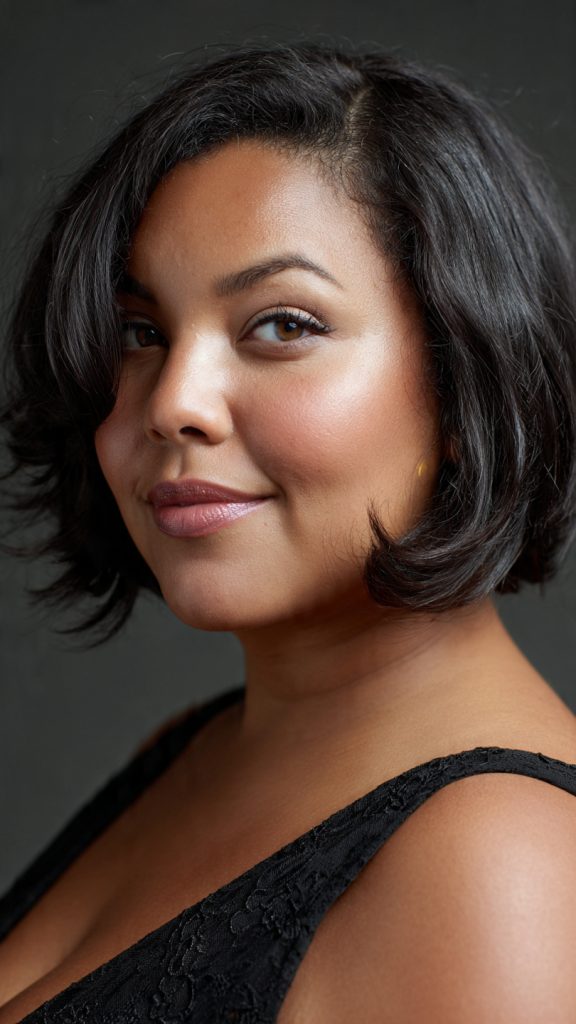
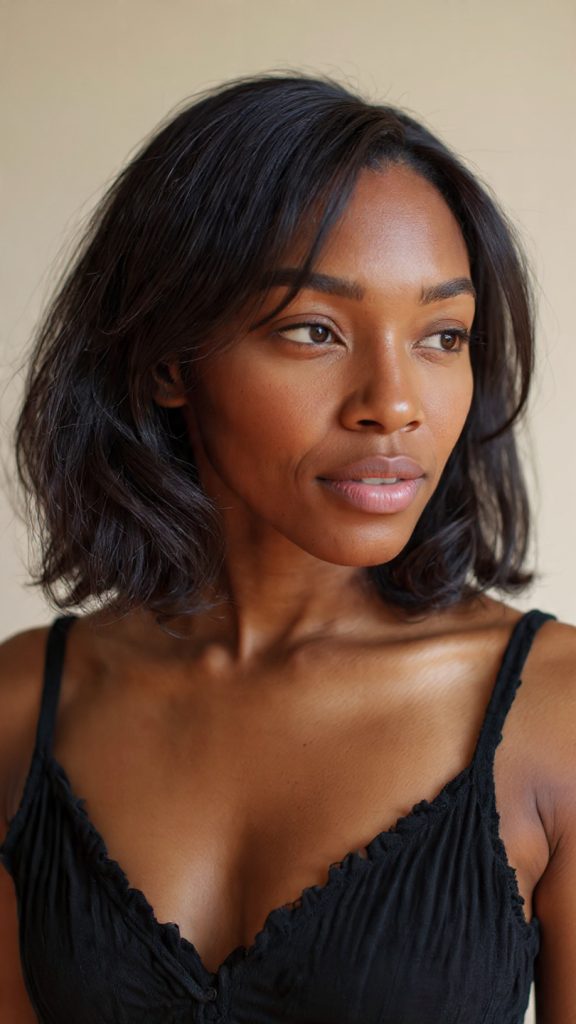
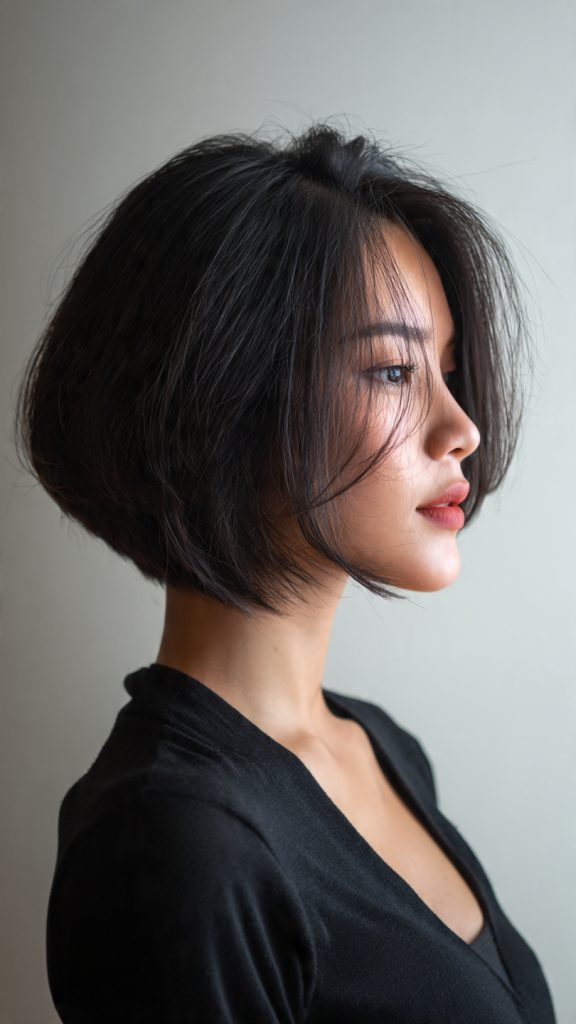
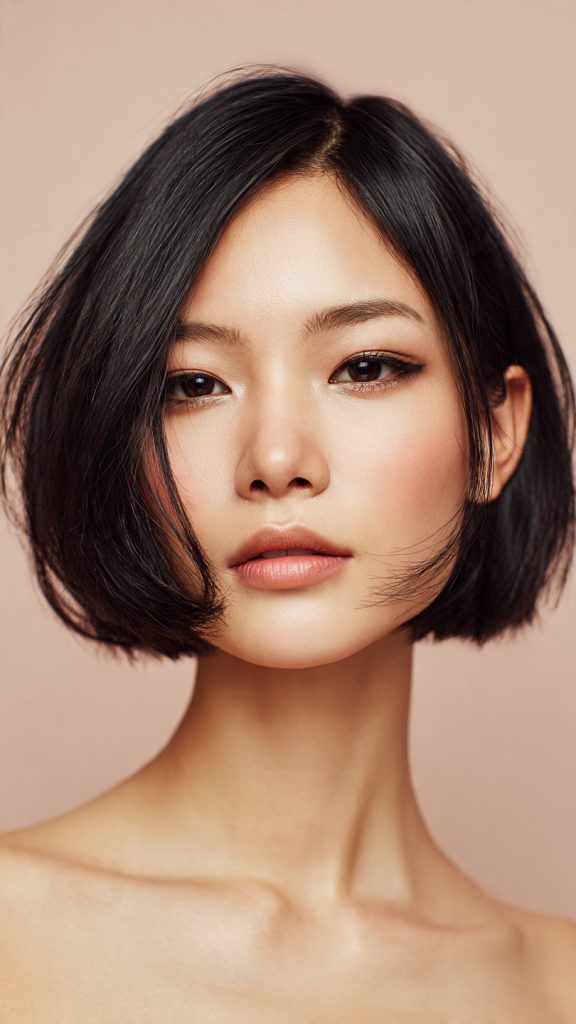
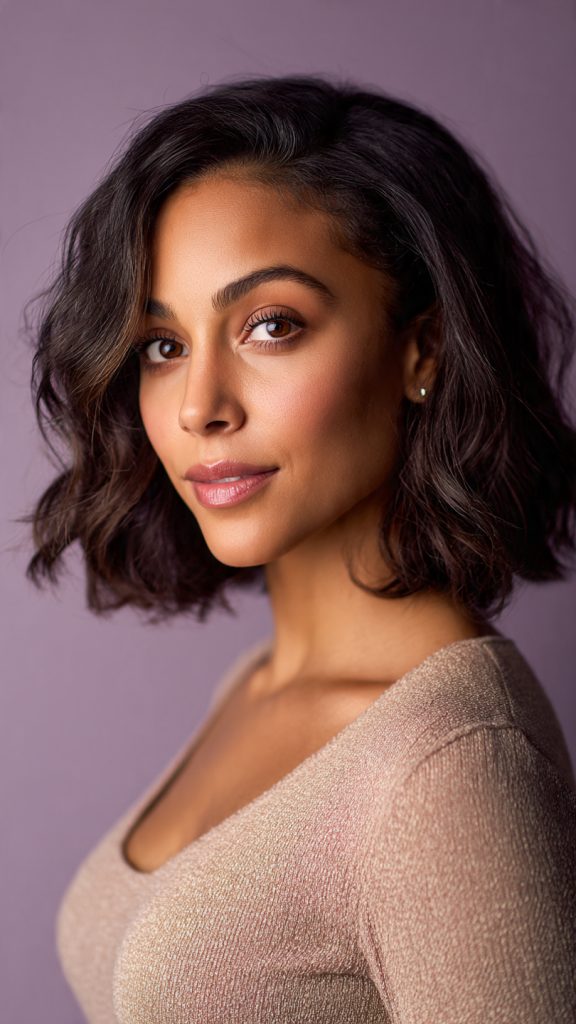
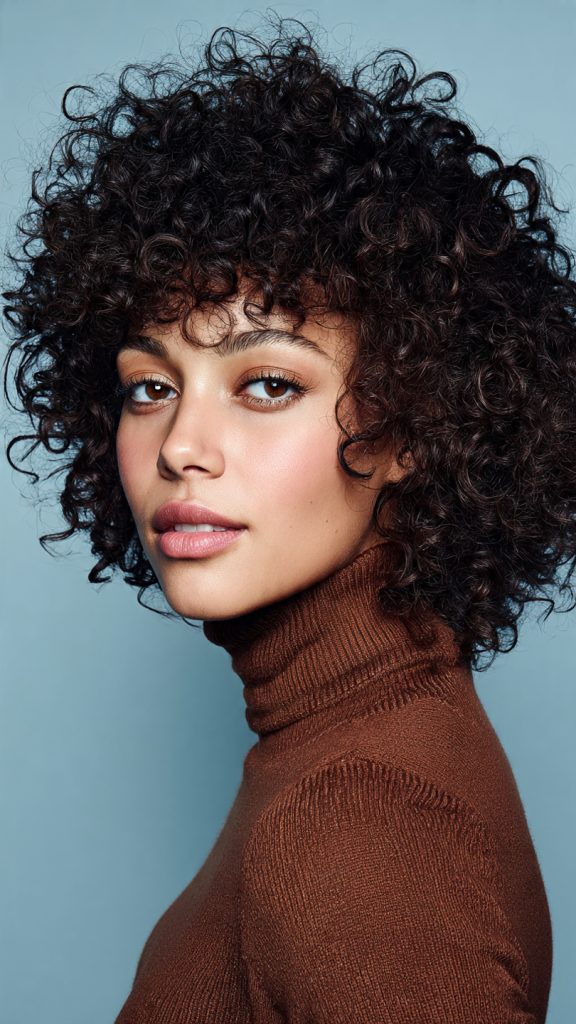
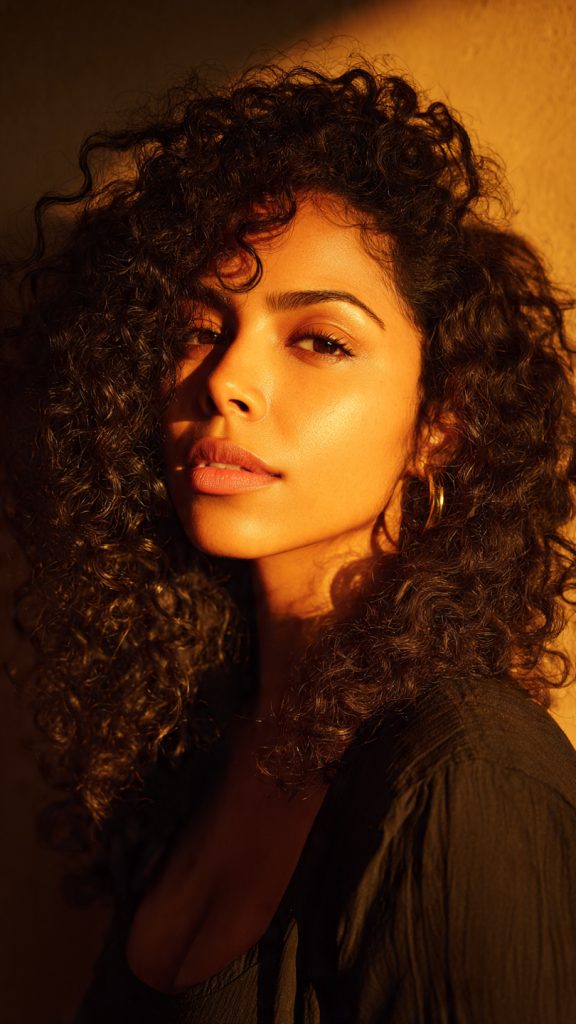
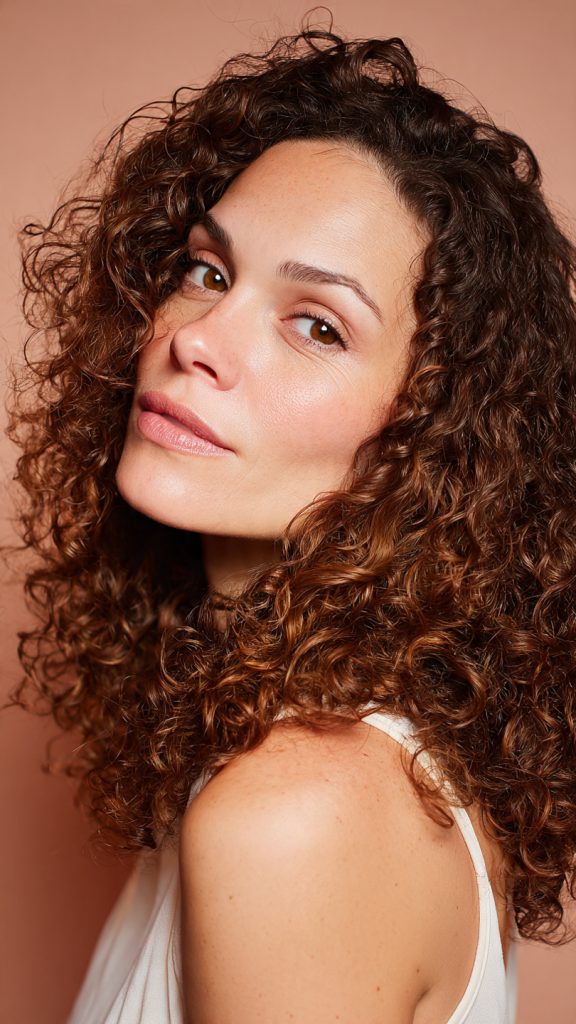
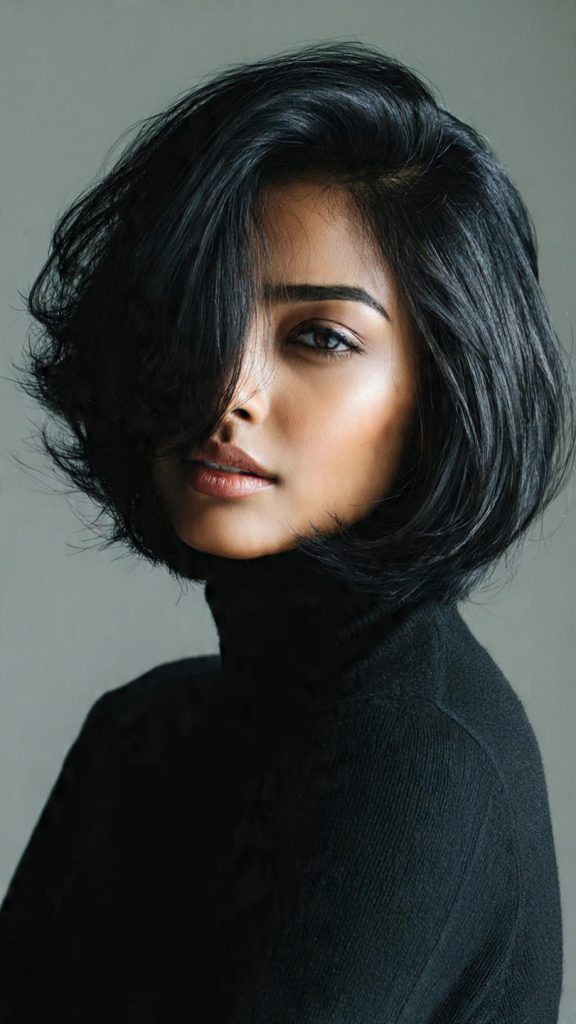
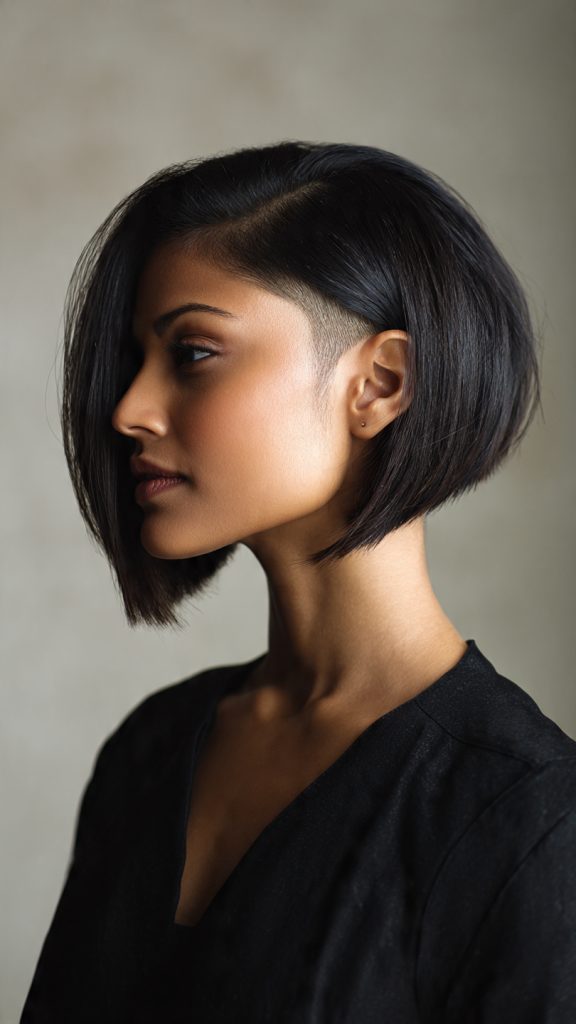
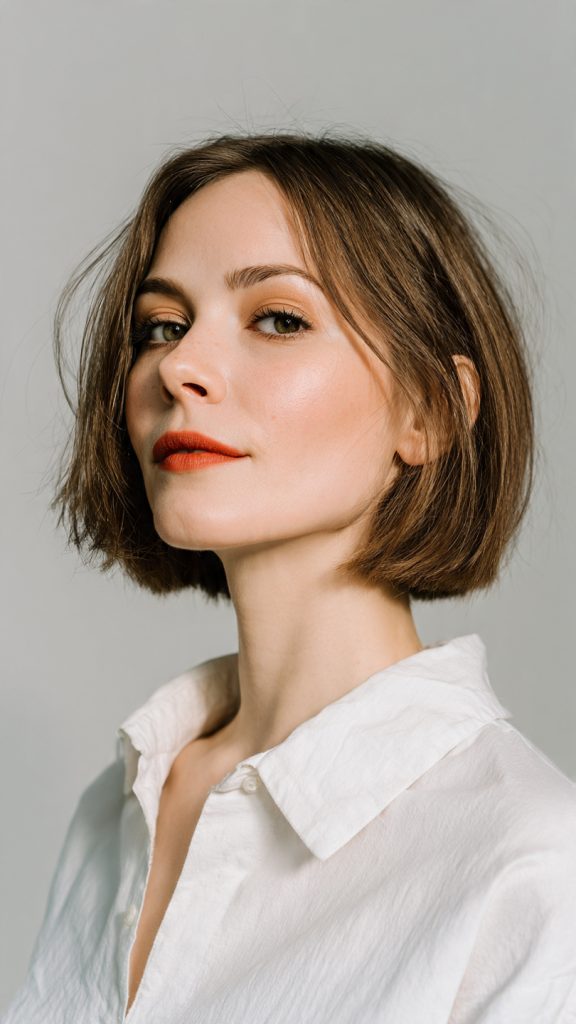
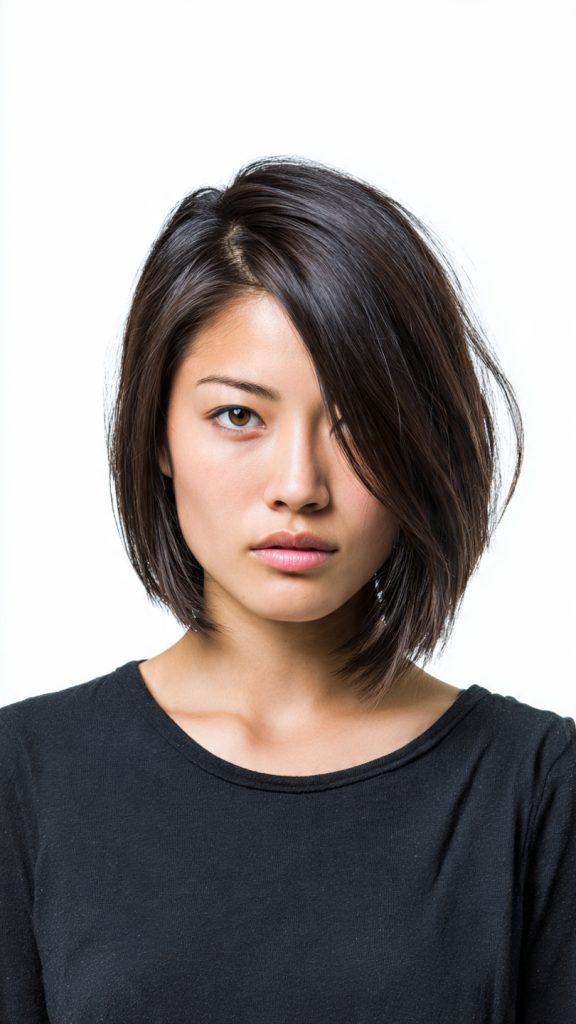
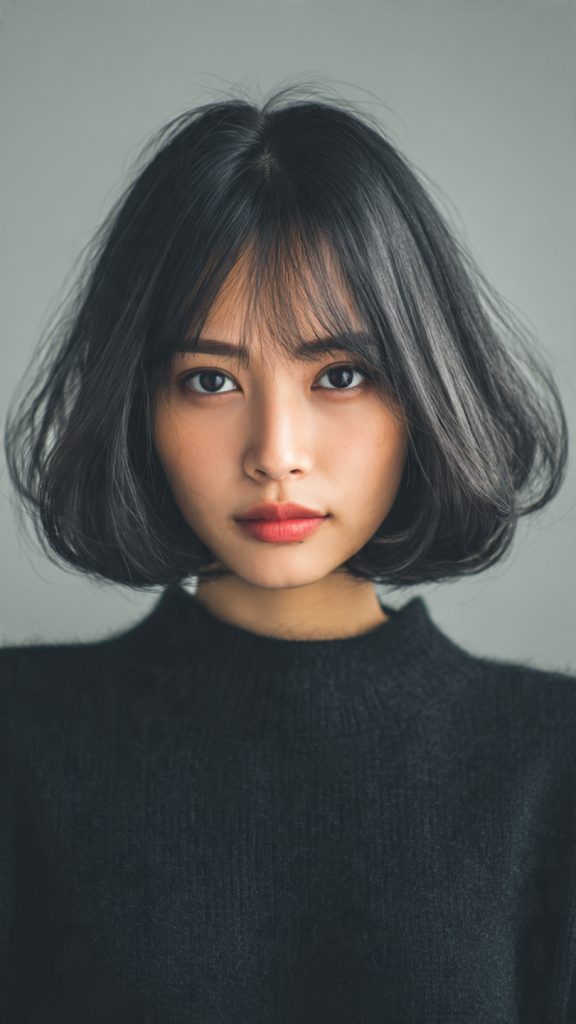
12. Asymmetrical Side Swept Curls
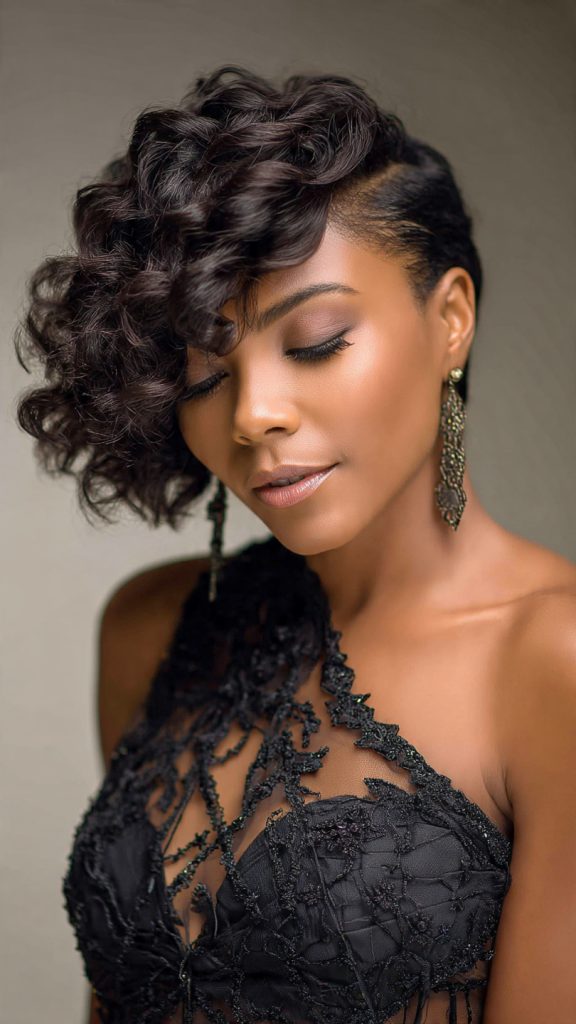
Pile all your curls heavily onto one shoulder, securing them with hidden pins behind the opposite ear. It mimics a faux bob effect and is incredibly seductive, especially with a deep side part.
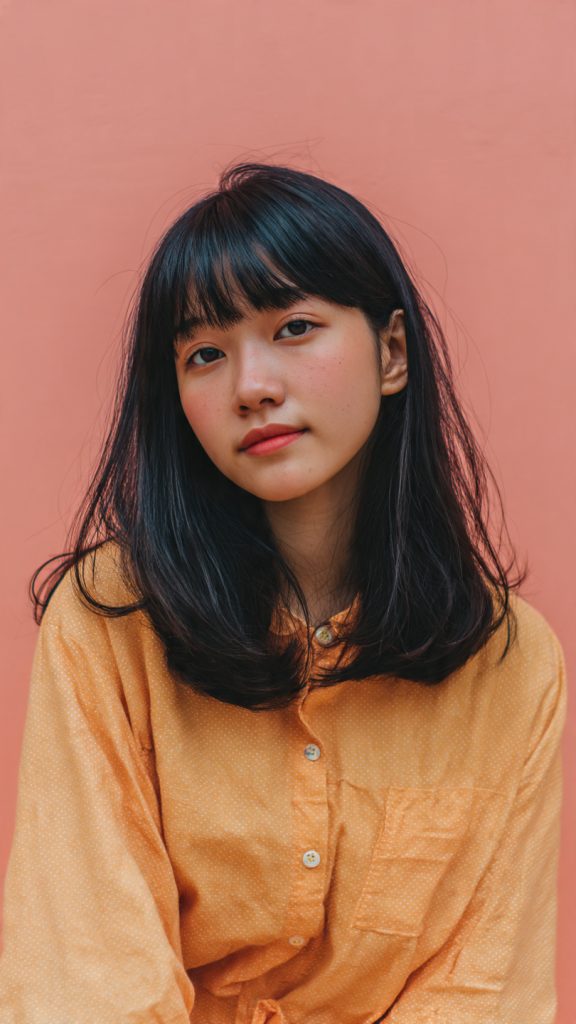
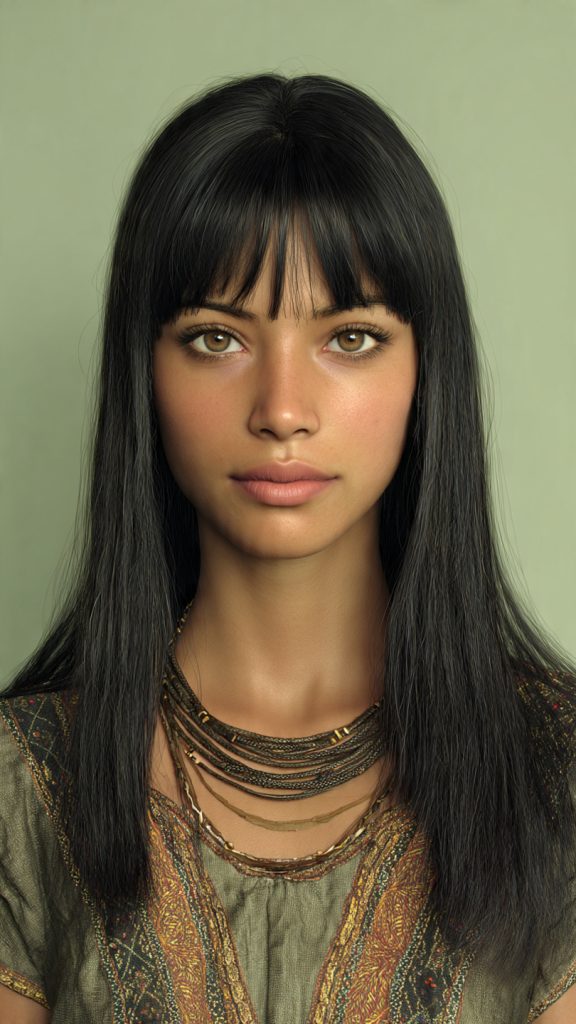
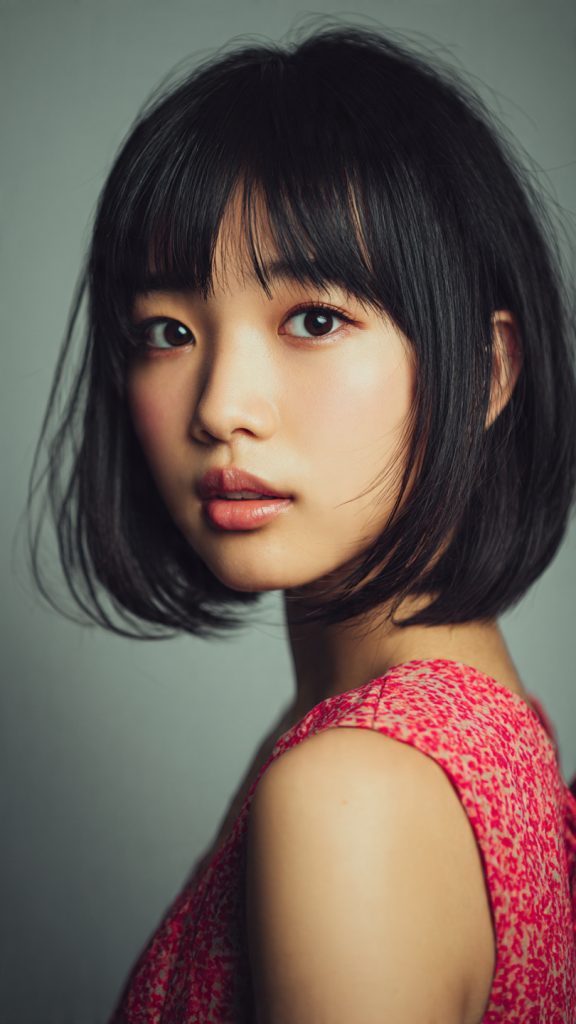
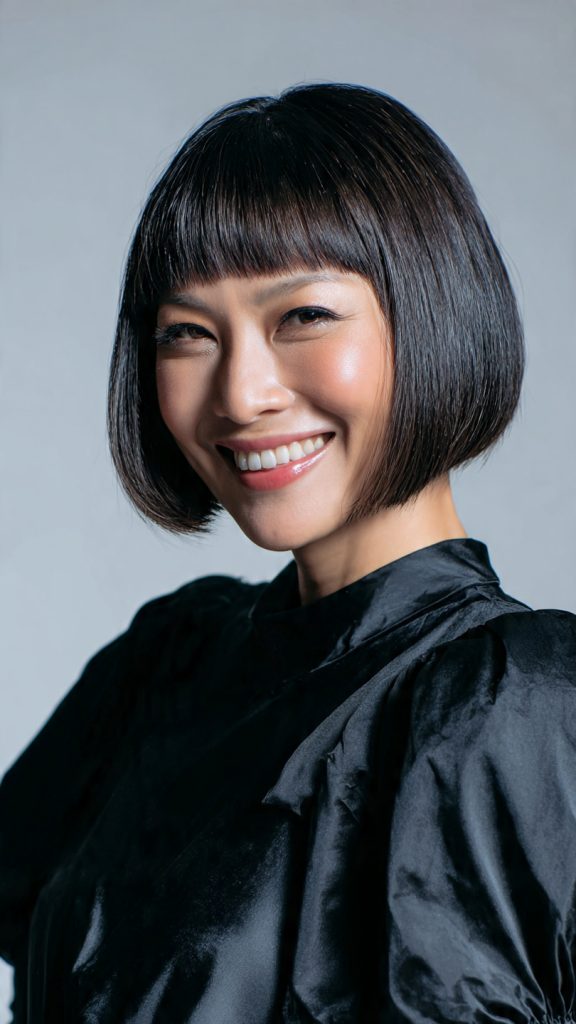
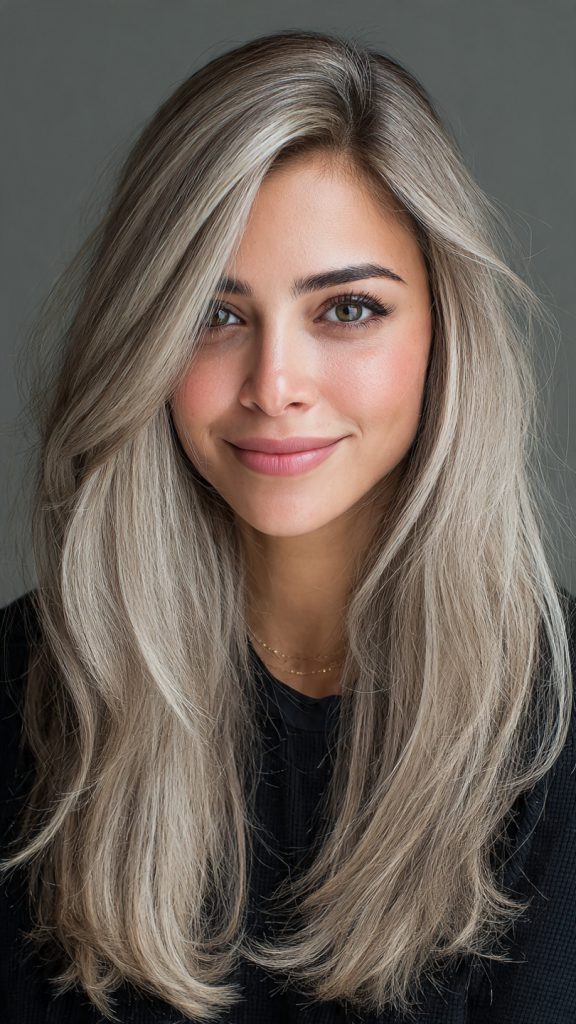
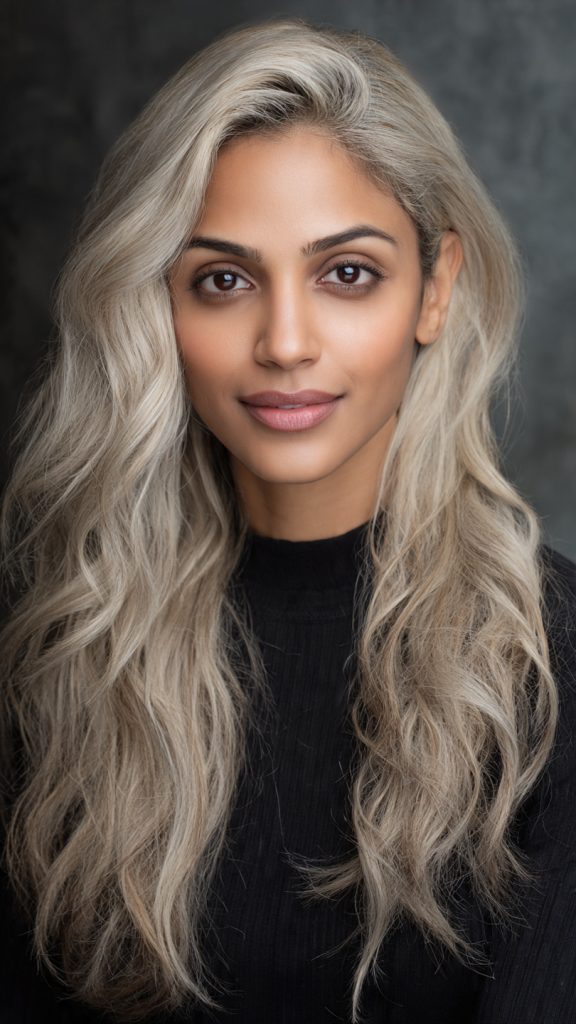
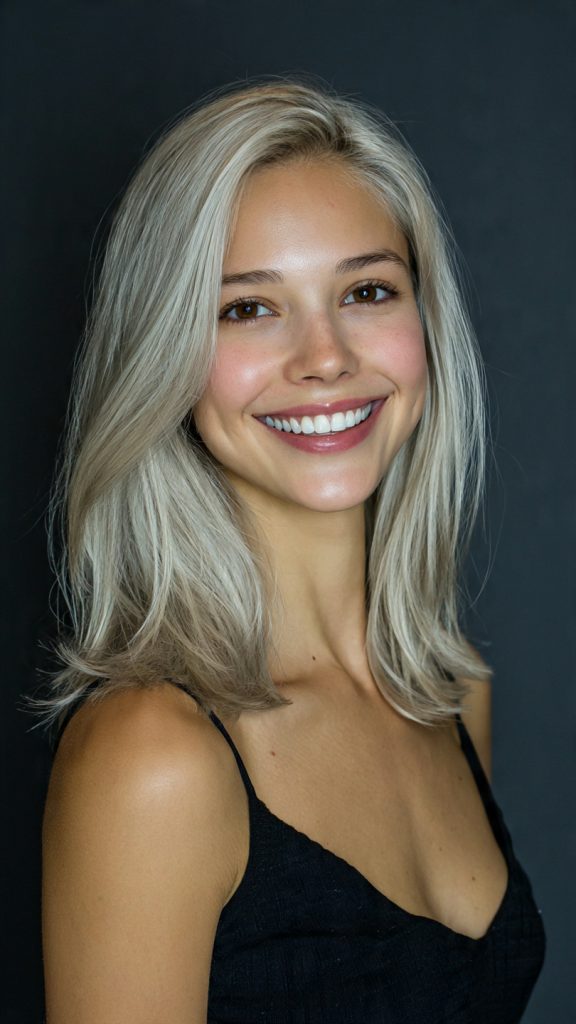
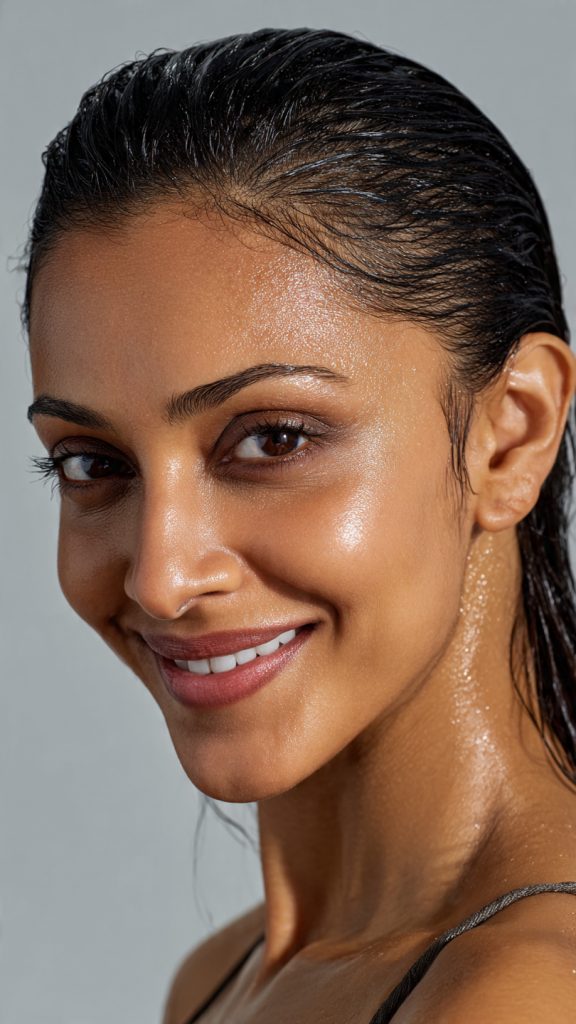
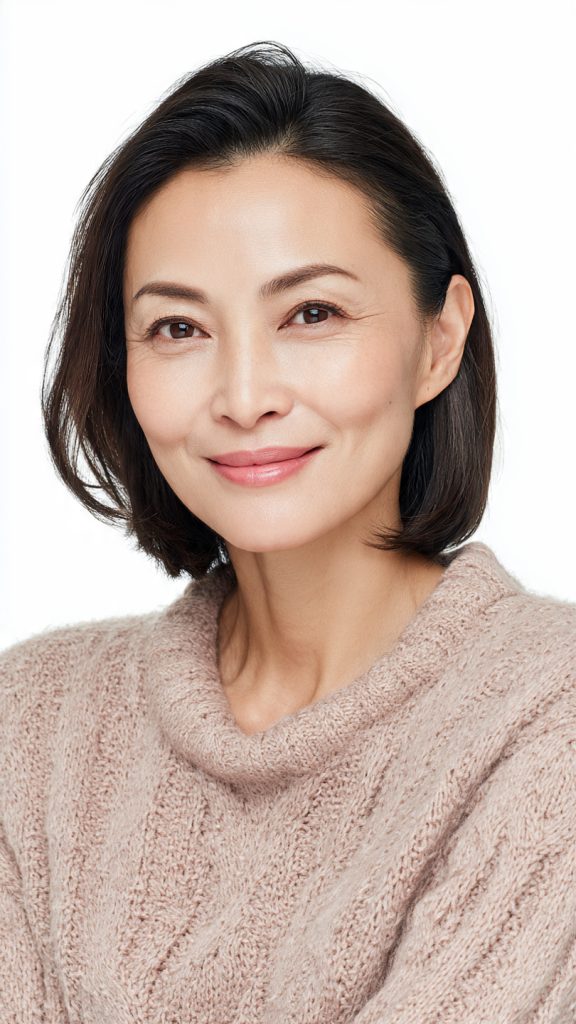
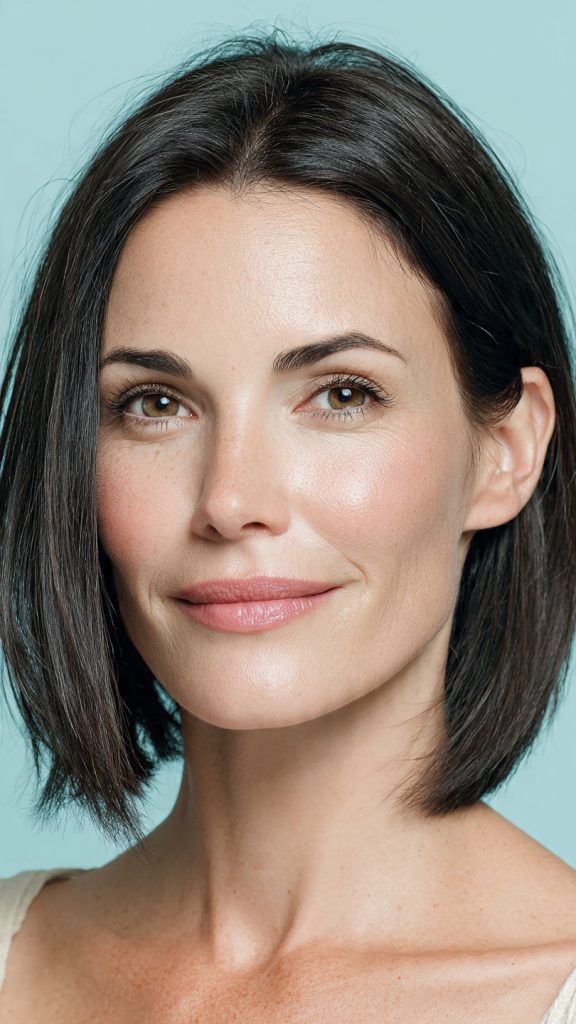
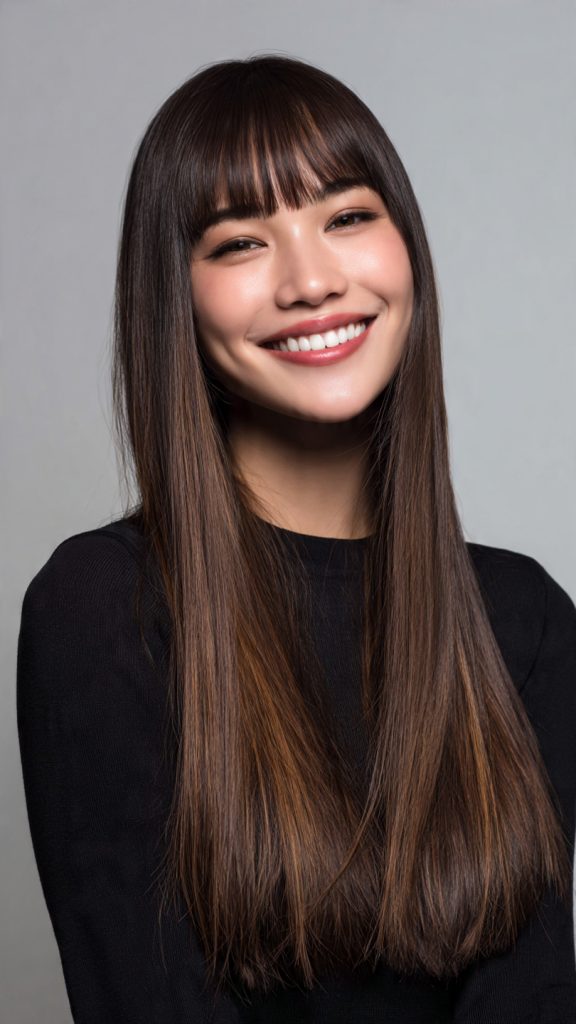
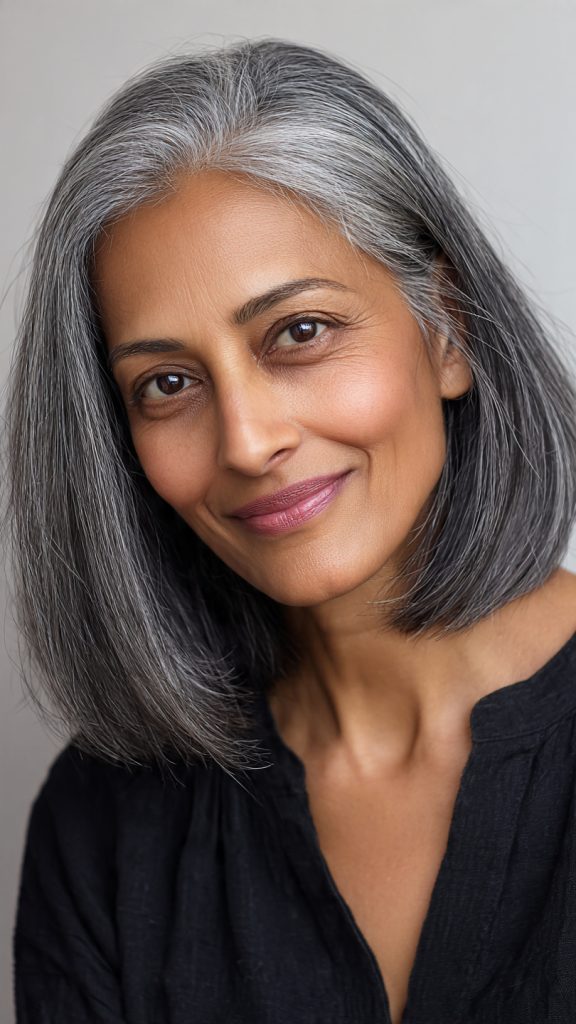
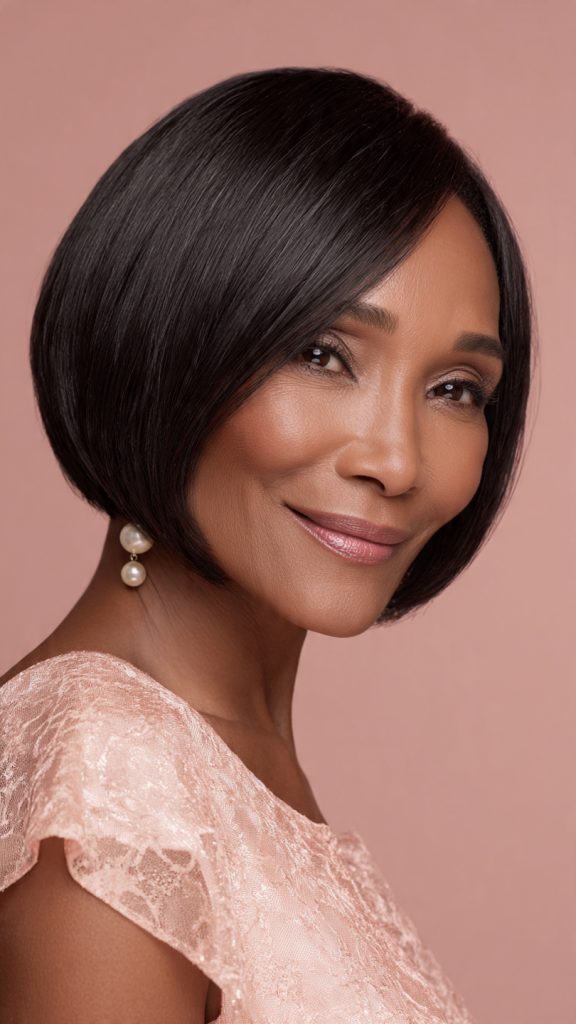
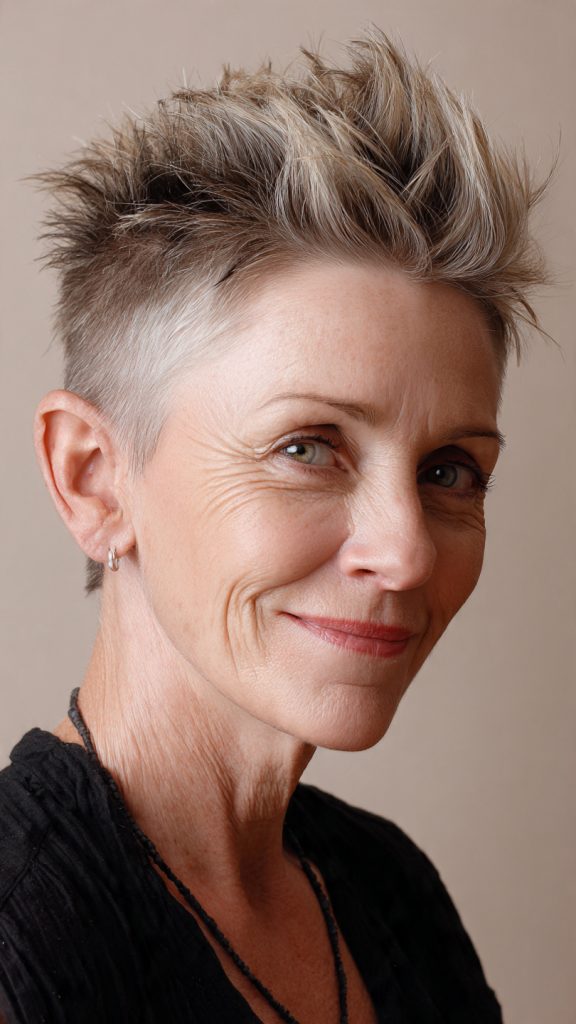
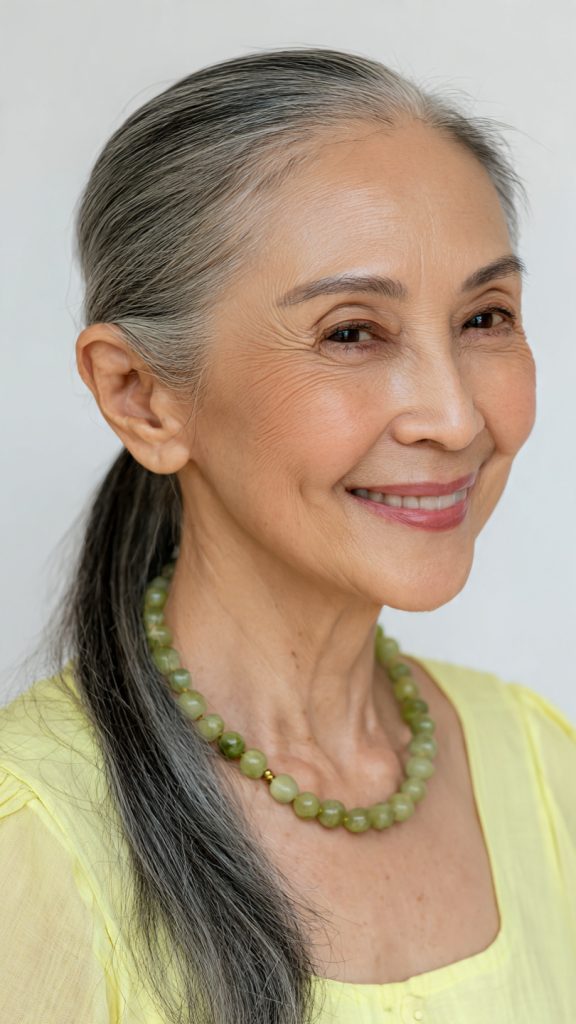
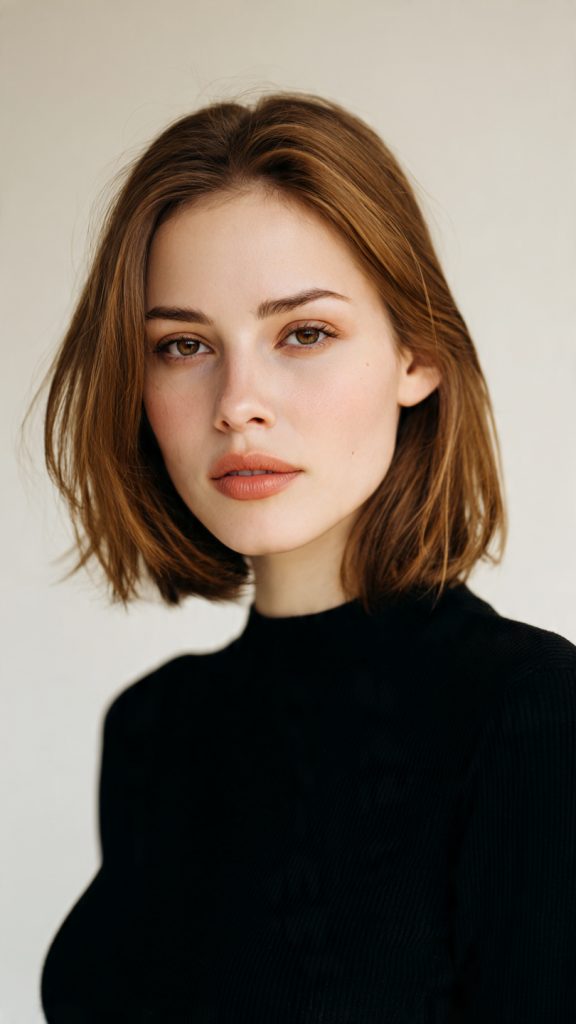
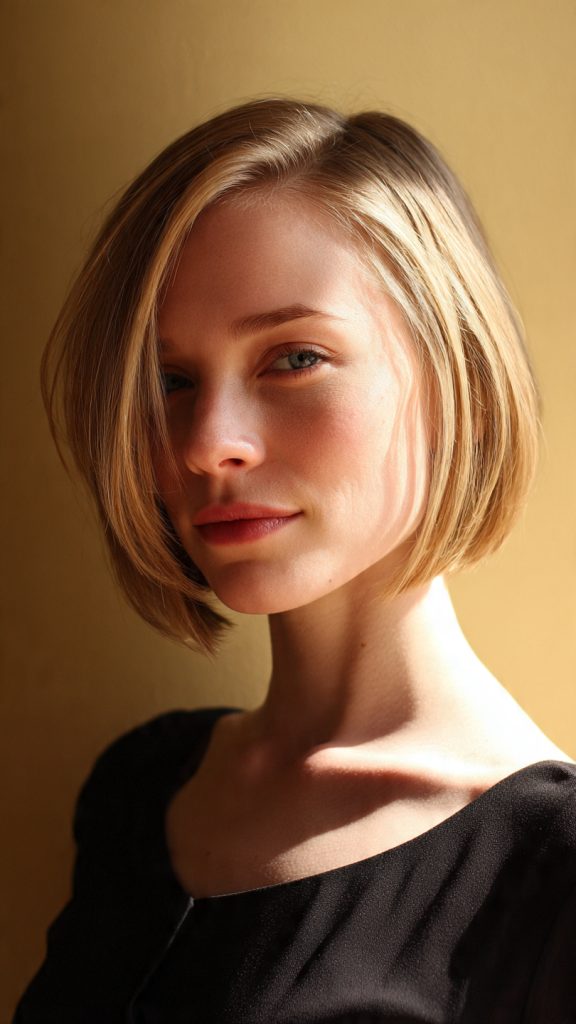
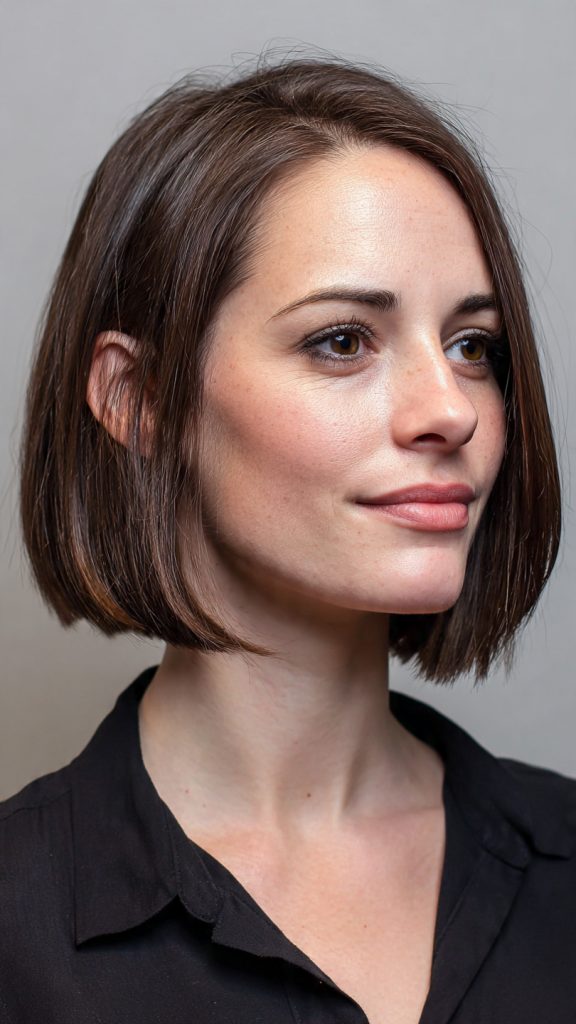
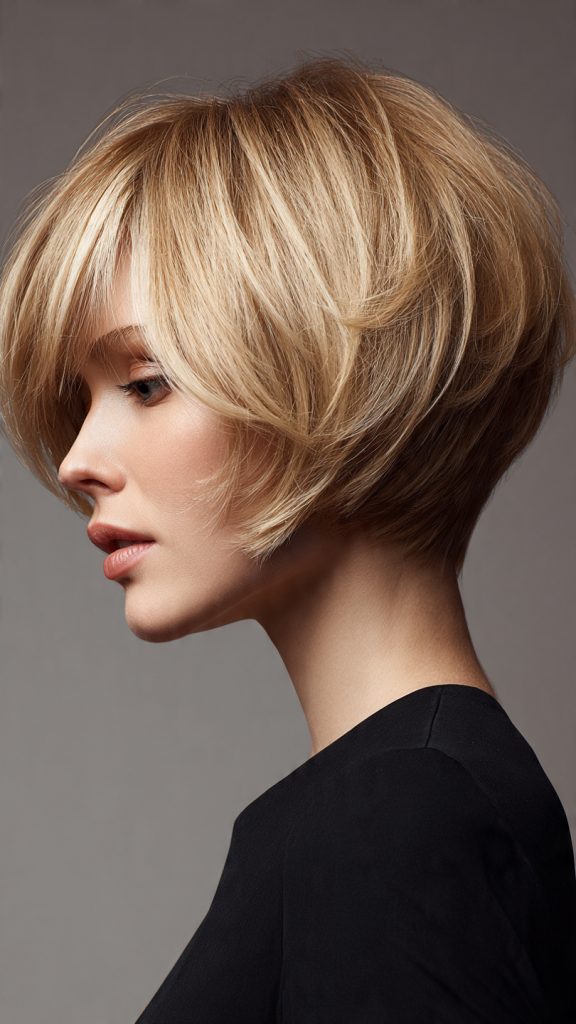
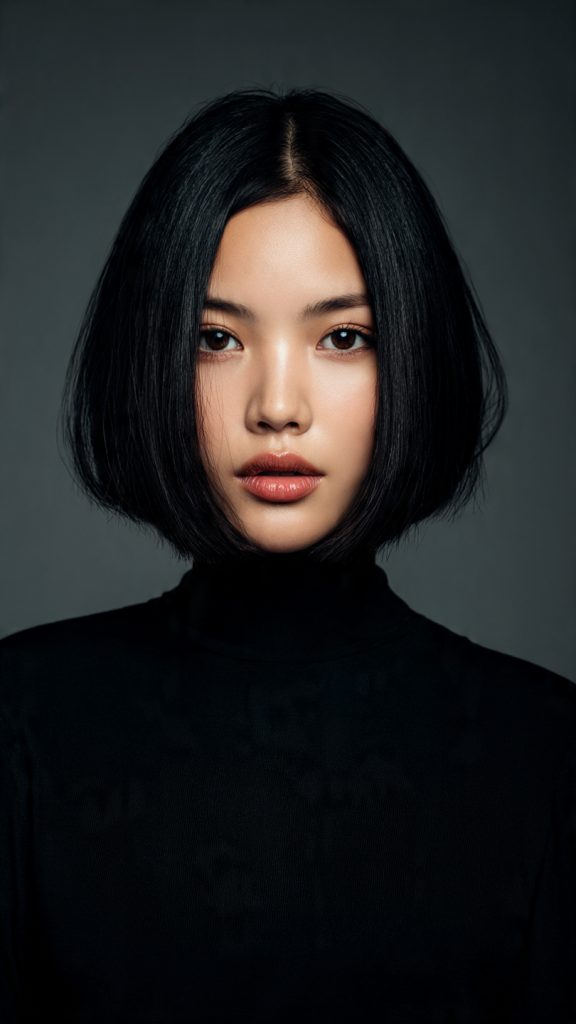
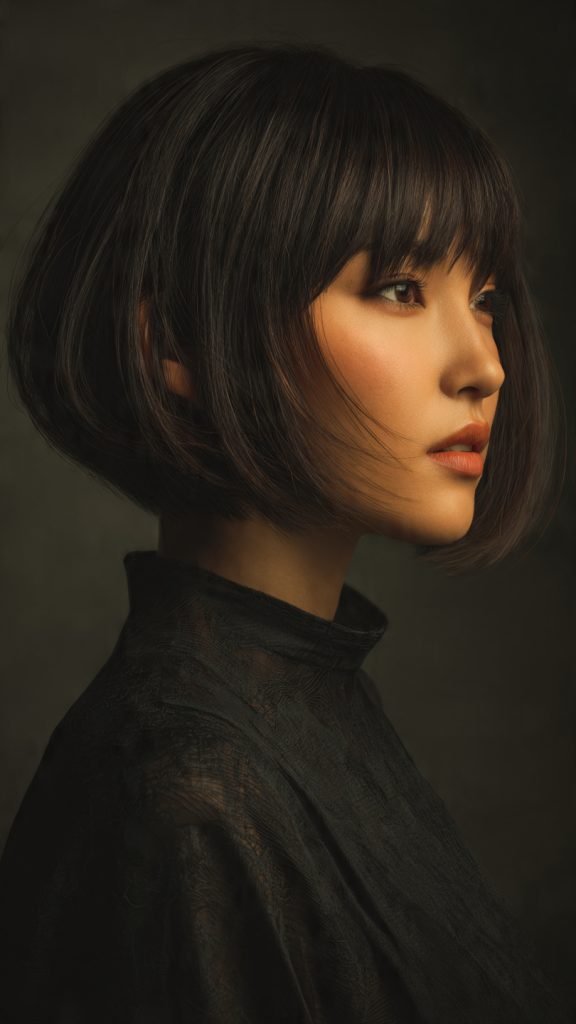
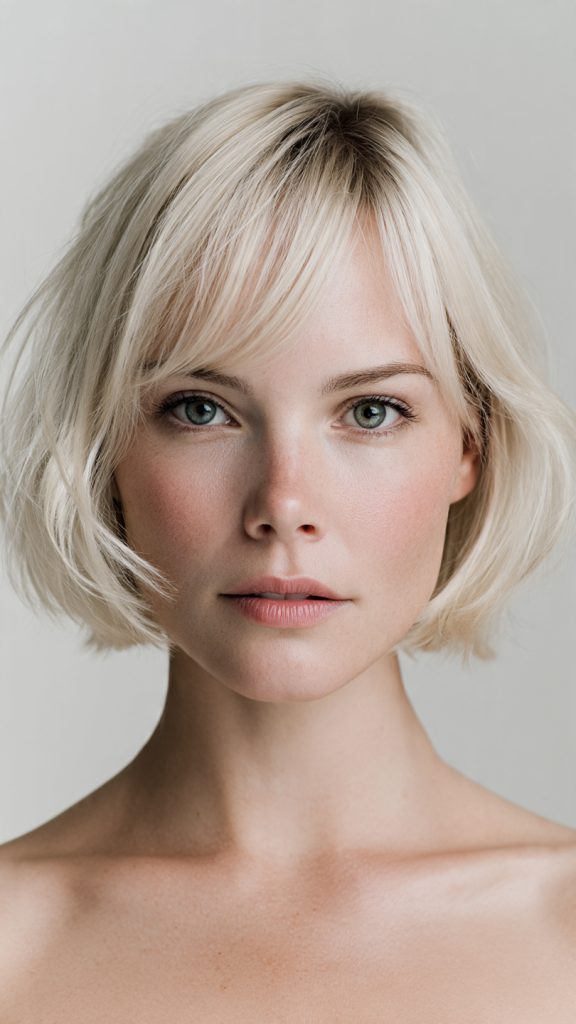
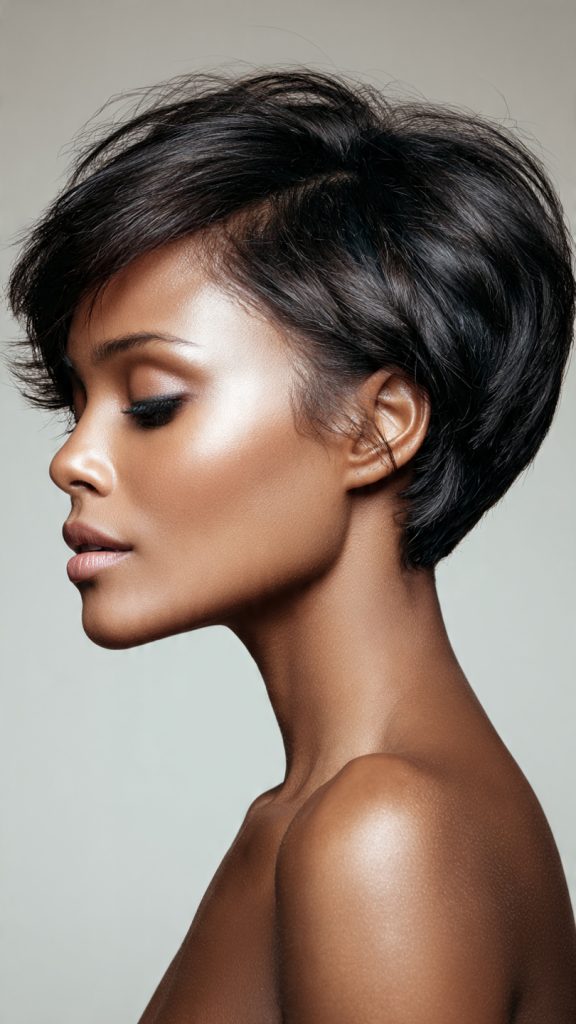
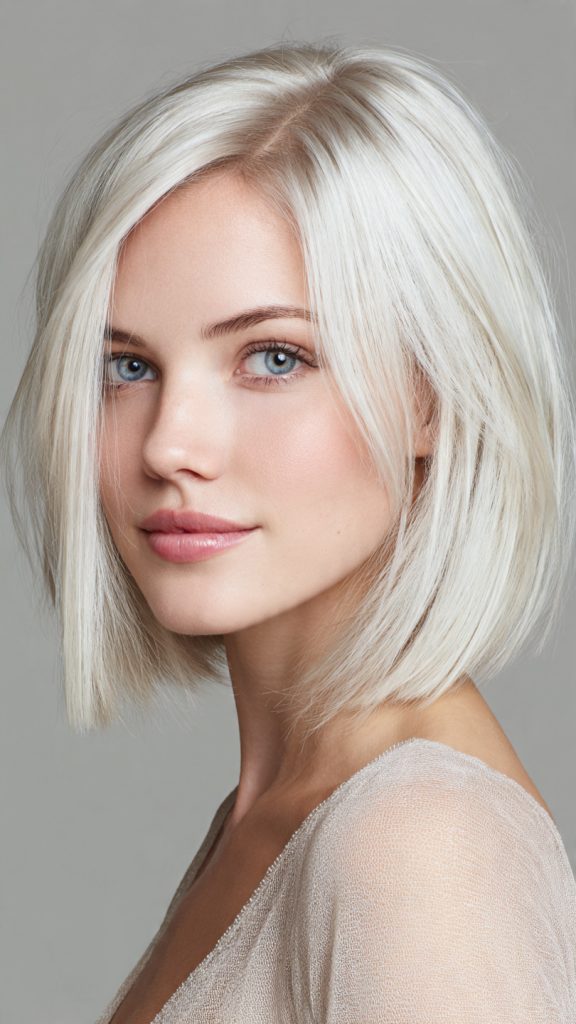
13. Sleek, Glass Hair
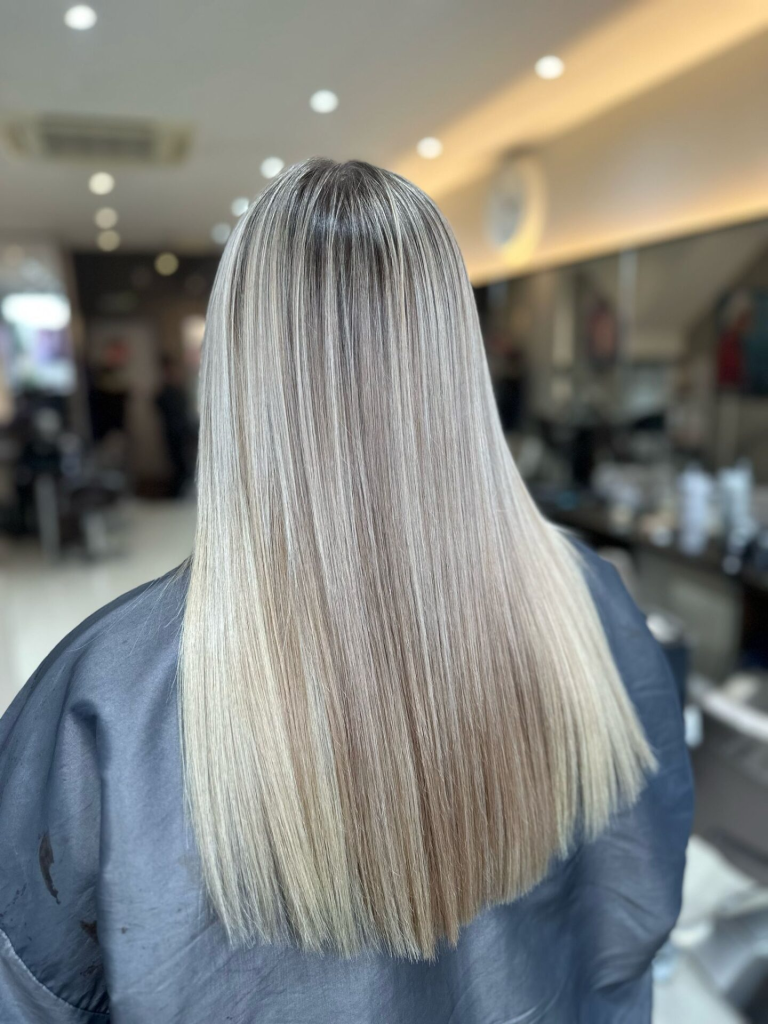
Straightened to a mirror-like shine with zero flyaways, this minimalist style is fierce and futuristic. It’s the ultimate choice for the woman who wants to let a bold makeup look or statement necklace do the talking.
Pro Styling Tips for Prom Night (Do’s & Don’ts)
Follow these professional tips to ensure your hairstyle lasts from pre-prom photos until the last dance.
Do’s
- Do a trial run at least one week before prom. Wear the hairstyle for a full day to test its hold and comfort.
- Do wash your hair the night before (not the day of). Second-day hair holds curls and updos far better than freshly washed hair.
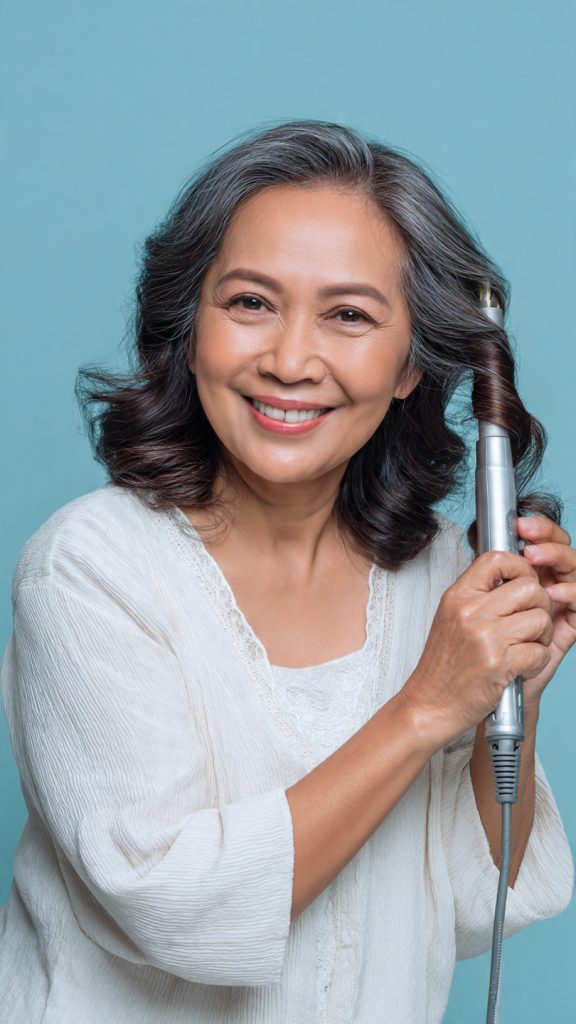
- Do use a heat protectant before any curling iron, flat iron, or blow-dryer to prevent damage.
- Do pack a mini emergency kit with bobby pins, hairspray, and a small brush in your clutch.
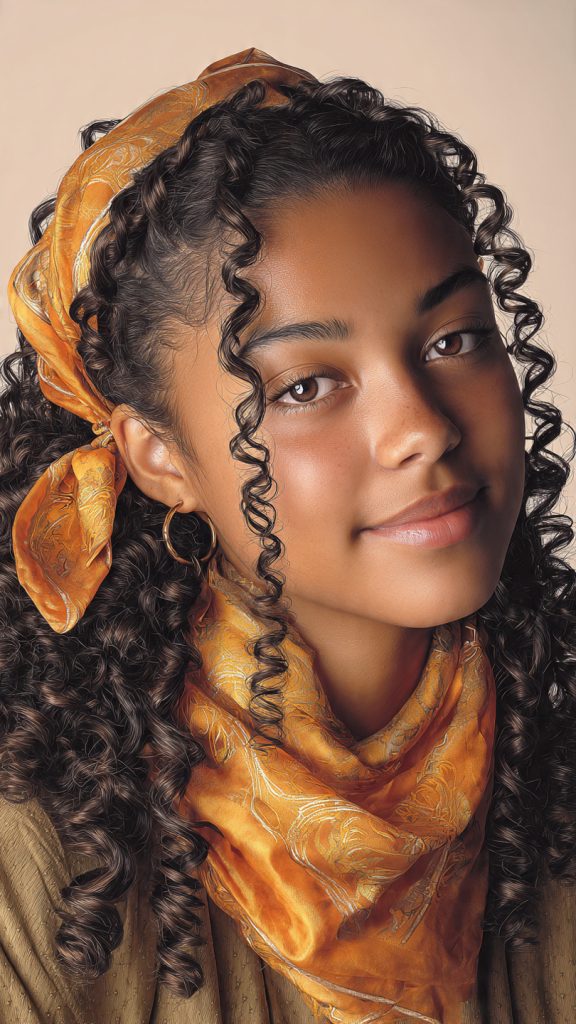
- Do match your hair accessory to your jewelry (gold with gold, silver with silver) for a cohesive look.
Don’ts
- Don’t overuse hairspray right before stepping out. It can turn white in flash photography and make hair look crunchy.
- Don’t choose a style that gives you a headache (tight slicked buns or heavy extensions). You will be wearing it for 6+ hours.
- Don’t forget to secure flyaways with a tiny amount of hair wax or a smoothing spray, not more hairspray.
- Don’t curl hair that is 100% dry after heat protectant. Leave it 90% dry for better curl memory.
- Don’t touch your hair constantly during prom. Oils from your fingers can break down the hold of products.
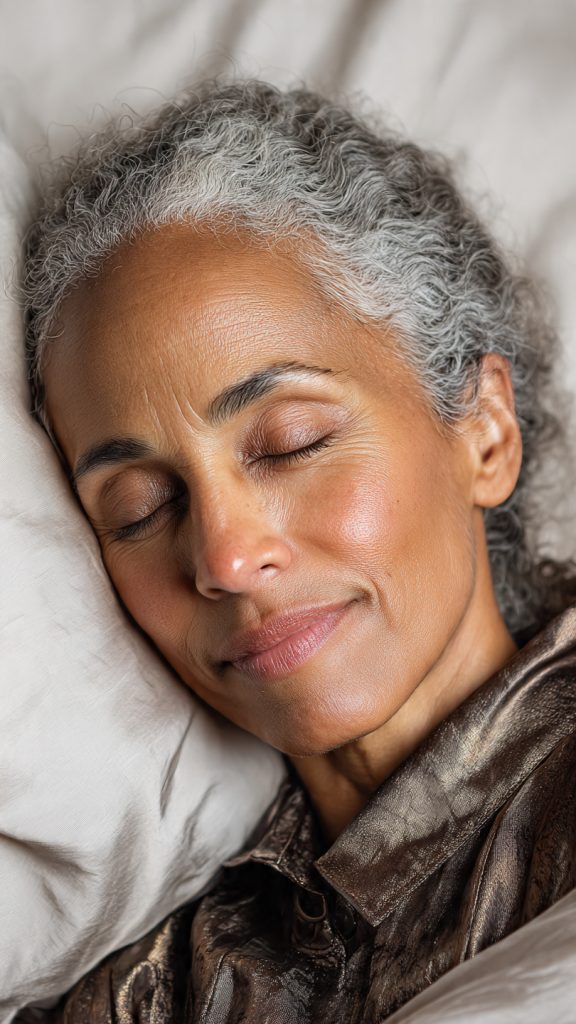
Heatless Overnight Prep for Prom Morning
Want to wake up with perfect waves or curls without damaging heat? Try these overnight methods before prom day.
| If You Want… | Overnight Method | Time Needed |
|---|---|---|
| Loose, beachy waves | Braid damp hair into 2-4 loose braids. Sleep. Undo in the morning. | 6-8 hours |
| Bouncy, curly volume | Twist small sections of damp hair into pin curls against your scalp. Sleep with a silk scarf. | 6-8 hours |
| Soft, Old Hollywood waves | Wrap damp hair around a soft robe belt or long sock (the “robe belt method”). Sleep. Unwrap gently. | 6-8 hours |
| Straight, sleek glass hair without heat | Wrap damp hair tightly around your head (velcro roller style) using a silk wrap. Sleep. Unwrap to smoothness. | 6-8 hours |
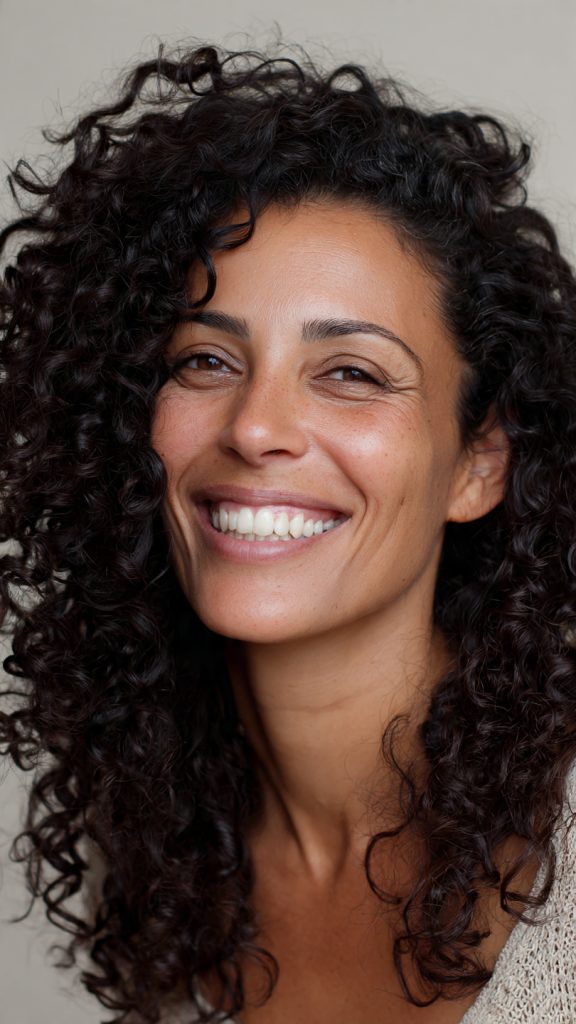
| Defined, frizz-free texture | Apply a lightweight mousse to damp hair, then twist into a high loose bun on top of your head. Sleep. | 6-8 hours |
Pro tip: Always sleep on a silk or satin pillowcase to prevent friction frizz and breakage, regardless of which overnight method you choose.
Conclusion
Your prom hairstyle should make you feel confident, beautiful, and completely yourself. Whether you fall in love with the vintage charm of Old Hollywood waves, the fierce minimalism of sleek glass hair, or the romantic softness of a messy low bun with tendrils, the right style is the one that lets you forget about your hair and focus on dancing, laughing, and making memories.
Remember to consider your dress neckline, do a trial run, and prep overnight if you want heatless results. With these 13 options and pro tips, you are ready to walk into prom with a head-turning look that lasts all night long.
Now go shine—you’ve earned it.