Let’s be honest: the summer style advice aimed at women over 50 is often outdated. You’re told to cover up, stick to beige, or avoid trends altogether. But why would you? You’ve spent five decades learning what works—and what absolutely doesn’t.
The secret to great summer dressing after 50 isn't about hiding your arms or avoiding shorts. It’s about fit, fabric, and feeling good. You want linen that doesn’t scream “wrinkled mess.” You want shorts that don’t ride up. You want breathable layers that work for a farmers market at 10 AM and an outdoor dinner at 7 PM.
Forget the old rules. Here are 10 real, wearable summer fits that prioritize sun protection, airflow, and quiet confidence—no frumpy capris or shapeless tunics allowed.
10 Looks That Prove Style Has No Expiration Date:
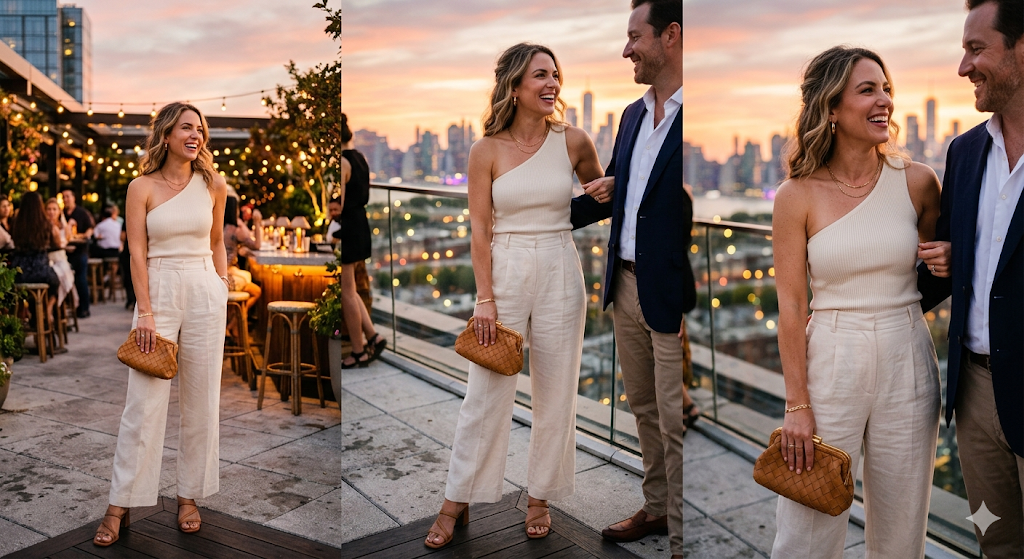
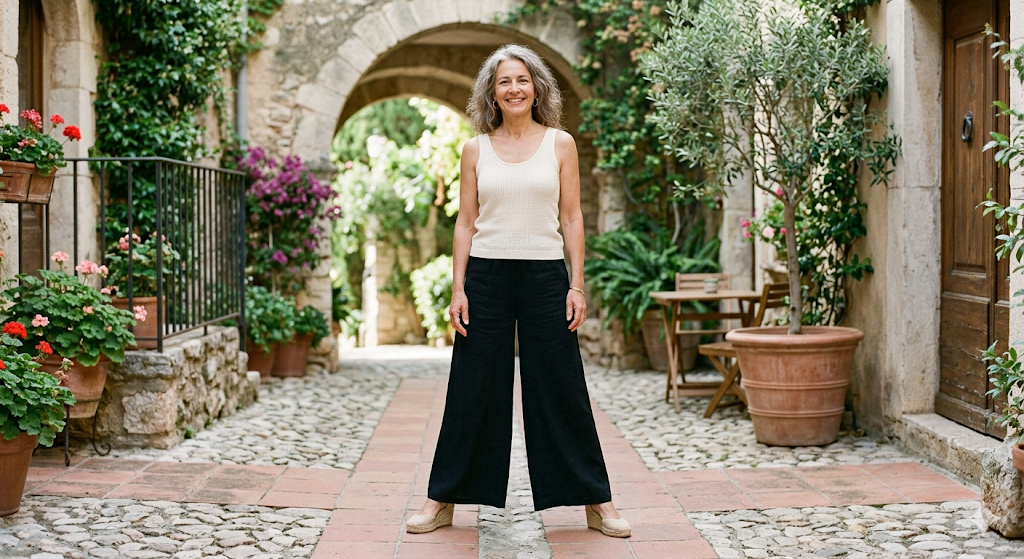
1. The Elevated Linen Set (Top + Wide-Leg Pant)
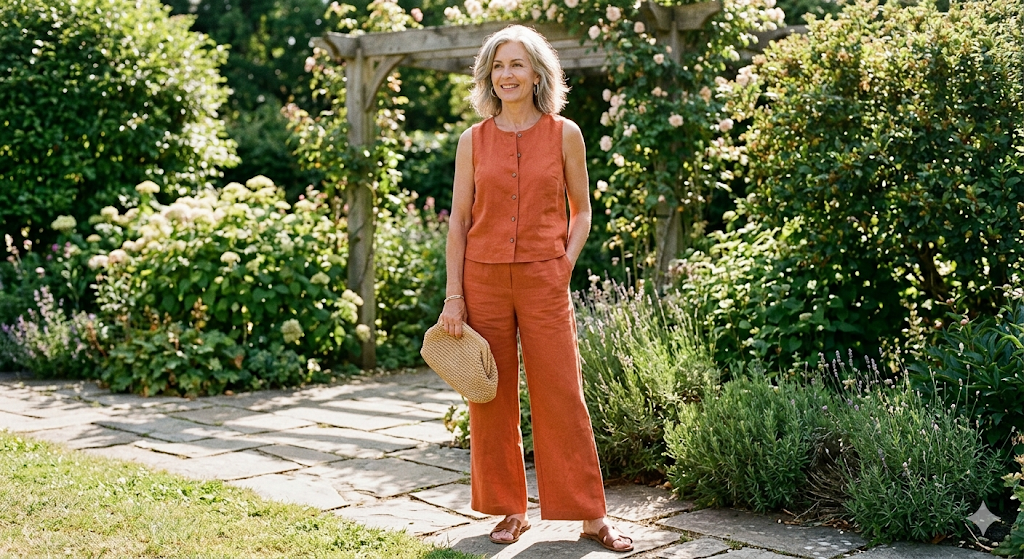
Why it works: Takes the guesswork out of matching. Look for a sleeveless or short-sleeve button-up with a high-waisted, wide-leg linen pant in a saturated color (terracotta, sage, navy). The set looks like a dress but moves like loungewear. Add leather slides and a straw clutch.
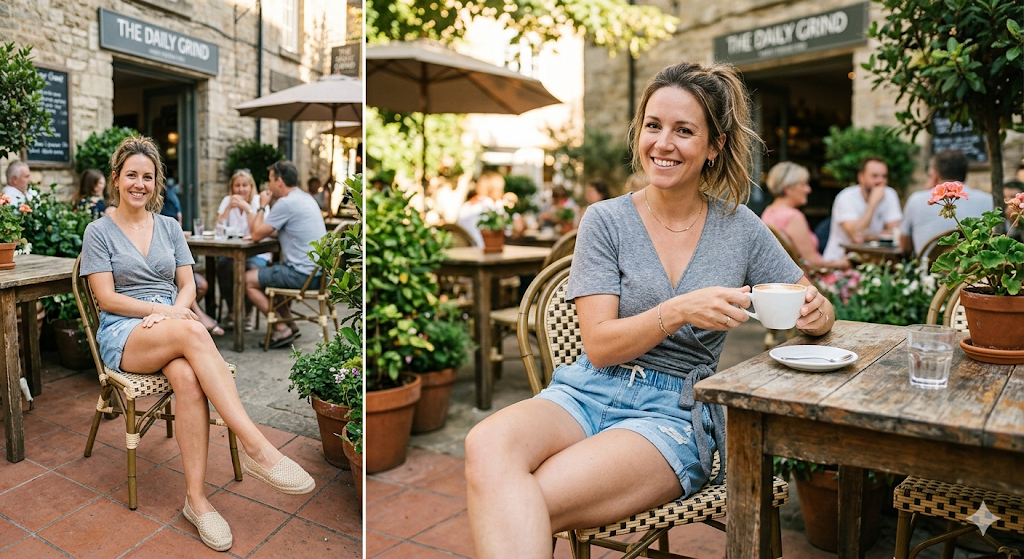
2. The Modern Knee-Length Short + Silk Tank

Why it works: Ditch the tight "city short." Opt for a 7-9 inch inseam with a relaxed, straight cut. Pair with a washable silk or modal tank in a complementary color. Throw on an open, long-line linen cardigan for arm coverage and air conditioning. Finish with minimalist leather sneakers.
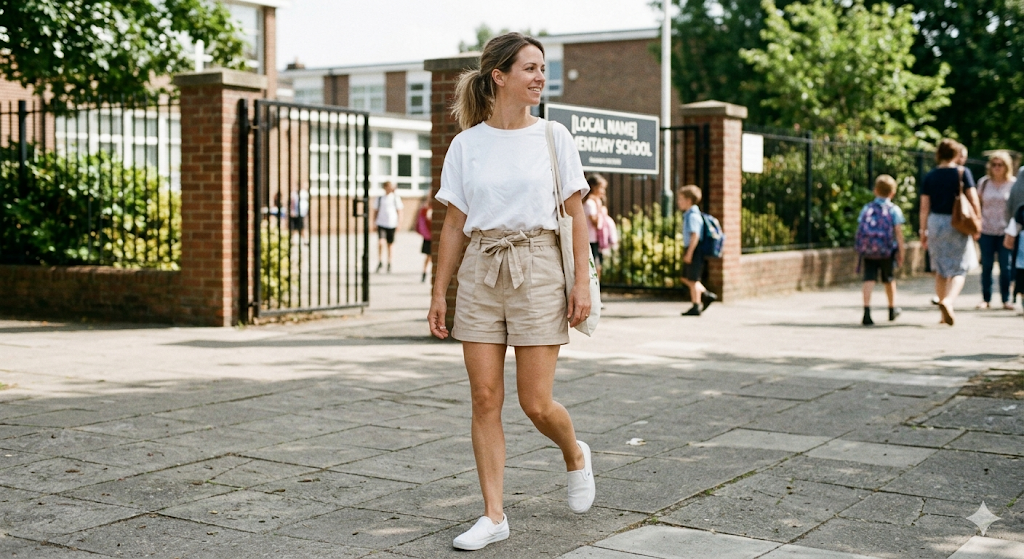
3. The Elevated T-Shirt Dress with a Structured Vest
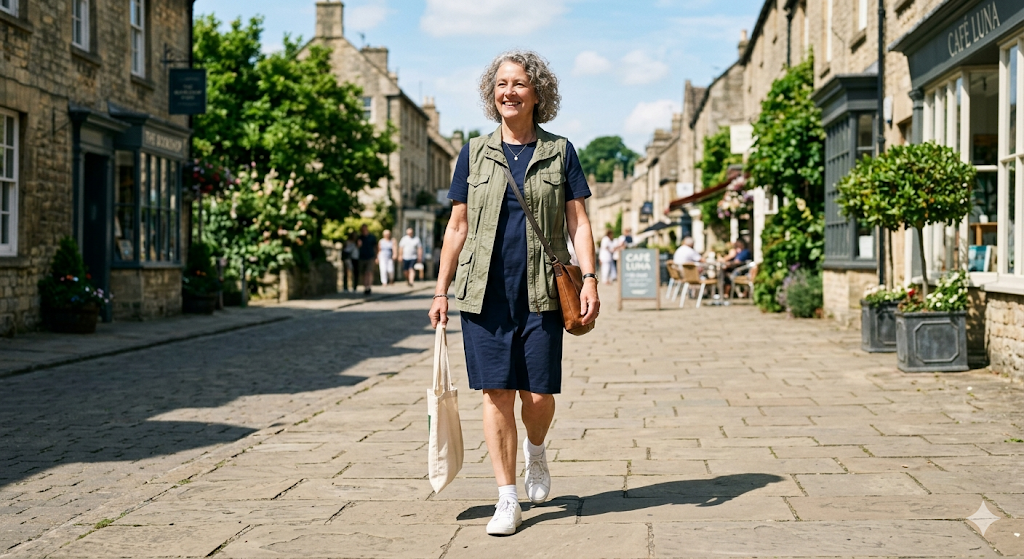
Why it works: A plain t-shirt dress can feel like a nightgown. Layer an unlined, lightweight cotton or linen vest (not a puffer) over it. The vest creates vertical lines, defines a shape without cinching, and covers the upper arms. Wear with low-profile white trainers or fisherman sandals.
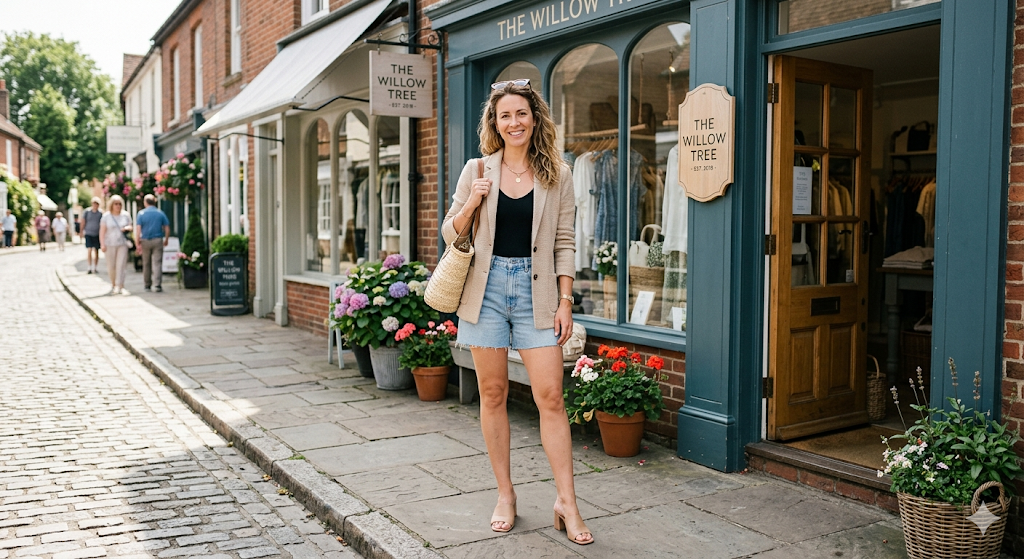
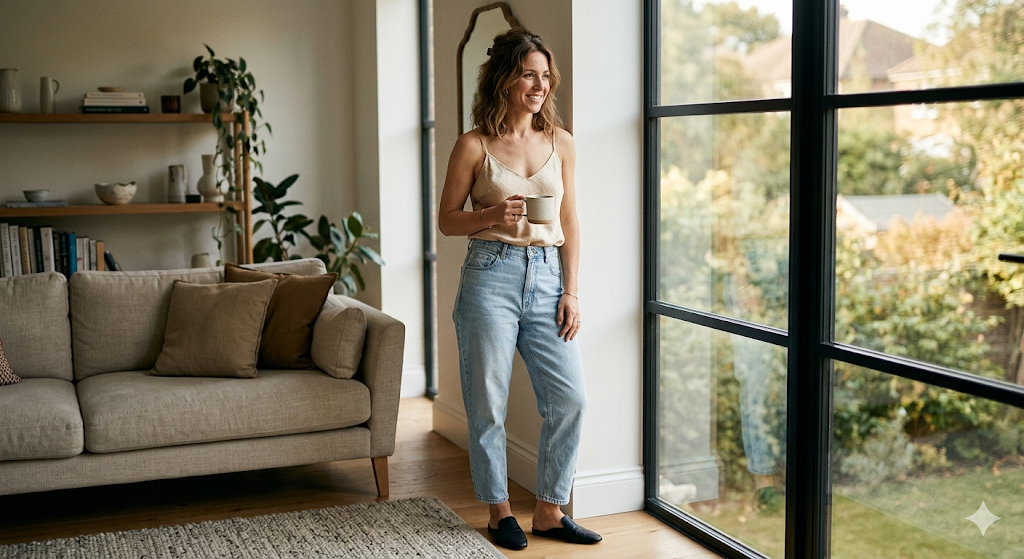
4. The Cropped Wide-Leg Jean + A Breathable Blouse

Why it works: Crop jeans (not skinny, not acid wash) in a light wash or white denim. Pair with a camp collar or a soft popover blouse in cotton voile. Roll the sleeves once. The exposed ankle and loose top keep you cool while looking polished. Add espadrilles.
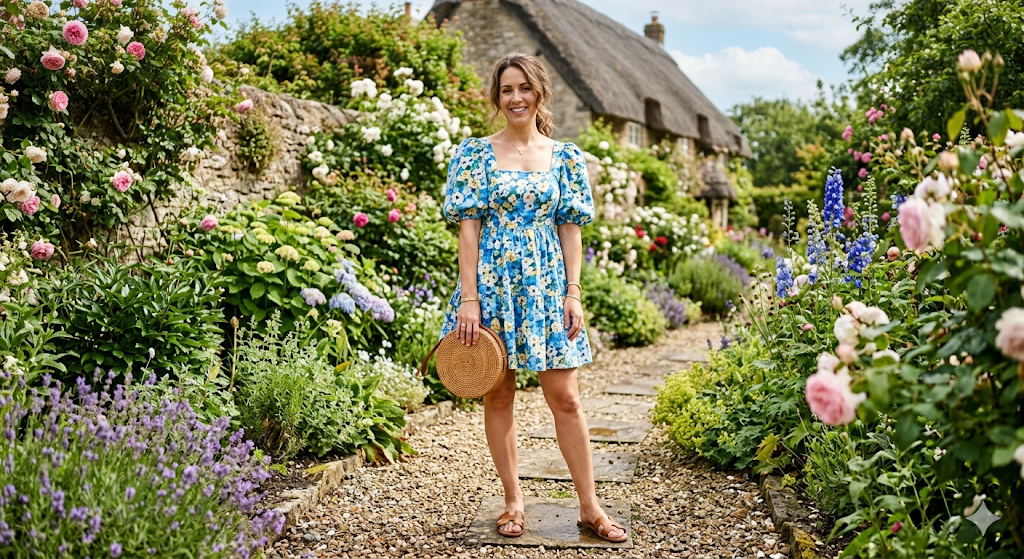
5. The One-and-Done Maxi (with a side slit)
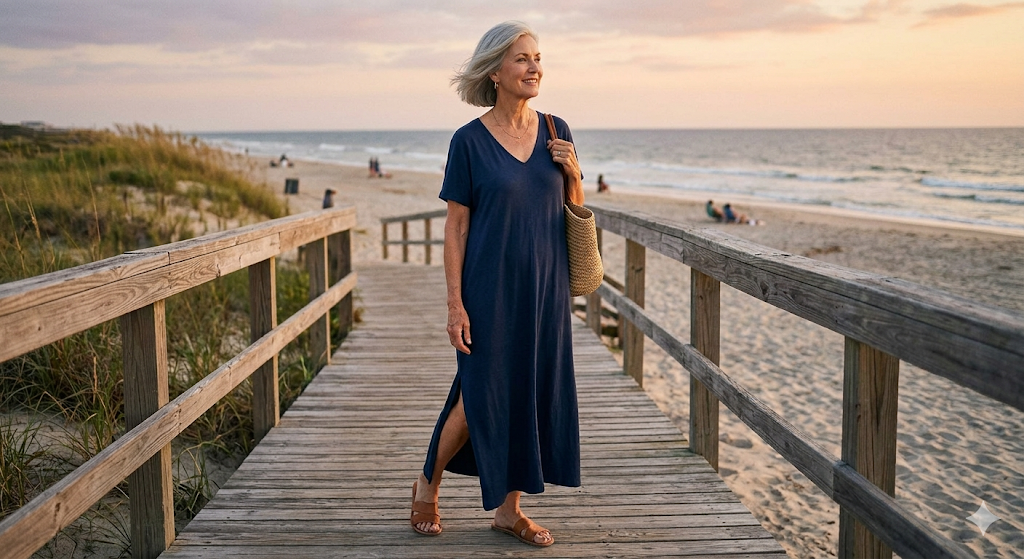
Why it works: A long, fluid dress in a dark floral or solid navy. The key is the side slit—it allows air to circulate and makes walking easier. Look for a V-neck or a scoop neck. Avoid elastic shirring at the bust. Wear it solo with a long pendant necklace and leather slide sandals.
6. The Airy Button-Up (Unbuttoned) + Matching Shorts

Why it works: Think of it as a "shacket" for summer. A slightly oversized linen button-up worn open over a simple ribbed tank and high-waisted, loose-fit shorts (5-6 inch inseam). Keep the shirt and shorts in the same color family (e.g., cream-on-cream) for a lengthening effect.
7. The Palazzo Pant + Fitted Knit Tank
Why it works: Balance is everything. Wide, flowing palazzo pants (in a rayon or Tencel blend) get a modern update with a fitted, not tight, cotton knit tank. Tuck it in. The narrow top vs. wide bottom creates a sophisticated silhouette. Add wedge espadrilles for height.
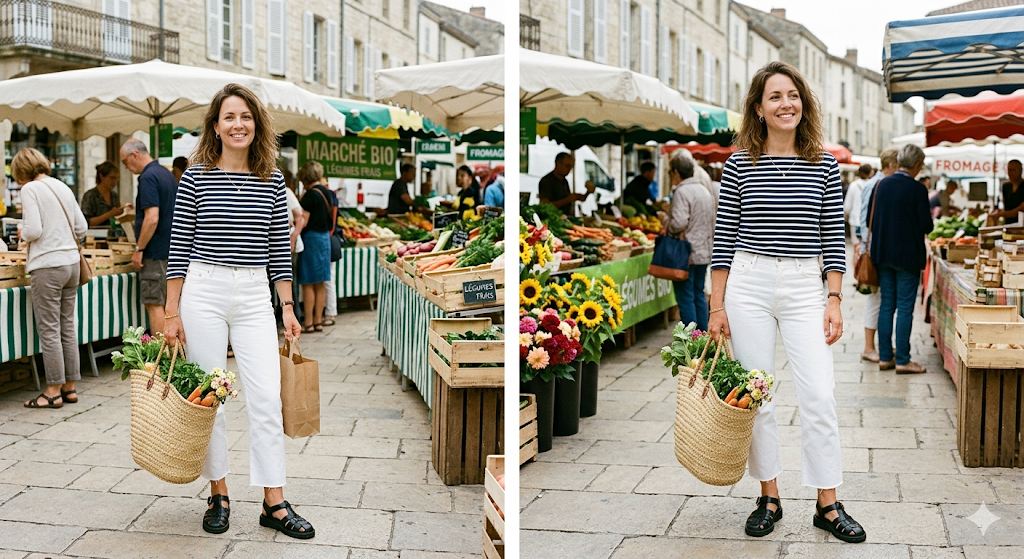
8. The "Third Piece" Look: White Jeans, Stripe Tee, & a Kimono
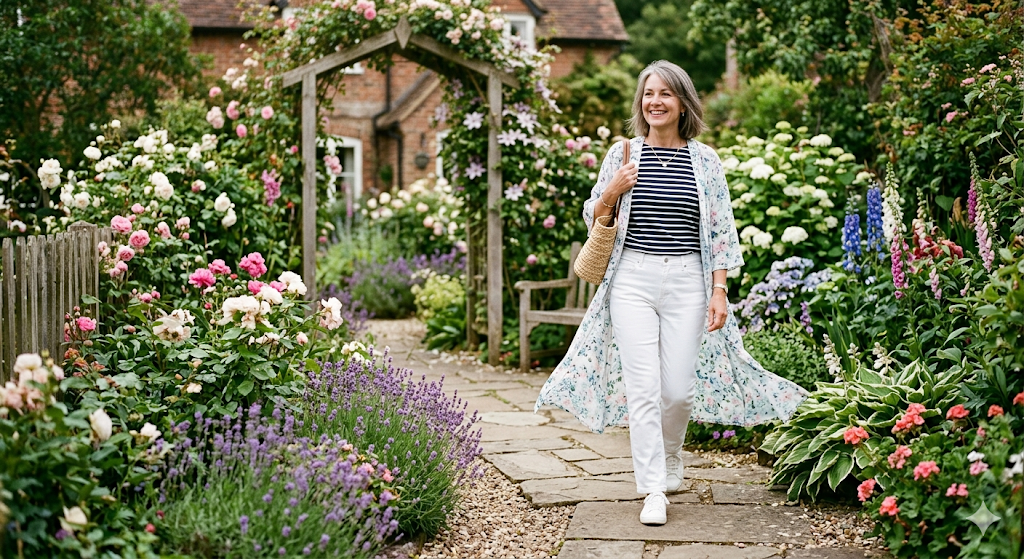
Why it works: Classic pieces get a summer upgrade. Start with straight-leg white jeans and a navy/white striped Breton tee. The magic is the "third piece": a lightweight, printed ankle-length kimono or duster in a watercolor floral. It adds interest, hides any midsection concerns, and flutters in the breeze.
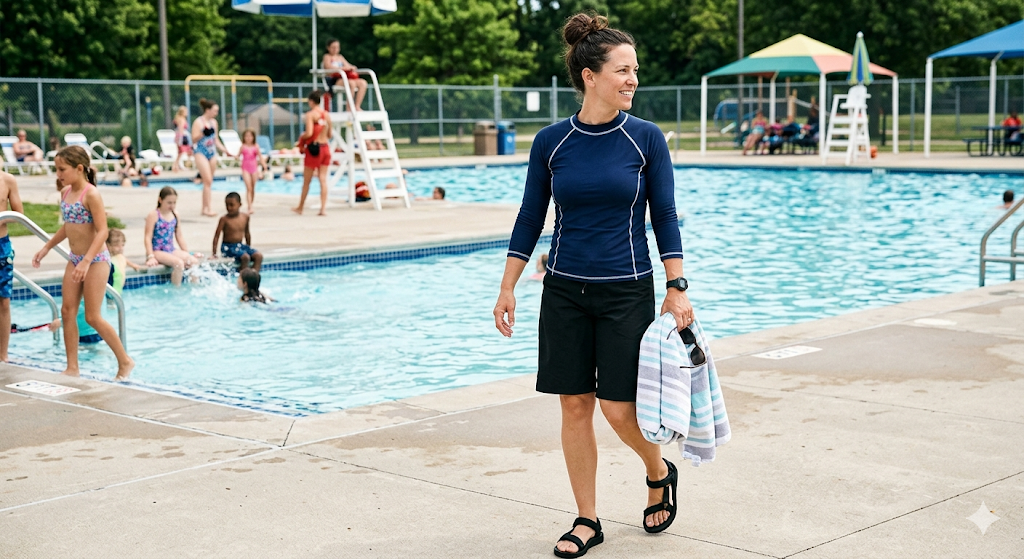
9. The Tennis Dress
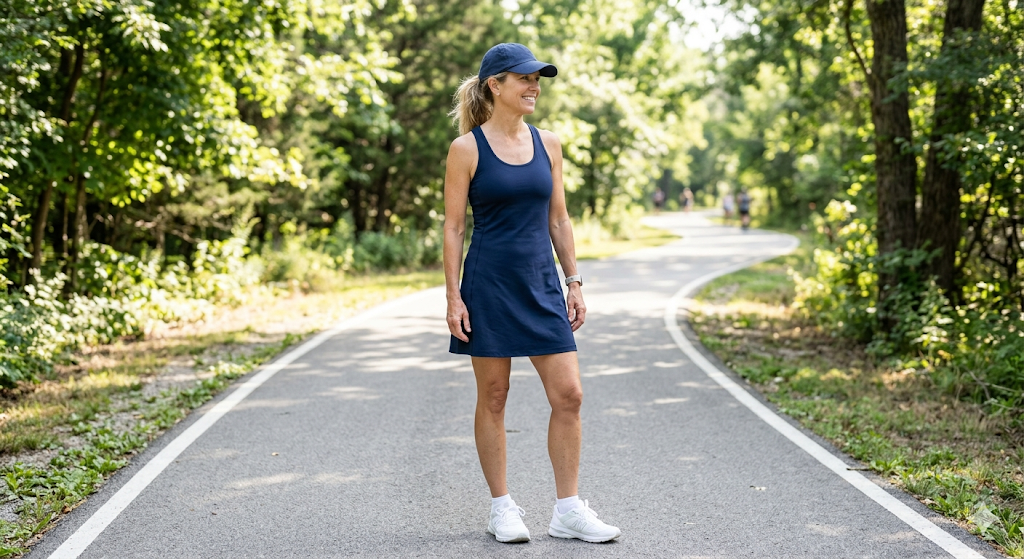
Why it works: Sporty is chic. Look for a golf or tennis dress made of moisture-wicking, stretchy tech fabric—not the clingy, thin kind. It should have a built-in shelf bra or a modest neckline. These dresses are designed for movement, dry quickly, and look fantastic with a clean white sneaker and a baseball cap.
10. The Monochrome Jumpsuit (with a stretch waist)
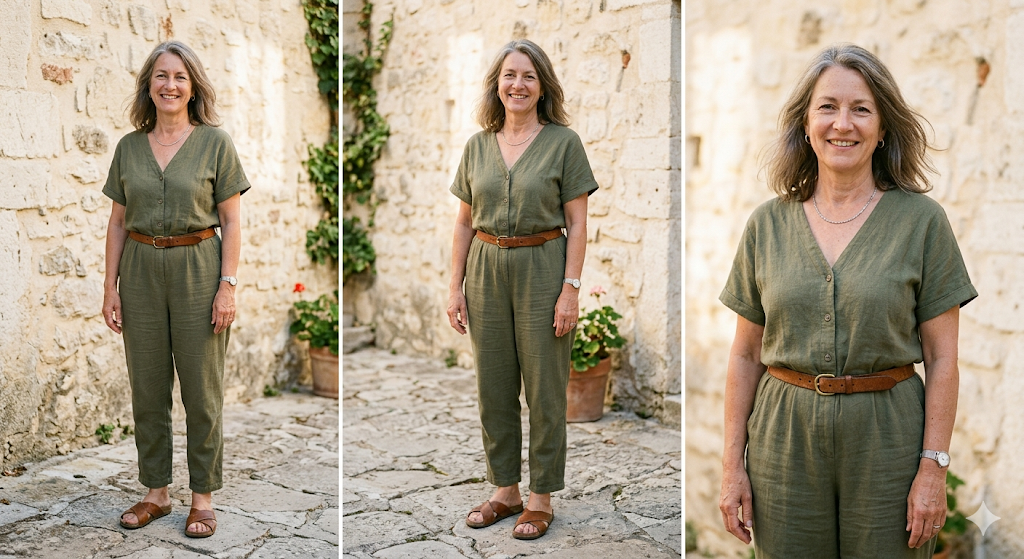
Why it works: Jumpsuits get a bad rap for bathrooms, but the right one is a summer hero. Look for a short-sleeve or sleeveless style in a dark, solid color (olive, black, chocolate) with a soft, elasticated back waist (not a drawstring). Wear a thin belt to define the waist. It’s one piece, zero effort, and looks incredibly expensive.
The 5 Non-Negotiable Summer Fabrics for Women Over 50
Not all summer fabrics are created equal. After 50, your skin changes, your body temperature regulates differently, and comfort becomes non-negotiable. Here's what to look for on the tag—and what to leave on the rack.
| Fabric | Why It Works | What to Avoid |
|---|---|---|
| Linen (blended with Tencel or rayon) | Breathes like nothing else. The blend reduces wrinkles while keeping airflow. | 100% stiff linen that feels like sandpaper. |
| Cotton Poplin | Crisp but lightweight. Holds its shape without clinging to anything. | Cheap, thin cotton that shows every bump and wrinkle. |
| Modal or Tencel | Feels like butter. Drapes beautifully over the body without clinging. | Polyester blends that trap sweat and odor. |
| Washable Silk (silk charmeuse or mulberry) | Luxurious but practical. Regulates temperature better than any synthetic. | Dry-clean-only silk for summer—too high maintenance. |
| Performance Knits (athleisure-grade) | Wicks moisture, dries fast, and doesn't pill. Perfect for travel or humid days. | Basic cotton jersey that stretches out and never recovers. |
The one fabric to retire: Acrylic. It's plastic. It traps heat. And it makes you sweat in places you shouldn't be sweating.
What to Avoid This Summer (The 5 Outdated "Rules")
You've probably heard these for decades. Let's retire them—permanently.
❌ 1. "You're too old for shorts."
Wrong. You're too old for short shorts. A 5-to-7-inch inseam with a relaxed fit is modern, comfortable, and perfectly appropriate at any age.
❌ 2. "Capris are a safe compromise."
No. Capris cut off the widest part of your calf and make most legs look shorter. Choose cropped wide-leg pants or knee-length shorts instead.
❌ 3. "Dark colors are more slimming."
Dark colors are also hotter, less joyful, and harder to accessorize. A saturated coral or soft sage will light up your face more than black ever could.
❌ 4. "Always cover your upper arms."
Only if you want to. But a flutter sleeve that flaps in the wind or a tight elastic cuff that cuts into your arm is worse than any bare arm. A relaxed, elbow-length sleeve or a lightweight duster is the better solution.
❌ 5. "Bigger clothes hide more."
Oversized and shapeless actually adds visual weight. The goal is structure—not tight, not baggy. A defined shoulder, a gentle waist, and a hem that hits the right place will always look better than a tent.
How to Adapt These 10 Fits for Your Body Type
One of the 10 outfits above will work for you. Here's how to choose based on your shape.
| If you have... | Start with this outfit from the list | One quick tweak |
|---|---|---|
| An apple shape (weight around the middle) | #1 The Elevated Linen Set | Keep the top untucked or half-tucked. The wide-leg pant balances the middle. |
| A pear shape (wider hips, smaller shoulders) | #4 The Cropped Wide-Leg Jean + Blouse | Add a shoulder pad or a slightly structured top to balance your proportions. |
| An hourglass shape | #10 The Monochrome Jumpsuit | Add that thin belt to define your natural waist. You'll look like you were poured into it. |
| A rectangular shape (straight up and down) | #8 The "Third Piece" Look (kimono) | The layered duster creates curves where there aren't any. |
| Petite (under 5'4") | #3 The Elevated T-Shirt Dress | Keep the vest shorter—hip-length, not knee-length. And avoid the maxi dress (it will swallow you). |
| Tall (over 5'7") | #5 The One-and-Done Maxi | You're one of the few who can wear a floor-length dress without alterations. Lean into it. |
A note on fit: If you're between sizes, always size up and tailor down. A $20 hem or a $15 waist taken in will make a $100 outfit look like $1,000.
The 10-Minute Packing List for a Summer Trip
Planning a vacation? Here's how to pack three of the outfits above into a carry-on and never repeat an outfit.
The Capsule (pick 3 from the list above):
- 1 pair of white straight-leg jeans (#8 or #4)
- 1 linen set or jumpsuit (#1 or #10)
- 1 maxi dress (#5)
The 5 Mix-and-Match Pieces:
- 2 simple tank tops (cream + navy)
- 1 long linen cardigan or kimono (#8)
- 1 pair of leather slides
- 1 pair of white sneakers
- 1 straw tote or crossbody bag
Pro tip: Roll everything except the linen set. Hang the linen set in the bathroom while you shower—the steam will release the wrinkles without an iron.
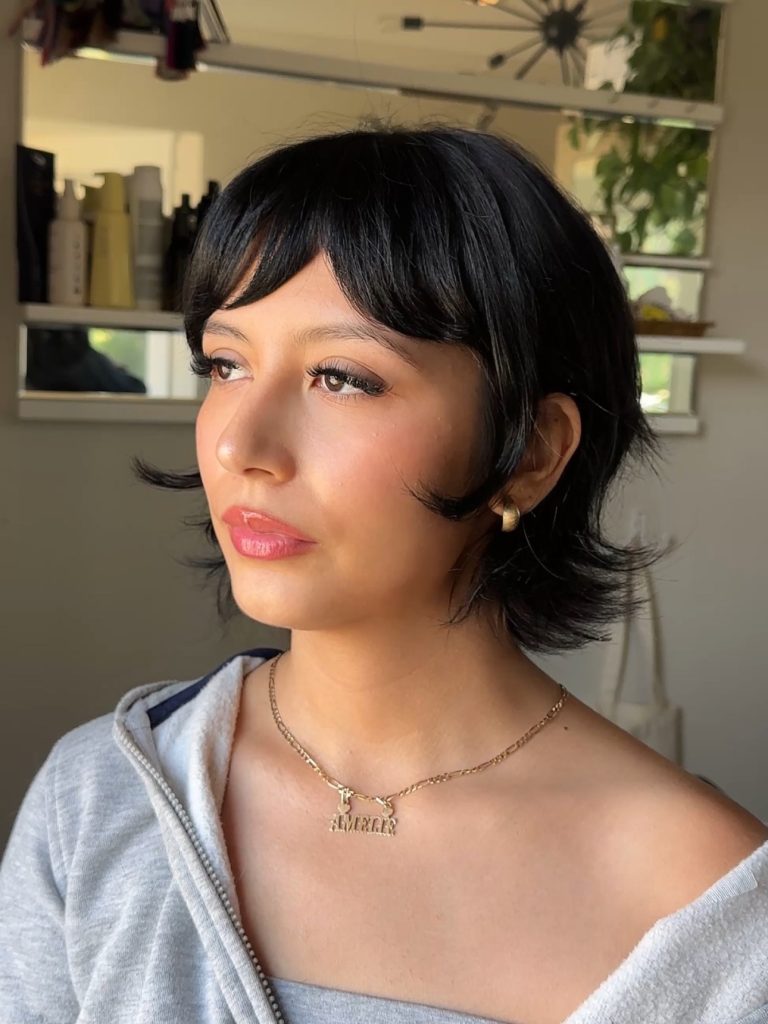
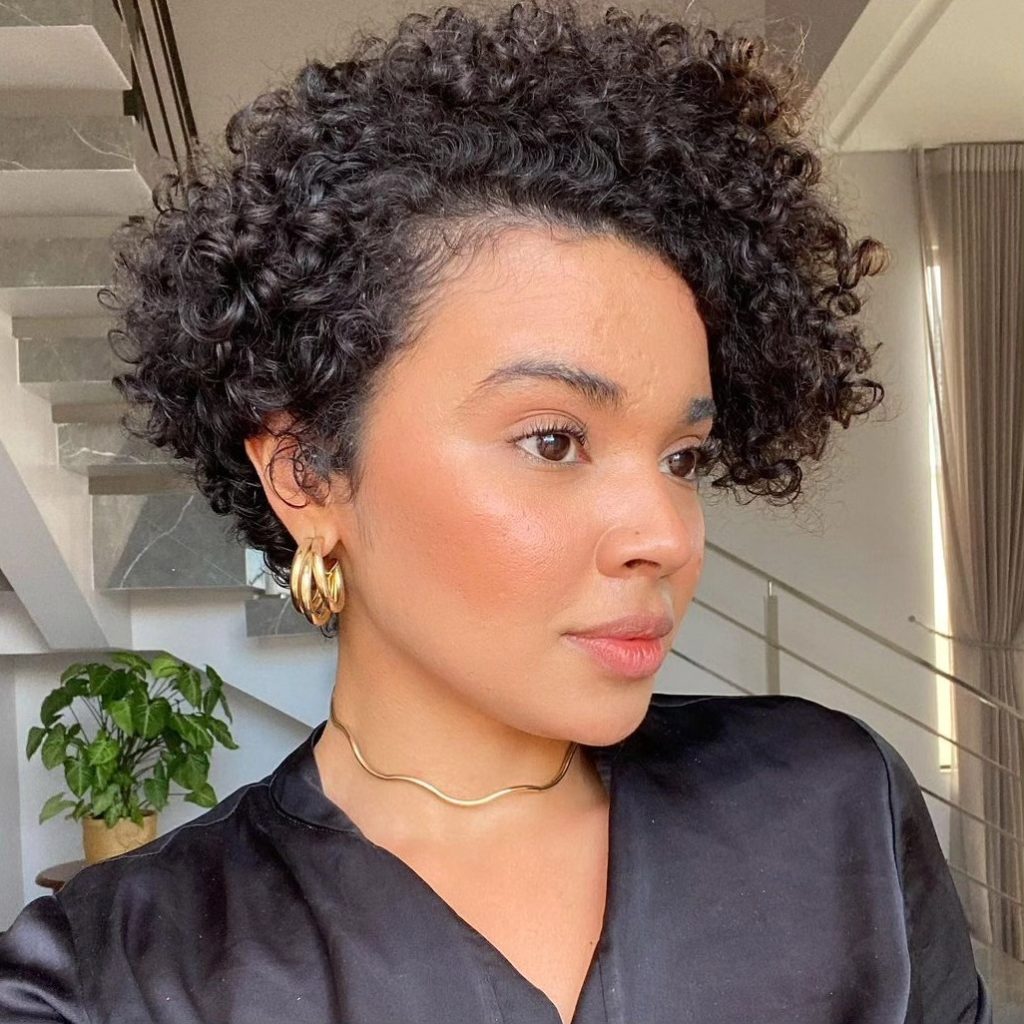
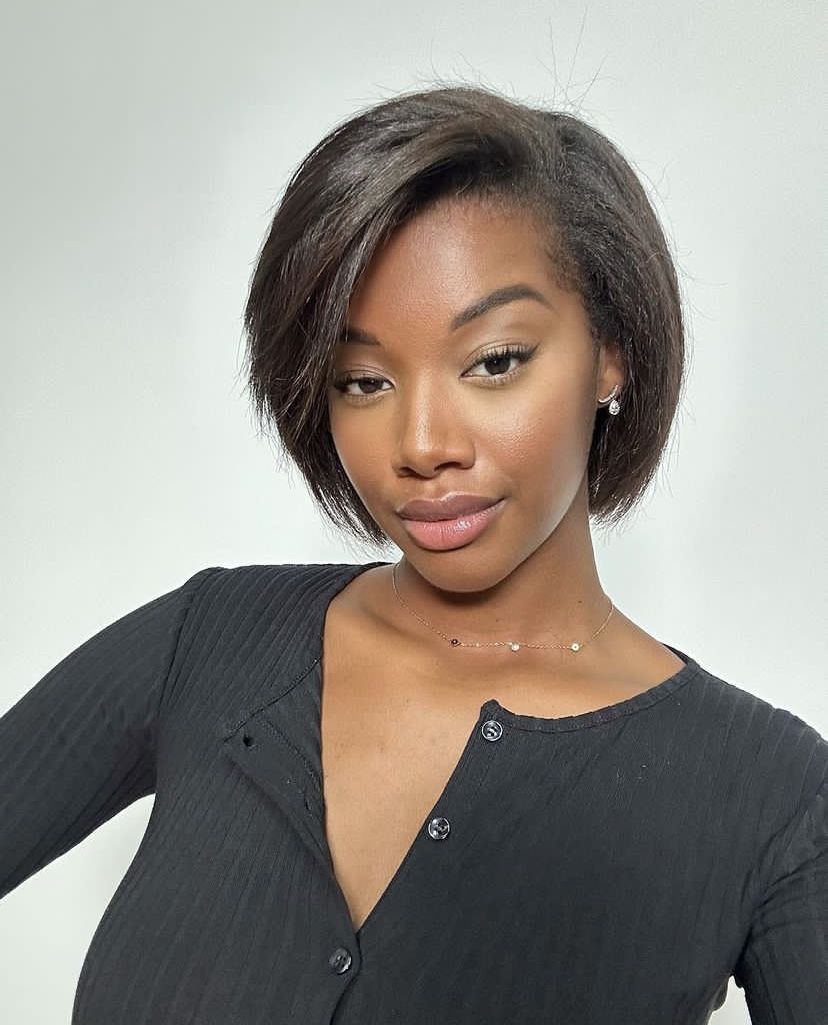
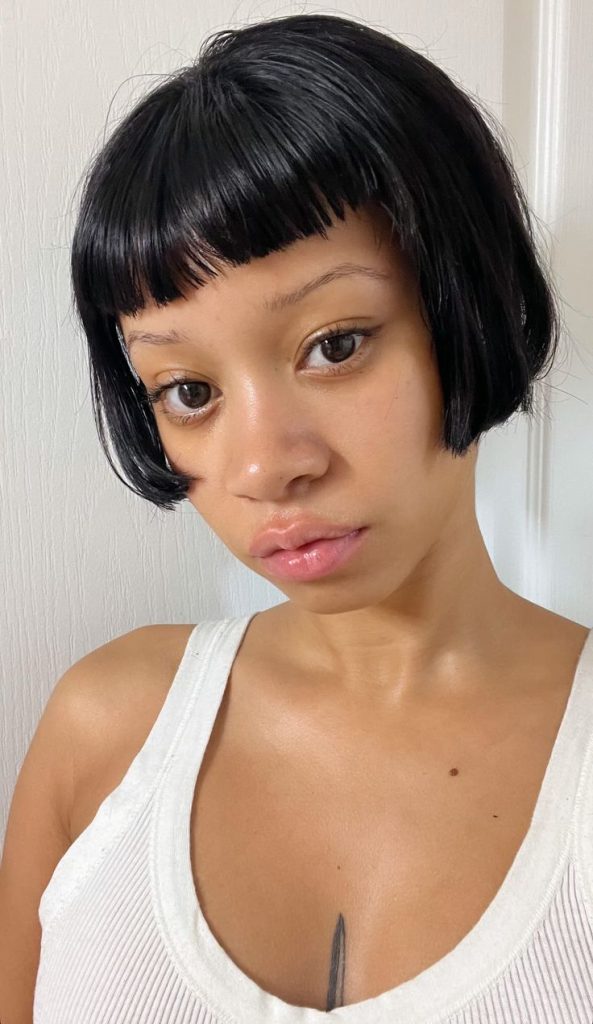
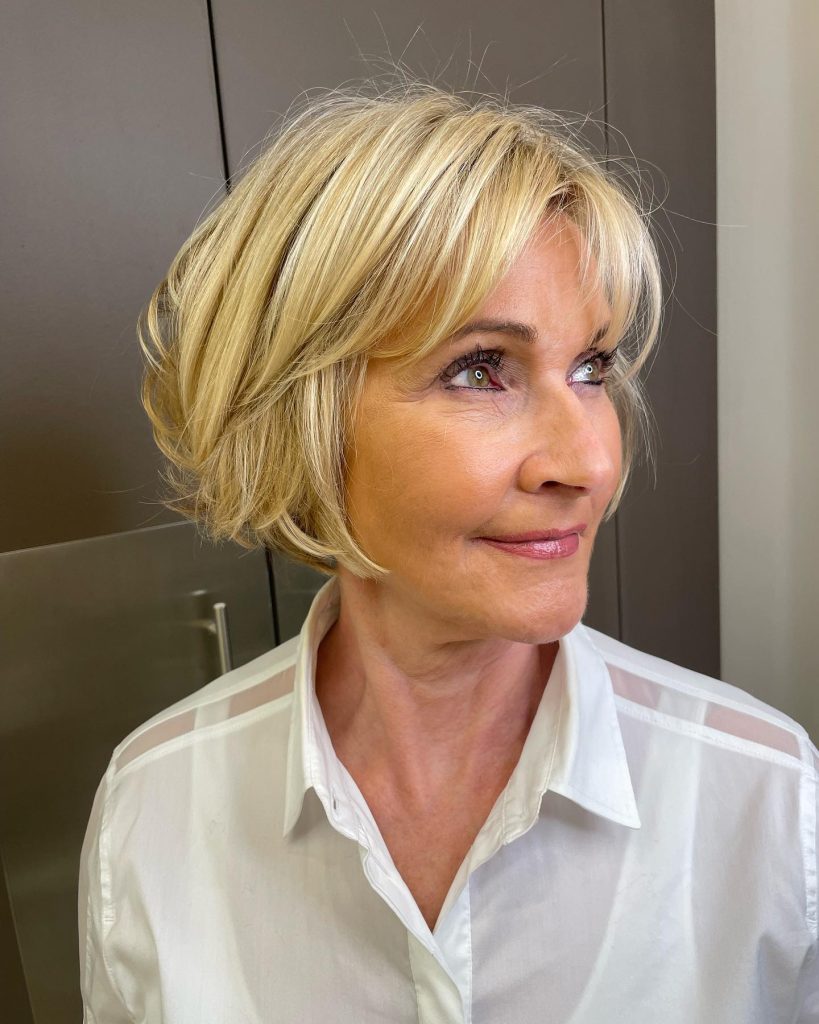
Real Women, Real Style (Mini Case Studies)
Sometimes it helps to see these fits on someone like you. Here are three fictional but realistic examples based on actual style principles.
Conclusion
Here’s the truth no magazine cover will tell you: The most stylish women over 50 aren't following "age-appropriate" rules—they're following the weather and their own instincts.
You don't need to hide your arms, abandon shorts, or live in beige linen sacks. What you need is what you've always needed: clothes that fit well, fabrics that breathe, and silhouettes that make you feel like you—just a wiser, more discerning version.
These 10 summer fits share one thing in common. They aren't about chasing youth or surrendering to invisibility. They're about choice. The choice to wear a tennis dress because it's comfortable, not because you're playing Wimbledon. The choice to add a side slit to a maxi dress because you want to feel the breeze. The choice to layer a vest over a t-shirt dress because you like the way it looks—not because someone told you to cover up.
This summer, ignore the outdated "dos and don'ts." Step outside in what actually feels good. Wear the wide-leg linen set to brunch. Rock the cropped jeans with sneakers. Buy that jumpsuit in olive green and wear it somewhere unexpected.
Because here's the final truth: Confidence isn't about what size you wear or how old you look. It's about how freely you move through a hot July day without tugging, adjusting, or second-guessing your reflection.
So go ahead. Sweat in silk. Laugh in linen. And prove that summer style after 50 isn't about fading away—it's about showing up, unapologetically, in exactly what you want to wear.