Hairstyles
-
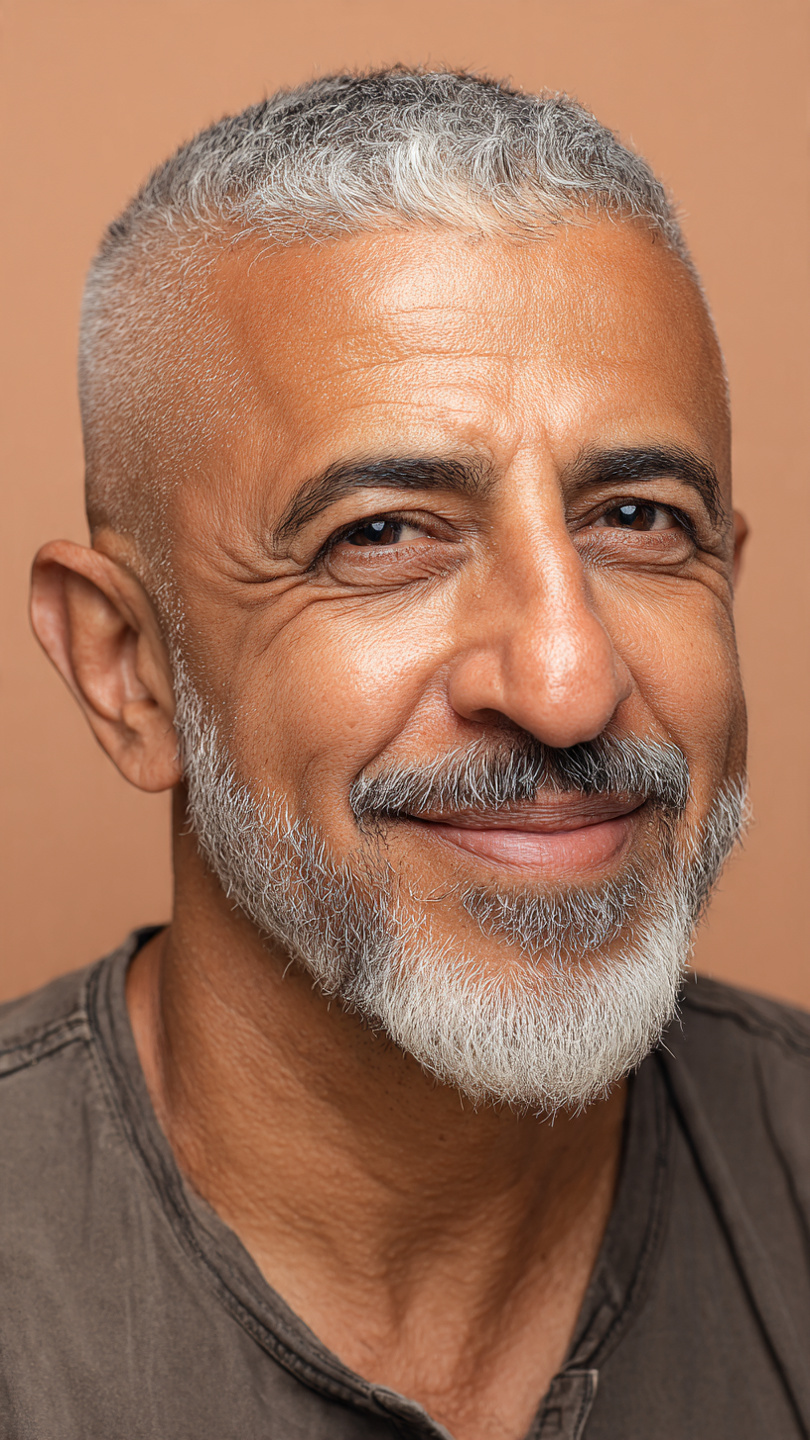
Haircuts for Men Over 50 With Thinning Hair (That Actually Look Full)
-
The Best Haircuts for Round Faces Over 50 (That Actually Slim)
-
Beautiful Layered Hairstyles for Women Over 50 with Thin, Fine Hair (That Actually Create Volume)
-
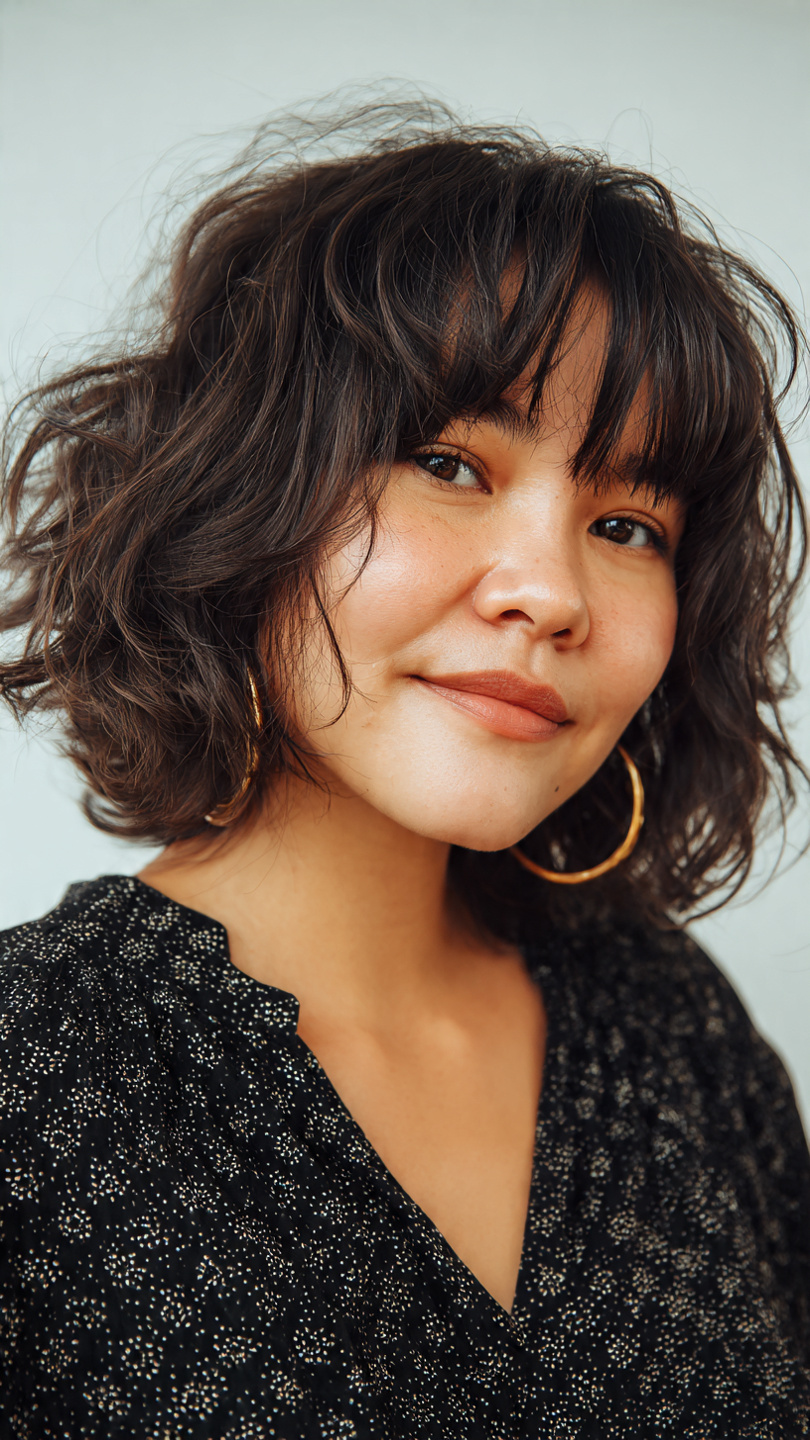
Curtain Bangs for Women Over 40 — The Anti-Aging Cut Nobody's Talking About
-
Short Haircuts for Chubby Faces That Redefine Angles
-
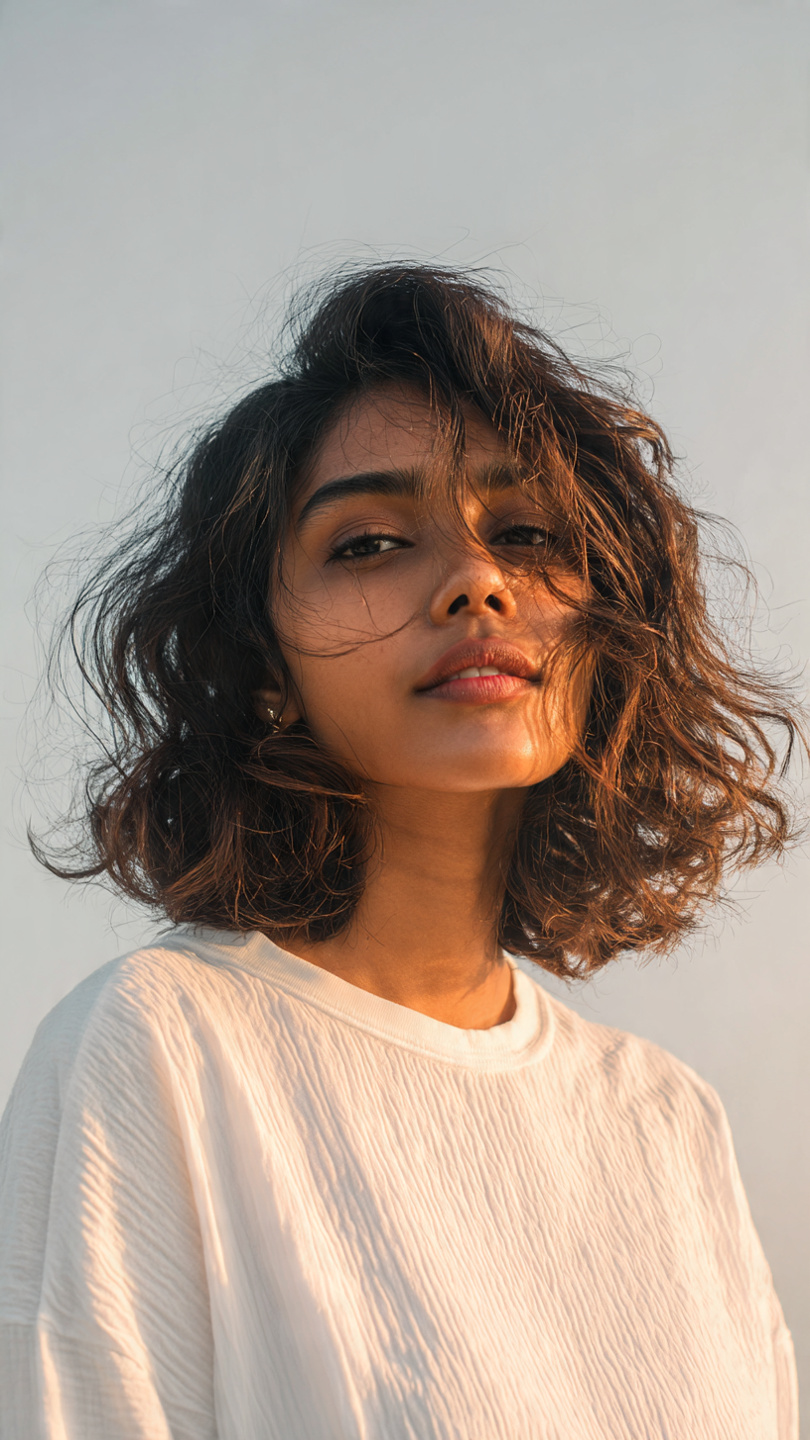
Choppy Bob Hairstyles for Fine Hair That Instantly Add Volume and Texture
-
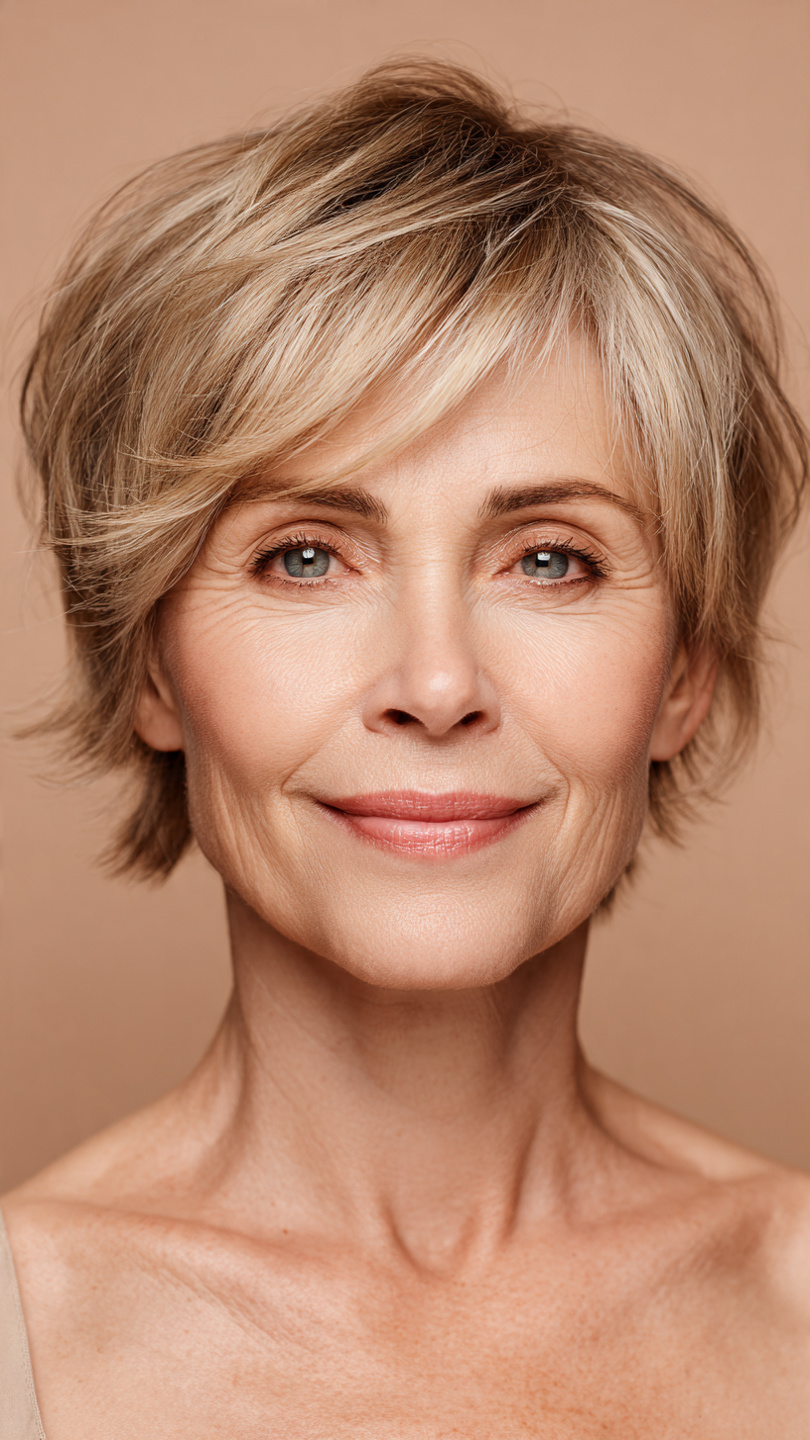
The Modern Short Shag: Fresh Reasons Older Women Are Loving This Effortless Cut
-
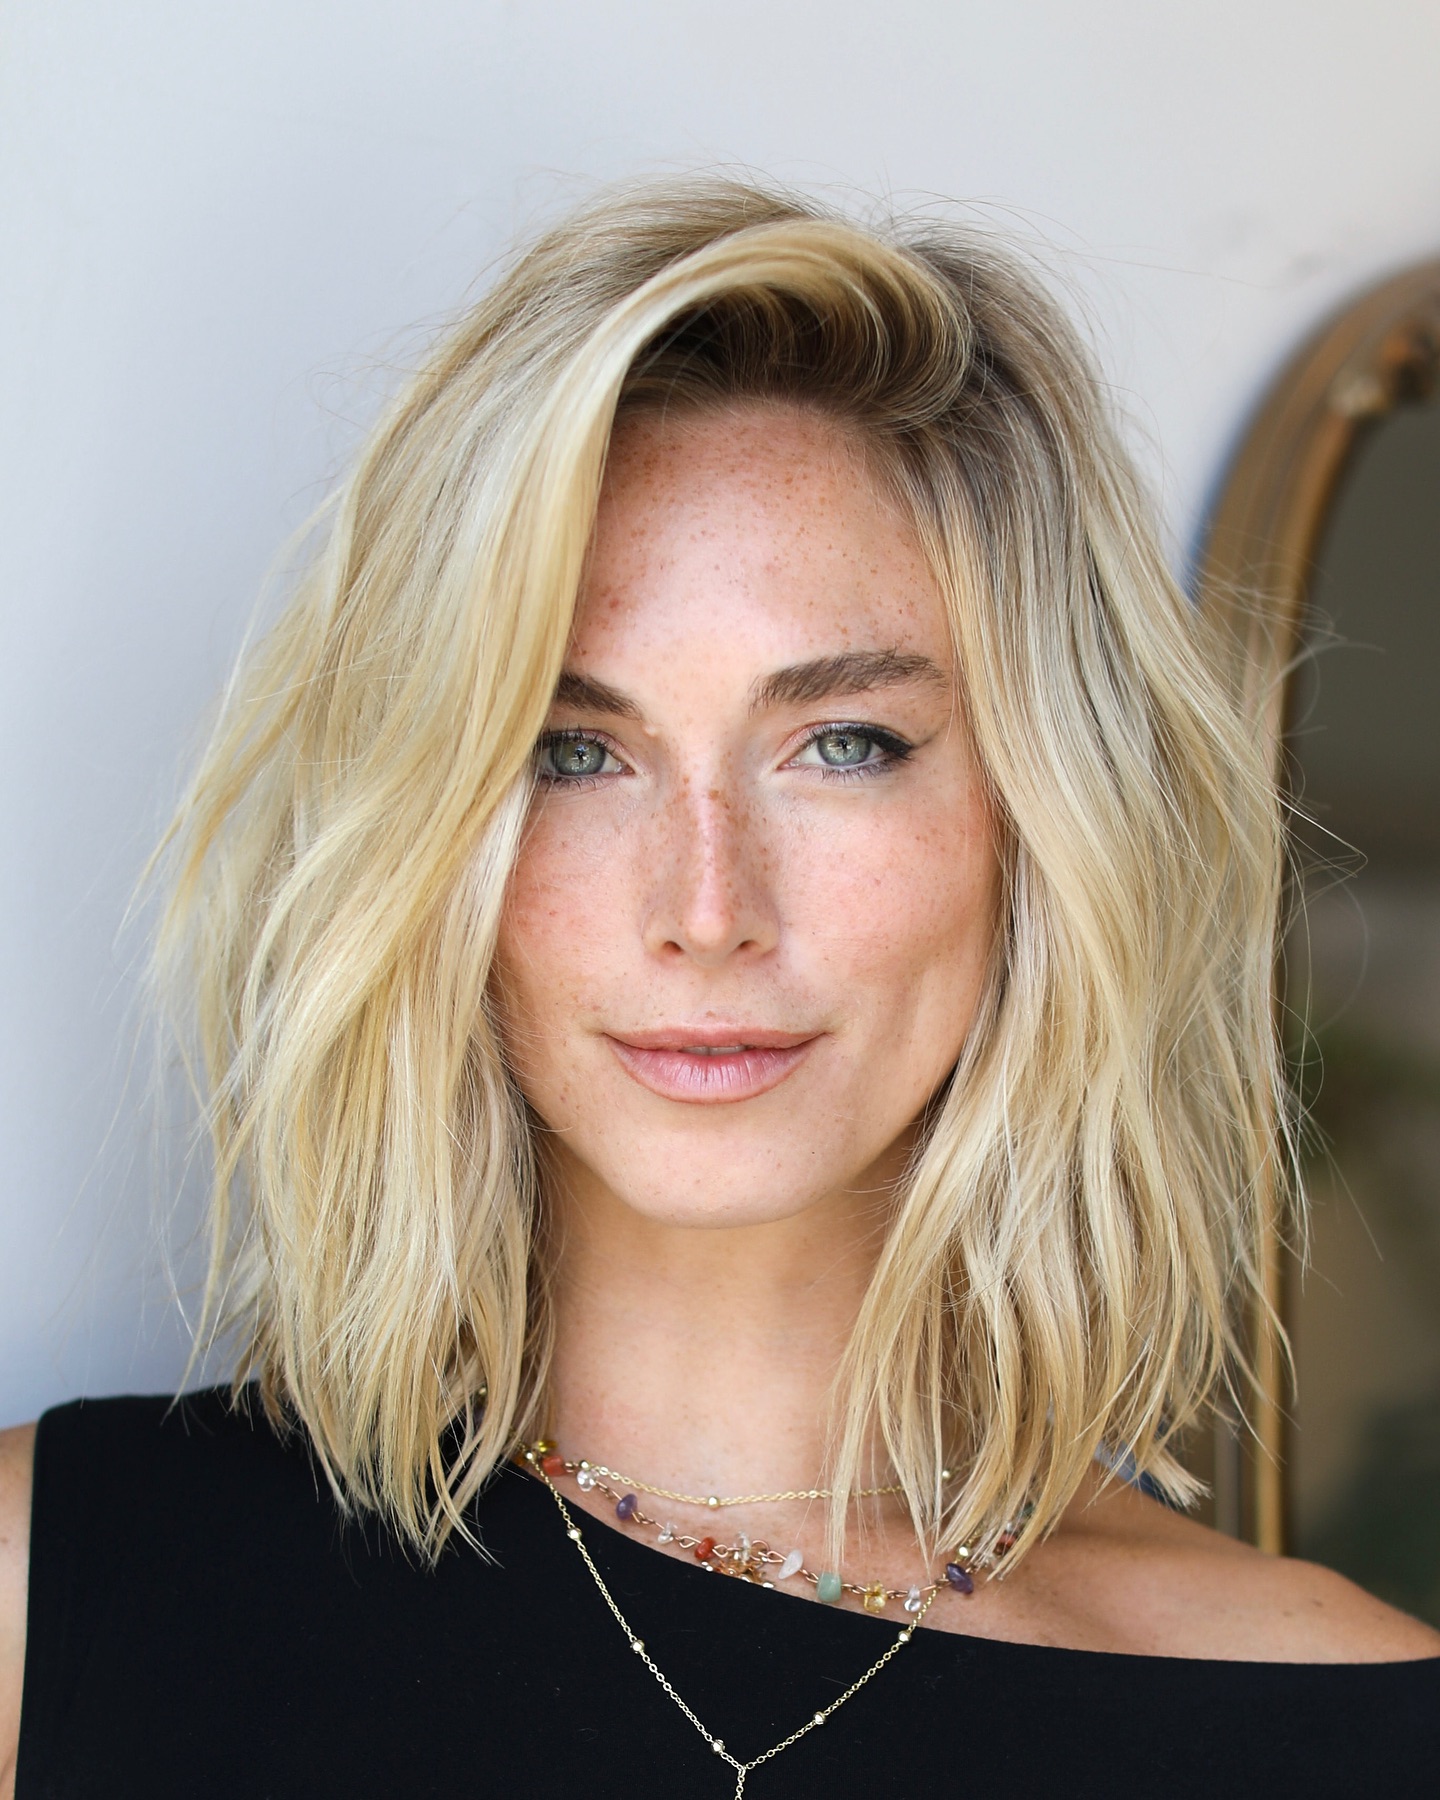
The Lob: Why the "Magic Zone" Is Still the Most Correct Cut You Can Get
-
The Wolf Cut — Everything You Need to Know Before You Book
-
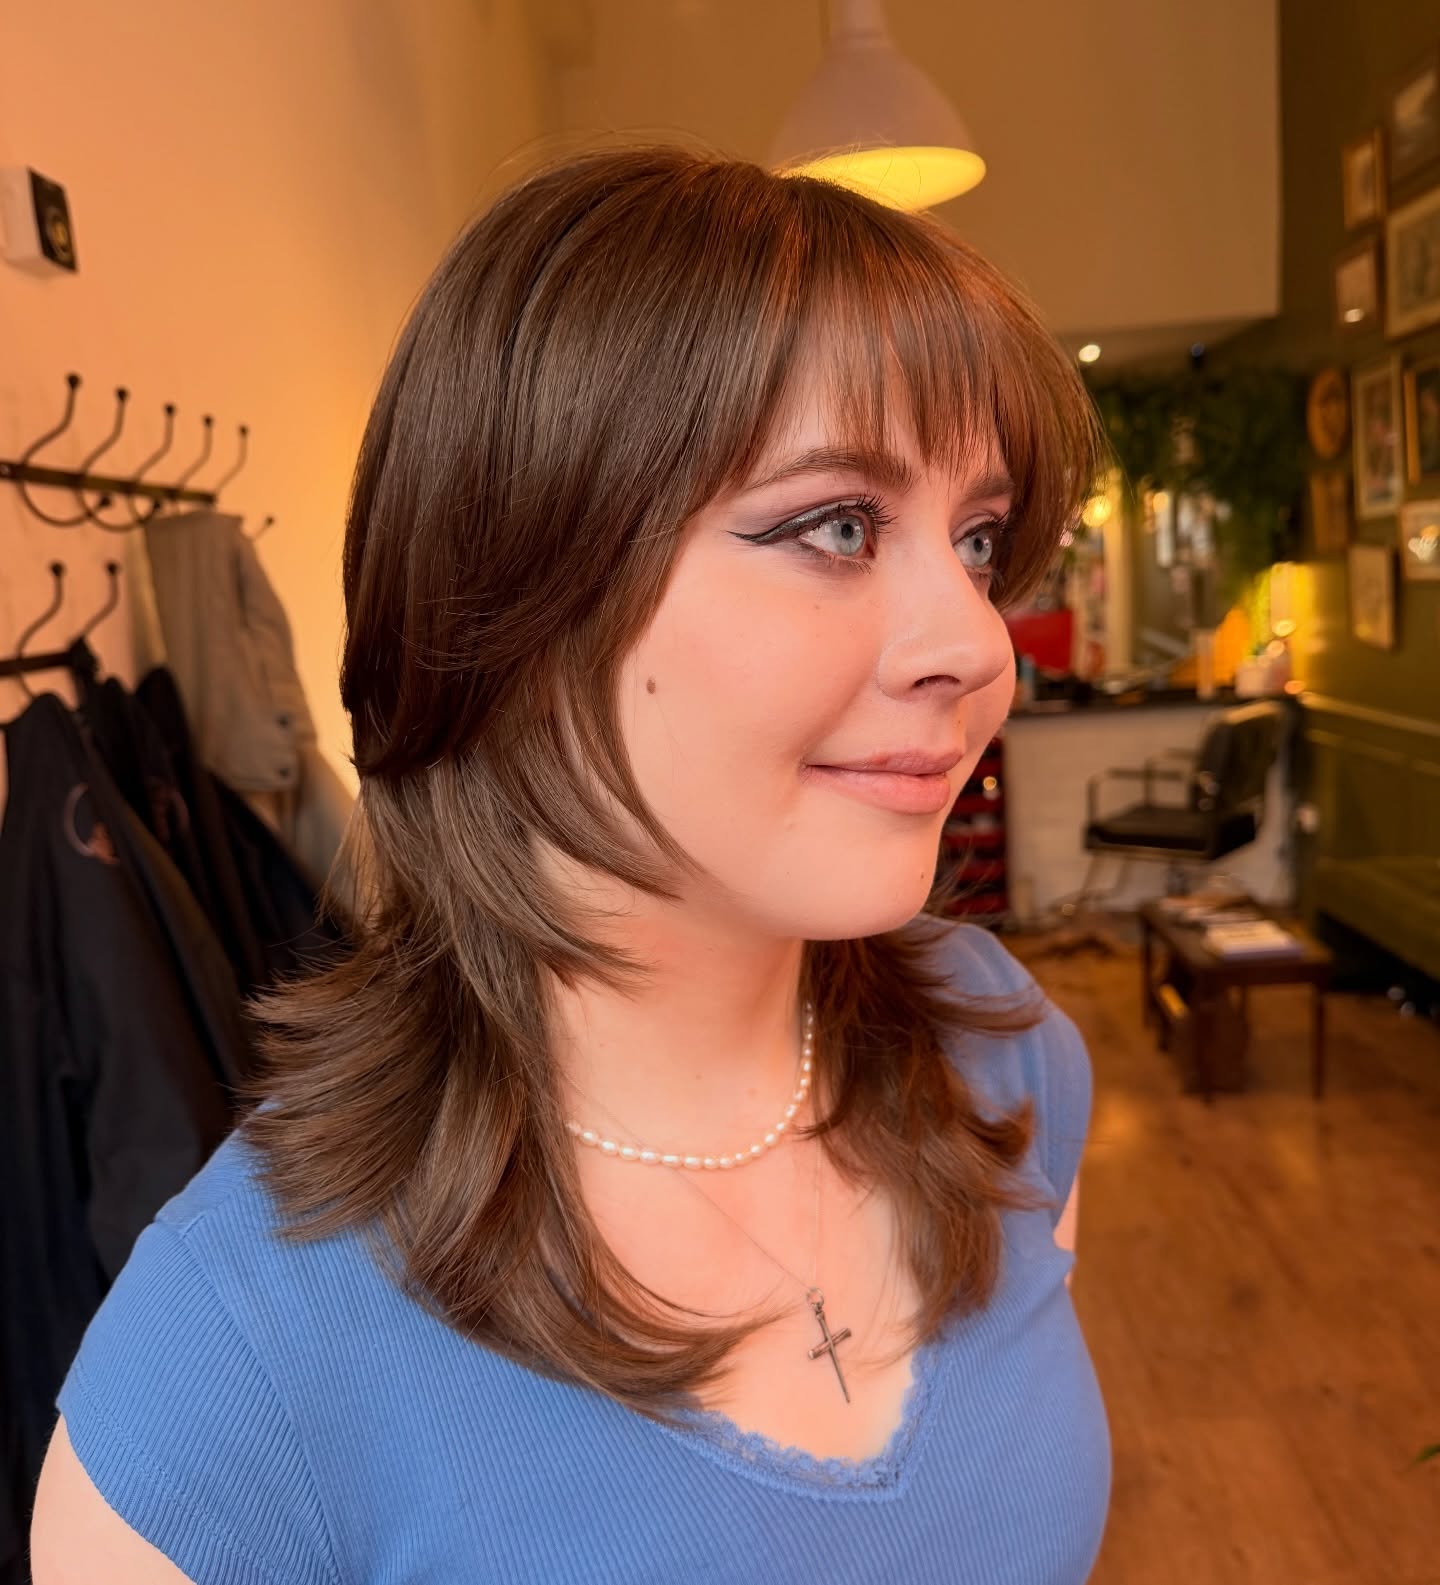
The Shag Cut — Why It's Back and Why It Looks Better Now
-
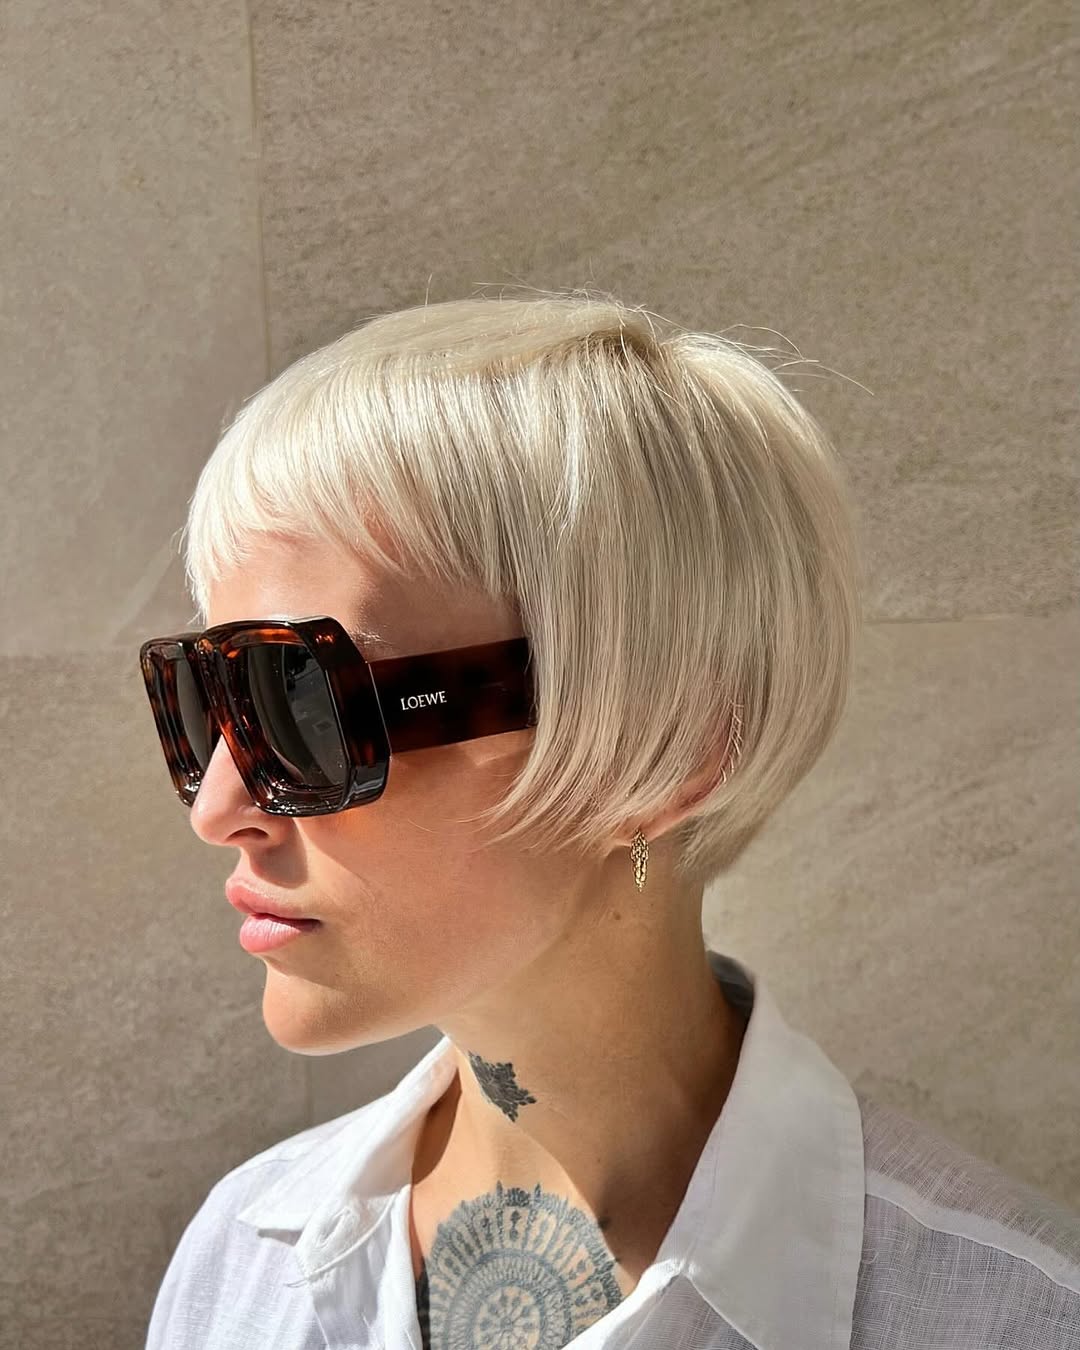
The Micro Bob: 2026’s Most Intentional Identity Shift
-
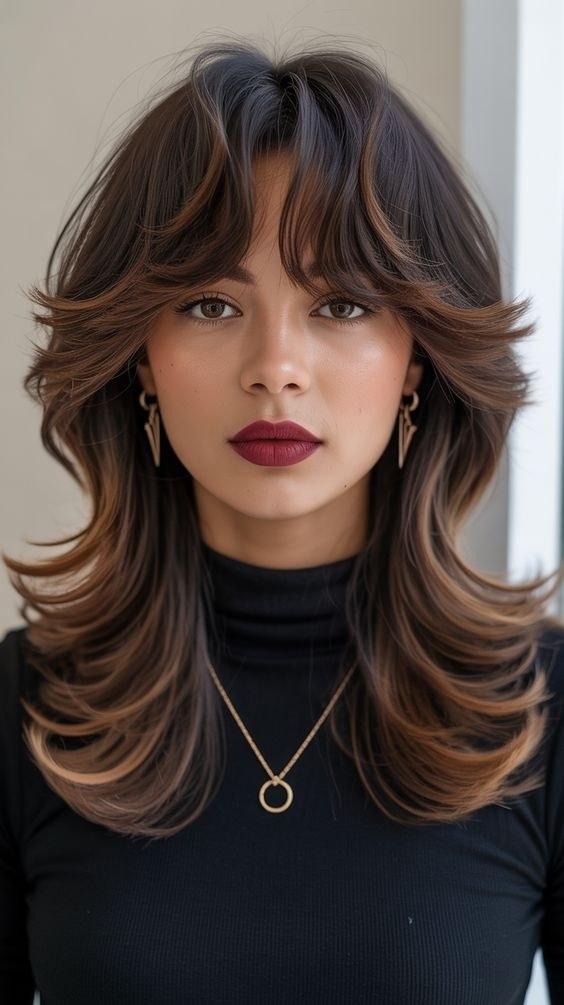
The Butterfly Cut — Why This Layered Look Is Everywhere Right Now
-
Why Your Hair Looks Thinner After 40 (And 4 Fixes That Actually Work)
-
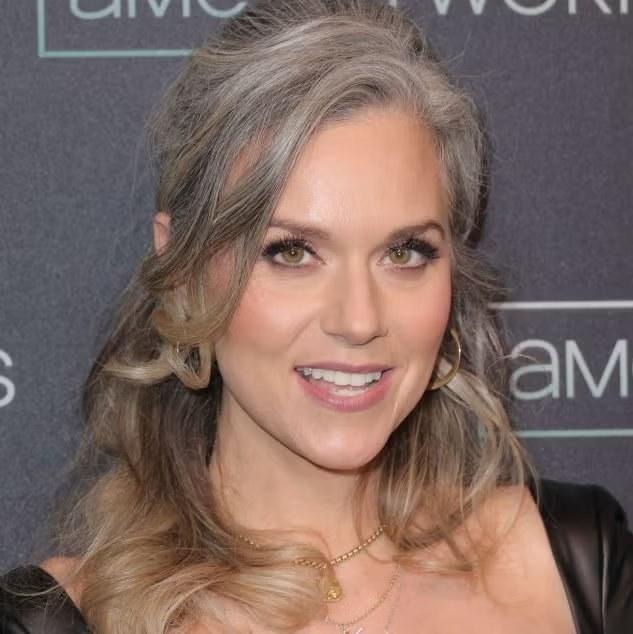
Gray-Blended Hair Color for Women Over 40 — Going Silver Beautifully in 2026
-
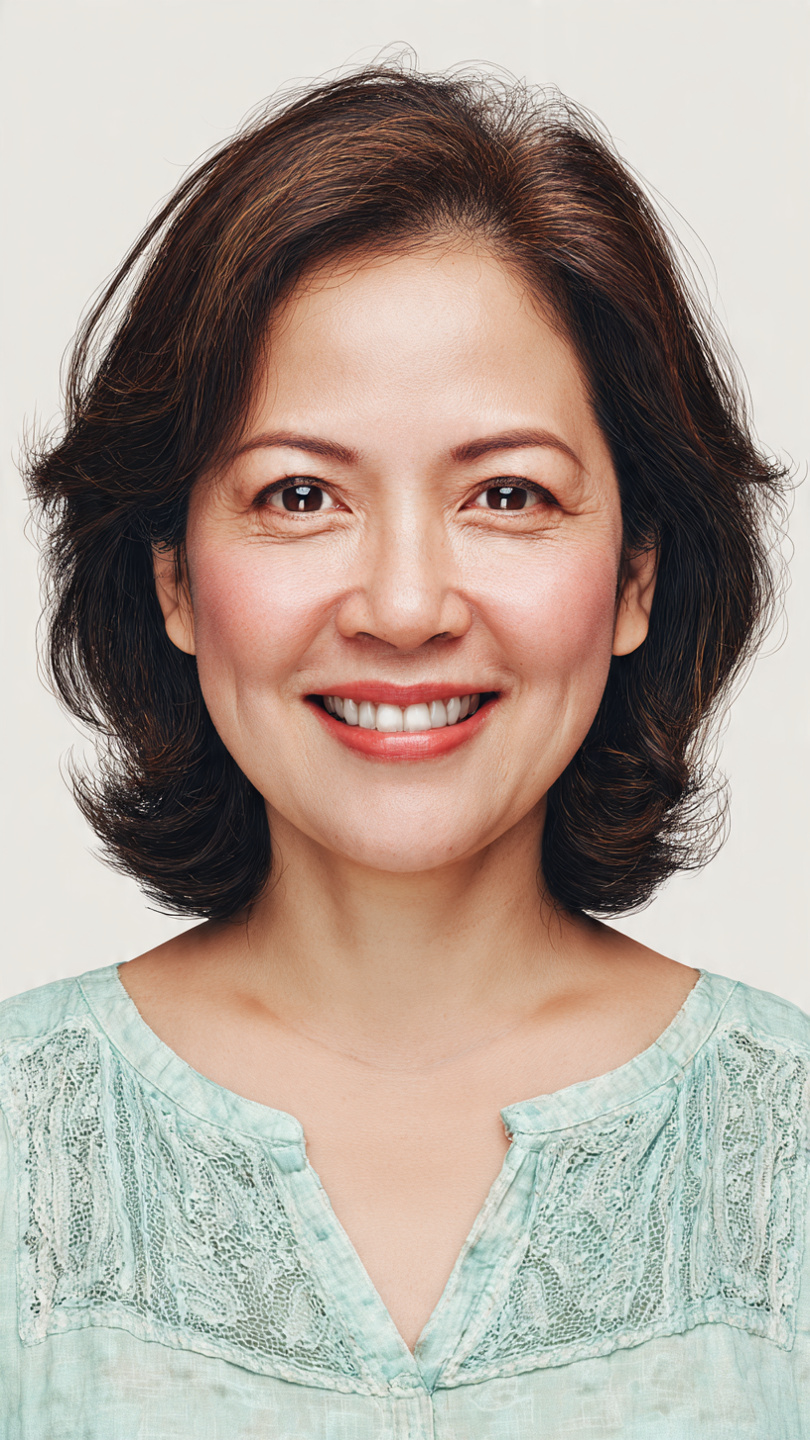
20 Bob Haircuts for Women Over 40 That Are Absolutely Trending in 2026
-
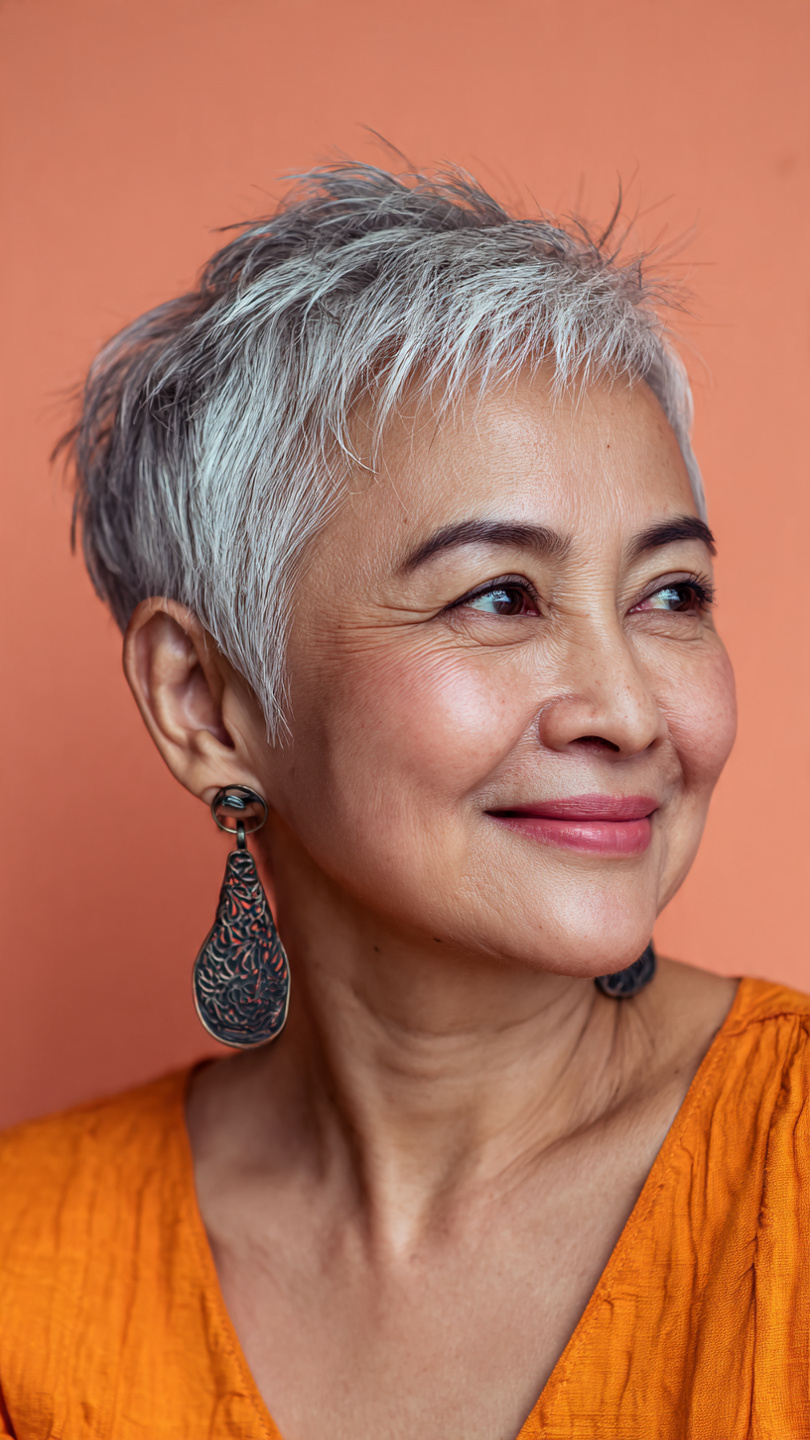
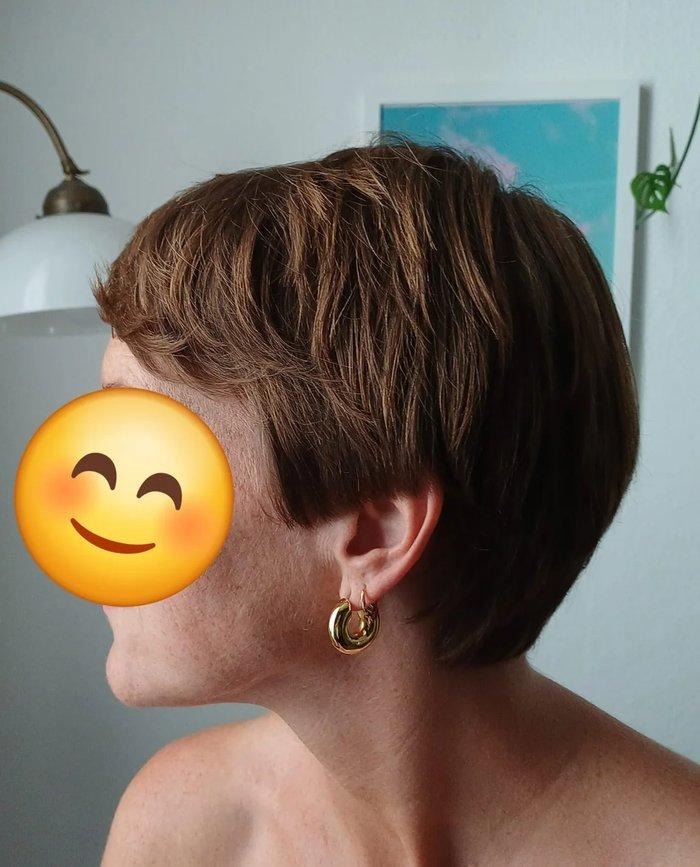
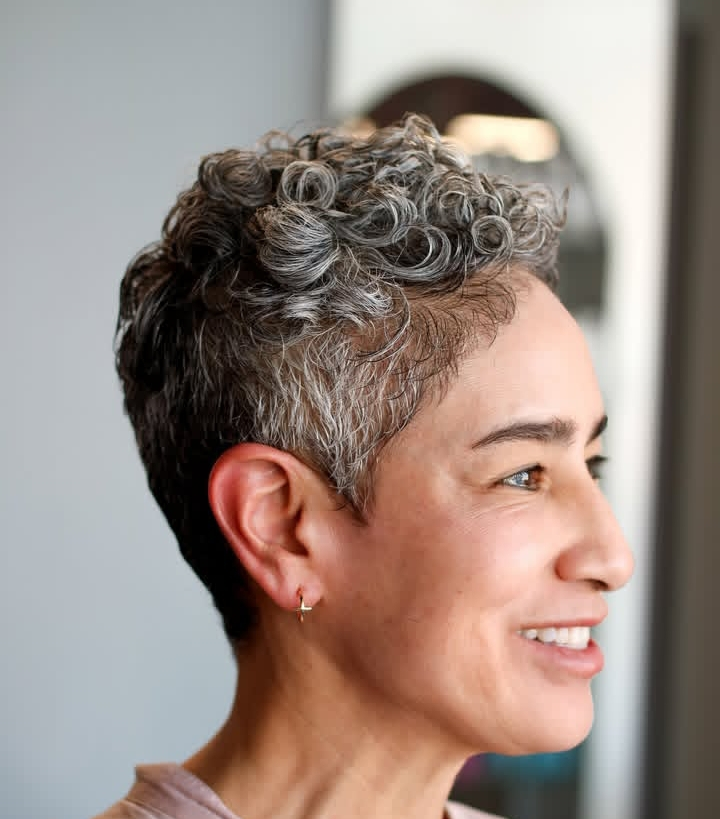
28 Textured Pixie Trends Redefining Maturity in 2026