If you’ve been stuck in a haircut rut—caught between growing out a short bob and avoiding the weight of very long hair—medium-length hairstyles with layers are your perfect solution. Falling anywhere from the collarbone to just above the bust, this versatile length offers the best of both worlds: enough length to tie up, but short enough to feel fresh and voluminous.
Layers are the secret weapon. They remove bulk, add movement, frame the face, and create the illusion of thicker, bouncier hair. Whether you have fine, straight strands or thick, curly manes, there is a layered cut waiting for you.
Below are 12 well-structured ideas to inspire your next salon visit:
1. The Classic Mid-Length Layered Cut
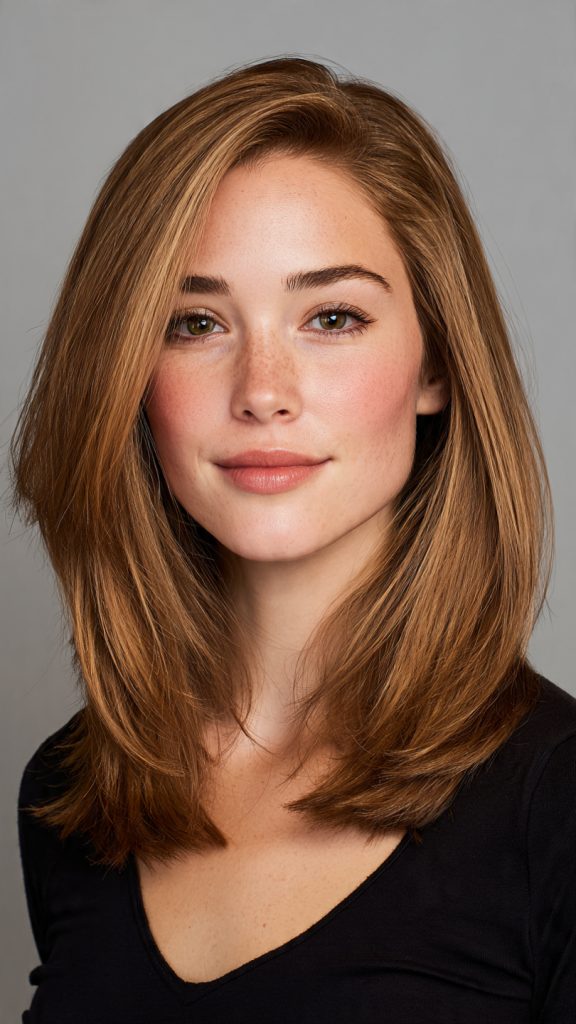
Best for: All hair types, especially straight to wavy.
This is the foundation of all layered looks. Hair is cut to sit between the shoulders and armpit, with long layers starting around the chin. The result is a soft, rounded shape that prevents the dreaded “triangle head” effect. It’s low-maintenance, air-dries beautifully, and looks just as good in a ponytail as it does down.
2. The “Butterfly” Cut
Best for: Fine to medium hair wanting dramatic volume.
Inspired by the trendy “wolf cut” but softer, the butterfly cut uses short, face-framing layers on top and longer layers underneath. When styled, the top layers “lift” away from the head like butterfly wings, creating incredible bounce. Ask your stylist for a “disconnected layer” at the crown to achieve this ethereal, ’70s-inspired look.
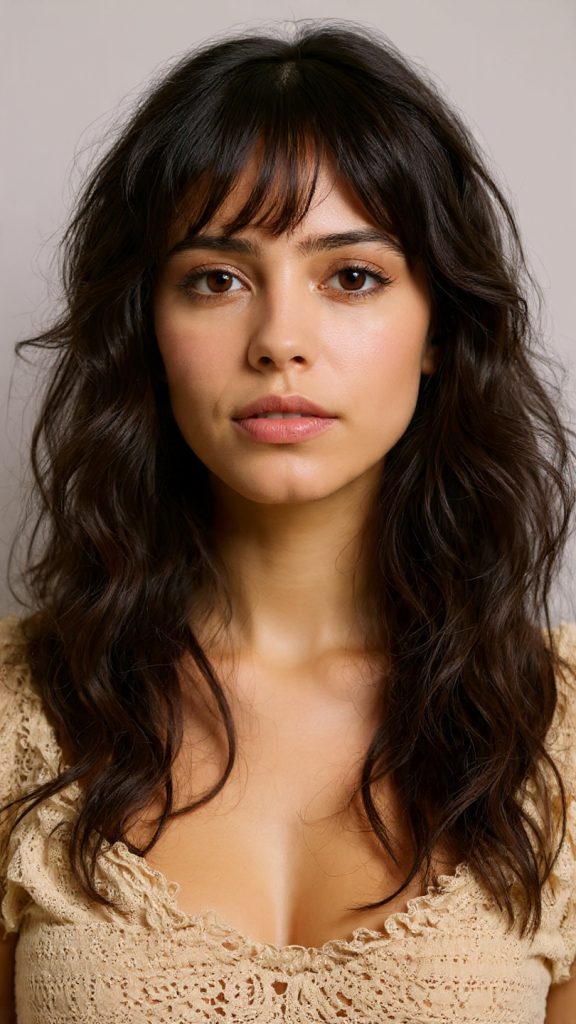
3. Curtain Bangs with Shoulder-Length Layers
Best for: Round or heart-shaped faces.
Curtain bangs (which part in the middle and sweep to the sides) naturally blend into face-framing layers. When paired with medium-length hair, this combination widens the eyes and slims the jawline. The key is keeping the bangs long enough to tuck behind your ears, giving you the flexibility to switch from boho to polished in seconds.
4. The Textured Shag (Modern Version)
Best for: Wavy, thick, or unruly hair.
Forget the heavy shags of the ’70s. The modern medium-length shag features choppy, piece-y layers throughout the ends, often paired with a micro-fringe or wispy bangs. The layers are cut at steeper angles to remove massive weight from thick hair, creating a cool, rock-and-roll vibe that looks intentionally messy.
5. Collarbone-Kissing Layers with Soft Ends
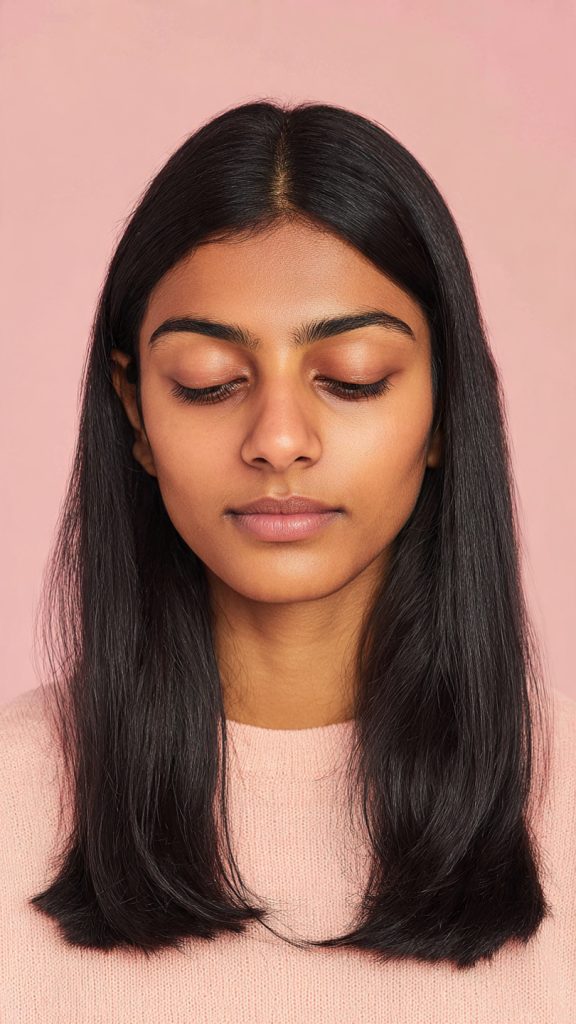
Best for: Fine or thinning hair.
If your hair is on the finer side, aggressive layering can make it look sparse. Instead, opt for “invisible” or “soft” layers that only texturize the last inch of the hair. Cut exactly at the collarbone, this style gives the illusion of thickness because the ends are slightly blunted but not heavy. A little dry shampoo at the roots amplifies the effect.
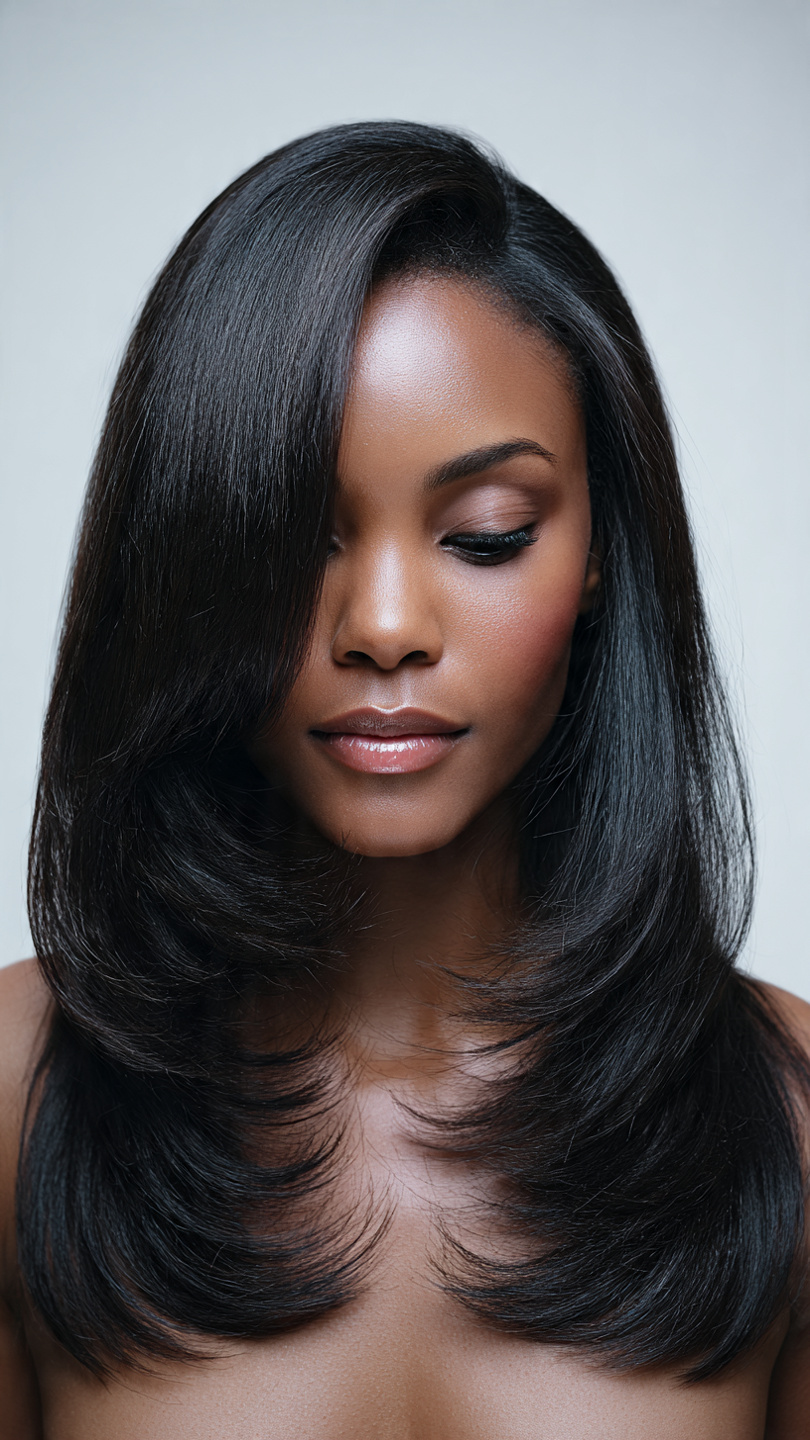
6. V-Cut Layers for Long Medium Hair
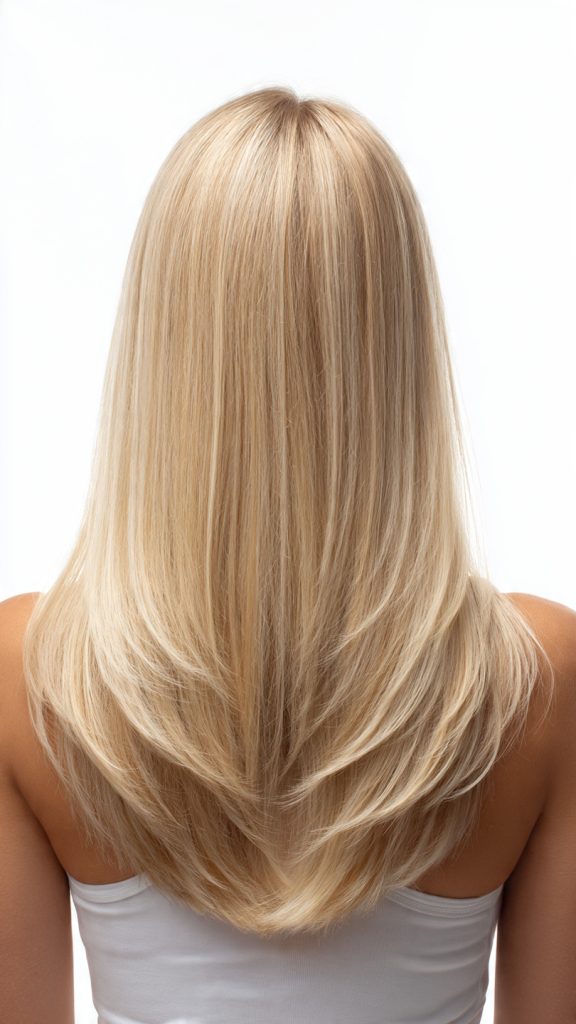
Best for: Straight hair that lacks movement.
When your medium-length hair is almost long (think armpit length), a V-cut changes the game. Instead of straight-across layers, the stylist cuts the back into a subtle “V” shape. This creates long, dramatic layers that flick outward when curled or swing side-to-side when you walk. It adds a sexy, mermaid-like movement without losing length in the front.
7. Blunt Ends with Hidden Under-Layers
Best for: Thick, heavy hair.
Paradoxically, you can have a blunt hemline and layers. This style keeps the bottom perimeter thick and solid while removing weight from the inside of the hair (using slide-cutting or under-cutting techniques). You get the chic, heavy look of a blunt bob but without the bulk. This is a favorite for professional settings where you want polish but not poof.
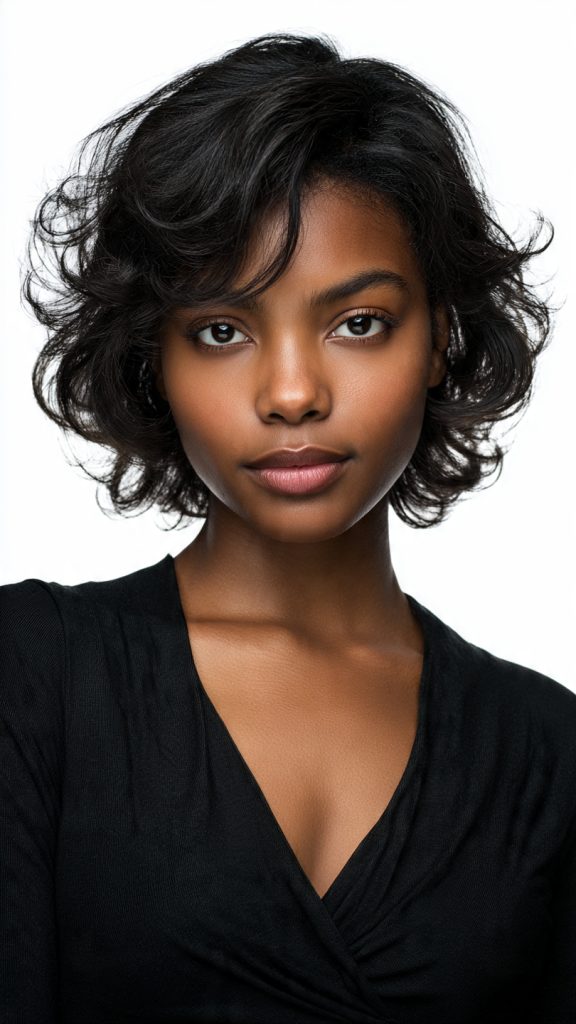
8. The Round-Layered “Italian” Cut
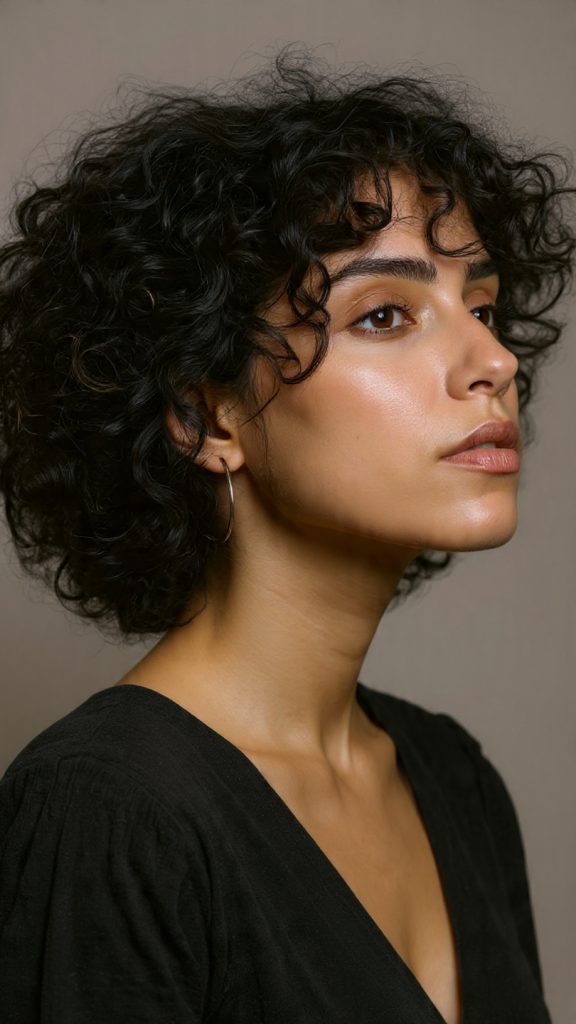
Best for: Curly and coily hair textures.
Inspired by classic Italian films, this cut focuses on shape rather than individual strands. The hair is cut dry, curl-by-curl, into a rounded globe shape. The layers are graduated heavily at the crown to encourage curls to spring up, not weigh down. The result is a perfectly circular, frizz-free silhouette that bounces with every step.
9. Asymmetrical Layers with a Deep Side Part
Best for: Oval and long face shapes.
By shifting your part dramatically to one side, you instantly create asymmetry. The layers follow suit: shorter and more textured on the heavier side, longer and sleeker on the lighter side. This optical illusion adds width to long, narrow faces and gives fine hair a volume boost at the roots where the part flips up.
10. Wispy Face-Framing Highlights + Layers
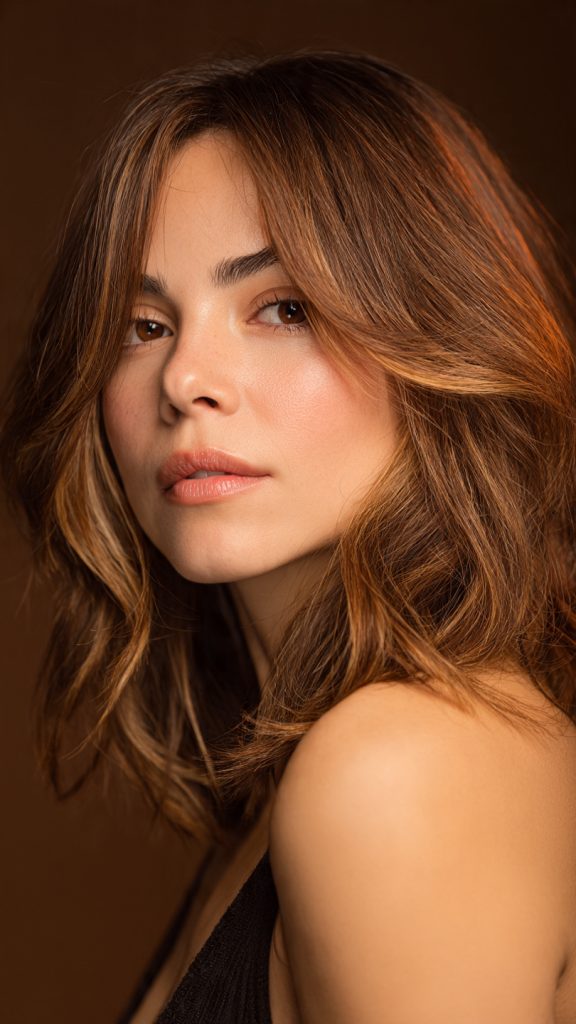
Best for: Adding brightness and softness.
While not a cut by itself, the placement of highlights can act as pseudo-layers. Ask for “baby lights” or thin ribbons of color woven through the face-framing layers and ends. The contrast between light and dark accentuates every cut, making the layers look more defined and three-dimensional. It’s the ultimate “expensive” look.
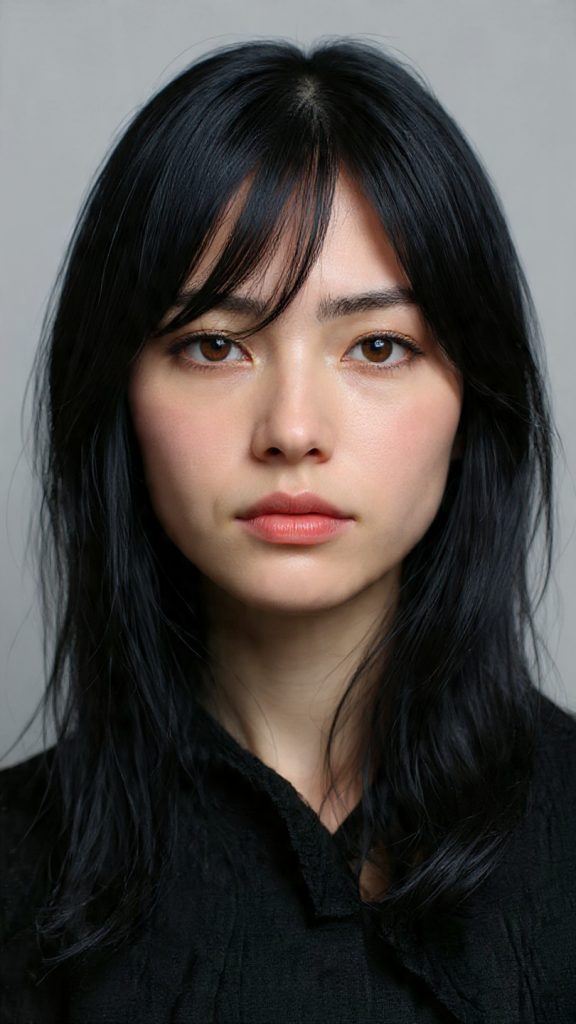
11. The Layered Midi with Bottleneck Bangs
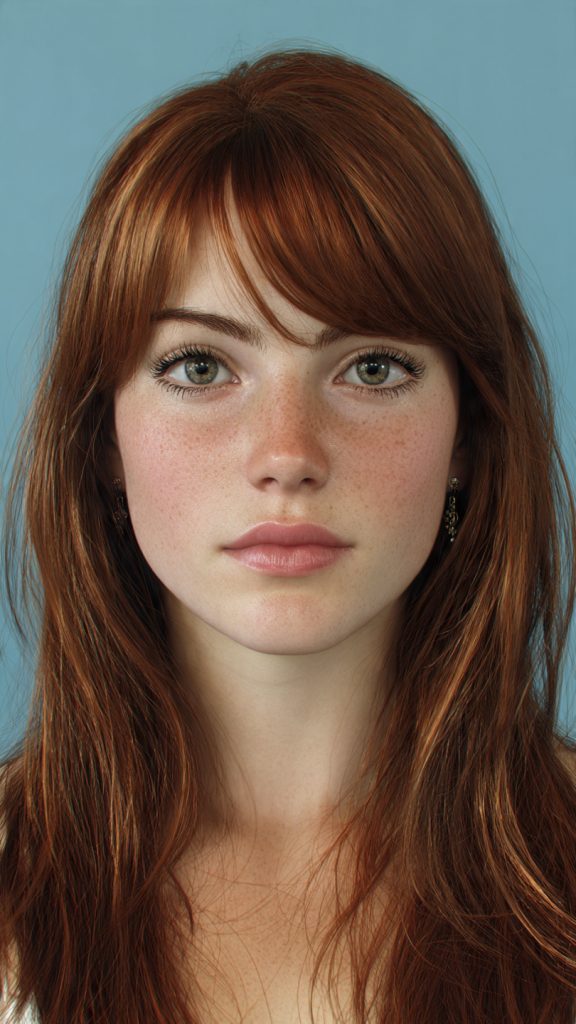
Best for: Forehead balancing (large or small foreheads).
Bottleneck bangs are narrow at the center top (like a bottleneck) and widen over the brows. When blended into medium-length layers, this creates a seamless curtain of hair. The layering starts high—right at the occipital bone—to push volume backward, preventing the bangs from falling flat. It’s a retro, editorial look that feels fresh.
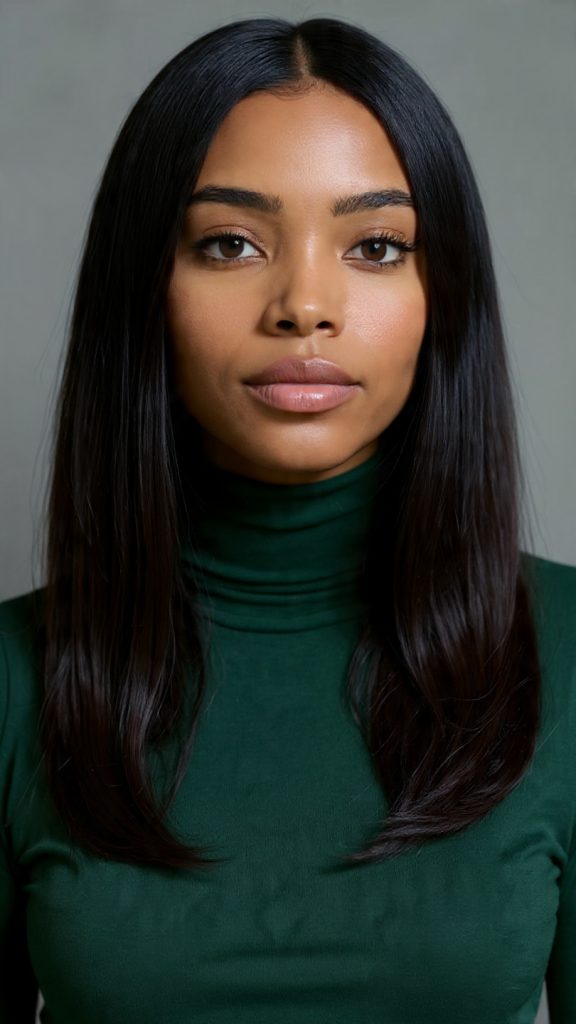
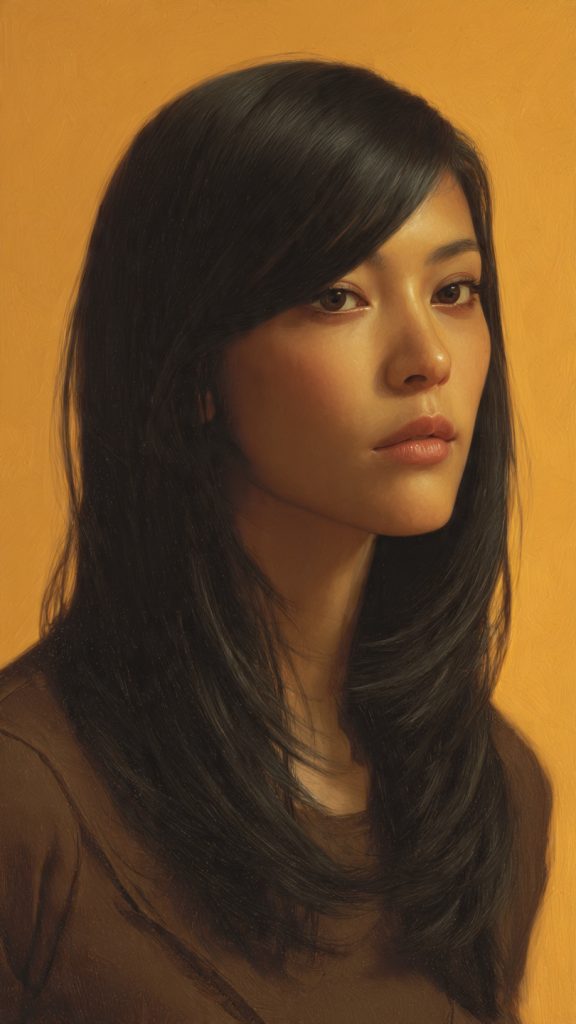
12. Air-Layer (Korean Feather Cut)

Best for: Straight, sleek hair.
Originating from Korean hair trends, the air-layer cut uses point-cutting to create “feathery” ends that move like air. Unlike Western layers which are distinct steps, these are millimetrically fine. The hair remains one length visually but moves incredibly softly. Pair this with a center part and light serum for that glossy, weightless K-pop idol finish.
Before You Book: How to Communicate Layers to Your Stylist
Walking into a salon saying “just add layers” is a recipe for disappointment. Layers vary dramatically in placement, angle, and intensity. Use this simple script to get exactly what you want.
Step 1: Identify your layer type using the chart above. Screenshot the idea that matches your hair texture and face shape.
Step 2: Use these three key phrases:
- “Long layers starting at my chin” – safest for fine hair.
- “Short, choppy layers throughout” – for volume and texture.
- “Internal under-cutting only” – to remove bulk without changing the outer shape.
Step 3: Ask the “show me” question. Request that your stylist shows you the first cut section before proceeding. This prevents miscommunication about how short the shortest layer will be.
Step 4: Discuss your styling commitment. Layers that look stunning blown out can look messy air-dried. If you never use heat tools, ask for “round layers” or “invisible layers” specifically designed for wash-and-wear routines.
Maintenance & Styling: Keeping Your Layers Fresh
Layered haircuts require more frequent trims than blunt cuts. Without regular upkeep, the shortest layers can outgrow their shape, leaving you with an uneven, straggly appearance.
Trim schedule by layer type:
| Layer Style | Recommended Trim Frequency |
|---|---|
| Soft, long layers | Every 10–12 weeks |
| Choppy shag or butterfly cut | Every 6–8 weeks |
| Blunt ends with hidden layers | Every 8–10 weeks |
| Curly round-layered cut | Every 12 weeks (dry cut only) |
Quick styling hacks for each texture:
- Fine/straight hair: Use a volumizing mousse at the roots before blow-drying upside down. Layers reveal flatness faster, so lift is essential.
- Thick/wavy hair: Apply a lightweight curl cream to damp hair, then scrunch and air-dry. Layers prevent the dreaded “pyramid” shape.
- Curly/coily hair: Never brush dry curls. Detangle in the shower with conditioner, then use a diffuser or hooded dryer to set the round shape.
- Sleek/Asian hair texture: A drop of silicone-based serum on the ends only. Avoid roots entirely, or layers will look greasy rather than feathered.
The one product every layered haircut needs: A texturizing spray or powder. Unlike heavy oils or creams, texturizers grip the ends of each layer, making them visible and piece-y rather than melting into one blob.
Who Should Avoid Medium Layers? (Honest Advice)
Layers are not universal. While they solve many problems, they can create new ones for certain hair types and lifestyles.
Avoid medium layers if:
- Your hair is severely damaged or chemically processed. Layers remove length, and damaged ends become the new shortest layer. You’ll need a “dusting” only until healthy hair grows in.
- You exclusively wear your hair in tight ponytails or buns. Short layers will poke out, requiring bobby pins or gel. A blunt one-length cut behaves better for slicked-back styles.
- You have very thin, fragile hair. Aggressive layering can make thin hair look even sparser. Stick to “invisible layers” or a blunt collarbone cut with face-framing pieces only.
- You are growing out a pixie or undercut. Let the hair reach shoulder length first. Layers applied too early will leave you stuck in an awkward mullet phase.
- You have naturally strong cowlicks at the crown. Layers can lift and exaggerate cowlicks, creating unintended volume in the wrong places. A stylist may recommend a different weight distribution.
When in doubt, ask for a “dry consultation.” Your stylist will pin up sections to show you exactly where the layers will fall before any cutting begins.
Layering for Face Shapes: A Quick Guide
The same layered cut can elongate a round face or shorten an oval face. Use this cheat sheet to match layers to your bone structure.
| Face Shape | Best Layer Strategy | What to Avoid |
|---|---|---|
| Round | Long layers starting below the chin, center part, face-framing pieces that graze the jawline | Short layers at cheekbone level (widens face) |
| Oval | Almost anything works. Especially flattering: curtain bangs and chin-length face-framing layers | Extremely short top layers (can look boxy) |
| Square | Soft, wispy layers around the jaw to soften angles. Side-swept bangs help | Blunt, heavy layers that end exactly at the jaw |
| Heart | Layers that add volume at the chin and below. A deep side part helps balance a wider forehead | Short layers that stop at the temples (emphasizes width) |
| Long/Oblong | Rounded layers with volume at the sides. Bottleneck or straight-across bangs shorten length visually | Long, straight layers that drag the face down |
| Diamond | Layers that widen the forehead and chin area while narrowing the cheekbones. Wispy bangs help | Severe center parts with flat, straight layers |
A universal rule: The shortest layer should never fall at your widest point unless you want to emphasize that area. Adjust the starting point of your layers up or down by one inch to change the entire optical effect.
Conclusion
Medium-length hairstyles with layers are not a trend—they are a timeless solution to the most common hair frustrations: flatness, heaviness, lack of movement, and the dreaded in-between grow-out phase. Whether you choose the soft, rounded shape of the classic layered cut, the dramatic bounce of the butterfly cut, or the weightless precision of the Korean air-layer, there is a version designed specifically for your texture, face shape, and lifestyle.
The key is intentionality. Layers are a tool, not a default. By understanding where the shortest layer falls, how often you are willing to style your hair, and what you want to emphasize or minimize about your face, you transform a simple haircut into a personalized signature look.
Remember: bring a photo, learn the three key phrases for your stylist, and commit to the maintenance schedule that matches your chosen layer style. With these twelve ideas and practical guides in hand, you are ready to walk into any salon with confidence—and walk out with the best hair of your life.
Now go book that appointment. Your bounciest, most layered era awaits.
Leave a Reply