If you have thin hair and natural curls, you’ve likely faced a frustrating paradox: curls need density to hold their shape, but thin hair often falls flat or looks sparse. The good news? The right haircut can transform limp, see-through curls into a full, bouncy, and voluminous style.
Thin curly hair requires strategic layering, weight removal, and shape control. Cut it too blunt, and it lacks movement. Cut it too layered, and it looks even thinner. In this guide, I’ll walk you through 10 expertly designed haircuts that create the illusion of thickness, boost root volume, and make every curl count.
10 Curly Haircuts for Thin Hair:
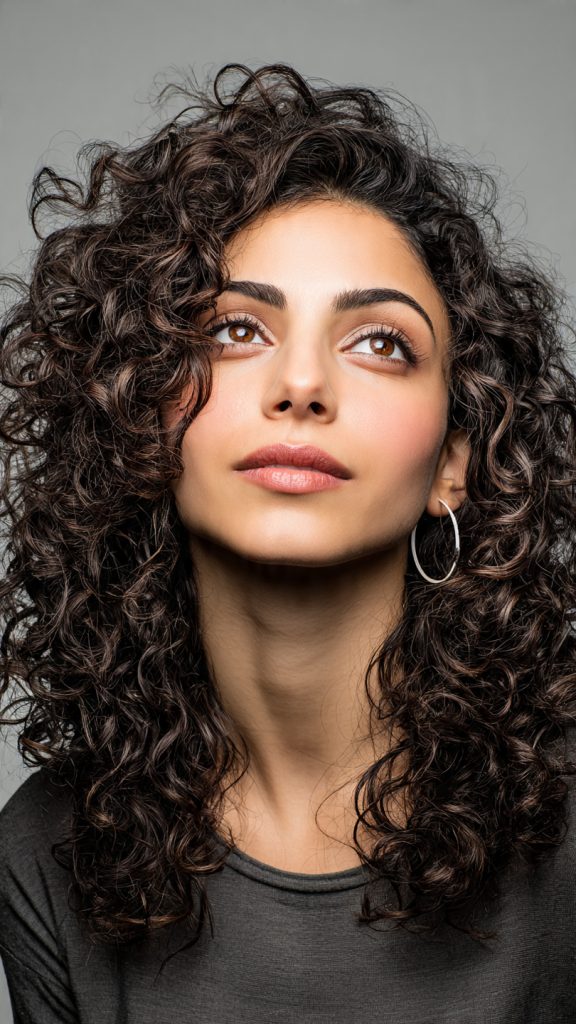
1. The Curly Shag
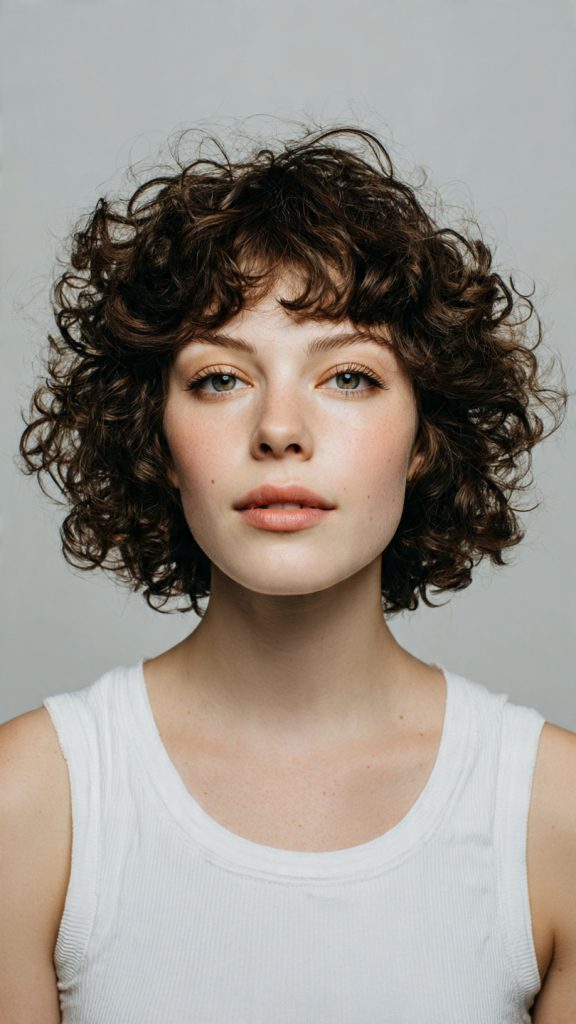
Why it works: The shag is a thin-haired curly’s best friend. With short layers on top and longer pieces underneath, it builds a “triangle of volume” at the crown.
Key detail: Ask for wispy, not chunky, bangs to avoid weighing down fine curls.
Best for: 2B to 3B curls.
2. The Rounded Bob (No Longer Than Chin-Length)
Why it works: A blunt bob on straight hair looks dense, but on curly thin hair, it can become bottom-heavy. The solution? A rounded bob that stacks slightly at the back and keeps the perimeter soft.
Key detail: Length should end at your chin when curls are dry. Any longer, and gravity pulls the curls flat.
Best for: Type 3A–3C with fine strands.
3. The “Undercut” for Volume Illusion
Why it works: This sounds counterintuitive, but removing a small hidden triangle of hair from the nape allows the top curls to stack and appear much fuller.
Key detail: Keep the undercut hidden (no shaved designs) so it only serves as internal weight removal.
Best for: Dense-but-fine curly hair (lots of strands, each thin).
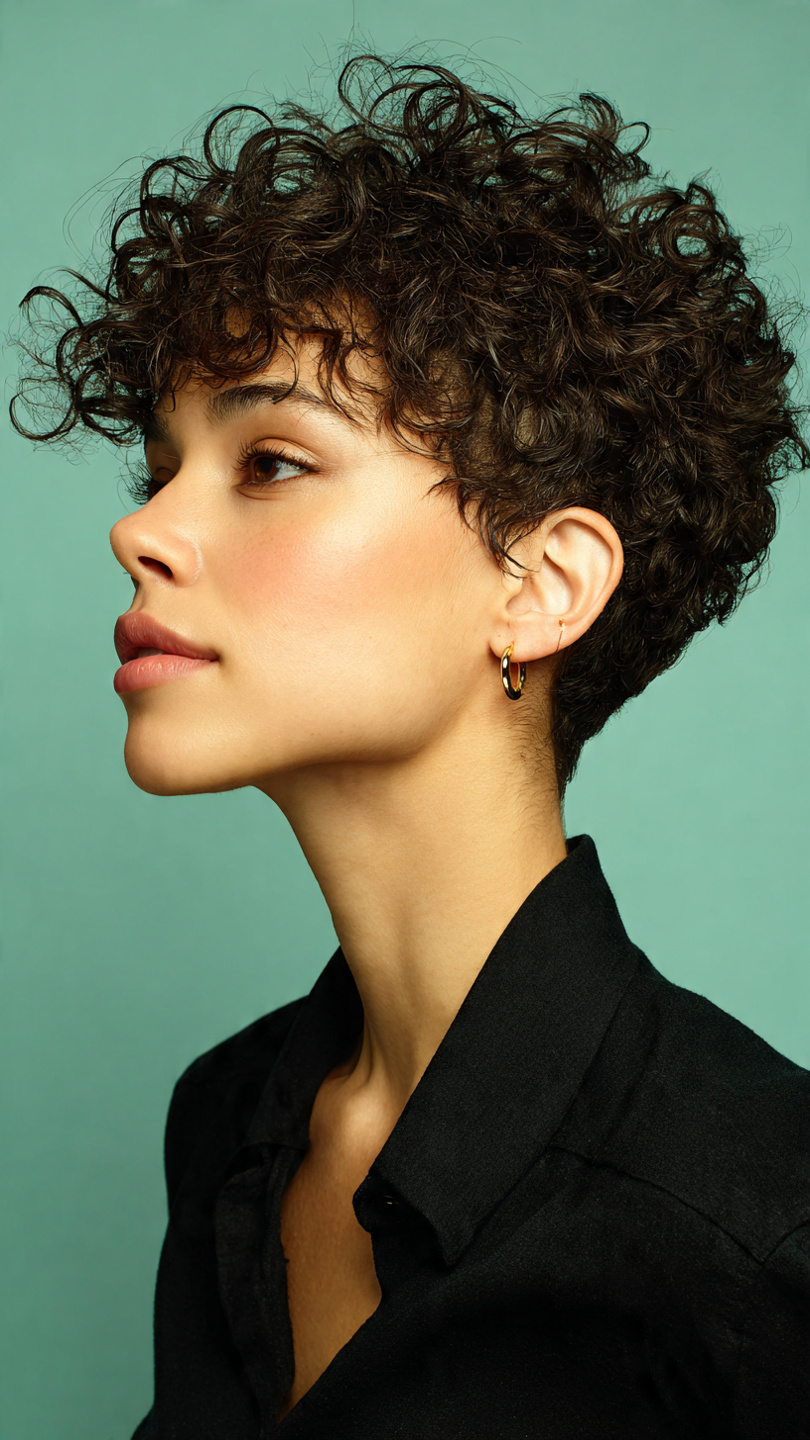
4. The Micro-Layered Pixie
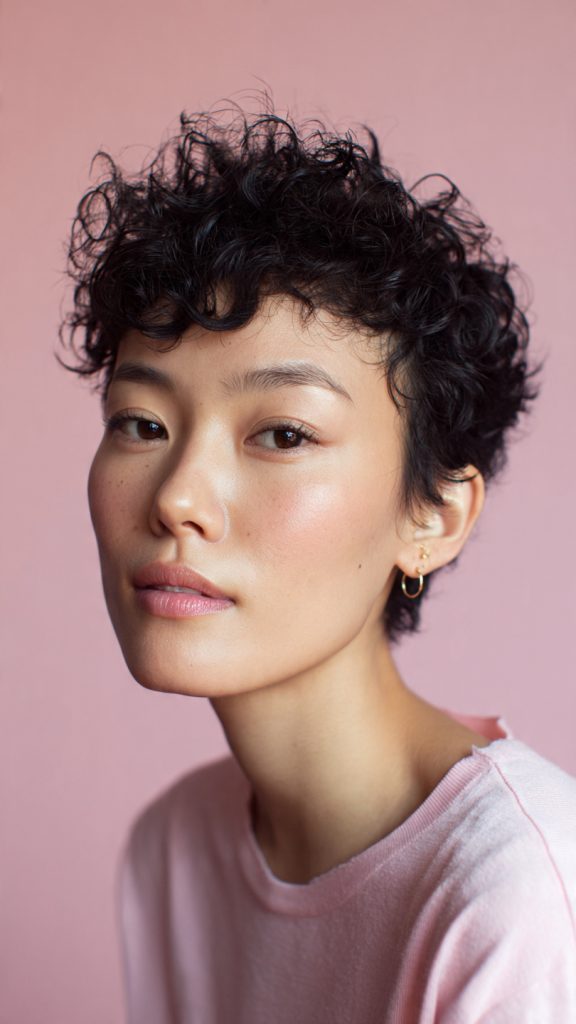
Why it works: When hair is very thin, going short removes the weight that pulls curls straight. A pixie with micro-layers (cuts as small as ¼ inch) creates a fuzzy, cloud-like halo of curls.
Key detail: Leave length slightly longer on top to form ringlets, and keep the sides tapered but not shaved.
Best for: Type 3B–4A with low density.
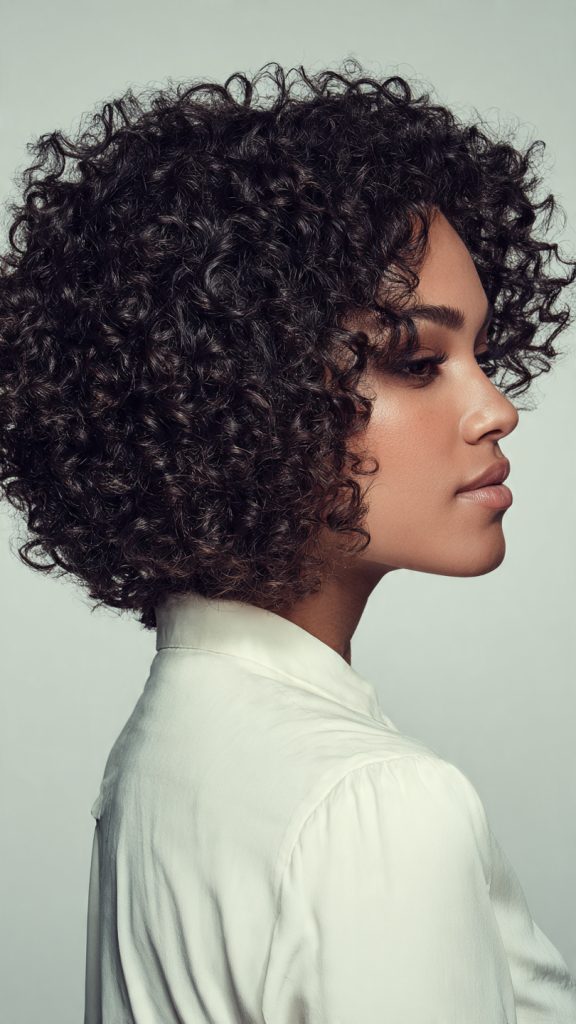
5. The A-Line Curly Bob
Why it works: Shorter in the back, longer in the front, the A-line cut instantly boosts volume at the crown while preserving length in front for versatility.
Key detail: The back should be stacked internally (using point-cutting, not razors) so curls don’t collapse.
Best for: Type 2C–3B who want length in the front.
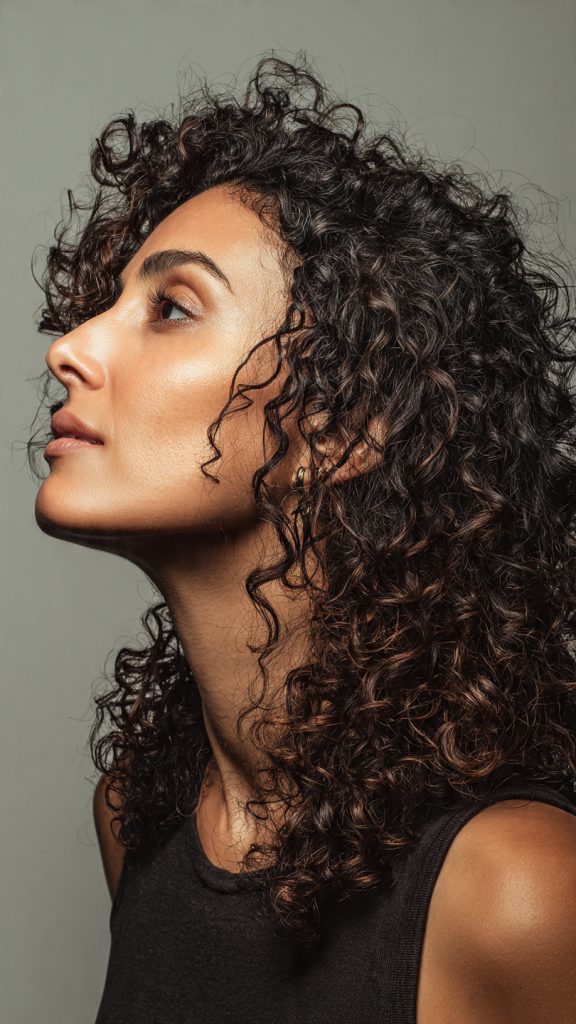
6. The DevaCut “Layering Without Losing Mass”
Why it works: Inspired by the DevaCurl method, this dry cut follows your curl pattern. For thin hair, stylists use “carve-and-slice” techniques to remove weight vertically, which preserves density while adding lift.
Key detail: Insist on dry cutting only. Wet cutting thin curls leads to shockingly short, flat results.
Best for: All curl types, especially fragile, low-density hair.
7. The Curly Mullet (Modern, Soft Version)
Why it works: Don’t fear the mullet. A soft curly mullet keeps short, stacked volume at the crown and sides, with wispy length in the back. The contrast creates fullness where it matters most.
Key detail: Avoid harsh lines; ask for “invisible graduation” between the short and long sections.
Best for: Adventurous types 3A–3C with medium to fine strands.
8. The One-Length (But Only If…)
Why it works: One-length curls work for thin hair only if your hair is already dense enough to form a solid curtain. For most thin-haired curlies, this is risky.
Key detail: If you try it, keep the hemline soft (not blunt) and add long, subtle internal layers no shorter than 2 inches from the ends.
Best for: Type 2A–2C wavy-thin hair with high density per square inch.
9. The Asymmetrical Curly Cut
Why it works: By making one side slightly shorter (by 1–2 inches), you create visual asymmetry that tricks the eye into seeing more movement and body. The shorter side lifts the roots on that entire half of your head.
Key detail: The difference should be minimal—too dramatic, and thin curls will look patchy.
Best for: 2B–3B who want a modern, edgy shape.
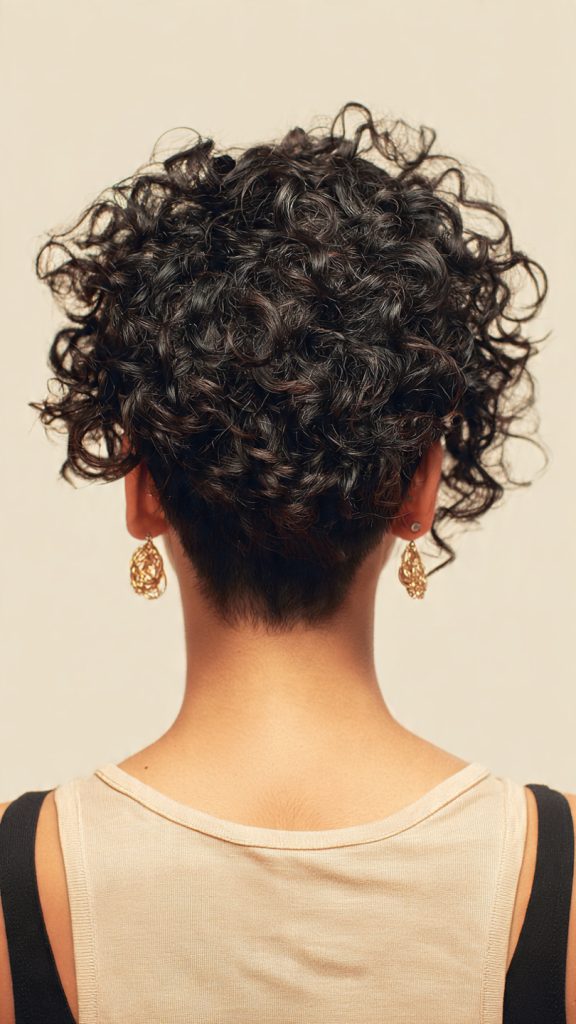
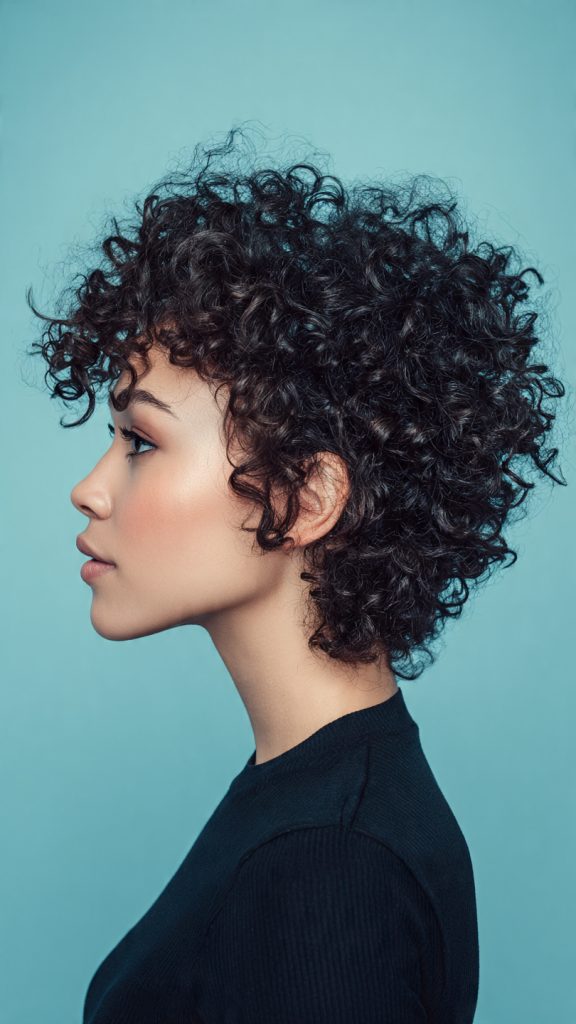
10. The Crown-Focused “Layered Bowl” (No, Not the 90s Bowl Cut)

Why it works: This is a disguised version of a bowl cut, but for thin curls, it’s genius. The hair is cut to the same short length all around the crown (like a halo), while the lower perimeter is texturized away. The result? A full, circular cloud of curls.
Key detail: The top must be cut to your shortest curl’s shrinkage length (test by pulling a curl straight, then letting it spring back).
Best for: Very tight curls (3C–4C) with thin, fragile strands.
Essential Pre-Cut Checklist for Thin Curly Hair
Before you sit in the stylist’s chair, complete these four steps to ensure your new cut delivers maximum volume.
1. The Dry Pull Test
Gently stretch one curl from root to tip. If it stretches more than 40% of its length before springing back, your hair has high elasticity and needs more layering to avoid looking stringy. If it barely stretches, keep layers wider and softer.
2. The Density Assessment
Part your dry hair down the middle in bright light. Can you clearly see your scalp along the part line? Yes → You have low density. Avoid over-layering. No → You have medium to high density and can handle shag or mullet cuts.
3. The Product Compatibility Check
Heavy butters, creams, and oils collapse thin curls within hours. Before booking a cut, switch to a lightweight leave-in conditioner and a foam or mousse styler for one week. This reveals your true curl pattern without product weight, helping your stylist cut accurately.
4. The Reference Image Rule
Do not bring photos of thick, dense curly hair. Find three images of thin-haired curlies with a similar curl type to yours. Label each with what you love (volume at crown? soft perimeter? bang length?) and what you want to avoid.
What to Tell Your Stylist (Exact Script)
Use this word-for-word when communicating with your hairstylist:
“I have thin curly hair that falls flat easily. I want to keep my length at [chin / shoulder / collarbone] when dry. Please cut my hair dry, curl by curl. Do not use thinning shears or a razor. Use point-cutting or slide-cutting only. I want internal layers that remove weight vertically, not horizontally. Keep the perimeter soft but not wispy. And please show me the length after every second cut.”
Red flags to watch for: If your stylist insists on washing and cutting wet, refuses to show you the back mid-cut, or reaches for thinning shears, stand up and leave.
The 3-Product System for Styling Thin Curls Post-Cut
Even the perfect haircut fails without the right products. Stick to this minimalist system:
| Step | Product Type | What to Look For | What to Avoid |
|---|---|---|---|
| 1 | Lightweight leave-in | Water-first ingredient, spray or lotion consistency | Creams, butters, oils |
| 2 | Volumizing foam or mousse | Label says “root lift” or “fullness” | Gels with heavy polymers |
| 3 | Flexible hold hairspray | Light mist, touchable finish | Hard-hold aerosol |
Application order: On soaking wet hair, spray leave-in → scrunch in mousse → microplop with a microfiber towel → diffuse upside down → finish with one mist of hairspray at the roots.
How Often to Re-Cut Thin Curly Hair
Thin curls lose shape faster than thick curls because each strand has less internal support. Follow this schedule:
- Every 6–8 weeks: Micro-trim (just ¼ inch off the perimeter and refreshing the lightest layers). This maintains volume without losing length.
- Every 12–16 weeks: Full restructure cut. Return to your original cut shape (shag, bob, etc.) because thin curls relax and drop over time.
- Every 24 weeks (6 months): Complete reset. Cut back to baseline length if you notice see-through ends or flat crown despite proper styling.
Sign you’re overdue: When your dry curls hang straight for the first two inches before forming a curl, the weight has won. Book immediately.
Two Common Mistakes That Ruin Thin Curly Cuts
Avoid these at all costs:
Mistake #1: Asking for “More Layers” to Add Volume
More layers on thin hair remove density at the ends, making your hair look wispy and transparent. Instead, ask for “internal layering” or “weight removal from the inside only.” This keeps the outer perimeter intact while lifting the roots.
Mistake #2: Growing Out Your Cut “Just to See”
Thin curly hair does not get better with length past a certain point. For most curl types, the maximum volume length is between chin and collarbone. Anything longer creates a “triangle head” or flat curtain effect. Commit to your length.
Conclusion
Thin curly hair is not a limitation—it is a specific texture that demands a specific strategy. The ten haircuts in this guide share one common philosophy: remove weight strategically, never density. Whether you choose the playful curly shag, the precise rounded bob, or the bold asymmetrical cut, the goal is always the same—lift at the roots, fullness through the mid-lengths, and a soft, opaque perimeter.
Remember that no haircut works alone. Pair your new shape with lightweight products, a diffuser, and a six-week trim schedule. And most importantly, stop comparing your thin curls to thick-haired influencers. Your hair has its own rhythm: less weight, more bounce. When you cut for your density, not for an ideal, you stop fighting your curls and start showing them off.
Now go book that appointment. Bring your reference photos. Say the script. And watch your thin curls do something you may have never seen before—stand up, hold their shape, and finally look as full as they feel.
Leave a Reply