
If you wear glasses, you have probably experienced this frustration: you spend time on your eye makeup, put on your frames, and suddenly... it disappears.
Your beautiful eyeliner? Lost behind the frames. That perfect shadow? It looks like you did nothing at all. And those dark circles you thought you concealed? The lenses seem to magnify them十倍.
Here is the good news: with a few simple adjustments, you can make your eyes stand out beautifully behind your glasses. In fact, many makeup artists—including Bobbi Brown herself—love wearing glasses because they offer an instant style statement. The trick is knowing how to work with your frames, not against them.
Whether you wear reading glasses part-time or need them full-time, this guide will help you master makeup for glasses.
Why Glasses Change Everything
Before we dive into techniques, let's understand what is happening.
Your lenses do two things that affect your makeup:
- They magnify (if you are nearsighted) or minify (if you are farsighted) your eyes
- They cast shadows on your under-eye area
- They compete for attention with your eye makeup
The result? Dark circles look darker. Delicate lines look more visible. And subtle eye makeup? It vanishes completely.
But once you know how to adjust, your glasses become an accessory that enhances your look instead of hiding it.
Step 1: The Non-Negotiable Base (Corrector + Concealer)
This step matters for everyone, but for glasses wearers, it is absolutely essential.
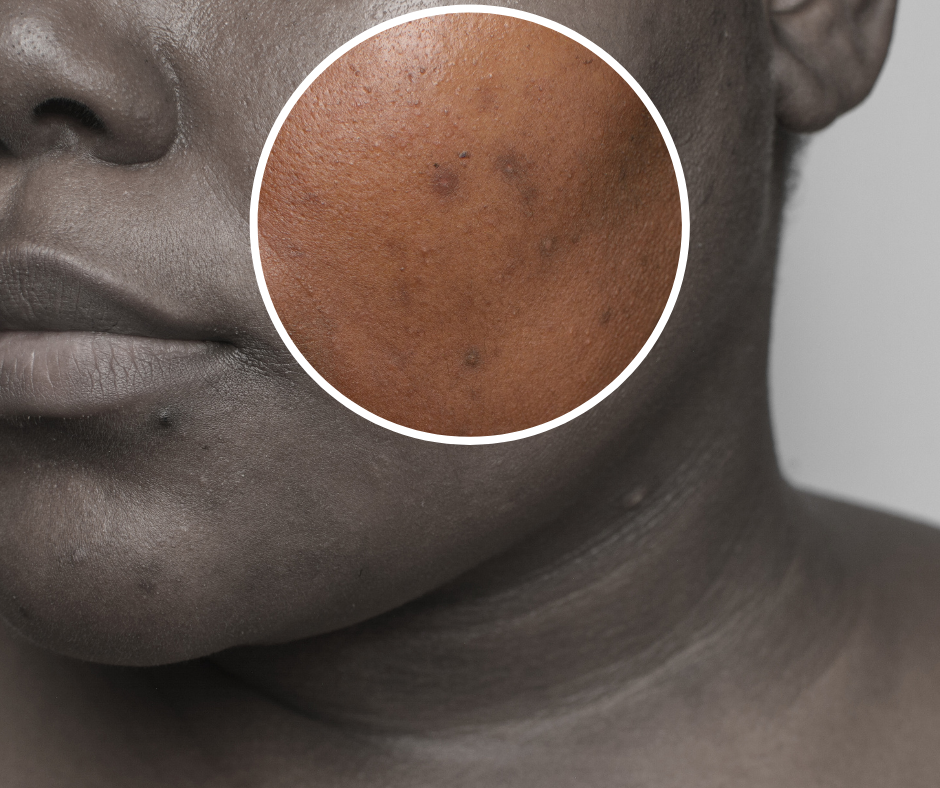
Your lenses—especially if you have a stronger prescription—draw attention to your under-eye area. Every bit of darkness, every shadow, every hint of fatigue becomes more noticeable.
The fix: Layer corrector and concealer like a pro.
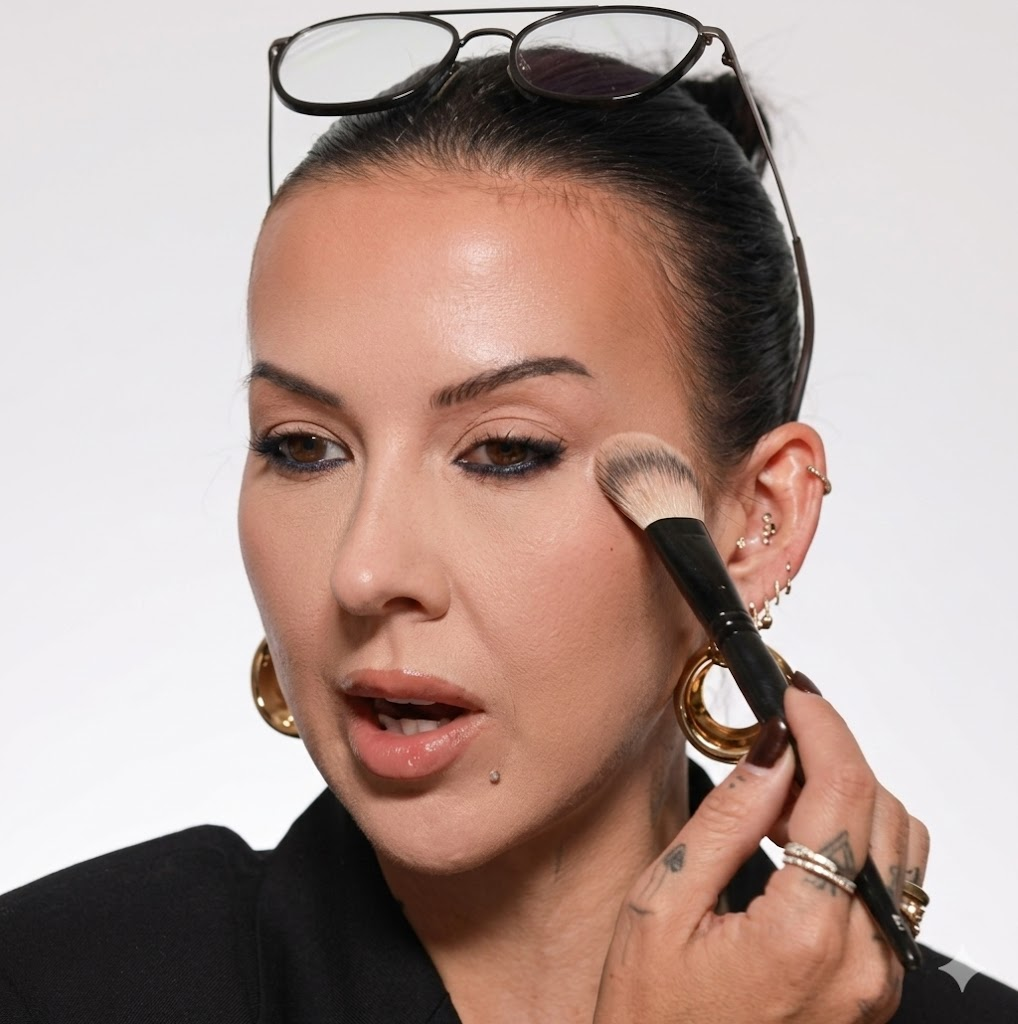
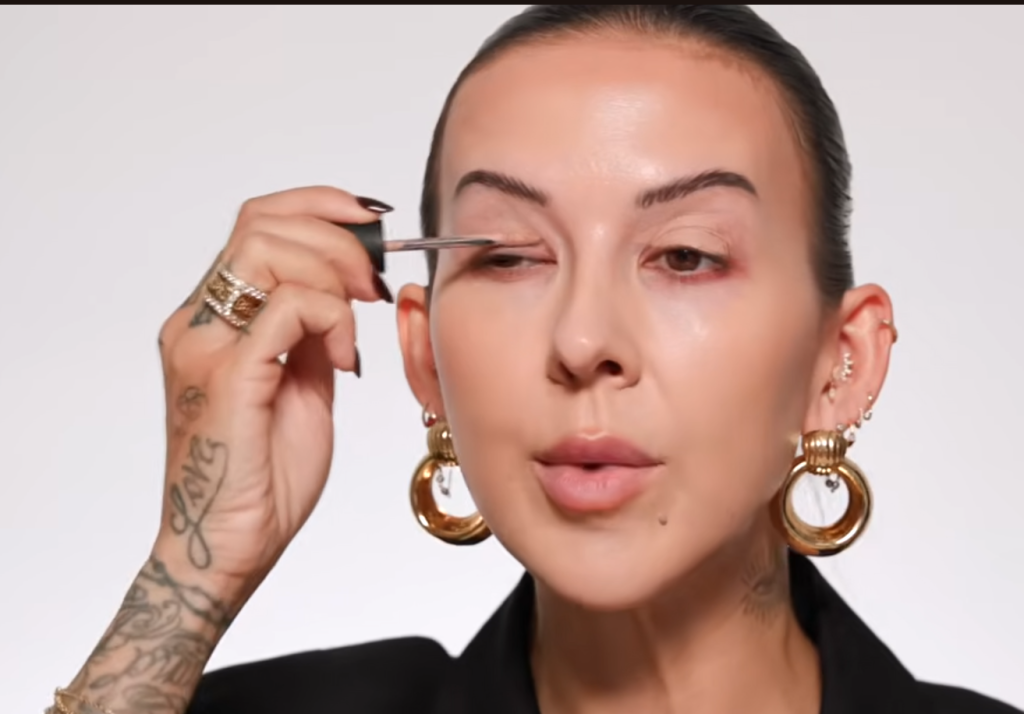
Start with a peach or pink corrector (choose peach for warmer skin tones, pink for cooler or fair skin). Apply it to the darkest areas—usually the inner corner of the eye and any hollows. Tap it in gently with your ring finger.
Next, layer a yellow-based concealer that is one shade lighter than your skin tone over the corrector. Use a small brush to get close to the lashes and into the inner corner. Then blend with your finger.
Pro tip: Set everything with a light dusting of pale yellow or translucent powder. This prevents creasing and keeps your concealer in place all day. Glasses mean friction on your nose and under-eyes, so setting is non-negotiable.
Step 2: Brows Matter More Than Ever
When you wear glasses, your eyebrows become part of the frame.
Think about it: the top of your frames either sits right below your brows or covers them partially. If your brows are unkempt or undefined, the whole look falls flat. If they are well-groomed, they work with your frames to create a polished, intentional appearance.
The fix: Define your brows daily.
Use a tinted brow gel for a fast, natural look. It takes ten seconds and instantly makes your brows look fuller and more polished.
If you have sparse areas, fill them in with a brow pencil using short, hair-like strokes. Choose a shade that matches your natural brow color—for most people, that means a soft brown rather than a harsh black.
The goal: Your brows should look clean and defined, not heavy or drawn-on.
Step 3: Eyeliner Is Your Best Friend
Here is the most common mistake glasses wearers make: skipping liner because it feels like too much.
In reality, eyeliner is what brings your eyes forward so they don't disappear behind your frames.
The fix: Always line your upper lash line.
For everyday wear, a thin line of gel or pencil liner close to the lashes makes a huge difference. It defines the eye without looking heavy.
If you wear thick or dark frames, you can go bolder. A slightly thicker line, a winged tip, or even a deep navy or charcoal instead of black can look stunning.
Pro tip: Make sure the line is visible when your eyes are open. This is especially important for those with hooded eyes or deep-set eyes—common concerns that glasses can exaggerate.
For the lower lash line, proceed with caution. Lining the bottom can sometimes make eyes look smaller or emphasize dark circles. If you do line the bottom, keep it soft and smudged, and connect it to the top line at the outer corner.
Step 4: Shadow Strategy
The intensity of your eye shadow should match the boldness of your frames.
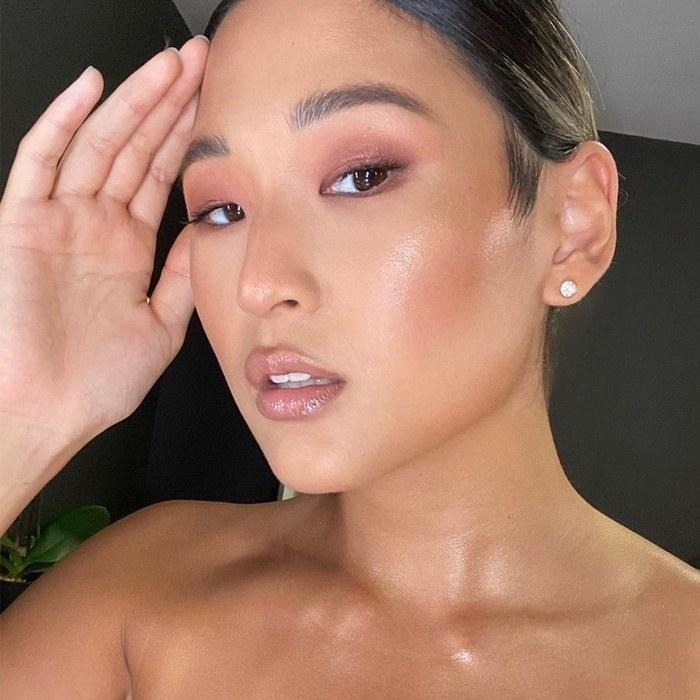
If you have thin, wire-rim frames: You can wear softer, more subtle shadows. Think champagne, soft taupe, or light bronze. These colors enhance without competing.

If you have thick, bold frames: You need more definition. Medium to deeper shades work well—think mushroom brown, charcoal, or even a soft plum. The color should be visible through the lenses.
If your frames are colorful (red, blue, tortoiseshell): Choose shadow colors that complement rather than match. For example, warm browns look beautiful with tortoiseshell, while soft grays work with silver or black frames.
The foolproof approach: Apply a light shadow all over the lid from lash line to brow bone. Then add a medium shade in the crease for definition. Finish with liner and mascara. This classic combination works with any frames.
Step 5: Mascara That Won't Betray You
Nothing is more frustrating than spending time on your eye makeup only to have mascara smudge onto your lenses five minutes later.
The fix: Waterproof mascara is your friend.
Waterproof formulas stay put through humidity, tears, and the inevitable friction between your lashes and your lenses.
If you hate removing waterproof mascara at night (fair enough), look for "tubing" mascaras. These form tiny tubes around each lash and remove easily with warm water—no tugging required.
Application tip: Let your mascara dry completely before putting on your glasses. Give it a full minute. This small pause prevents those annoying little dots on your lenses.
Step 6: Work With Your Frames, Not Against Them
Different frame styles call for slightly different approaches.
Thick, dark frames (Wayfarers, bold acetates): Your glasses make a statement, so your eye makeup should hold its own. Go for defined liner, visible shadow, and groomed brows. You can even play with a subtle wing.

Thin, wire frames: These delicate frames call for a softer touch. Focus on perfect concealer, groomed brows, and defined lashes. Shadow can be sheer and natural.
Cat-eye frames: Play up the retro vibe with a soft winged liner. Keep shadow neutral so the focus stays on the shape of the frames.
Oversize frames: These can overwhelm your features if you aren't careful. Define your eyes well and don't skip the brows. A pop of color on the lips balances the look.
Reading glasses (half-glasses): Since you look over them as much as through them, focus on your entire eye area. People see both your eyes and your frames.
The Complete Glasses-Wearer's Routine
Here is your cheat sheet for mornings:
- Prep: Hydrating eye cream, then corrector + concealer under eyes
- Set: Light dusting of powder over concealer
- Brows: Tinted gel or pencil fill
- Liner: Upper lash line, visible when eyes open
- Shadow: Medium shade in crease, light shade on lid
- Mascara: Waterproof, let dry before putting on glasses
- Lips: Optional, but a soft color balances the face
Real Women, Real Solutions
For the nearsighted mom: Your lenses make your eyes look smaller. Emphasize them with liner and don't skip the inner corner highlight. Curled lashes make a huge difference.
For the farsighted mom: Your lenses magnify, so precision matters. Blend well, avoid harsh lines, and be extra careful with concealer application.
For the progressive lens wearer: You look through different parts of your lenses throughout the day. Keep your makeup balanced and defined so it works from every angle.
The Takeaway
Glasses are not a barrier to beautiful makeup—they are an opportunity. With the right techniques, your frames become part of your overall look, enhancing your features and expressing your personal style.
The key is adjusting for magnification, defining enough to be seen, and working with your frames instead of against them.
You spent time choosing glasses that reflect who you are. Now let your makeup do the same.
Master the basics first? Start with our beginner's guide to bronzer, blush, and contour placement . And remember, great makeup starts with great skin—try our simple 5-step night routine .

Leave a Reply