
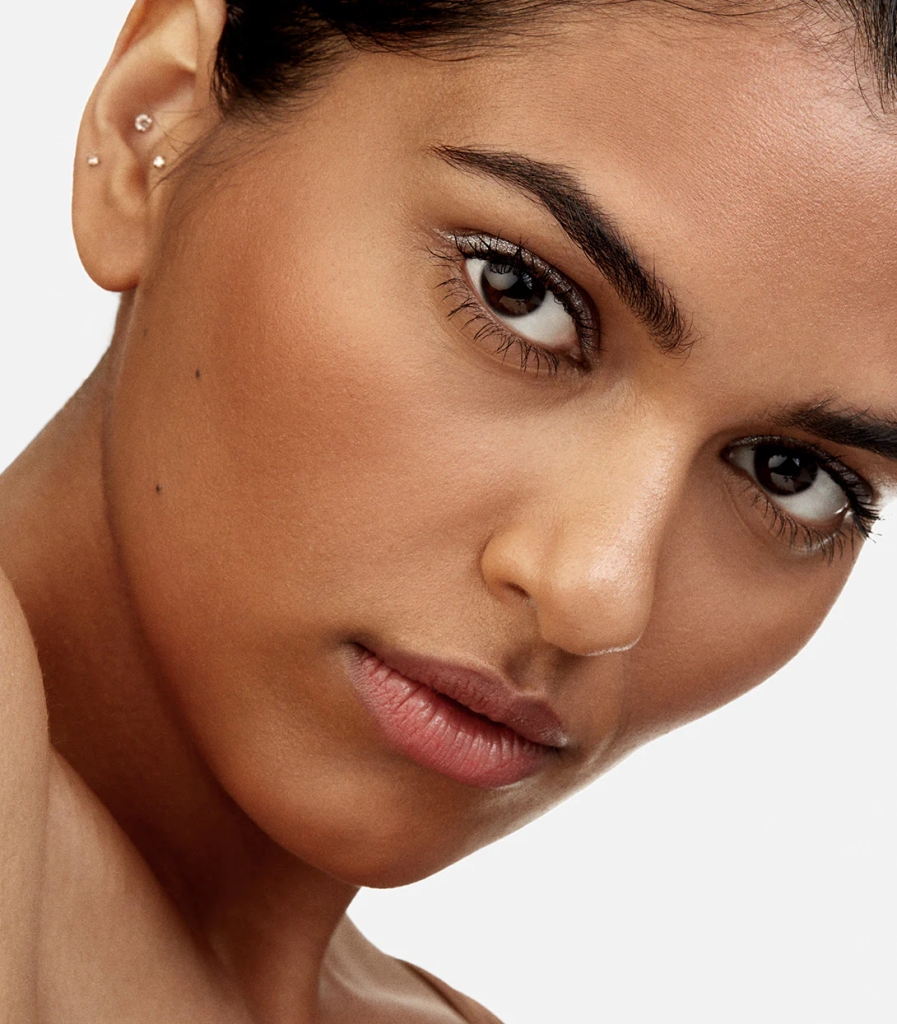
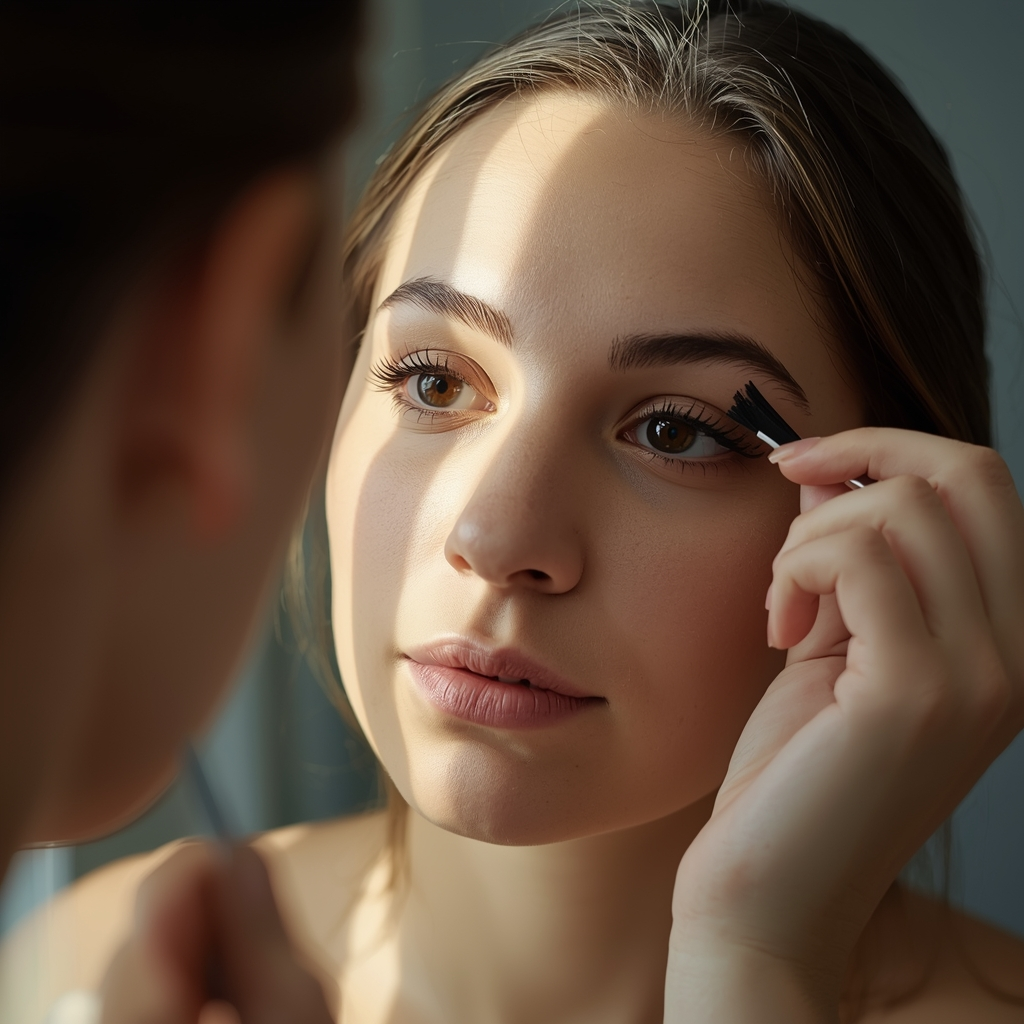
If you have ever stared at a pile of cream products on your vanity and thought, "But where does this actually go?"—you are not alone.
Makeup placement is the secret sauce between "I put stuff on my face" and "I look like I got a professional facial structure upgrade." The good news? Once you learn the map of where each product belongs, applying makeup becomes muscle memory.
Think of your face as a canvas. Bronzer, blush, and contour are not interchangeable. They each have a job, and they each have a specific neighborhood on your face where they do their best work.
Here is your ultimate placement guide.
The Golden Rule: Know Your Zones
Before we dive into specific products, let's establish a simple truth:
- Contour lives in the shadows. It is cool-toned and meant to recede areas.
- Bronzer lives where the sun hits. It is warm-toned and meant to bring warmth.
- Blush lives on the apples and high points. It brings life and freshness.
- Concealer lives where you need light. It lifts and brightens.
If you mix these up, your makeup looks muddy. If you place them correctly, your face looks sculpted, fresh, and naturally lifted.
Step 1: Concealer (The Brightener)
Where it goes: Concealer is not just for hiding zits. When used strategically, it lifts your face instantly.
The Placement Zones:
- Under the eyes: An inverted triangle shape (not just half-moons). This brightens the entire mid-face.
- The center of the forehead: A small dot helps fade any darkness and makes the forehead appear smoother.
- Down the nose: A thin line on the bridge creates the illusion of a straighter, narrower nose.
- The cupid's bow: A tiny dab defines your upper lip.
- The center of the chin: This counteracts any shadows or darkness around the mouth.
The Goal: These are the high points of your face where light naturally hits. By adding concealer here, you are "painting with light" before you even start sculpting.
Step 2: Contour (The Sculptor)
Where it goes: Contour is cool-toned (think: taupe, grayish-brown) because it mimics natural shadows. You want it in the places that recede or sink in.
The Placement Zones:
- Hollows of the cheeks: Suck in your cheeks like a fish. That hollow? That's your contour zone. Start at your ear and blend downward toward the corner of your mouth, but stop before you reach the smile lines.
- Temples: A soft "C" shape along the hairline frames the face and shortens a longer forehead if needed.
- Jawline: Run contour along the underside of your jawbone, not the top. This creates separation between your face and neck.
- Sides of the nose: Two thin lines from the inner brow down to the nostrils (but blend well—no sharp lines).
- Under the lip: A tiny dab in the center of your lower lip's shadow adds fullness.
The Goal: You are carving out dimension. These areas should recede slightly, making the high points (where you placed concealer) appear to pop forward.
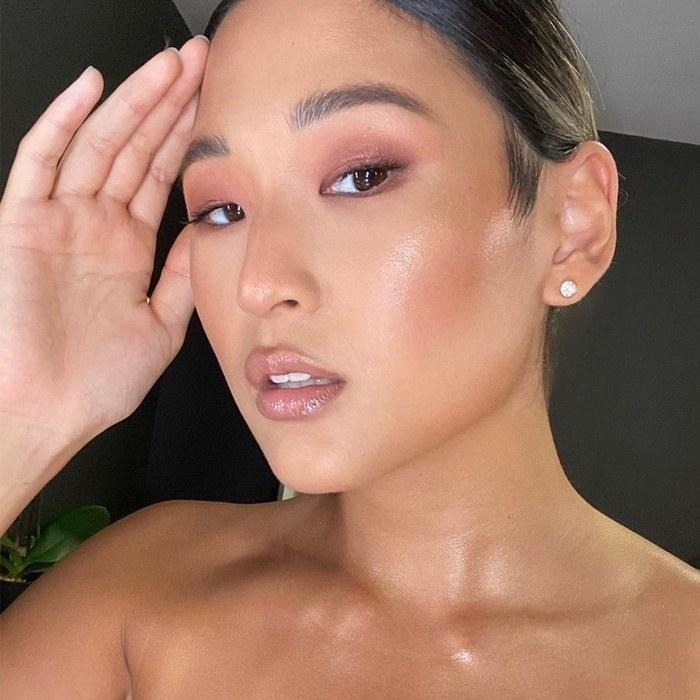
Step 3: Bronzer (The Warmer)
Where it goes: Bronzer is warm, glowy, and mimics a tan. It should never go where contour goes, or you'll end up with an orange, muddy mess.
The Placement Zones:
- The perimeter of the face: A "3" shape on each side. Start at the forehead (near the hairline), sweep down to the cheekbone (right above your contour), and finish along the jawline.
- Across the nose: A light swipe where the sun naturally hits the bridge and the tip.
- On the eyelids: A quick dusting in the crease warms up the eye area and ties the whole look together.
- On the chin and cupid's bow: A whisper of warmth here mimics sun-kissed skin.
The Goal: Bronzer should look like you spent a weekend somewhere sunny. It brings your face forward and adds a healthy, warm dimension.
Step 4: Blush (The Lifter)
Where it goes: Blush is the fun one. It brings color back to your face after all that sculpting and warming.
The Placement Zones:
- The apples of the cheeks: Smile. See those round parts? That's the traditional placement. It gives a youthful, lifted appearance.
- Swept upward: For a more modern, lifted look, place blush slightly higher on the cheekbone, blending it back toward your temples (almost meeting your bronzer).
- A touch on the nose: A tiny dab on the bridge and tip ties the whole look together and adds to that "fresh, just went for a walk" vibe.
- On the chin (optional): A whisper of blush on the center of the chin balances the face if you have a longer face shape.
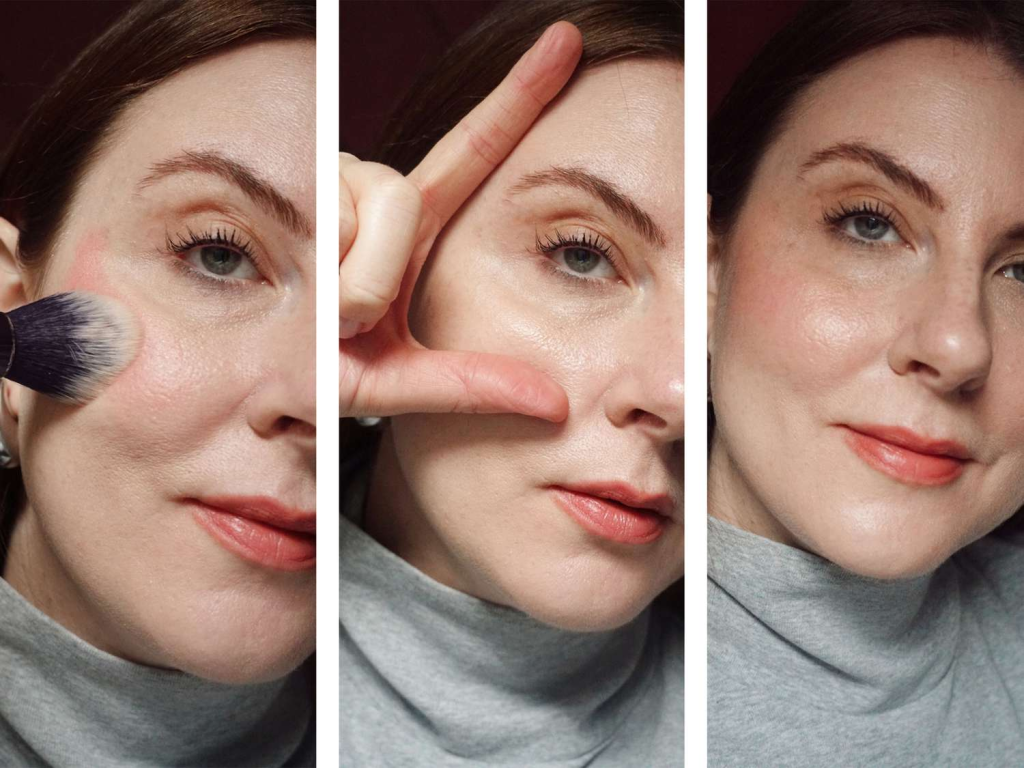
The Goal: Blush should look like a natural flush. It sits on top of the cheekbones (not below them) and brings the face to life.
The Layering Order (Cream Products)
If you are using cream products (which blend beautifully and look like skin), order matters:
- Concealer (brighten first)
- Contour (sculpt second)
- Bronzer (warm third)
- Blush (flush fourth)
Blend between each step with a damp sponge or a stippling brush. Then set with powder if needed.
Face Shape Adjustments
While the general map above works for most people, here are quick tweaks based on face shape:
- Round face: Keep contour lower on the cheeks and bronzer closer to the hairline to create angles.
- Oval face: You have balanced proportions—place blush on the apples and keep bronzer light on the forehead and chin.
- Square face: Soften the jawline with contour placed directly on the angles, and keep blush on the apples to draw focus inward.
- Heart face: Place blush slightly lower on the cheeks to balance a wider forehead, and keep contour light on the temples.
The Takeaway
Makeup placement is not about rules—it is about understanding your unique face and enhancing what you already have.
Next time you sit down with your creams and brushes, remember the mantra:
- Concealer = Light (center of the face)
- Contour = Shadow (perimeter and hollows)
- Bronzer = Warmth (where the sun hits)
- Blush = Life (the high points)
Save this guide, pin it for later, and practice. Within a few tries, placement will feel like second nature.

Leave a Reply