
Curly hair is a crown of personality, volume, and movement—but without the right cut, those beautiful spirals can turn into a heavy, shapeless triangle. Enter the layered long curly haircut. Layers are a curly girl’s secret weapon: they remove excess weight, allowing your curls to bounce higher, breathe easier, and fall into a more defined, flattering shape. Whether you have loose beachy waves or tight corkscrew curls, the right layering technique can transform your length from drab to dynamic.
Below, you’ll find 22 distinct ideas to bring to your stylist, ranging from subtle face-framing to dramatic shags, each designed to celebrate your natural texture:
Classic & Timeless Layers
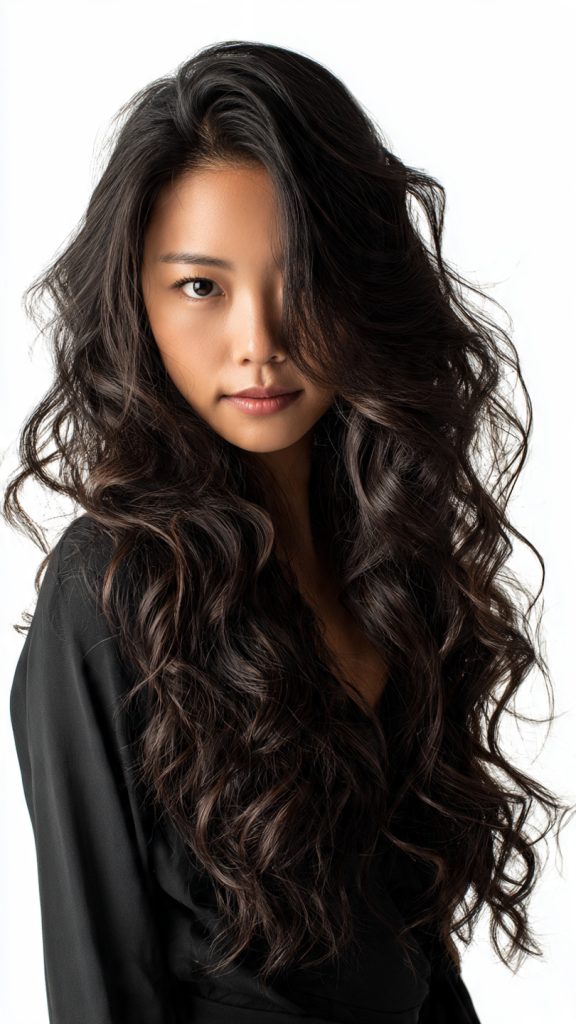
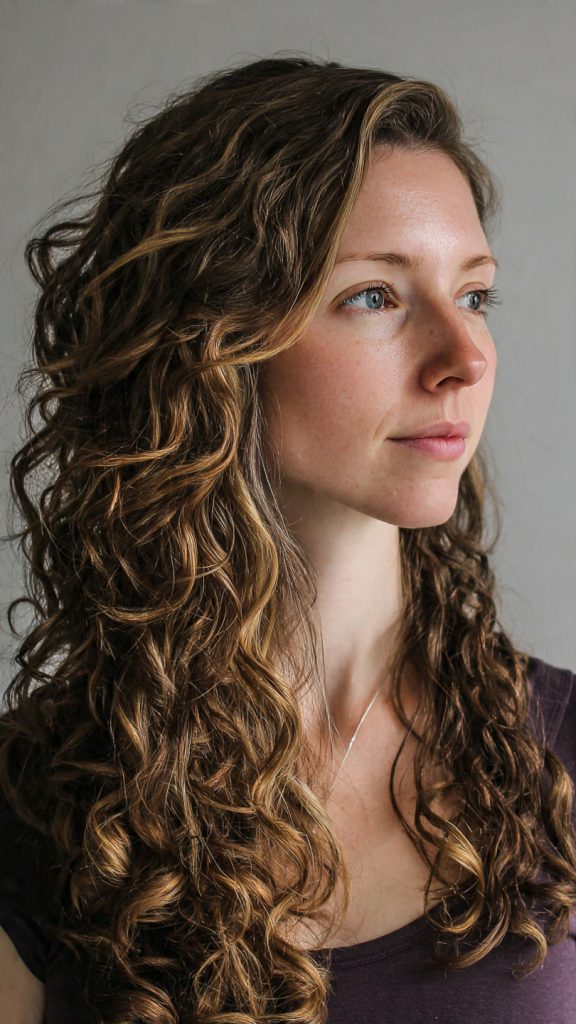
1. The Long Bouncy Layered Cut
Uniform layers throughout the length that start around the chin. Ideal for thick hair, this cut removes bulk while keeping a traditional, rounded curly silhouette.
2. Invisible Layers
Ultra-subtle internal layering that you can’t see but can definitely feel. It reduces weight at the ends without changing the outer shape—perfect for fine curls that need volume without losing density.
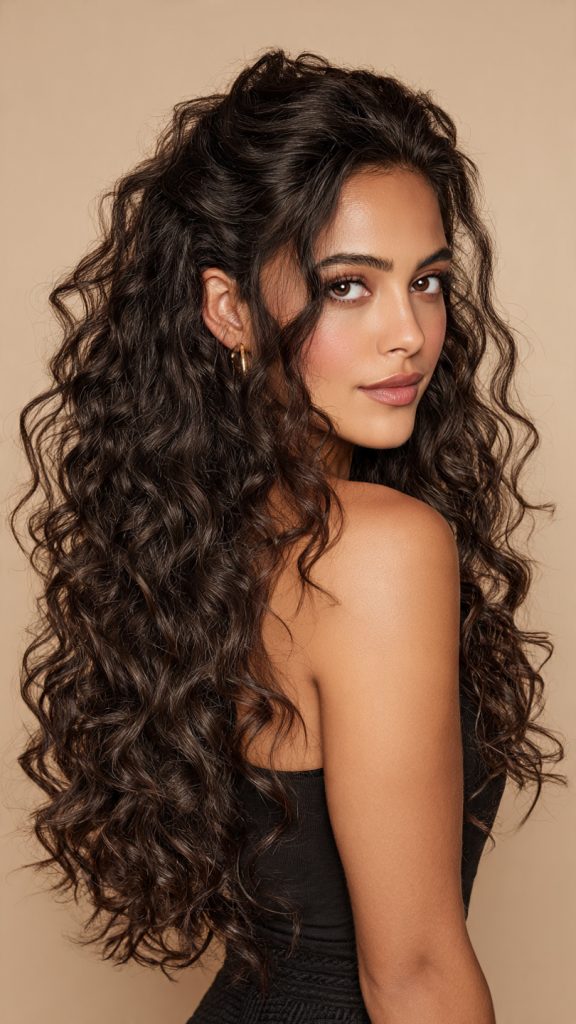
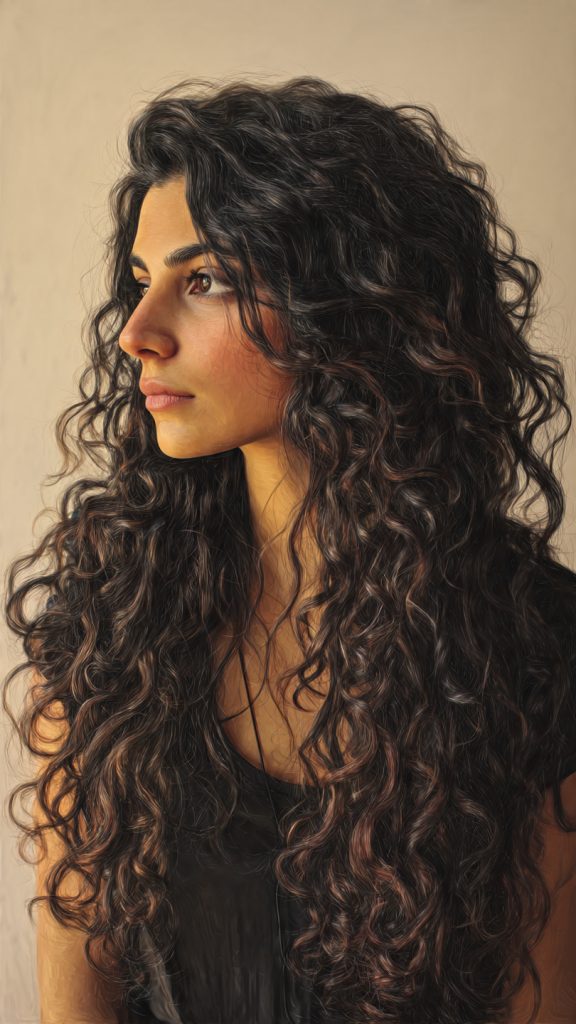
3. The Curly U-Shape Cut
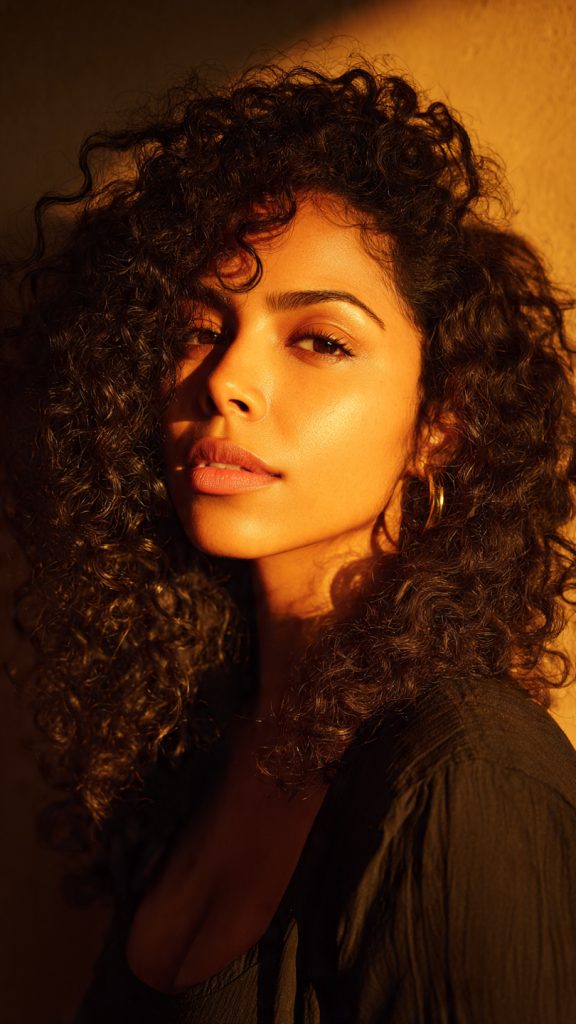
Layers are cut so the back falls into a soft “U” rather than a straight line. This creates a gentle, romantic cascade of curls and works beautifully on waist-length hair.
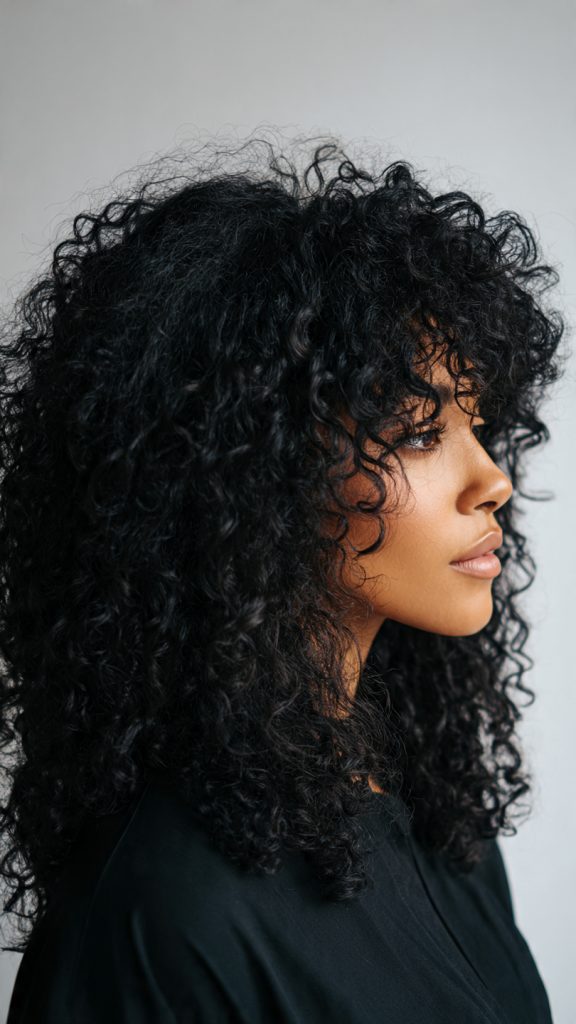
4. Long Steep Layers
Layers begin low (around the shoulder blades) and are cut at sharp angles. This keeps maximum length while adding movement and preventing the dreaded “pyramid head.”
Face-Framing & Curtain Layers
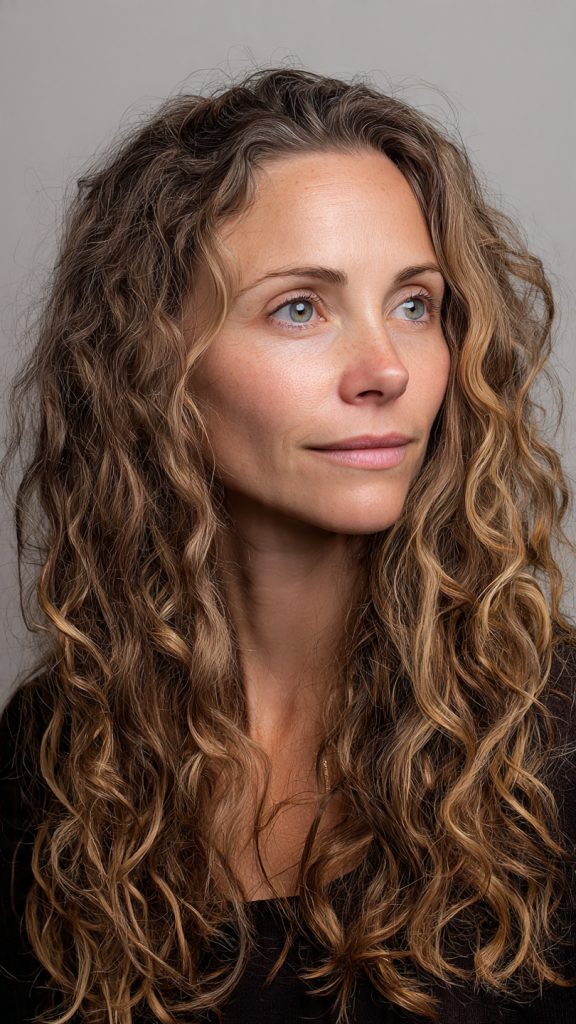
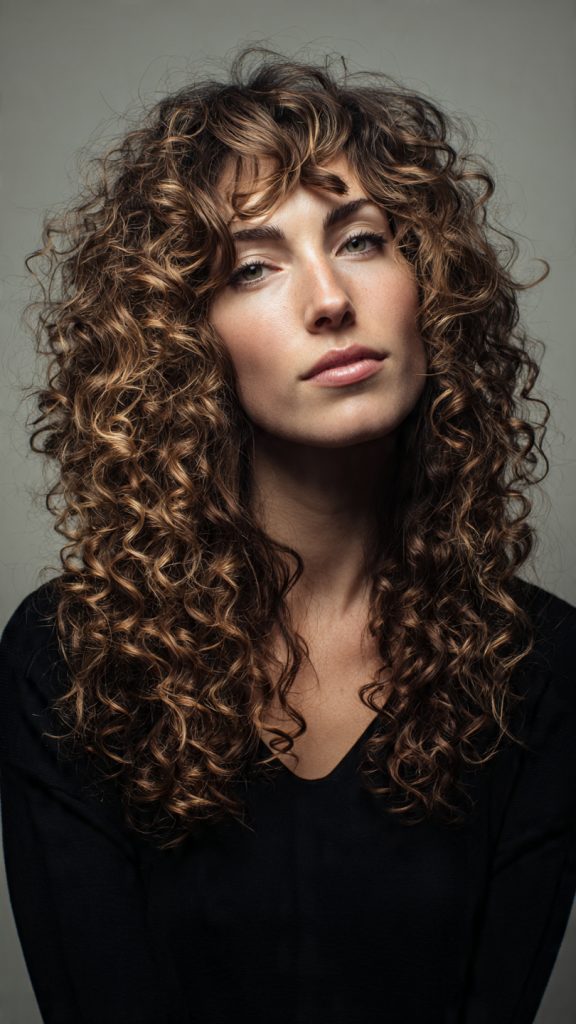
5. Curtain Bangs with Long Layers
Face-framing pieces that part in the middle, blending seamlessly into longer layers. They soften the face and work for all curl types, from wavy to coily.
6. The Disconnected Face Frame
Shorter, piece-y layers right around the cheekbones that “disconnect” from the rest of the length. It adds an edgy, modern contrast to otherwise uniform curls.
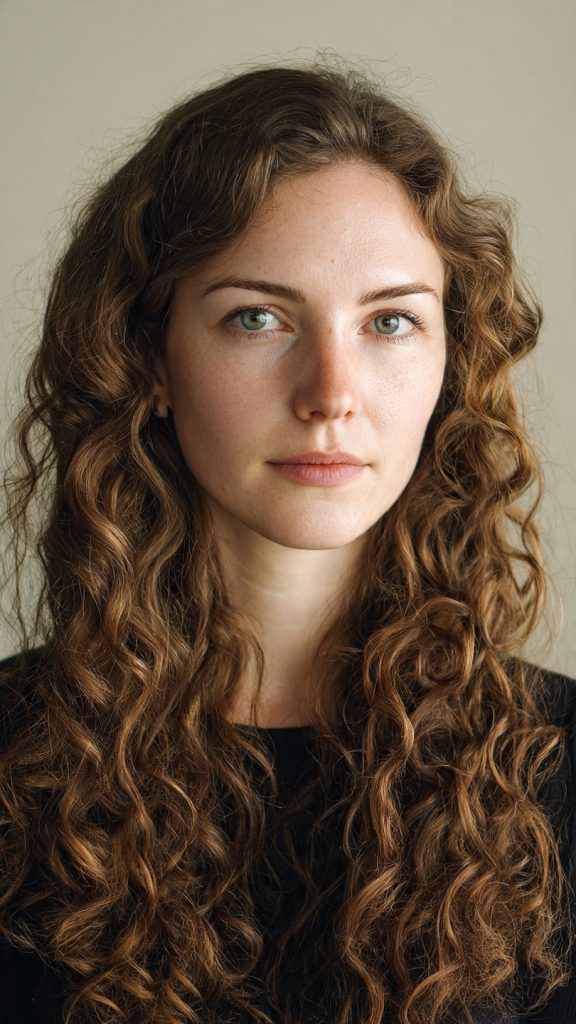
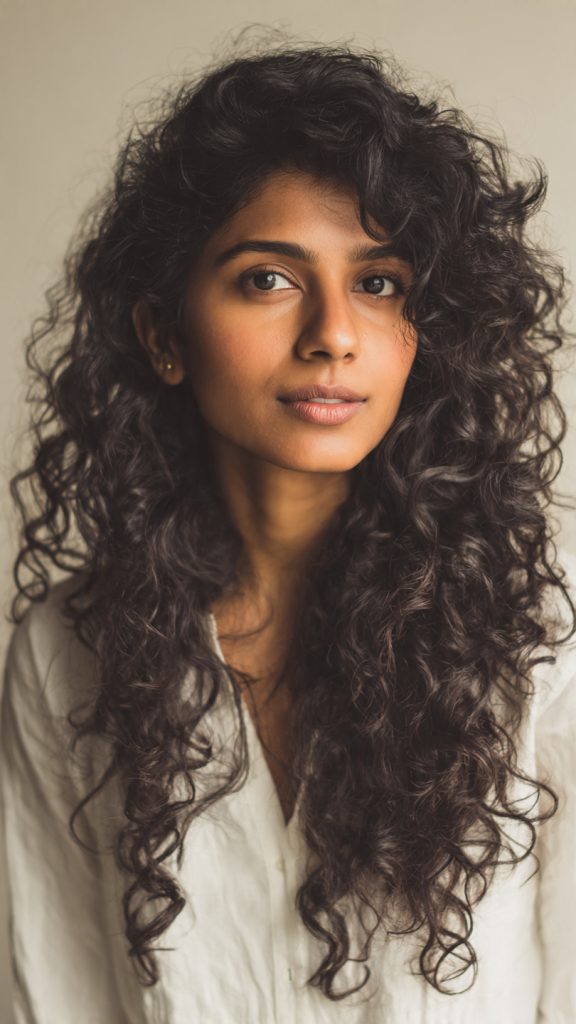
7. Tear-Drop Layers
The shortest layers sit at the crown and around the temples, tapering down like a teardrop around the face. Excellent for adding height and drawing attention to the eyes.
8. Side-Swept Layered Fringe
Long, deep side-swept bangs cut into the main layer structure. This breaks up a round face shape and adds instant drama.
Voluminous & Big-Curly Layers
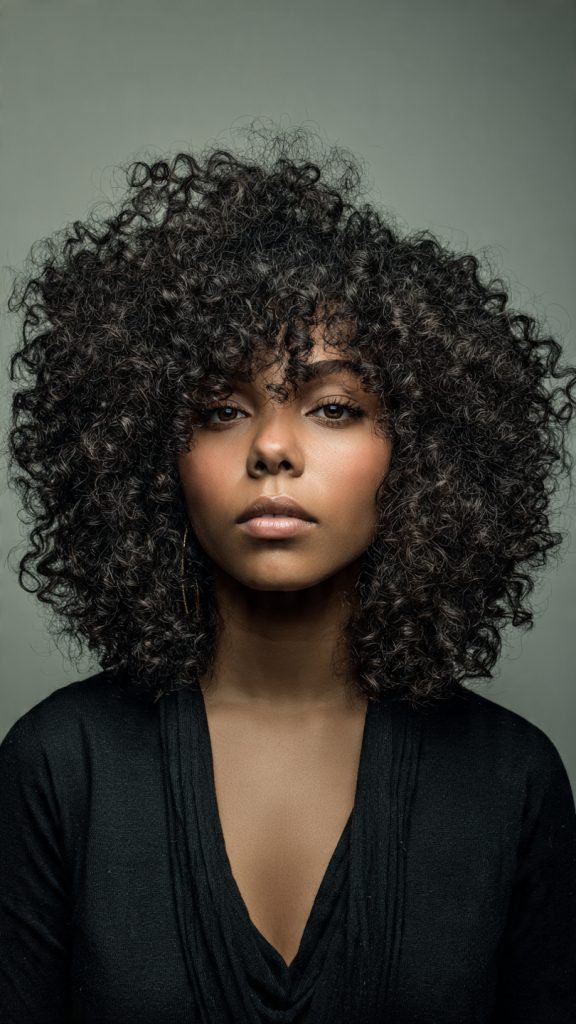
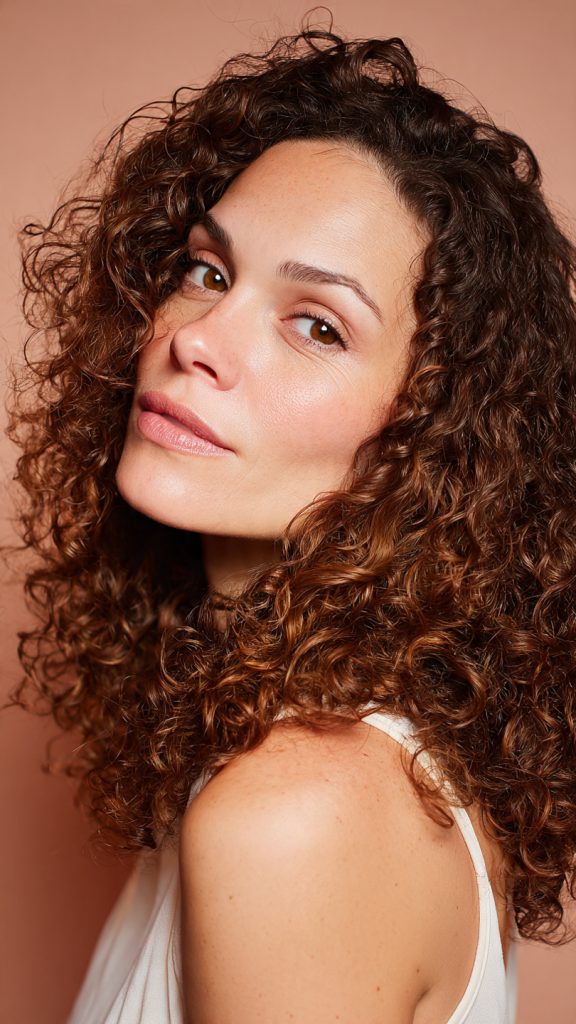
9. The Round Layered Cut
Layers are stacked internally to create a globe-like, 360-degree volume. Best on medium-to-tight curls (type 3a to 3c) that can support the shape.
10. Double-Layered Curls
Two distinct lengths: a shorter under-layer and a longer over-layer. This gives a peek-a-boo effect, massive body, and a controlled shape that resists frizz.
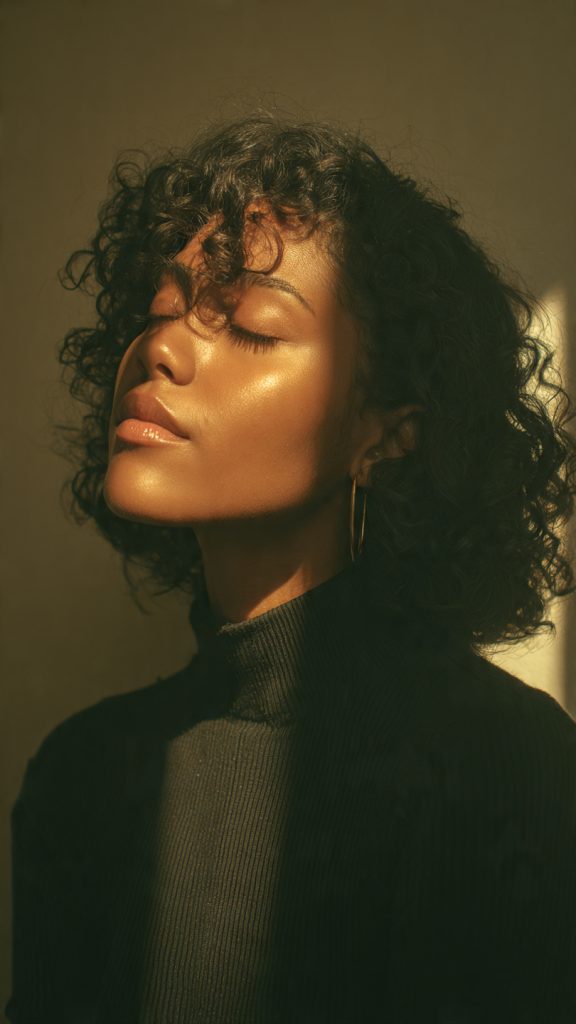
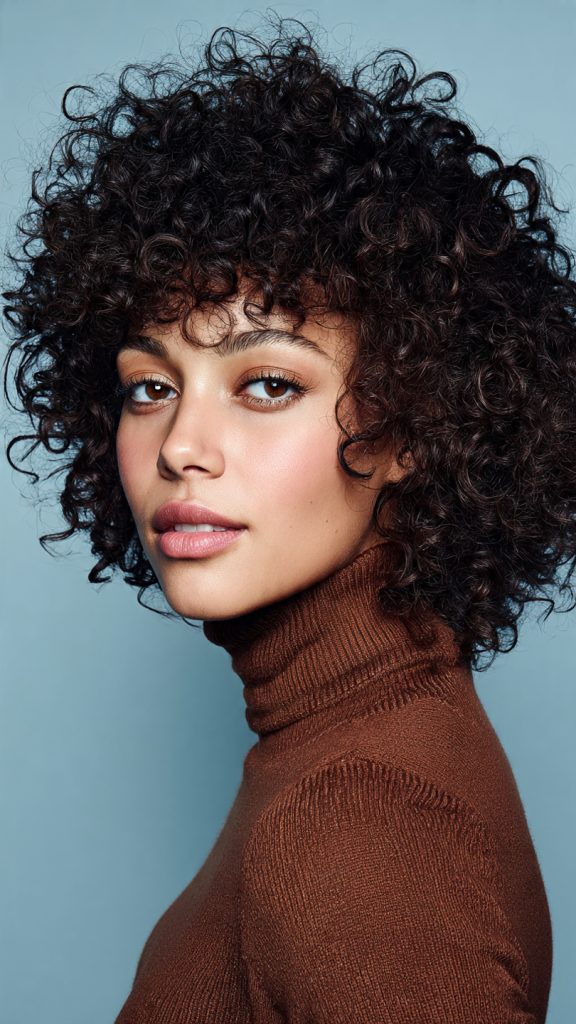
11. The Curly Wolf Cut
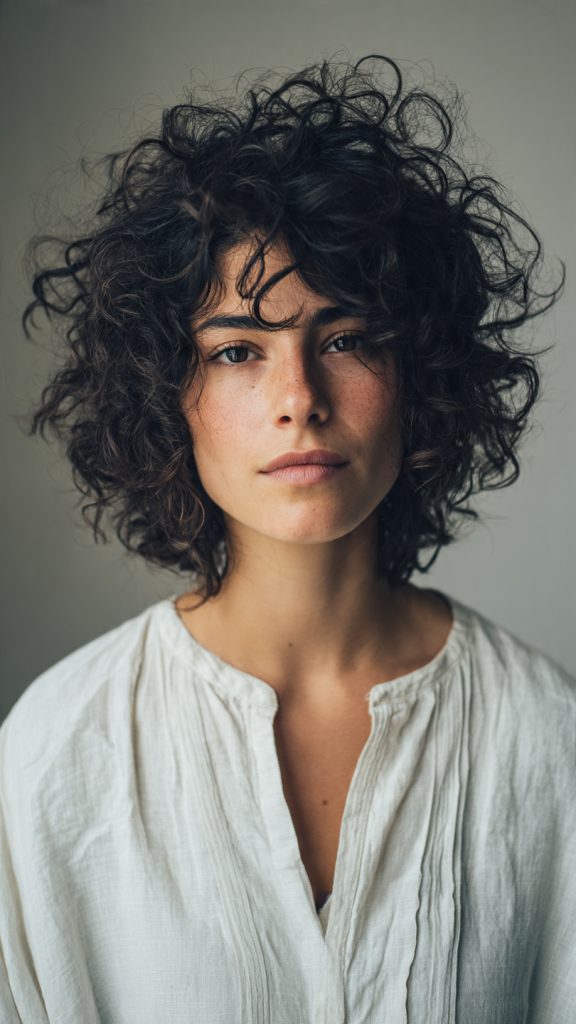
A shag-meets-layer hybrid with heavy texture on top and wispy, thinned-out ends. It’s wild, youthful, and excellent for creating a “messy volume” look.
12. Step-Cut Layers
Distinct “steps” or shelves of curls, popular in Latin and Mediterranean curly styling. Each step is blunt-cut for definition, resulting in a bold, sculpted look.
Low-Maintenance & Wash-and-Go Layers
13. The Beveled Layer Cut

The ends of each layer are slightly beveled (rounded under) instead of point-cut. This encourages curls to clump and spiral naturally with zero styling effort.
14. Dry-Cut Layers
Not a style per se, but a technique: layers cut curl-by-curl when dry. This ensures every ringlet lands exactly where it should, making morning refresh a breeze.
15. The One-Length-With-Texture Cut
Only the last 2–3 inches of the hair are layered. You keep the weight of long hair, but the ends are light enough to flip and move freely.
16. Vacation Layers
Extra-long, widely spaced layers designed to look good even after swimming or sleeping on damp hair. Ask for “beach layers” – they start at collarbone level and are deeply point-cut.
Modern & Trend-Driven Layered Curls
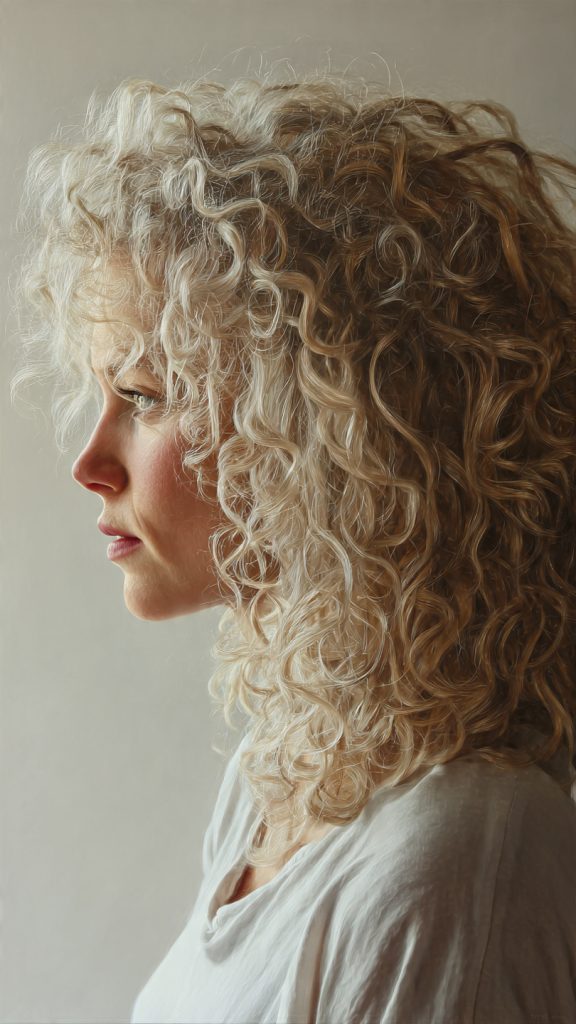
17. The Curly Butterfly Cut
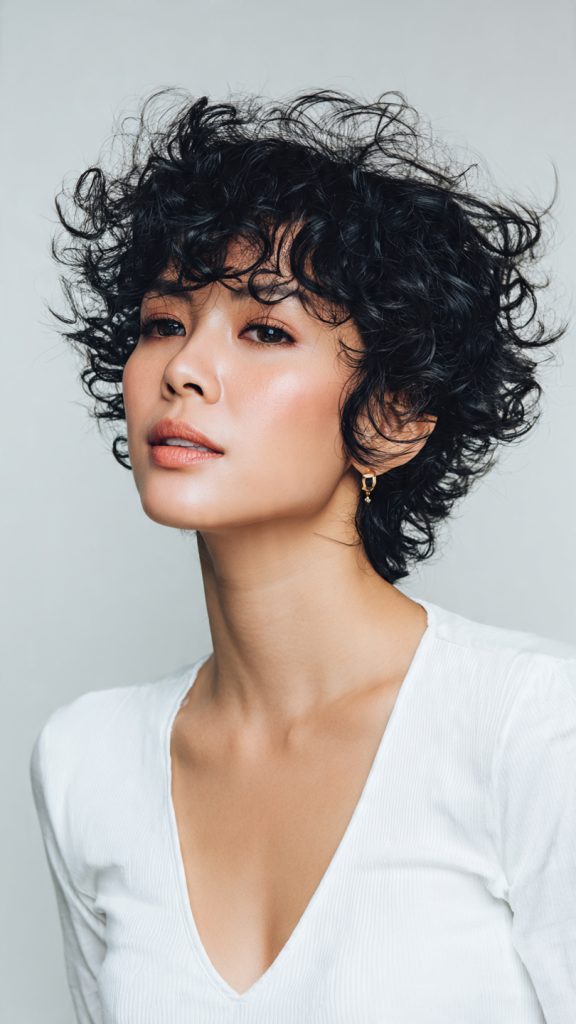
Inspired by the Korean “butterfly” technique: short, airy layers on top that lift like wings, while longer layers preserve length. Amazing for fine curly hair.
18. Asymmetric Long Layers
One side cut slightly shorter and layered more heavily than the other. It’s a subtle but striking way to add interest without committing to a full chop.
19. Curly Mullet (Modern Version)
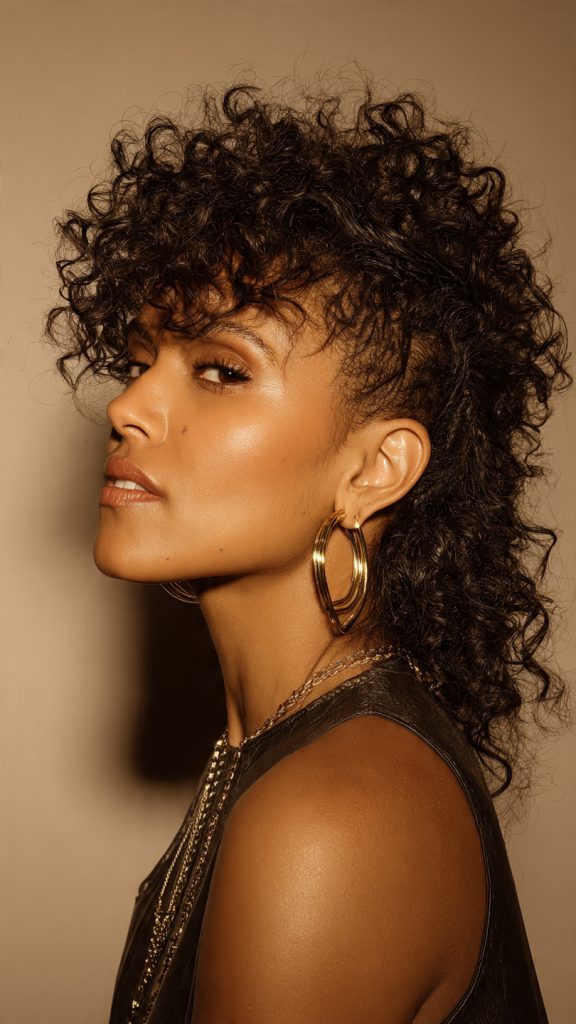
Short, stacked layers on top and at the crown, with long, wispy layers in the back. When done on loose curls, it reads as edgy rocker-chic, not retro.
20. Spiral Tip-Layered Cut
Each individual curl’s tip is lightly dusted and layered at a diagonal. This takes hours to do but results in perfectly spiraling ends that never look blunt.
Protective & Transitioning Layers
21. The Hydro-Layered Cut
Layers are cut while hair is soaking wet and loaded with conditioner. This prevents shrinkage surprises and is ideal for transitioning from relaxed to natural curls.
22. Inward Long Layers (for shrinkage management)
The shortest layers are on the underside of the hair, near the nape. This creates an invisible lift that pushes curls outward and upward, combating shrinkage while keeping length visible.
Before You Go to the Salon: Essential Prep
A great layered curly cut starts long before the scissors touch your hair. Use this checklist to ensure you leave the chair happy.
1. Find a curl specialist. Not all stylists are trained in dry or curly cutting. Look for certifications like DevaCut, Rezo Cut, or Ouidad, or read reviews from other curly clients.
2. Come with styled, dry curls. For most curly layering techniques (especially dry cuts), your stylist needs to see your natural pattern. Avoid pulling hair back or using heavy products that change your curl shape.
3. Bring reference photos – including the prompts above. Show your stylist 2–3 of the 22 ideas above. Point to what you love (e.g., “the face-framing from #6”) and what you don’t want.
4. Learn the key words. Say “volume,” “weight removal,” “bounce,” or “shrinkage management” instead of just “layers.” Avoid “thin out” – that often means texturizing shears that create frizz.
5. Ask for a consultation before the wash. A good stylist will touch your dry curls, discuss your at-home routine, and show you where the layers will fall before cutting.
Maintenance & Styling Tips for Layered Long Curls
Layers need love to look their best. Follow these tips between salon visits.
1. Refresh with water, not just product. Mist your curls lightly with a spray bottle, then scrunch. This reactivates old product and resets layer separation without buildup.
2. Dry with a diffuser upside down. This lifts the roots and allows each layer to curl independently. Use low heat and medium speed to avoid frizz.
3. Trim every 8–12 weeks. Layered curls lose shape faster than one-length cuts. A “dusting” (micro-trim of just the ends) preserves length while keeping layers defined.
4. Sleep on silk or satin. A silk pillowcase or bonnet prevents friction that flattens top layers and creates frizz at the shorter, more fragile layered pieces.
5. Avoid heavy butters and oils on the top layers. These weigh down the shortest, most visible layers. Apply lightweight products (mousse, foam, or spray leave-in) from mid-lengths to ends.
6. Scrunch out the crunch. If you use gel, wait until hair is 100% dry, then gently scrunch upward to break the cast. This reveals soft, bouncy layers – not stiff ones.
7. Pineapple at night. Gather all curls into a loose, high ponytail on top of your head. This protects the shape of long layers and prevents tangling at the nape.
Which Layered Cut Is Right for You? (Quick Decision Guide)
Use this simple flowchart in prose form to narrow down your choice.
- If your hair is very thick and heavy: Choose #1 (Long Bouncy Layers), #10 (Double-Layered Curls), or #12 (Step-Cut Layers) to remove bulk.
- If your hair is fine or thin: Choose #2 (Invisible Layers), #13 (Beveled Cut), or #17 (Butterfly Cut) to add volume without losing density.
- If you want to keep maximum length: Choose #3 (U-Shape), #4 (Long Steep Layers), or #15 (One-Length-with-Texture).
- If you have a round or heart-shaped face: Choose #5 (Curtain Bangs), #7 (Tear-Drop Layers), or #8 (Side-Swept Fringe).
- If you want the lowest maintenance possible: Choose #14 (Dry-Cut Layers), #16 (Vacation Layers), or #21 (Hydro-Layered Cut).
- If you want something trendy and bold: Choose #11 (Curly Wolf Cut), #18 (Asymmetric Layers), or #19 (Modern Curly Mullet).
Common Mistakes to Avoid with Long Layered Curls
Even with a perfect cut, these errors can ruin your results.
| Mistake | Why It Hurts | Better Alternative |
|---|---|---|
| Brushing dry curls | Breaks up layer definition, creates frizz | Detangle only when wet with conditioner and a wide-tooth comb |
| Layering too short on top | Creates a “shelf” or gap between layers | Ask for graduated, blended layers – not disconnected unless intentional (#6) |
| Using a regular towel | Roughs up the cuticle, frizzes layered ends | Microfiber towel or soft cotton t-shirt (plopping method) |
| Skipping trims for 6+ months | Layers grow out uneven, shape becomes triangular | Schedule dusting every 2–3 months |
| Applying product from roots | Flattens crown layers and builds grease | Apply from mid-lengths down, then scrunch upward |
| Blow-drying without a diffuser | Blows layers apart into undefined, stringy pieces | Always use a diffuser on low speed |
How to Communicate with Your Stylist (Script Included)
Don’t leave it to chance. Use this script or adapt it to your needs.
“I want to keep my length overall, but I need layers to remove weight and add bounce. Please show me where the shortest layer will fall before you cut. I do not want a blunt cut or thinning shears. I want my curls to spiral together, not separate into individual strings. Can we start with a dry cut so you see my natural pattern?”
Additional phrases to use:
- “Round shape, not flat.”
- “Point-cut the ends, please – no blunt lines.”
- “Keep my crown layers lighter, not shorter.”
- “I want my curls to clump, not frizz.”
Phrases to avoid:
- “Just take off the dead ends” (you’ll get no layers)
- “Make it thinner” (may result in texturizing shears)
- “I want it like the picture” (without discussing your different curl type)
Product Recommendations for Layered Long Curls
These product types work especially well with layered cuts because they enhance separation and bounce.
| Product Category | Why It Helps Layered Curls | Example Ingredients/Types |
|---|---|---|
| Lightweight leave-in conditioner | Defines each layer without weighing down | Spray or milk formulas |
| Curl foam or mousse | Lifts roots and supports shorter top layers | Volumizing foams |
| Flexible hold gel | Creates a cast that, when scrunched, reveals springy layers | Flaxseed or aloe-based gels |
| Curl refresher spray | Resets layer separation between washes | Water-based with a little emollient |
| Anti-humidity sealant | Prevents frizz from attacking individual layers | Silicone-free oil or serum (applied sparingly to ends) |
What to avoid with layered curls: Heavy coconut oil, shea butter-based creams on top layers, waxes, and anything labeled “ultra hold” unless you plan to diffuse immediately.
Conclusion
Long curly hair is a gift, but layers are what truly set it free. Without them, even the most beautiful spirals can feel heavy, flat at the crown, and shapeless at the bottom. With the right layering technique – whether that’s a classic bouncy cut, a trendy wolf cut, or a protective hydro-layer – your curls will gain movement, volume, and a silhouette that frames your face instead of hiding it.
The 22 ideas above give you a roadmap, but the real magic happens when you bring your unique curl pattern to a skilled stylist and communicate clearly. Remember: the best layered cut is one that works with your natural texture, your daily routine, and your personal style. Don’t chase a look that requires 45 minutes of heat styling. Instead, choose a cut that makes your curls look their best on a simple wash-and-go Tuesday morning.
Leave a Reply